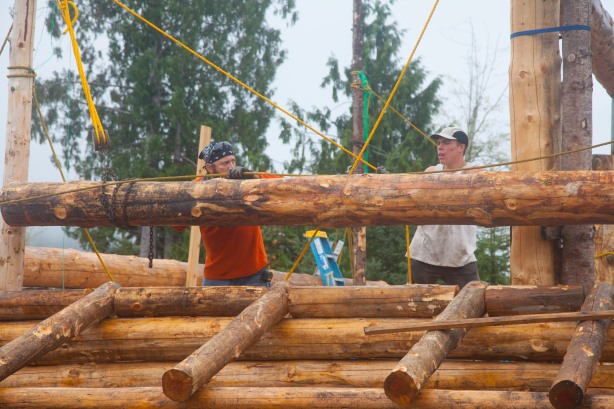
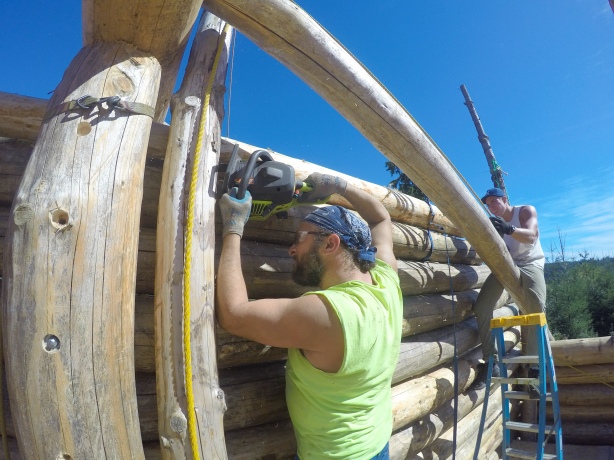
Rob and Tyler work to position the last of the gable wall logs on the north end.
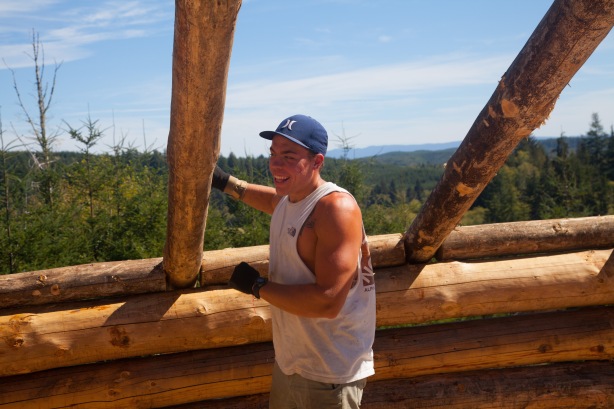
Tyler spent the last part of the summer helping build with us. Thanks Tyler…without your help we couldn’t have pulled it off. All we had to do was keep him fed and in front of a TV whenever FSU or the Bucs were playing.
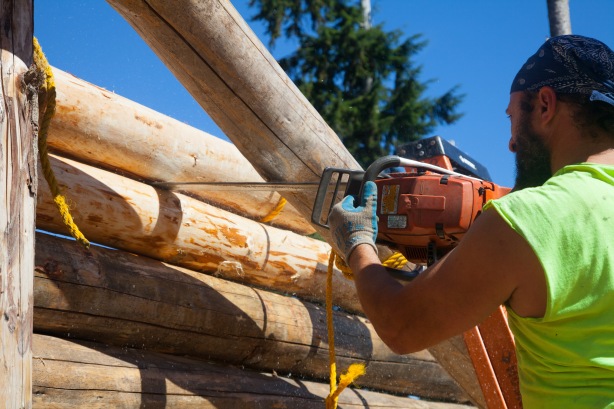
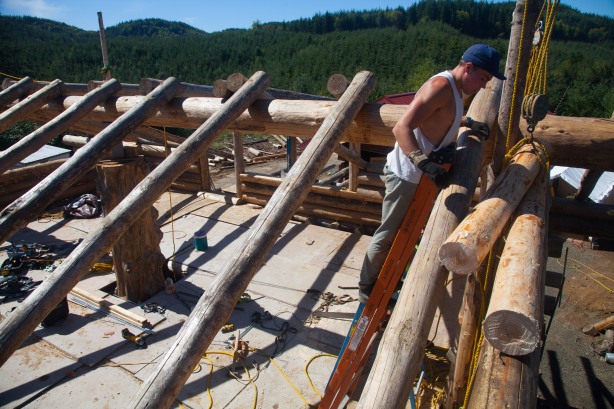
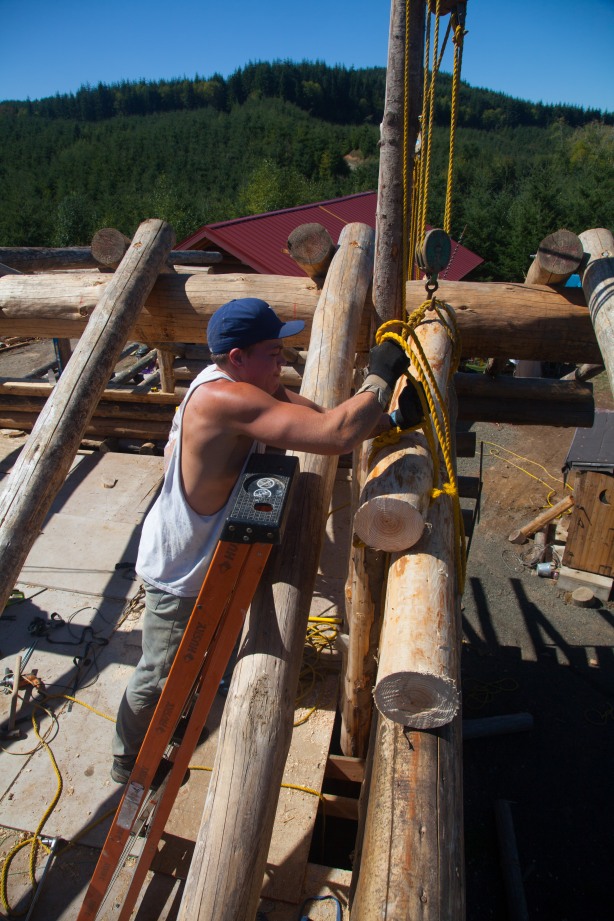
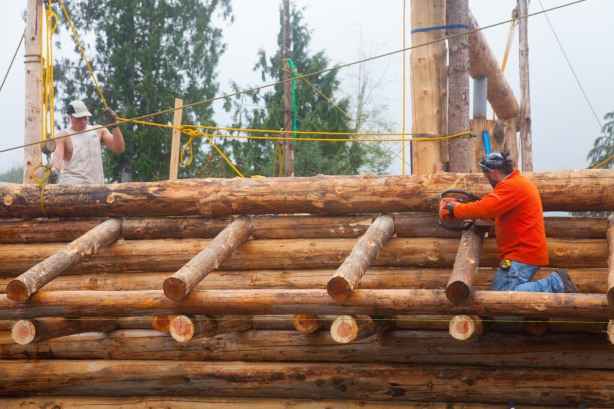
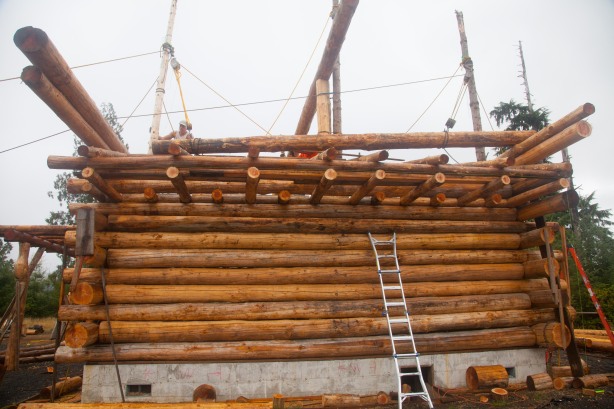
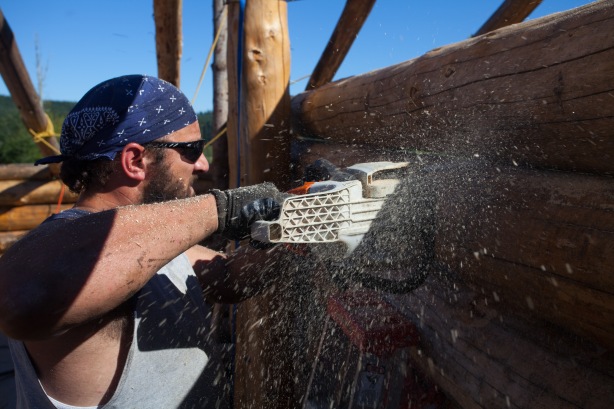
When logs are stacked on top of each other there are always knots and bumps to impede that close fit. To remedy that we are constantly using our cordless saw(chainsaw) to remove the knots and bring the logs together.
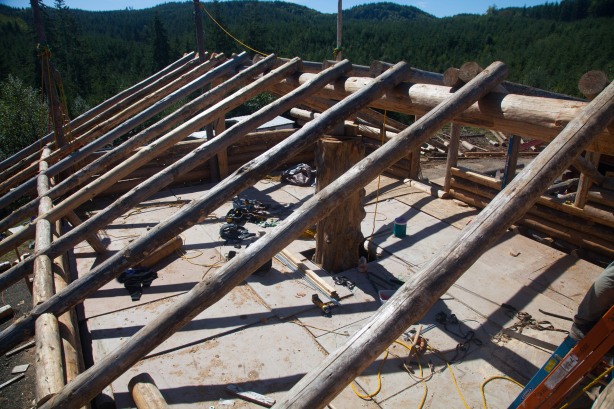
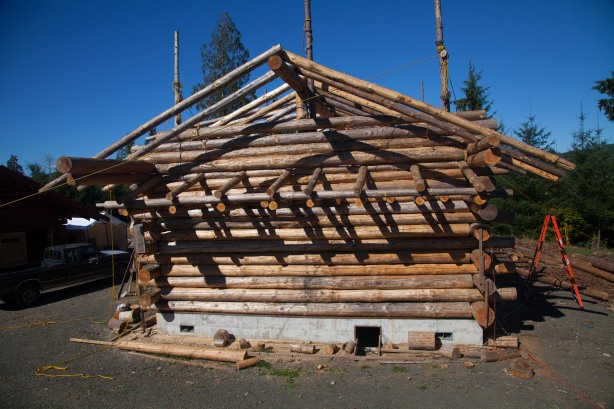
All the rafters are up and in position.
As the gable walls got higher I had to get higher to see the gap between the logs and call out the best fit. This is also a nice shot of our view to the north. Without the clouds we are able to see the southern end of the Olympic Mountains.
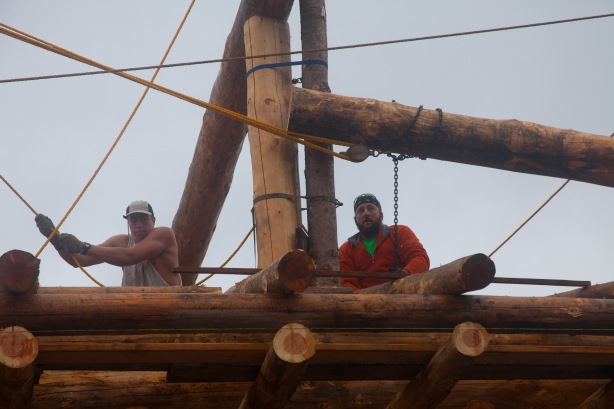
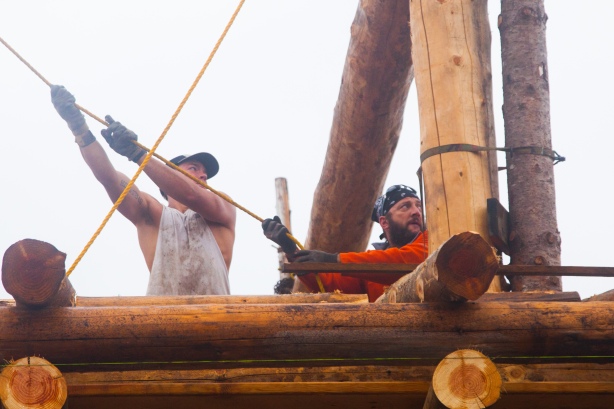
It got easier to lift logs towards the top.
Quite a view at the top from all directions.
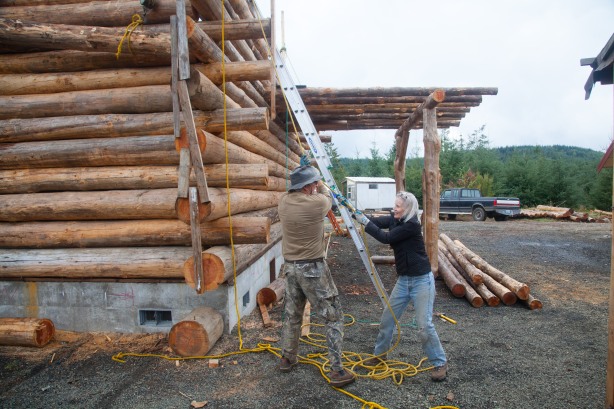
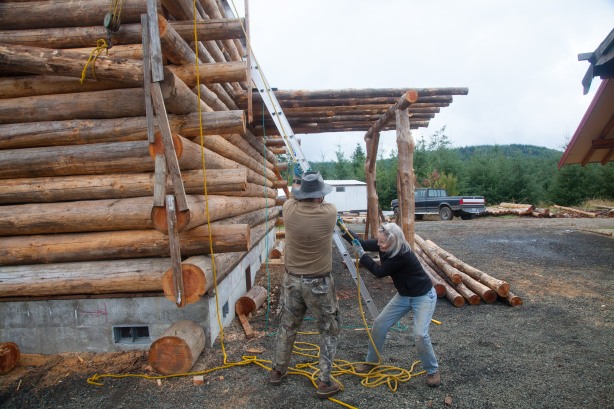
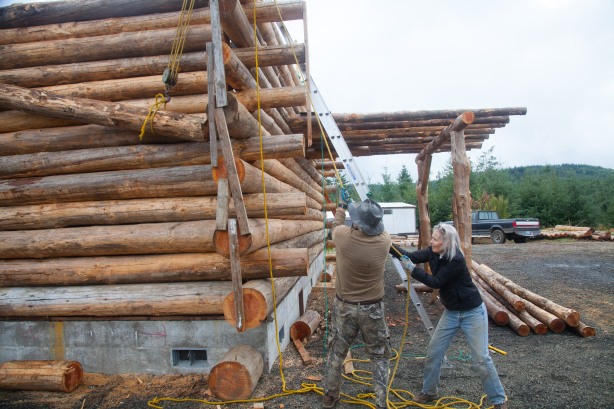
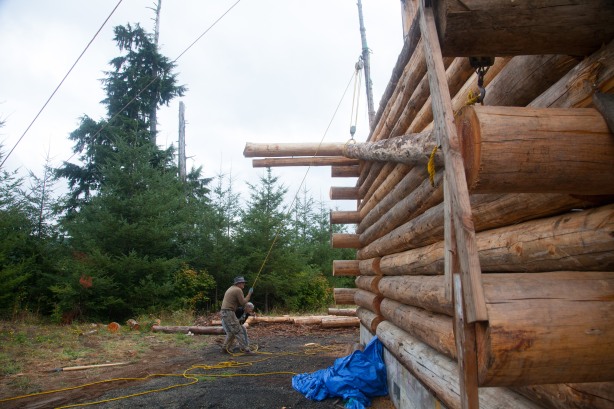
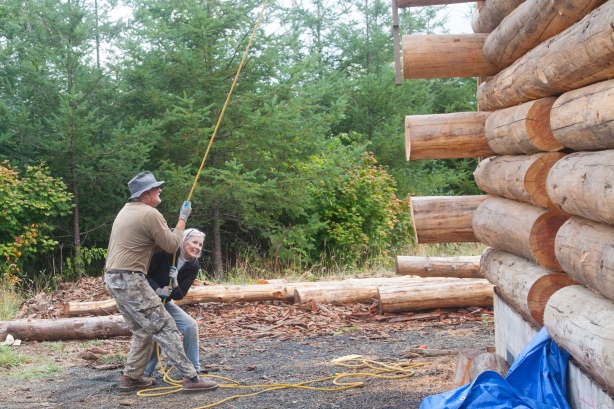
Bonnie and I decided to give this log a try. You can see the log in the upper left corner.

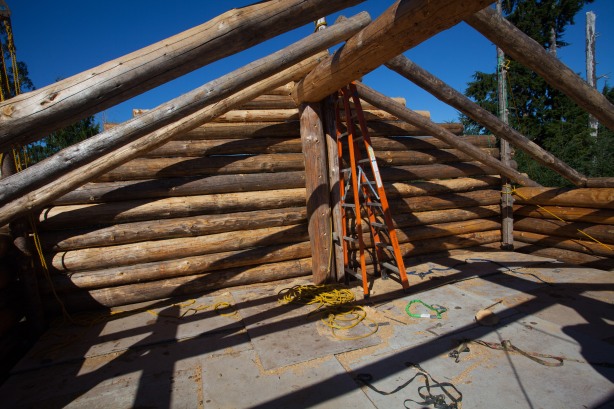
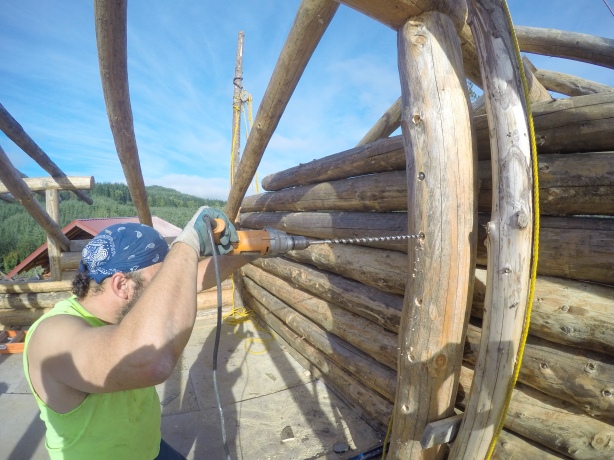
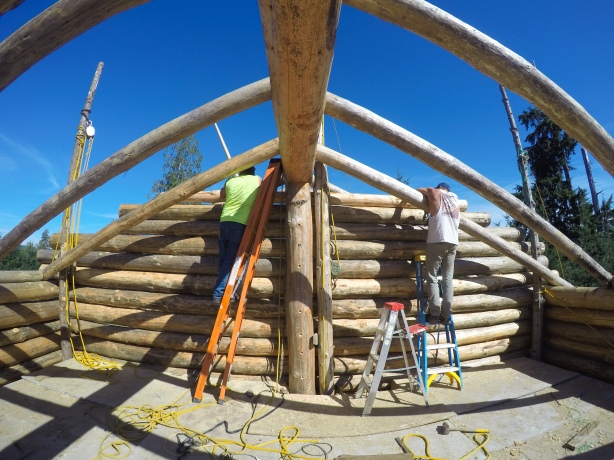
Rob is drilling 1/2″ holes in our north end ridgepole post. We put treaded rod through both the post and the wall log for wall stability. The smaller vertical log is the ridgepole lifting pole that was used in several lifting situations. We are pretty much done with it so it will be cut and pulled out of there shortly.
Rafters are 8” at the top and 6” at the bottom(eaves). They are assembled on the ground in pairs. Two logs are laid side by side…overlapping 11” at the 8” end. Clamped…or strapped so they are secure together then drilled so a 1/2” AT(all thread) can be tapped through and connected with washer and nut. The set is now connected and ‘hinged’ at the center. Pulleys are then used as normal to lift onto the wall. Once at the wall the lift points are shifted allowing a second pulley set to be used to pull set over the ridgepole. As the rafter set is pulled over the ridgepole it falls onto the far wall with great force once past the ‘tipping point’. Always an exciting moment. Once on the ridgepole a layout is made and rafter sets are moved into position. We use 5/8” lags to secure the rafters on the wall and on the ridgepole. Bonnie and I has some great help while putting rafters up this year…Jason and Katie…both graduates of the Onalaska Log Building School came over with their Monster Van and were lifesavers. We ended up being short two rafters and had to go back into the woods to fall four more trees. Jason and Katie made it easy with their Monster Van. With all the trouble we had getting those trees to lay down we should have just chained up the trees to the hitch of that nasty van and just had Jason drive home. It sure would have made it simpler! Thanks Jason and Katie!
