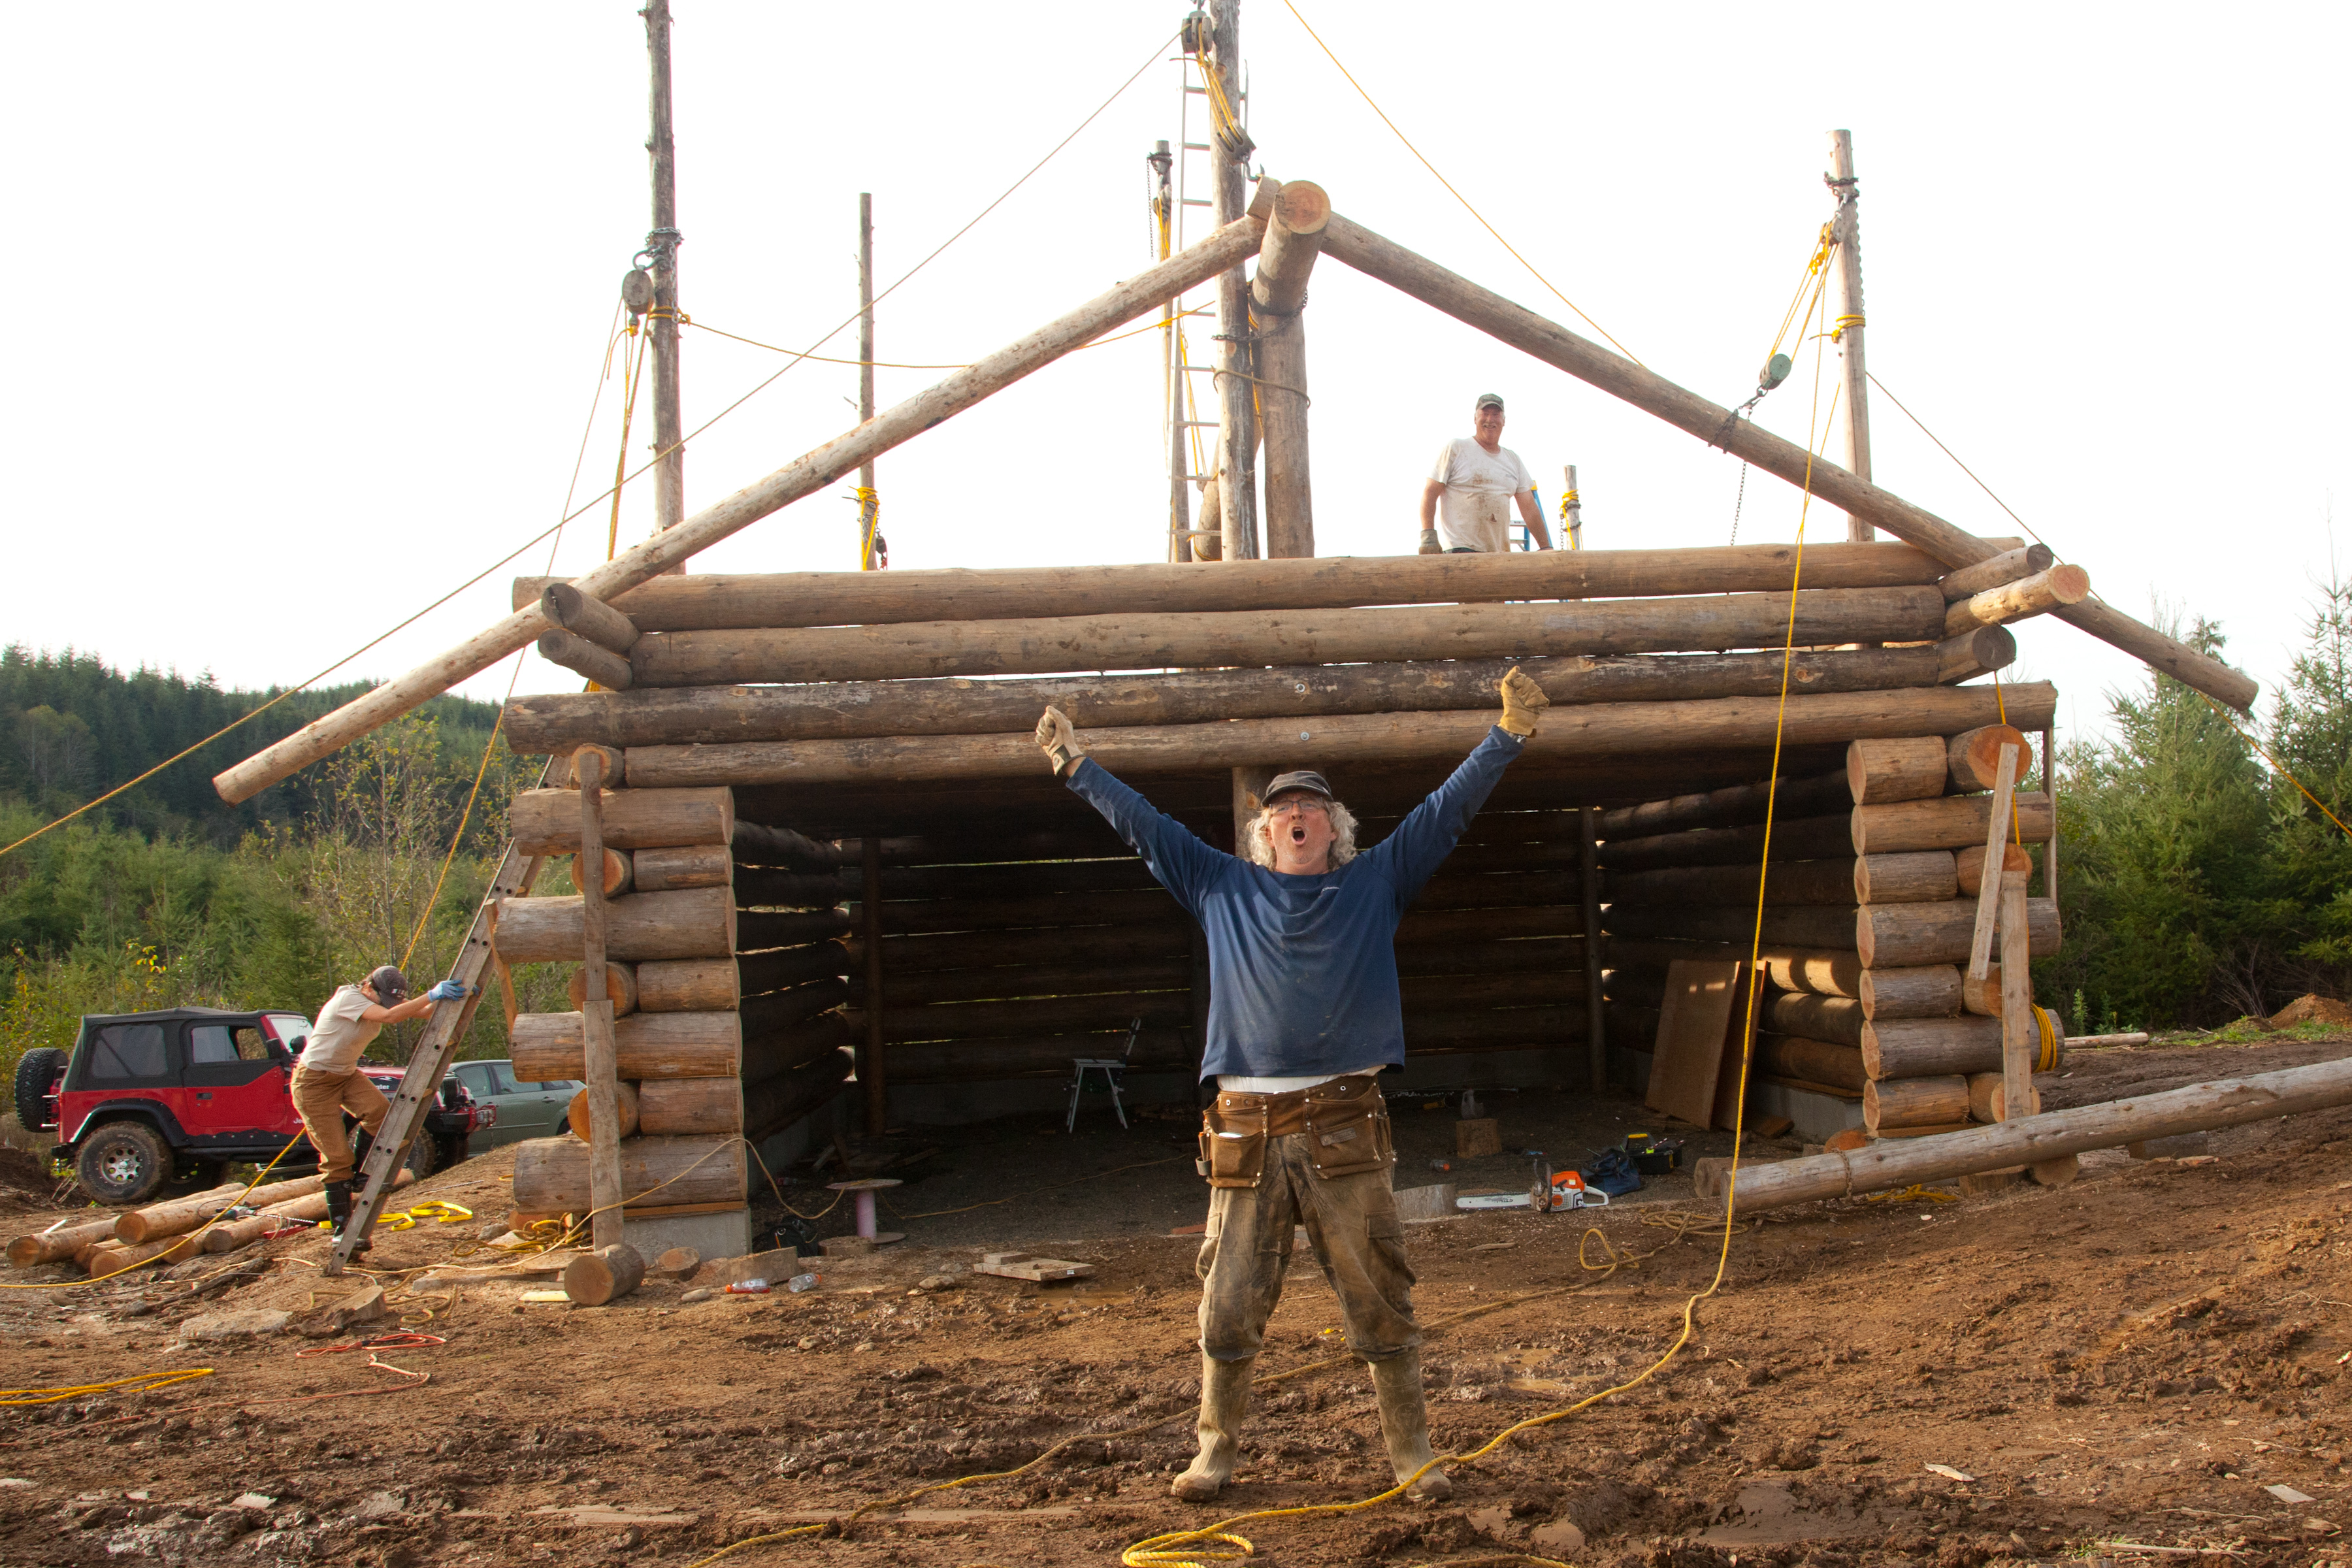
 OK…now for the fun part…building the structure! STACKING LOGS! I know most of you probably skipped straight to this part…I would have…but it sure took a lot of work to get to this point. More than I had expected. Each one of you will be in unique situations when it comes to building a log cabin. FYI…it will be much easier and cheaper if you find property WITH power, septic and water already installed. If you are like me you don’t follow the easy path…you like what you like and are willing to do what it takes to make that happen.
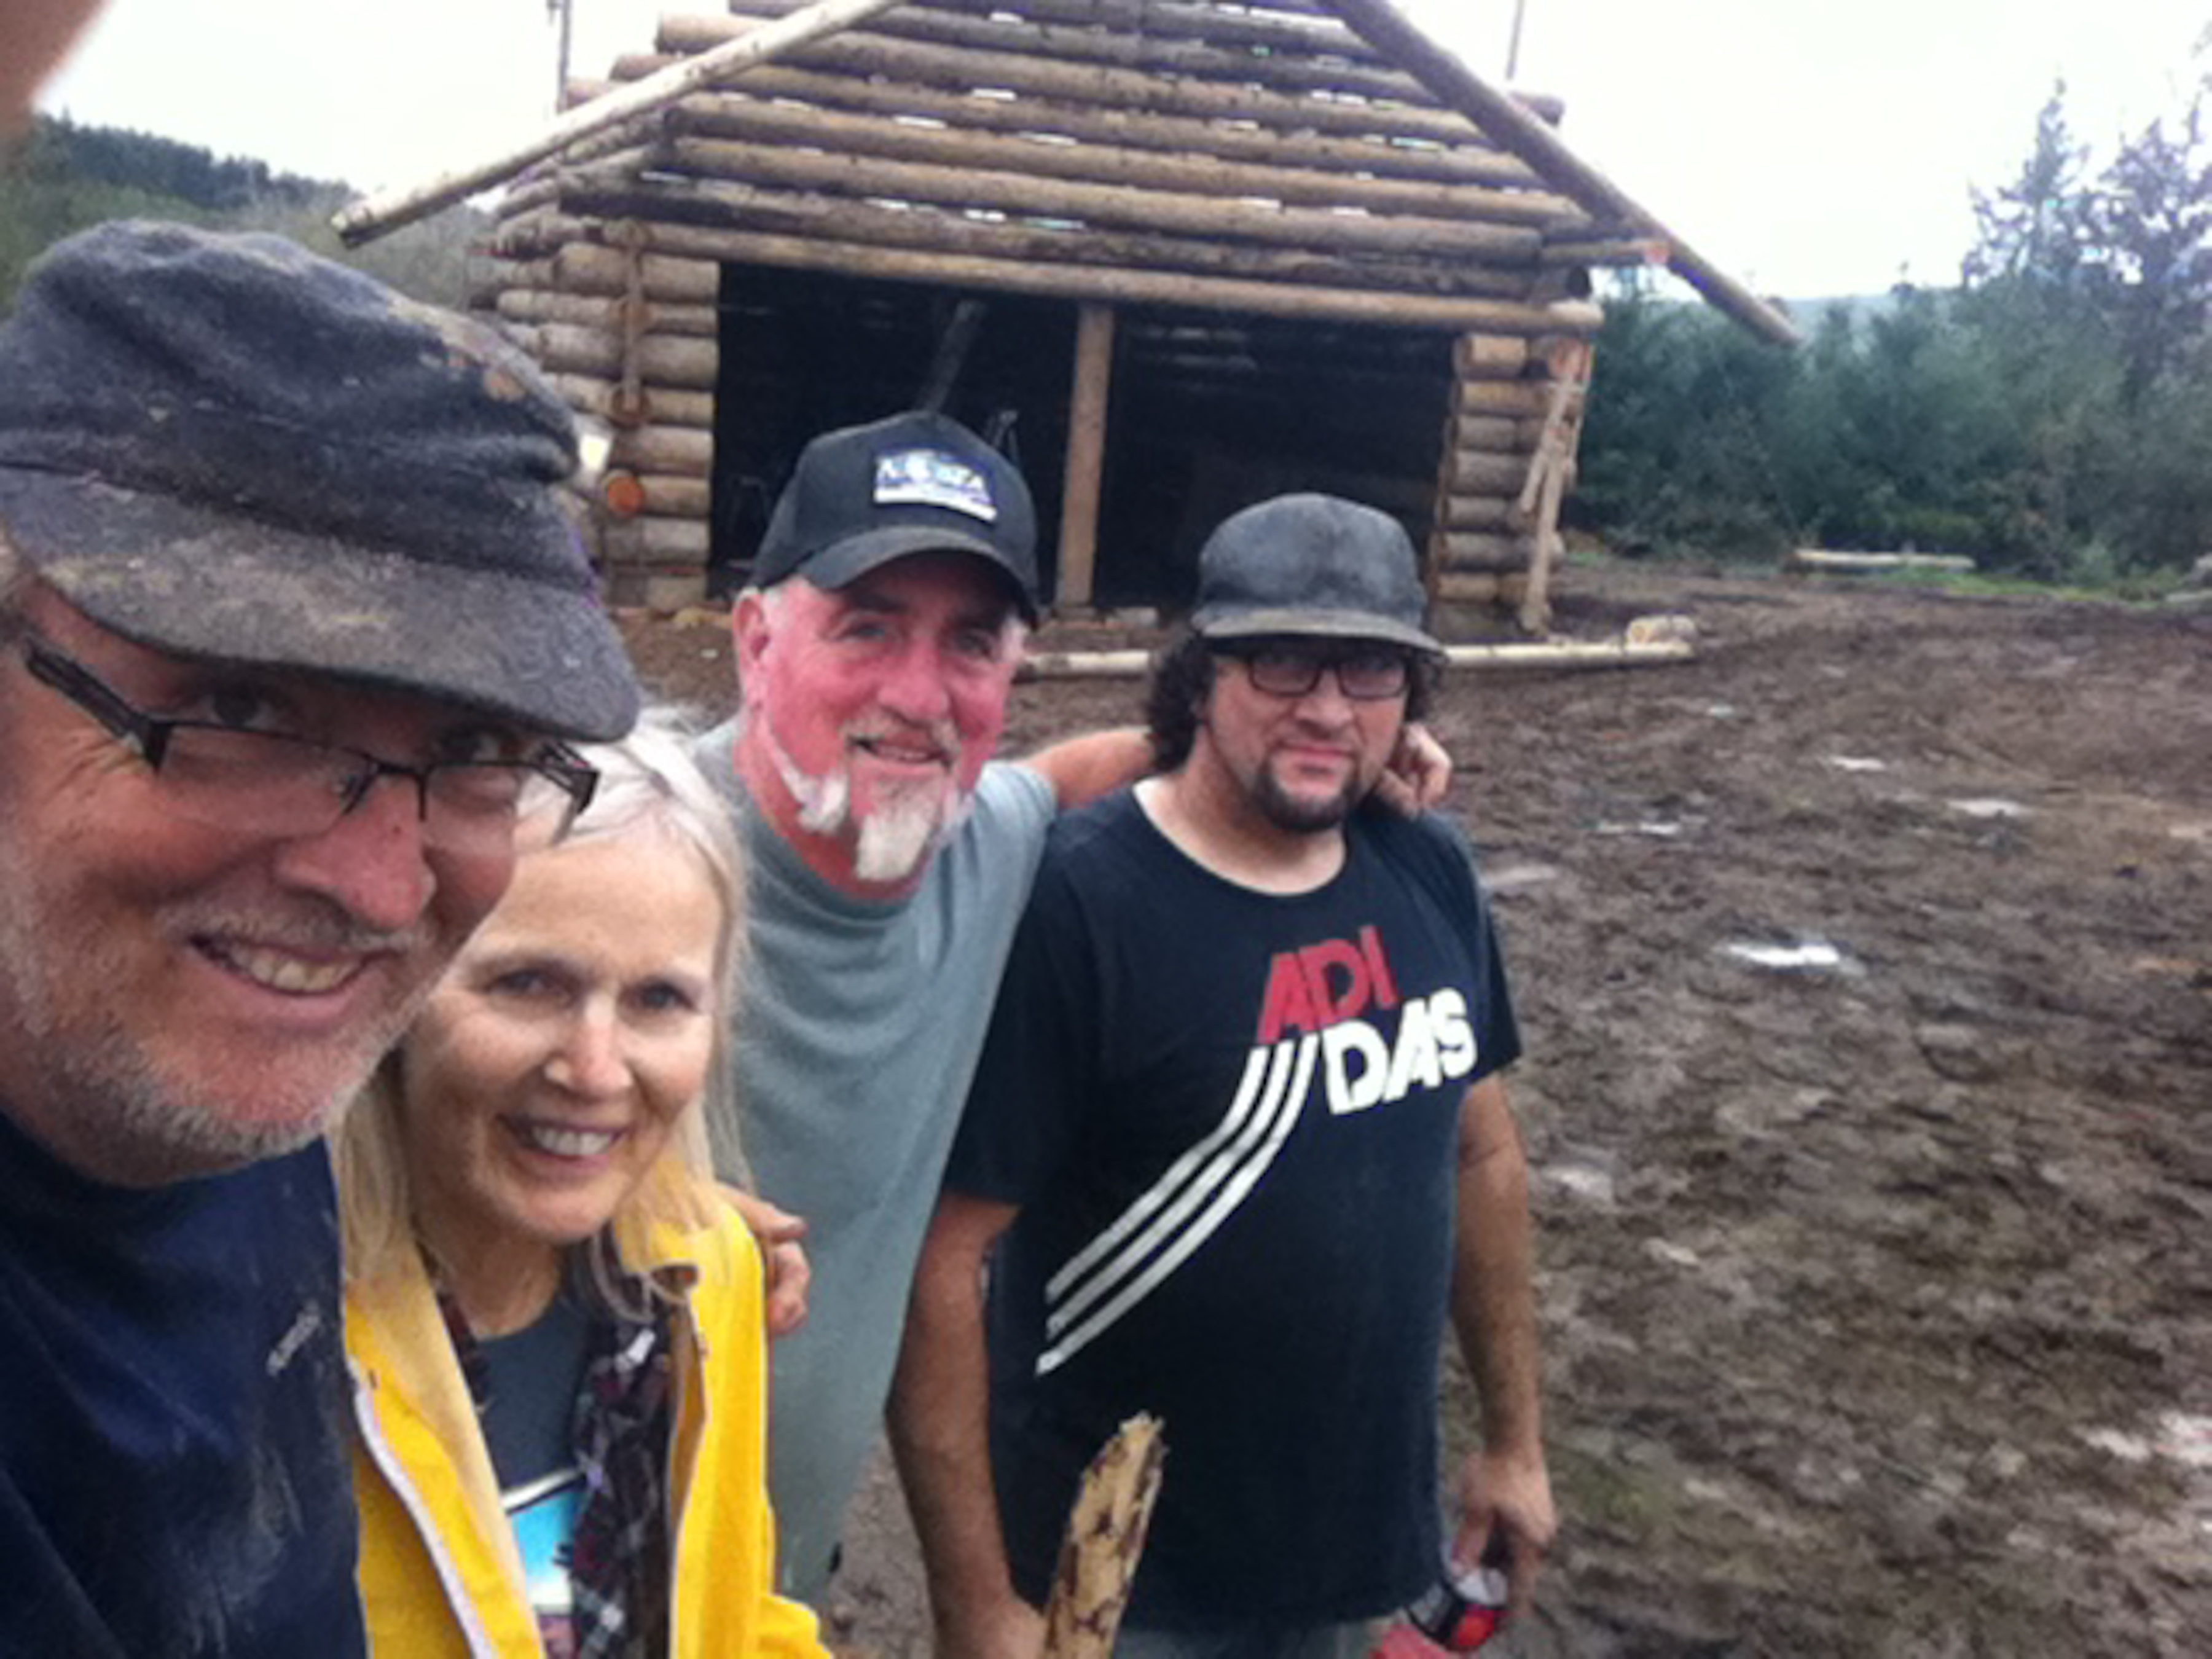
 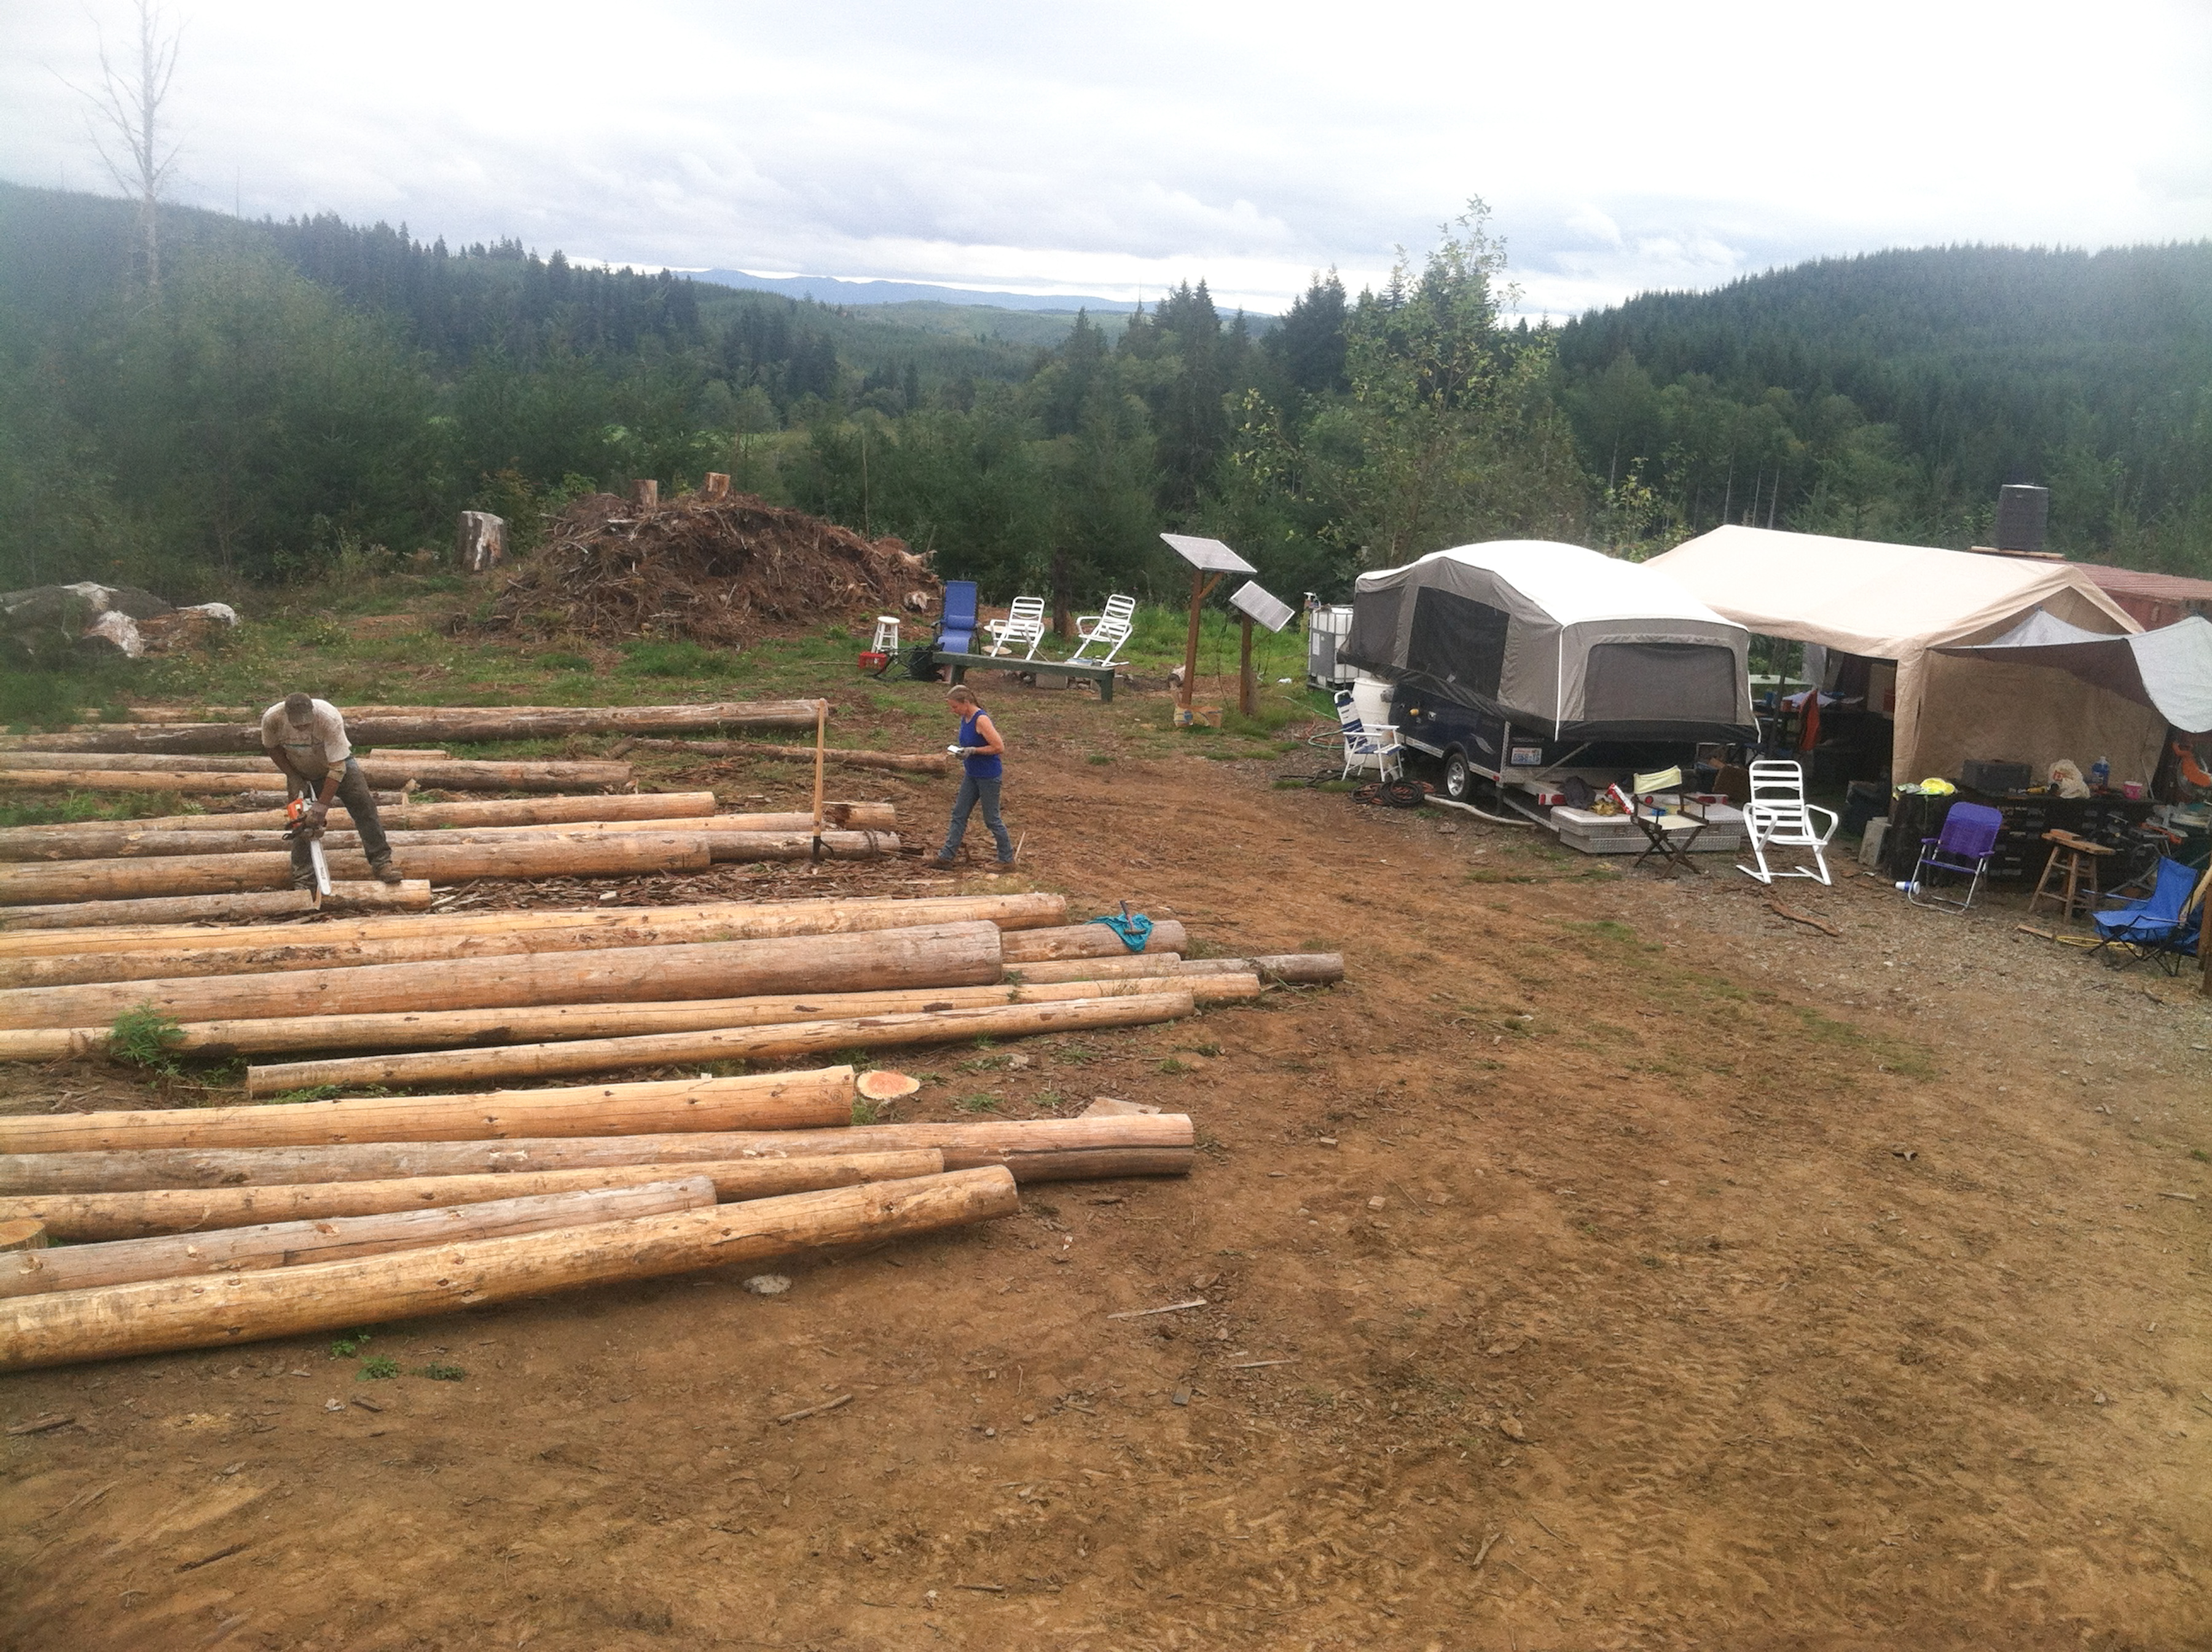 Our logs had laid on the ground since May and I was anxious to get this garage ‘weathered in’ before the weather turned bad. With the building permit issues mentioned earlier it was mid-September before we put our first ‘sil’ log on the foundation wall. Bonnie and I were fortunate enough to have friends Jack and Sharon(who teach log cabin building in their school the “Onalaska School of Log Cabin Building” www.onalaskalogbuildingschool.com) come out to help us through the process.
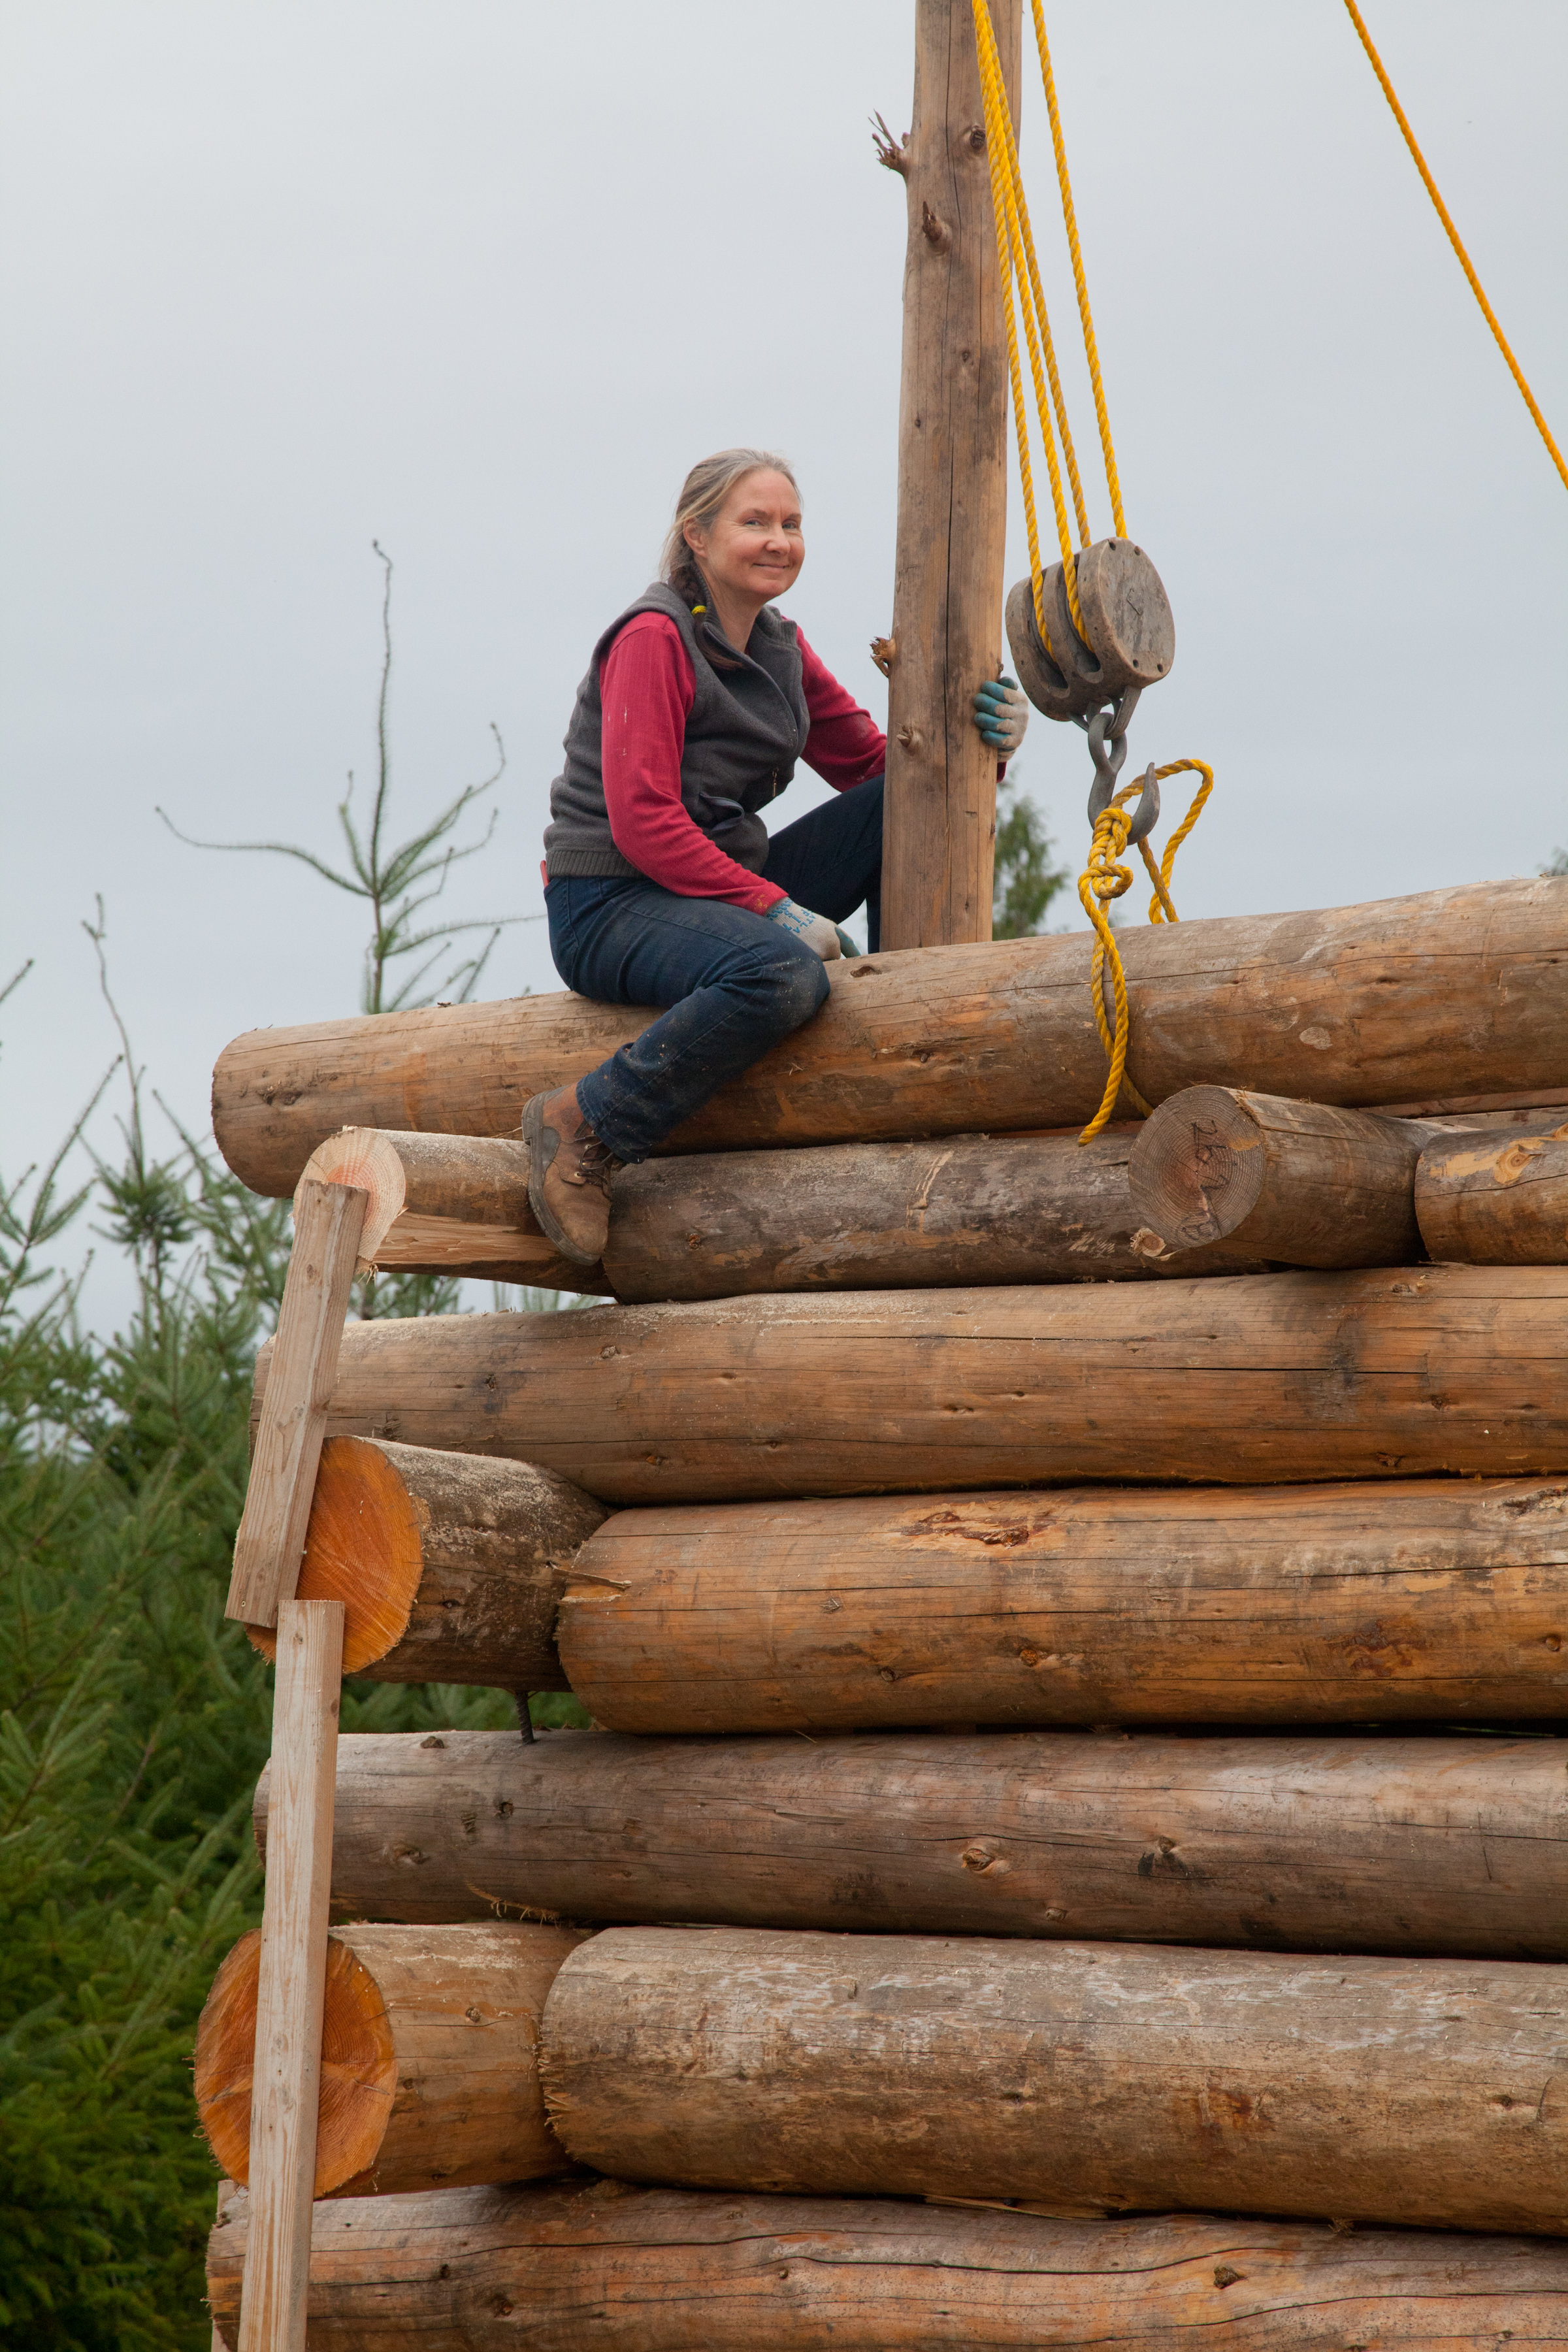
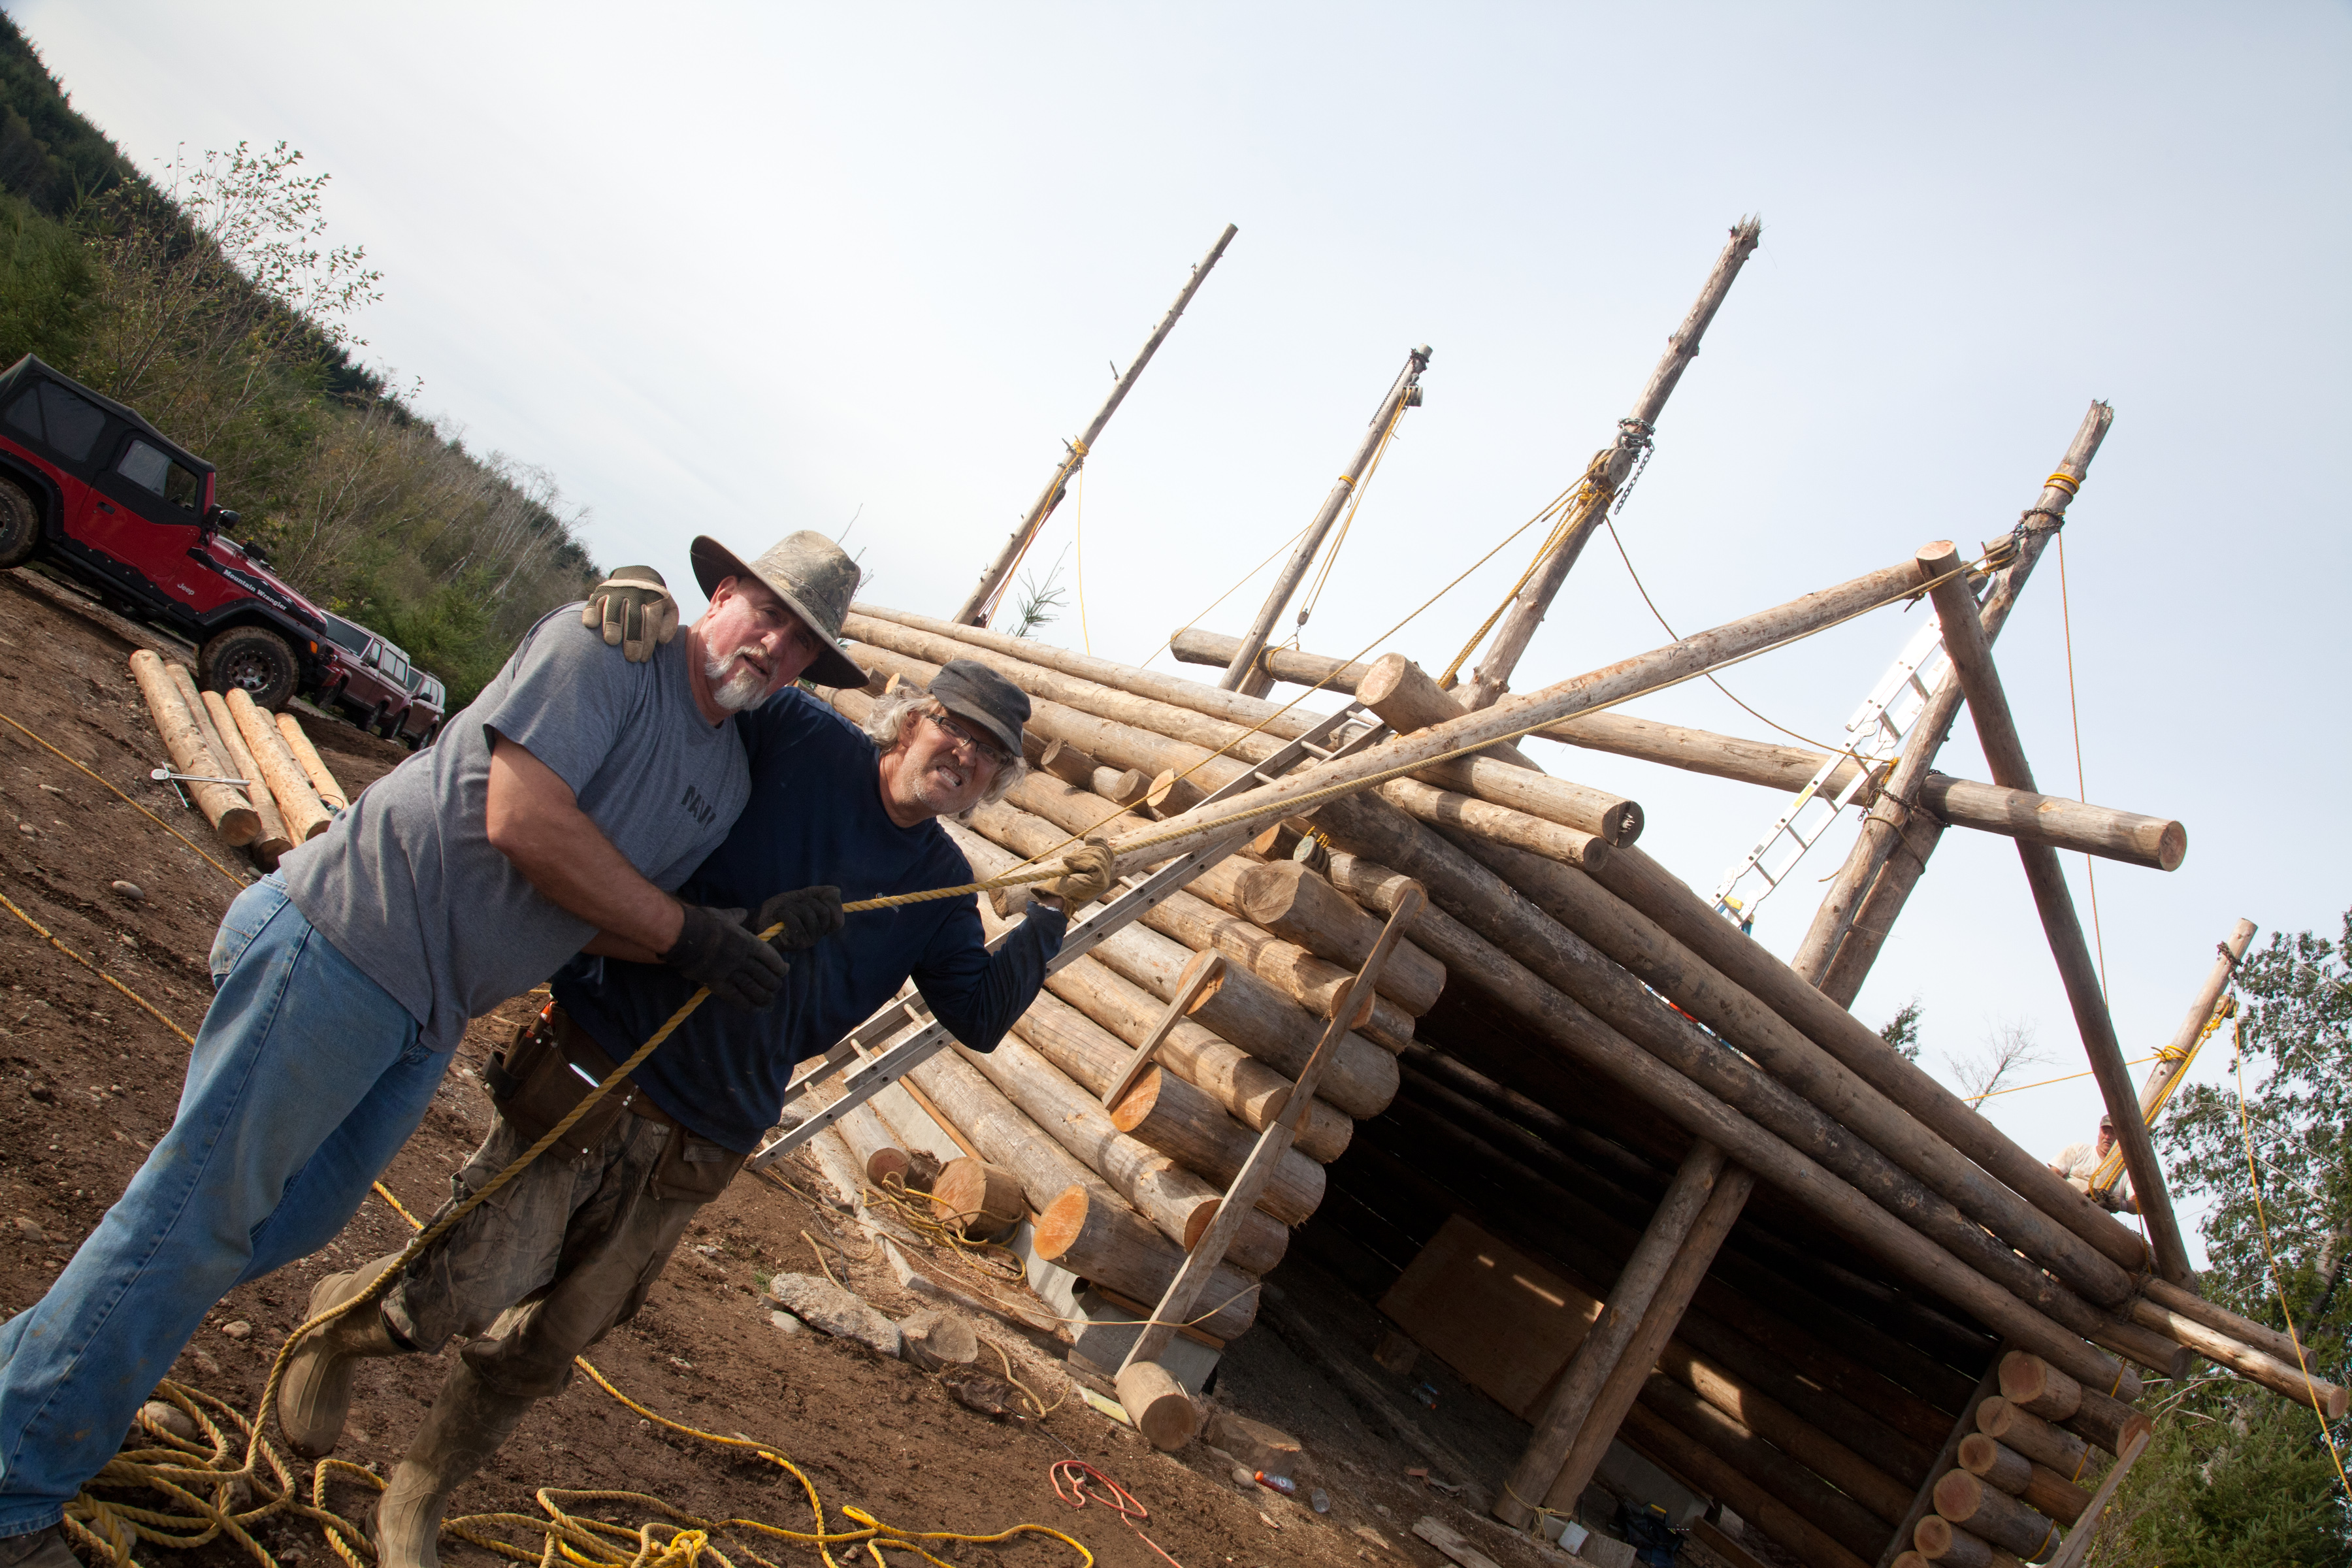
 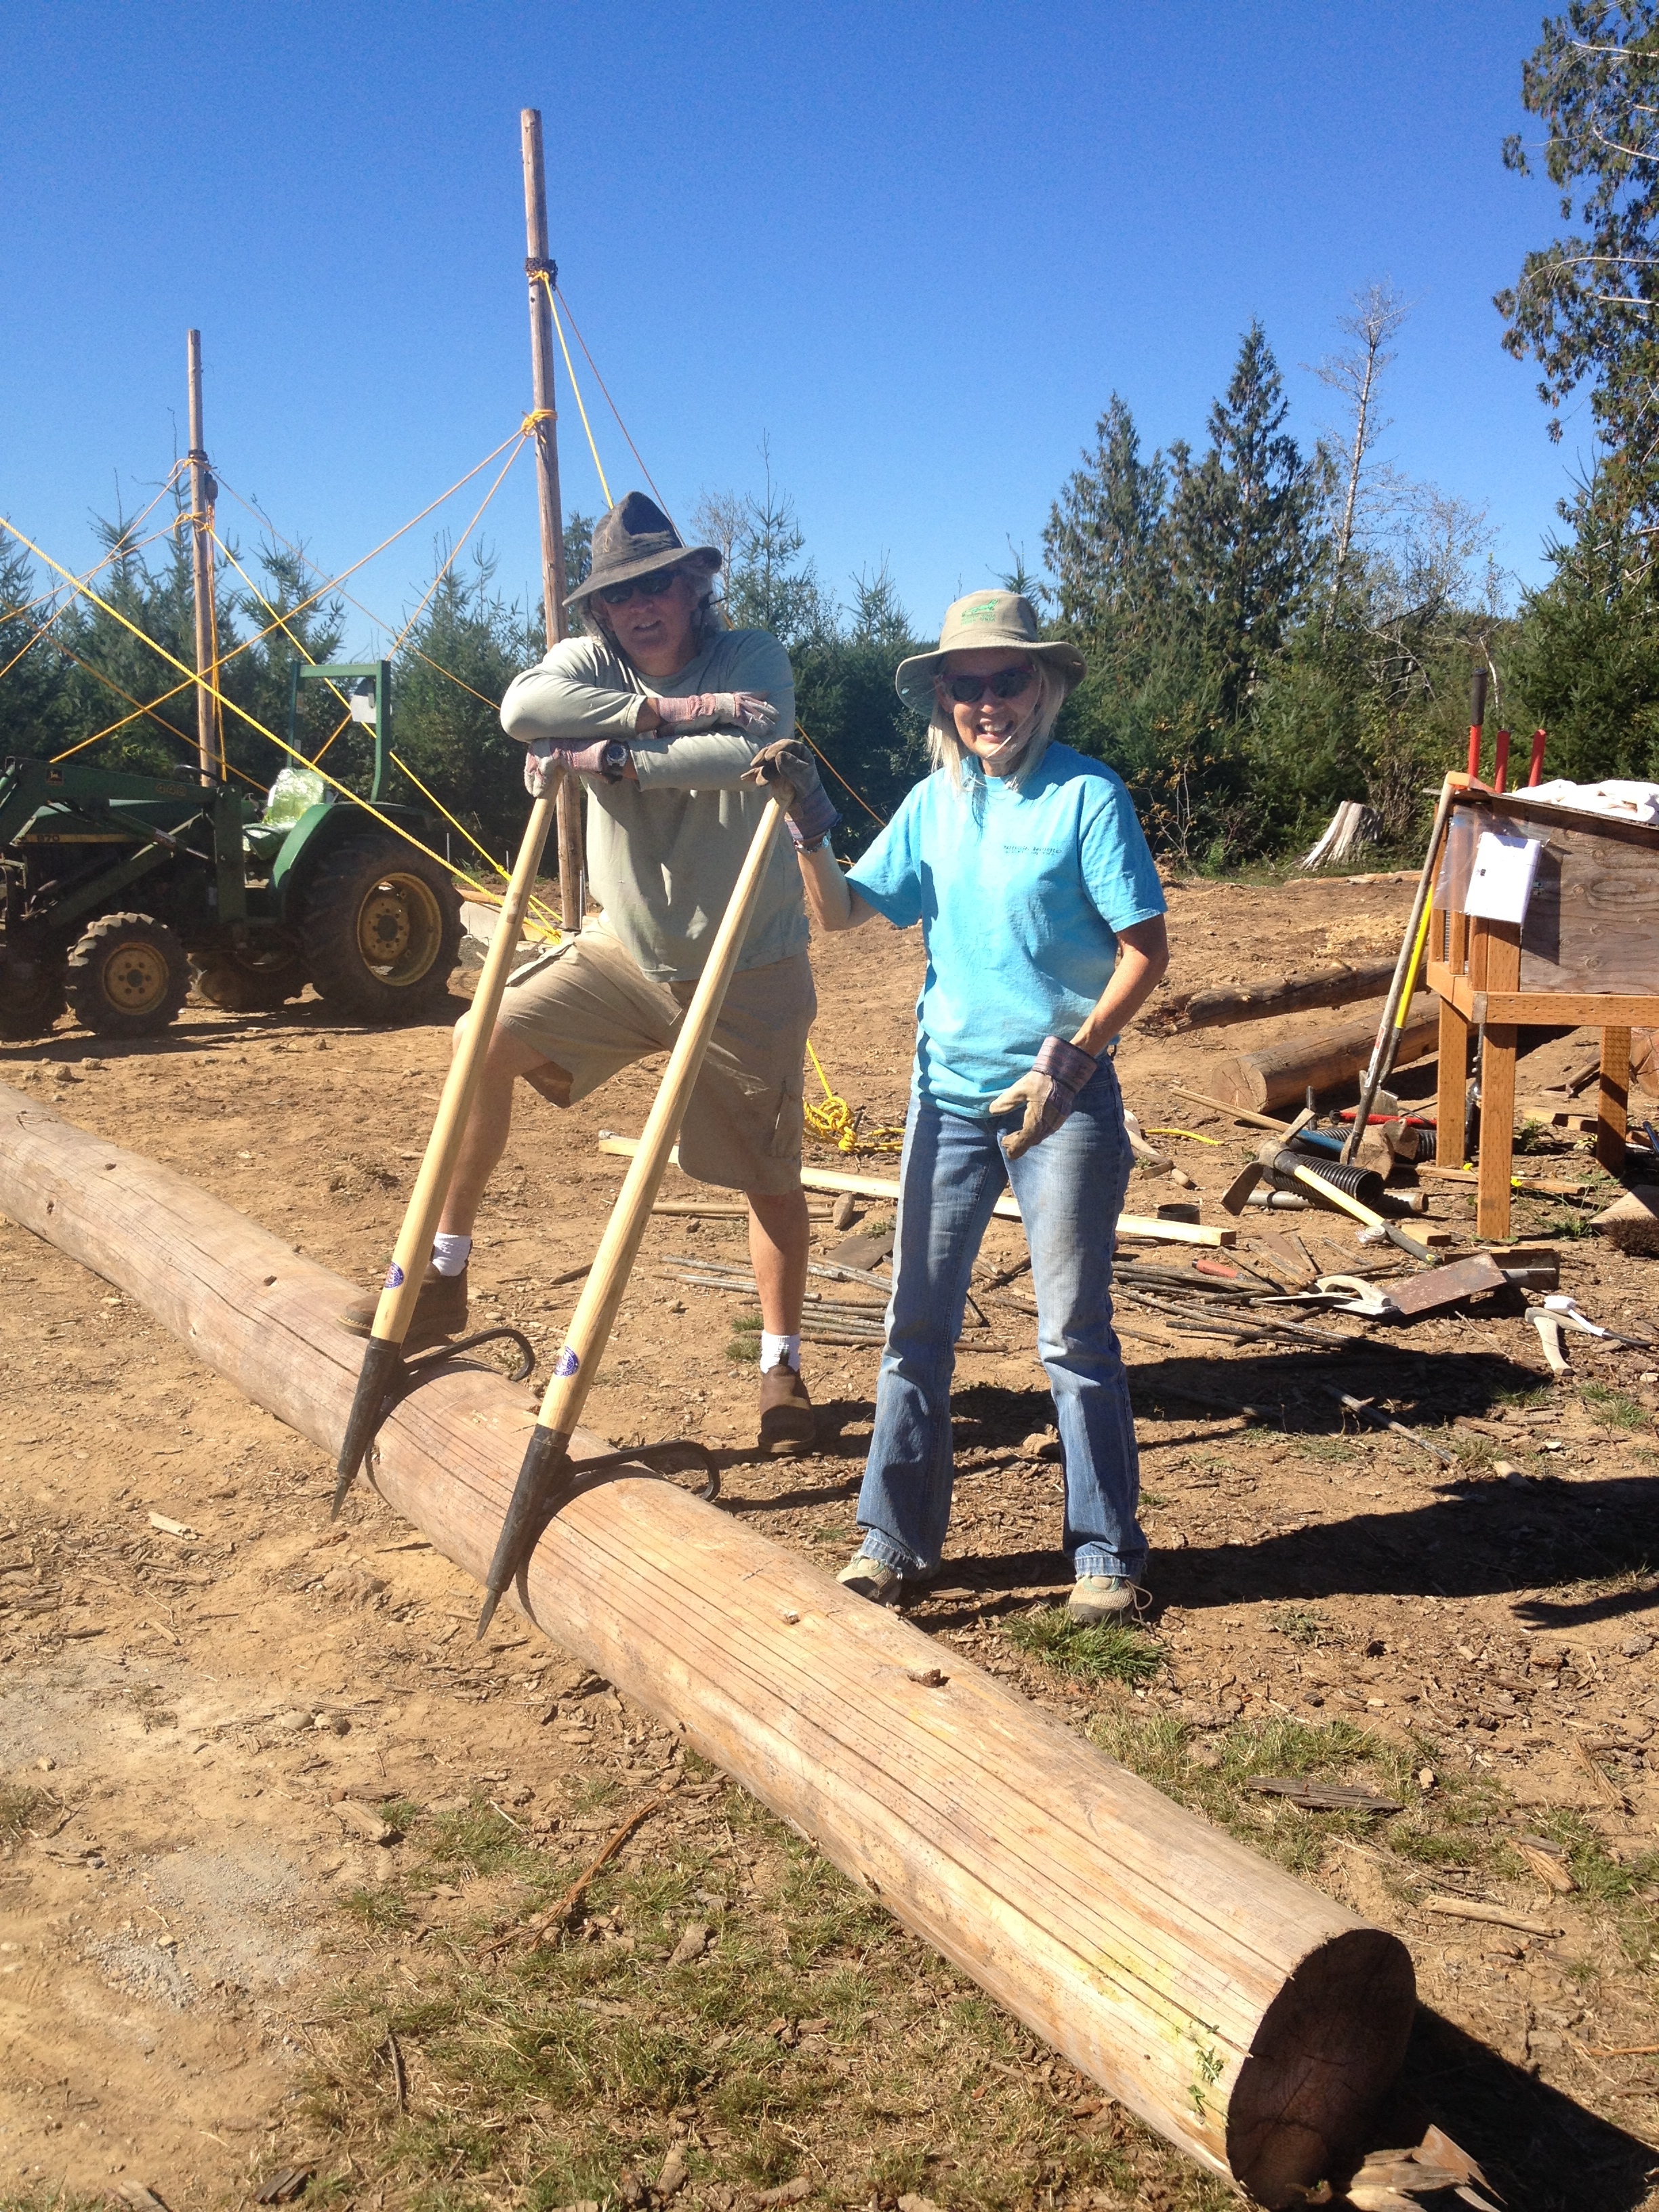 OK…LIFTING THE LOGS. No…we did not rent a boom truck like so many suggested…instead we used two-wheel pulleys with 5/8″ poly-line and lifting poles.
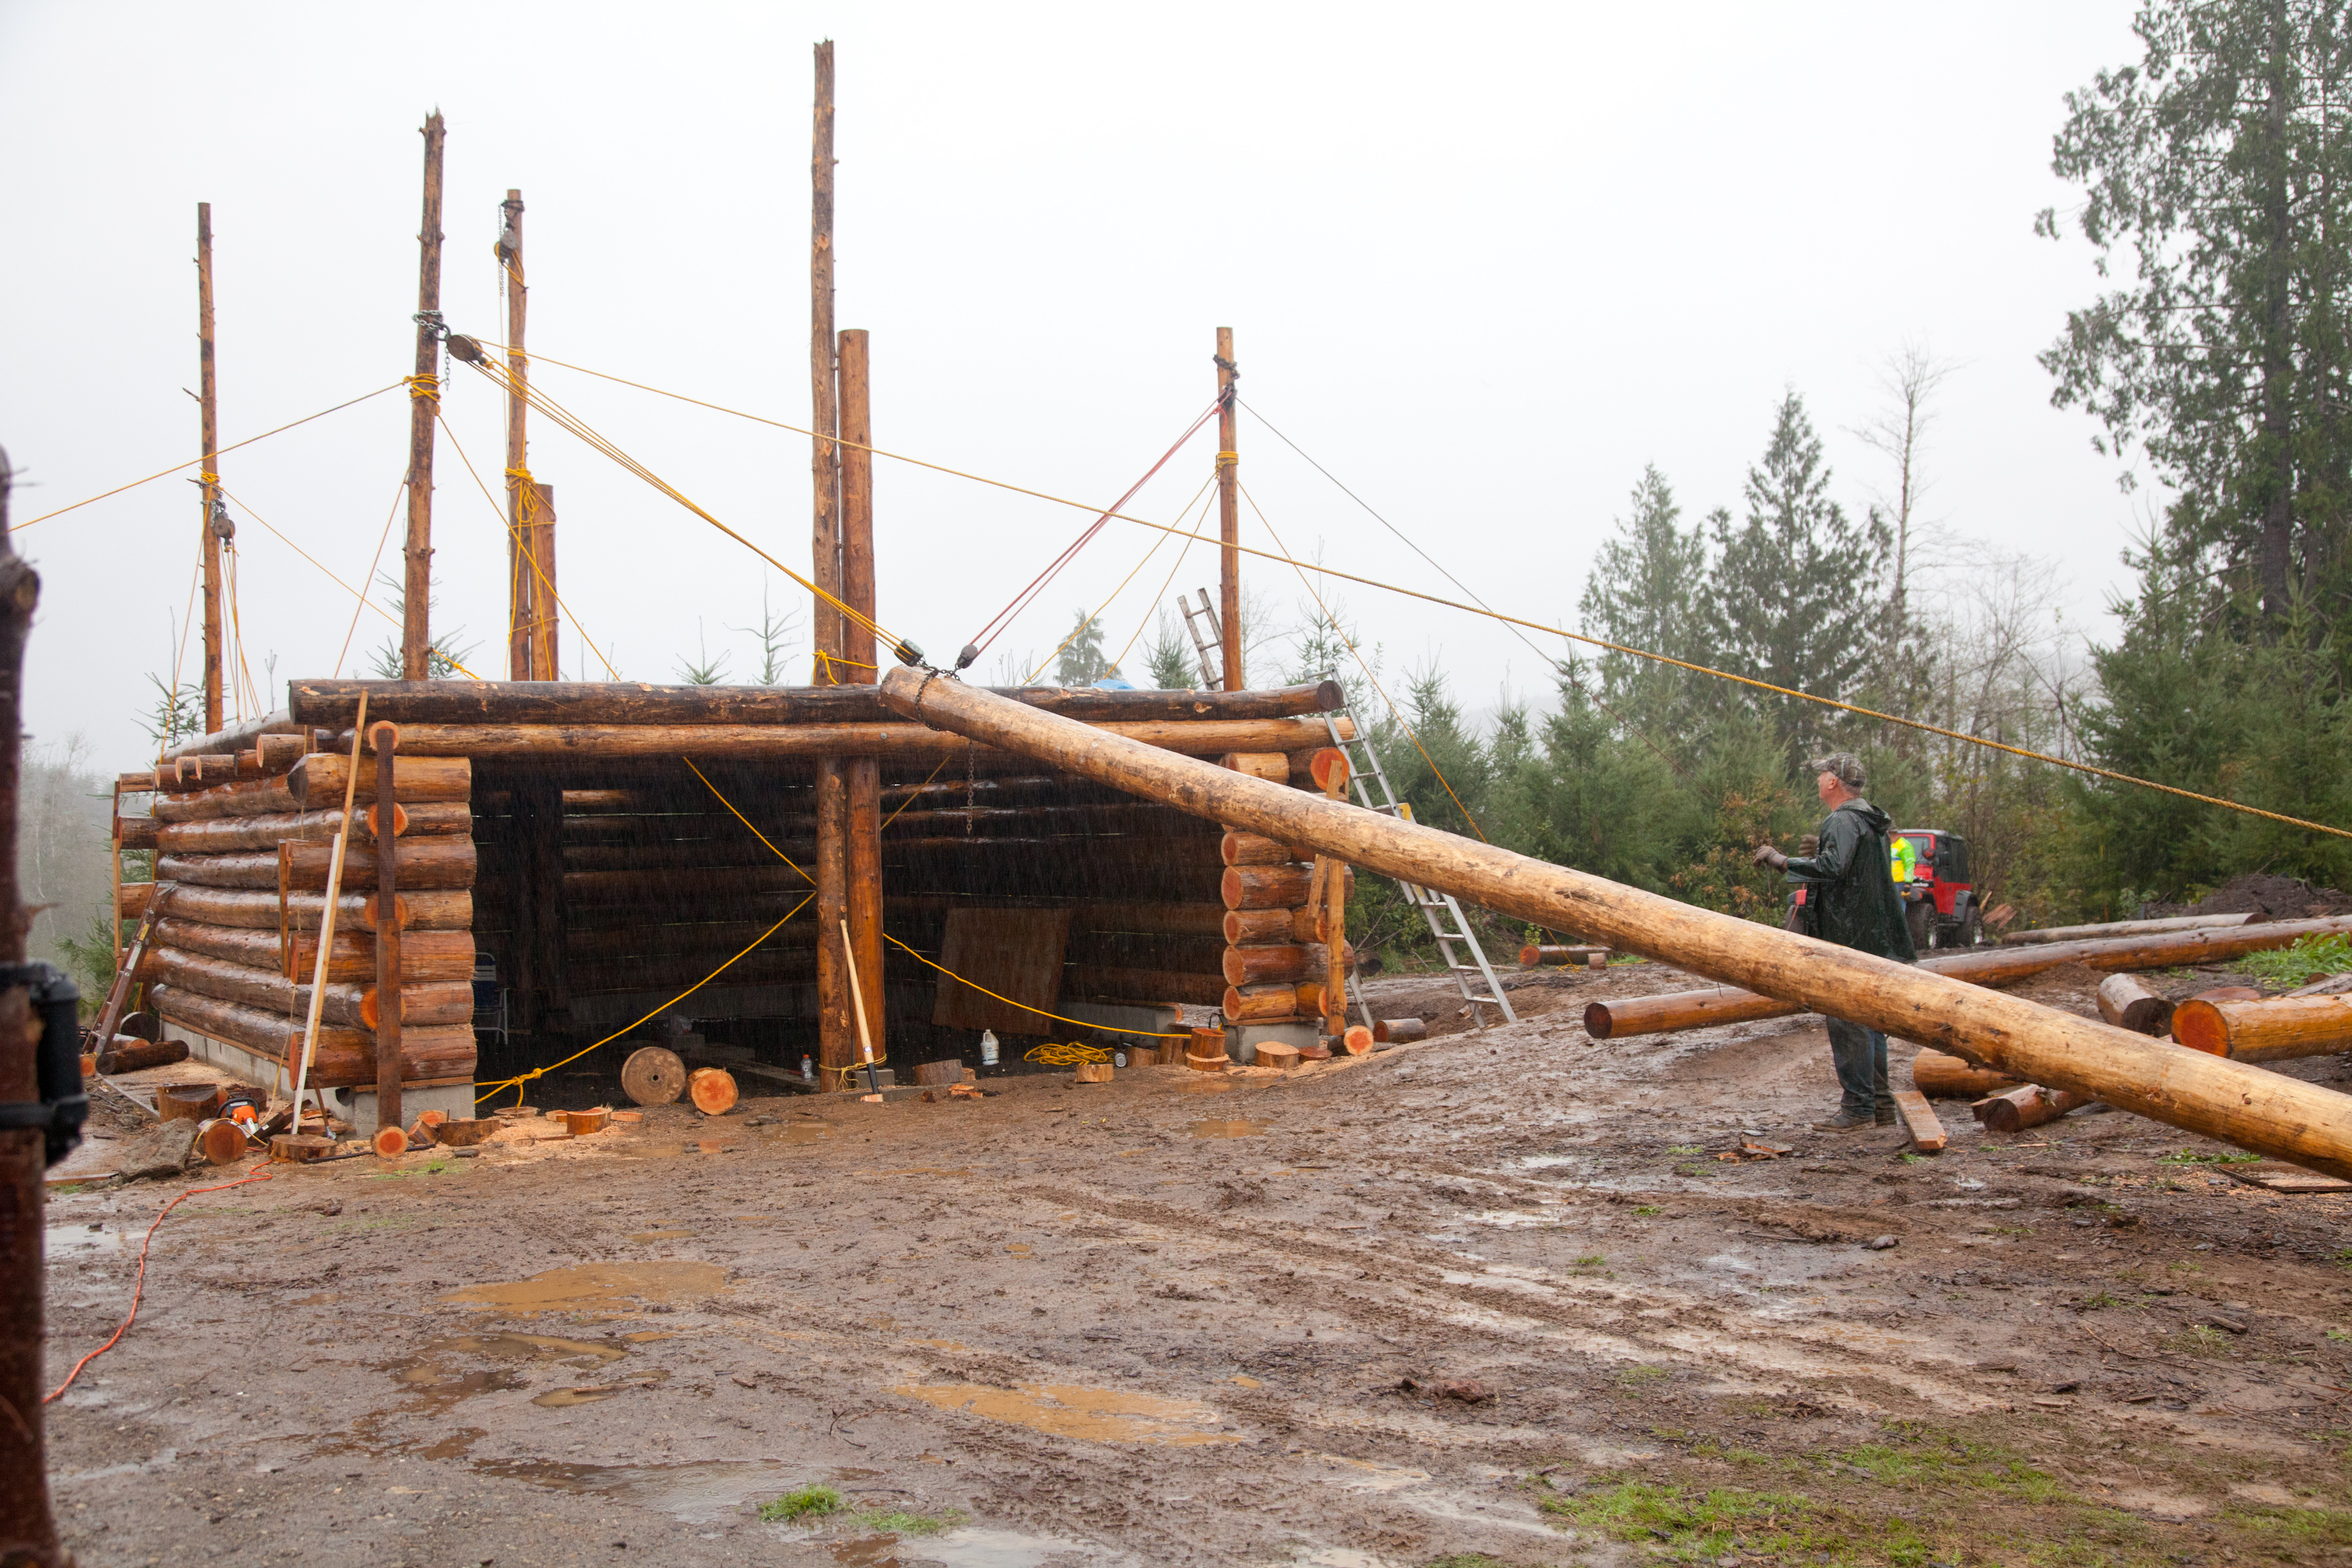
  Again, Jack and Sharon teach a way of building that stays away from buying or renting huge/expensive equipment. Actually, they are convinced(and so am I) that lifting poles work BETTR than a boom truck. We dug holes in each of the corners inside the foundation walls. Picked out four approx 6-7″ logs roughly 20′ long. Placed them in the holes and used the rope to strengthen the poles from each direction. I figure I used over 1600′ of 5/6″ poly line for this. It starts to look like a circus tent. At the top of the lifting pole I secured a heavy chain. From that chain I hung one end of my pulley block system.
The other end stretched below to the log where a simple rope tied around it was fixed. This is important to note.  The loose fitting rope around the log is there so that when it is pulled up and set into place we can use a pevy to roll the log to find the best fit on the wall.
  Jack and I spent a lot of time and effort to not only choose the best log but when lifted into place to find the best fit.
Most every log has a curve(banana) to it…usually you ‘banana’ the log so it ‘bows’ out. You don’t want to place the log with the ‘banana’ up or down…but either in our out(east or west). You get the picture. As the logs were placed we also spent effort on chainsawing any high points off the log…usually knots…that would allow a tighter fit. 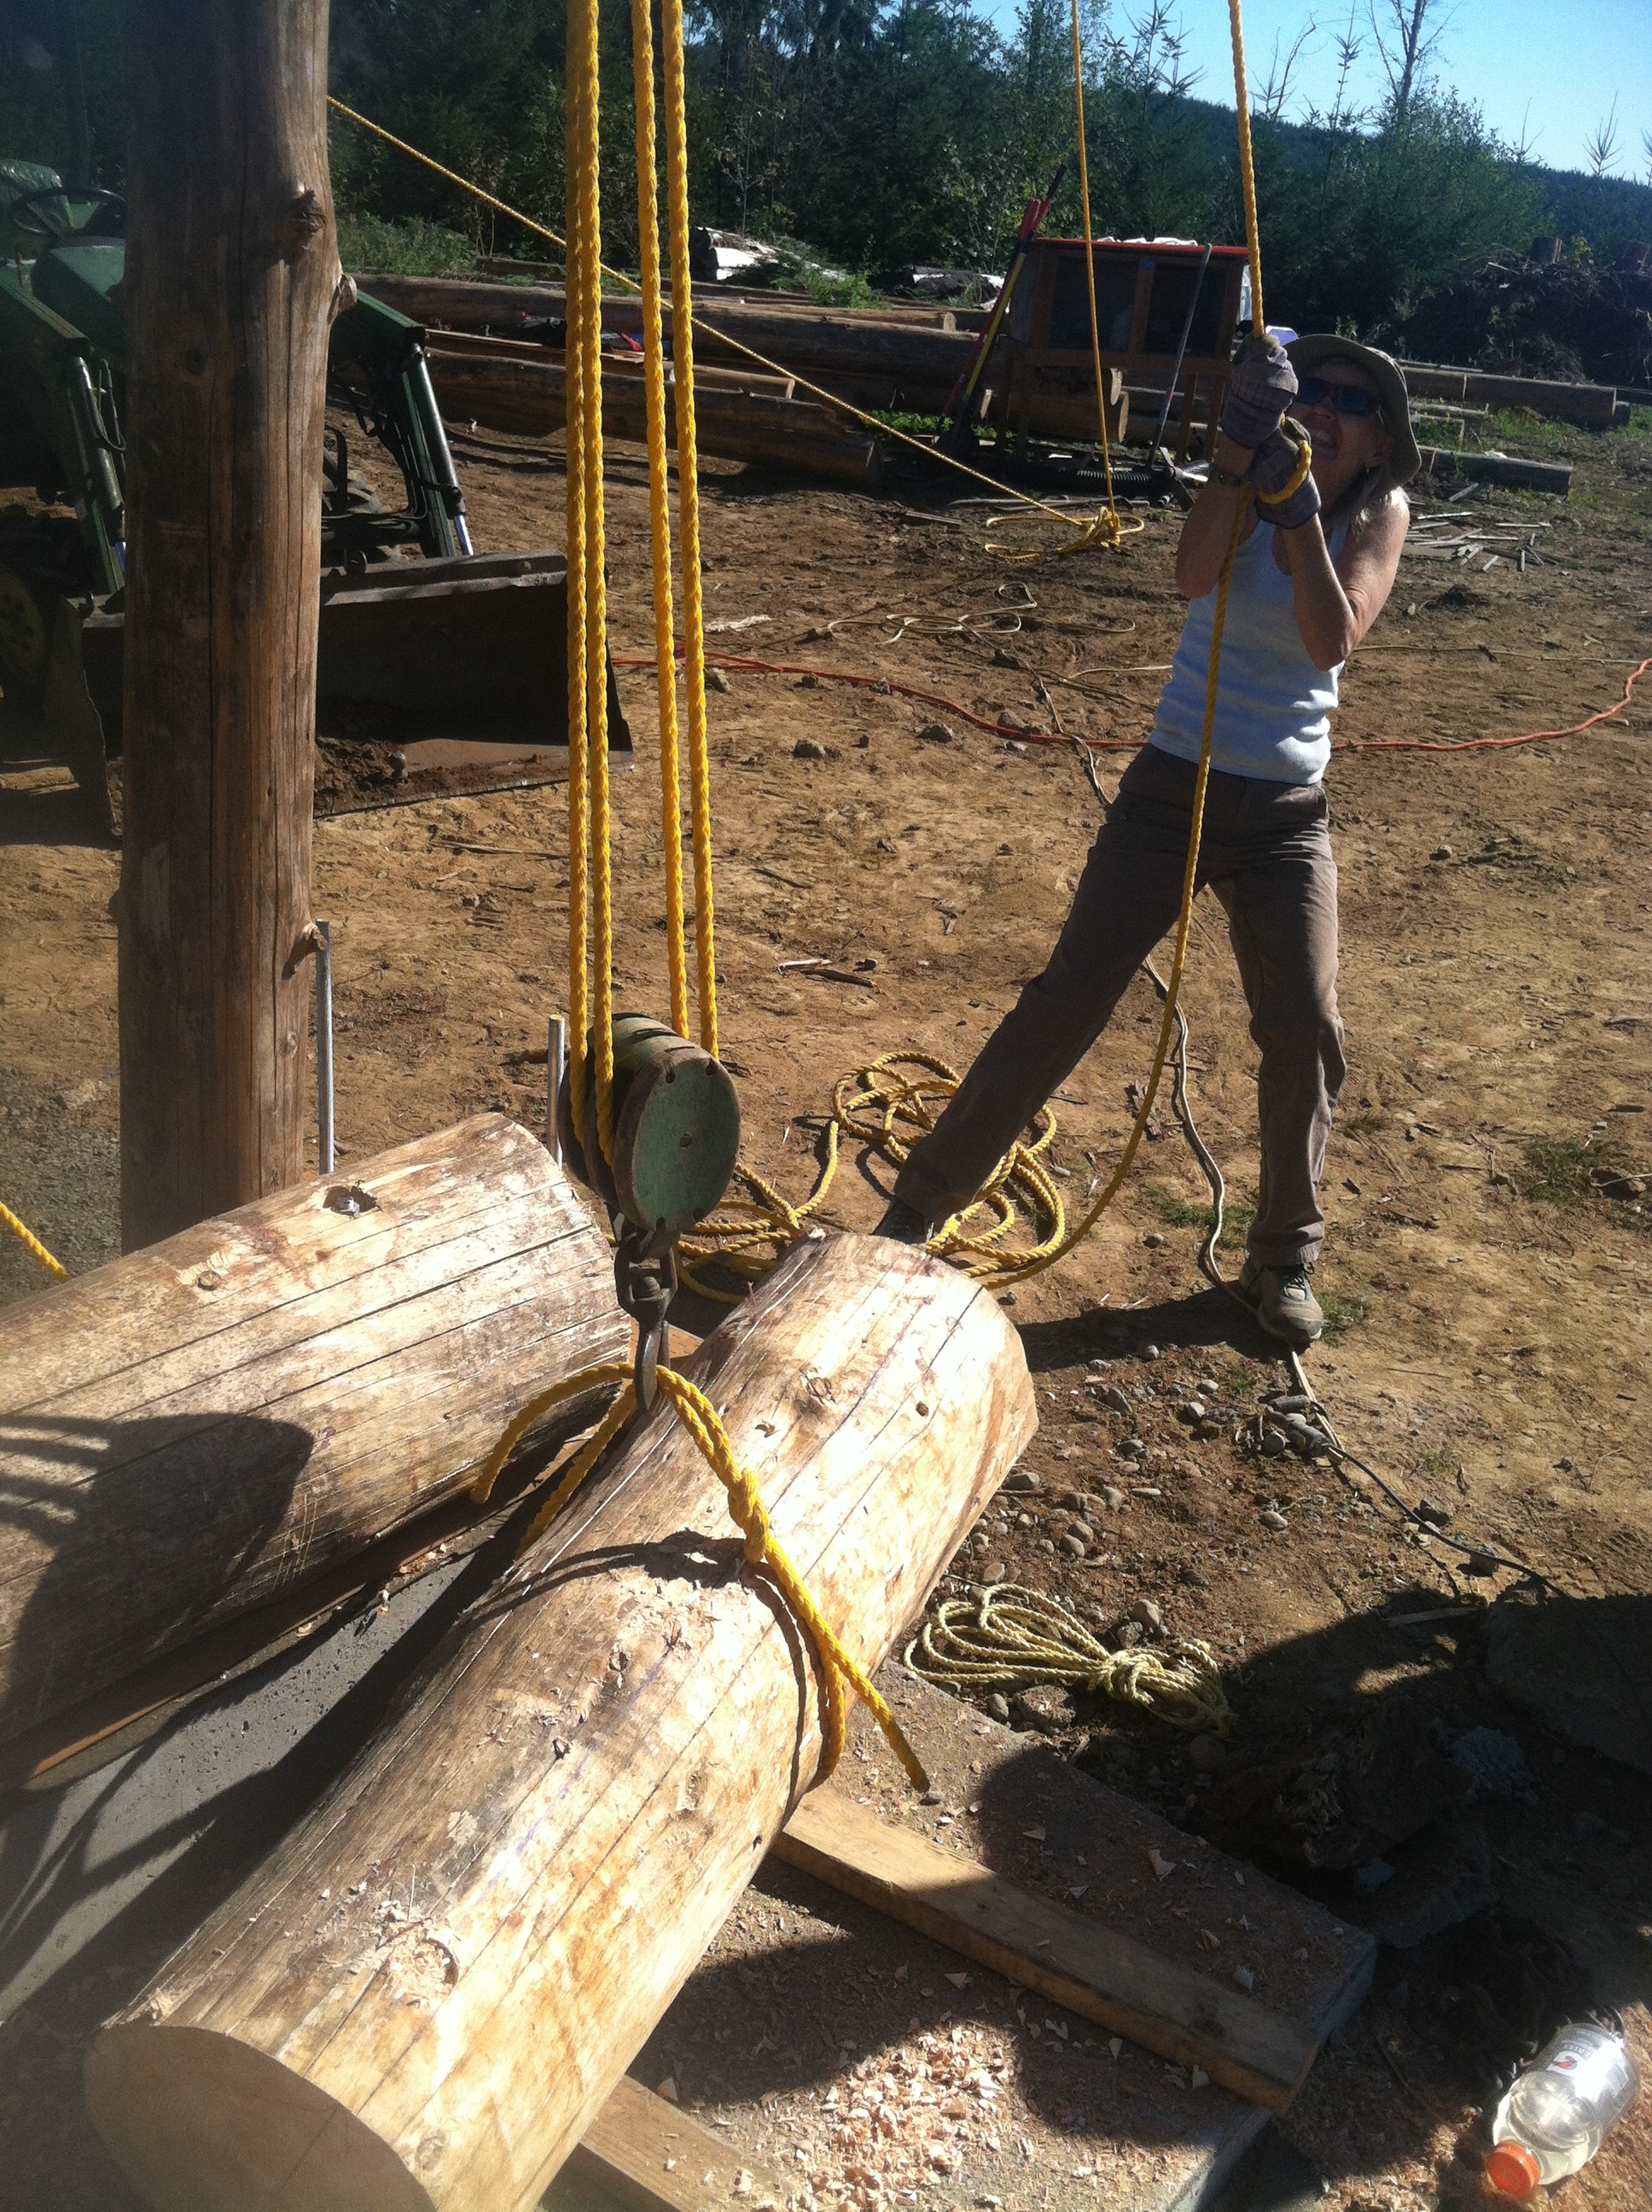 Even with all that work there are still places with a 1 1/2 to 2″ gap. This will all be taken care of with the chinking(which we waited to do until 2016 so the logs would shrink).
Lets talk about SHRINKING. Most log home builders insist on drying logs for 1-2 years before using them. Again, Jack and Sharon teach a method of building that is not only affordable but skips the big long wait for good logs. 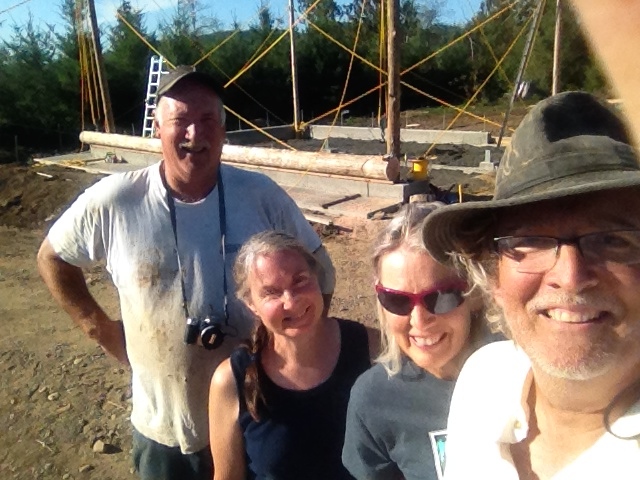 We put our logs up ‘green’. Putting them up green means that yes they will shrink…but you wait to build your window frames until after the logs shrink. Also as the logs shrink they are compressing down into the pins you’ve placed to give your structure even more strength.
This coming summer(2016) since we already have the foundation for our cabin poured and in place…we will be able to fall logs in April…peel logs in late April and by May 1st be stacking logs! In 2014 we didn’t get to stacking logs on our garage until September 15th! We should be up to the roof by end of May…whoohooo! That’s 45 days after falling the trees!  Sweet!
 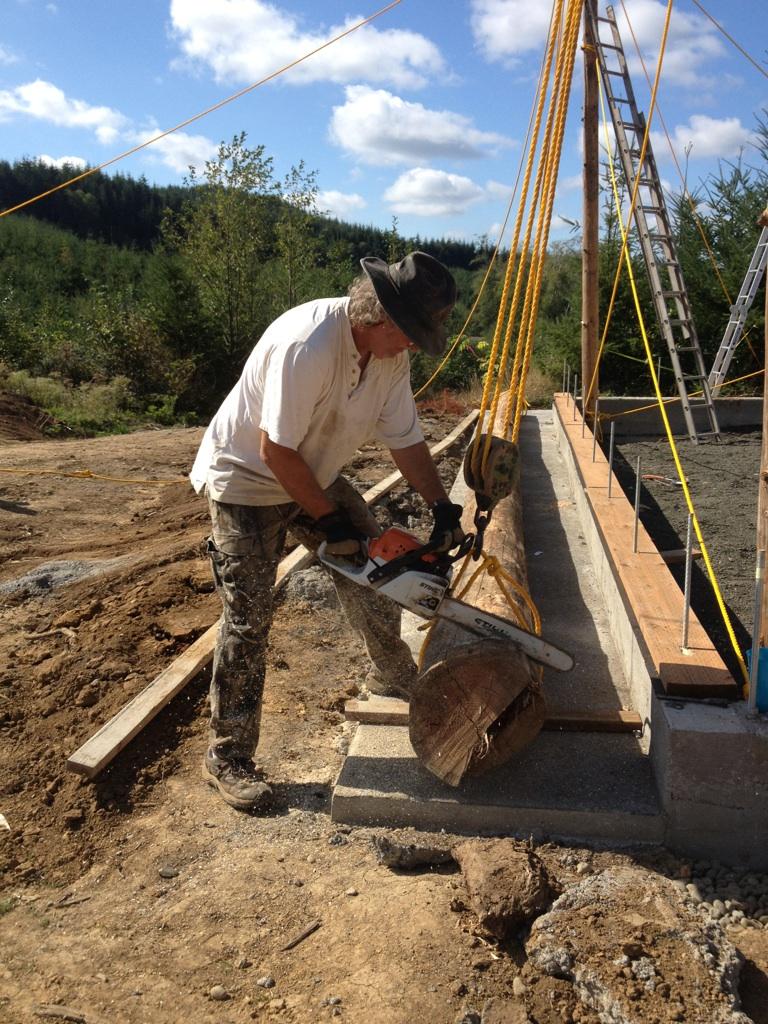 OK…what’s next…My engineer designed our plans with 3/4″ AT(all thread) rods coming out of the stem wall(foundation) every 4′. This meant drilling holes corresponding to the AT through the sill log and lowering the log(14-16″ in diameter-30′ long and close to 1500lbs!) on to the 7-8 AT rods and hoping we had drilled plum and square.
Easy with a ‘stick’ home(2×8’s etc.) but with round logs and no drill press table large enough for 30′ timbers it was quite a task. 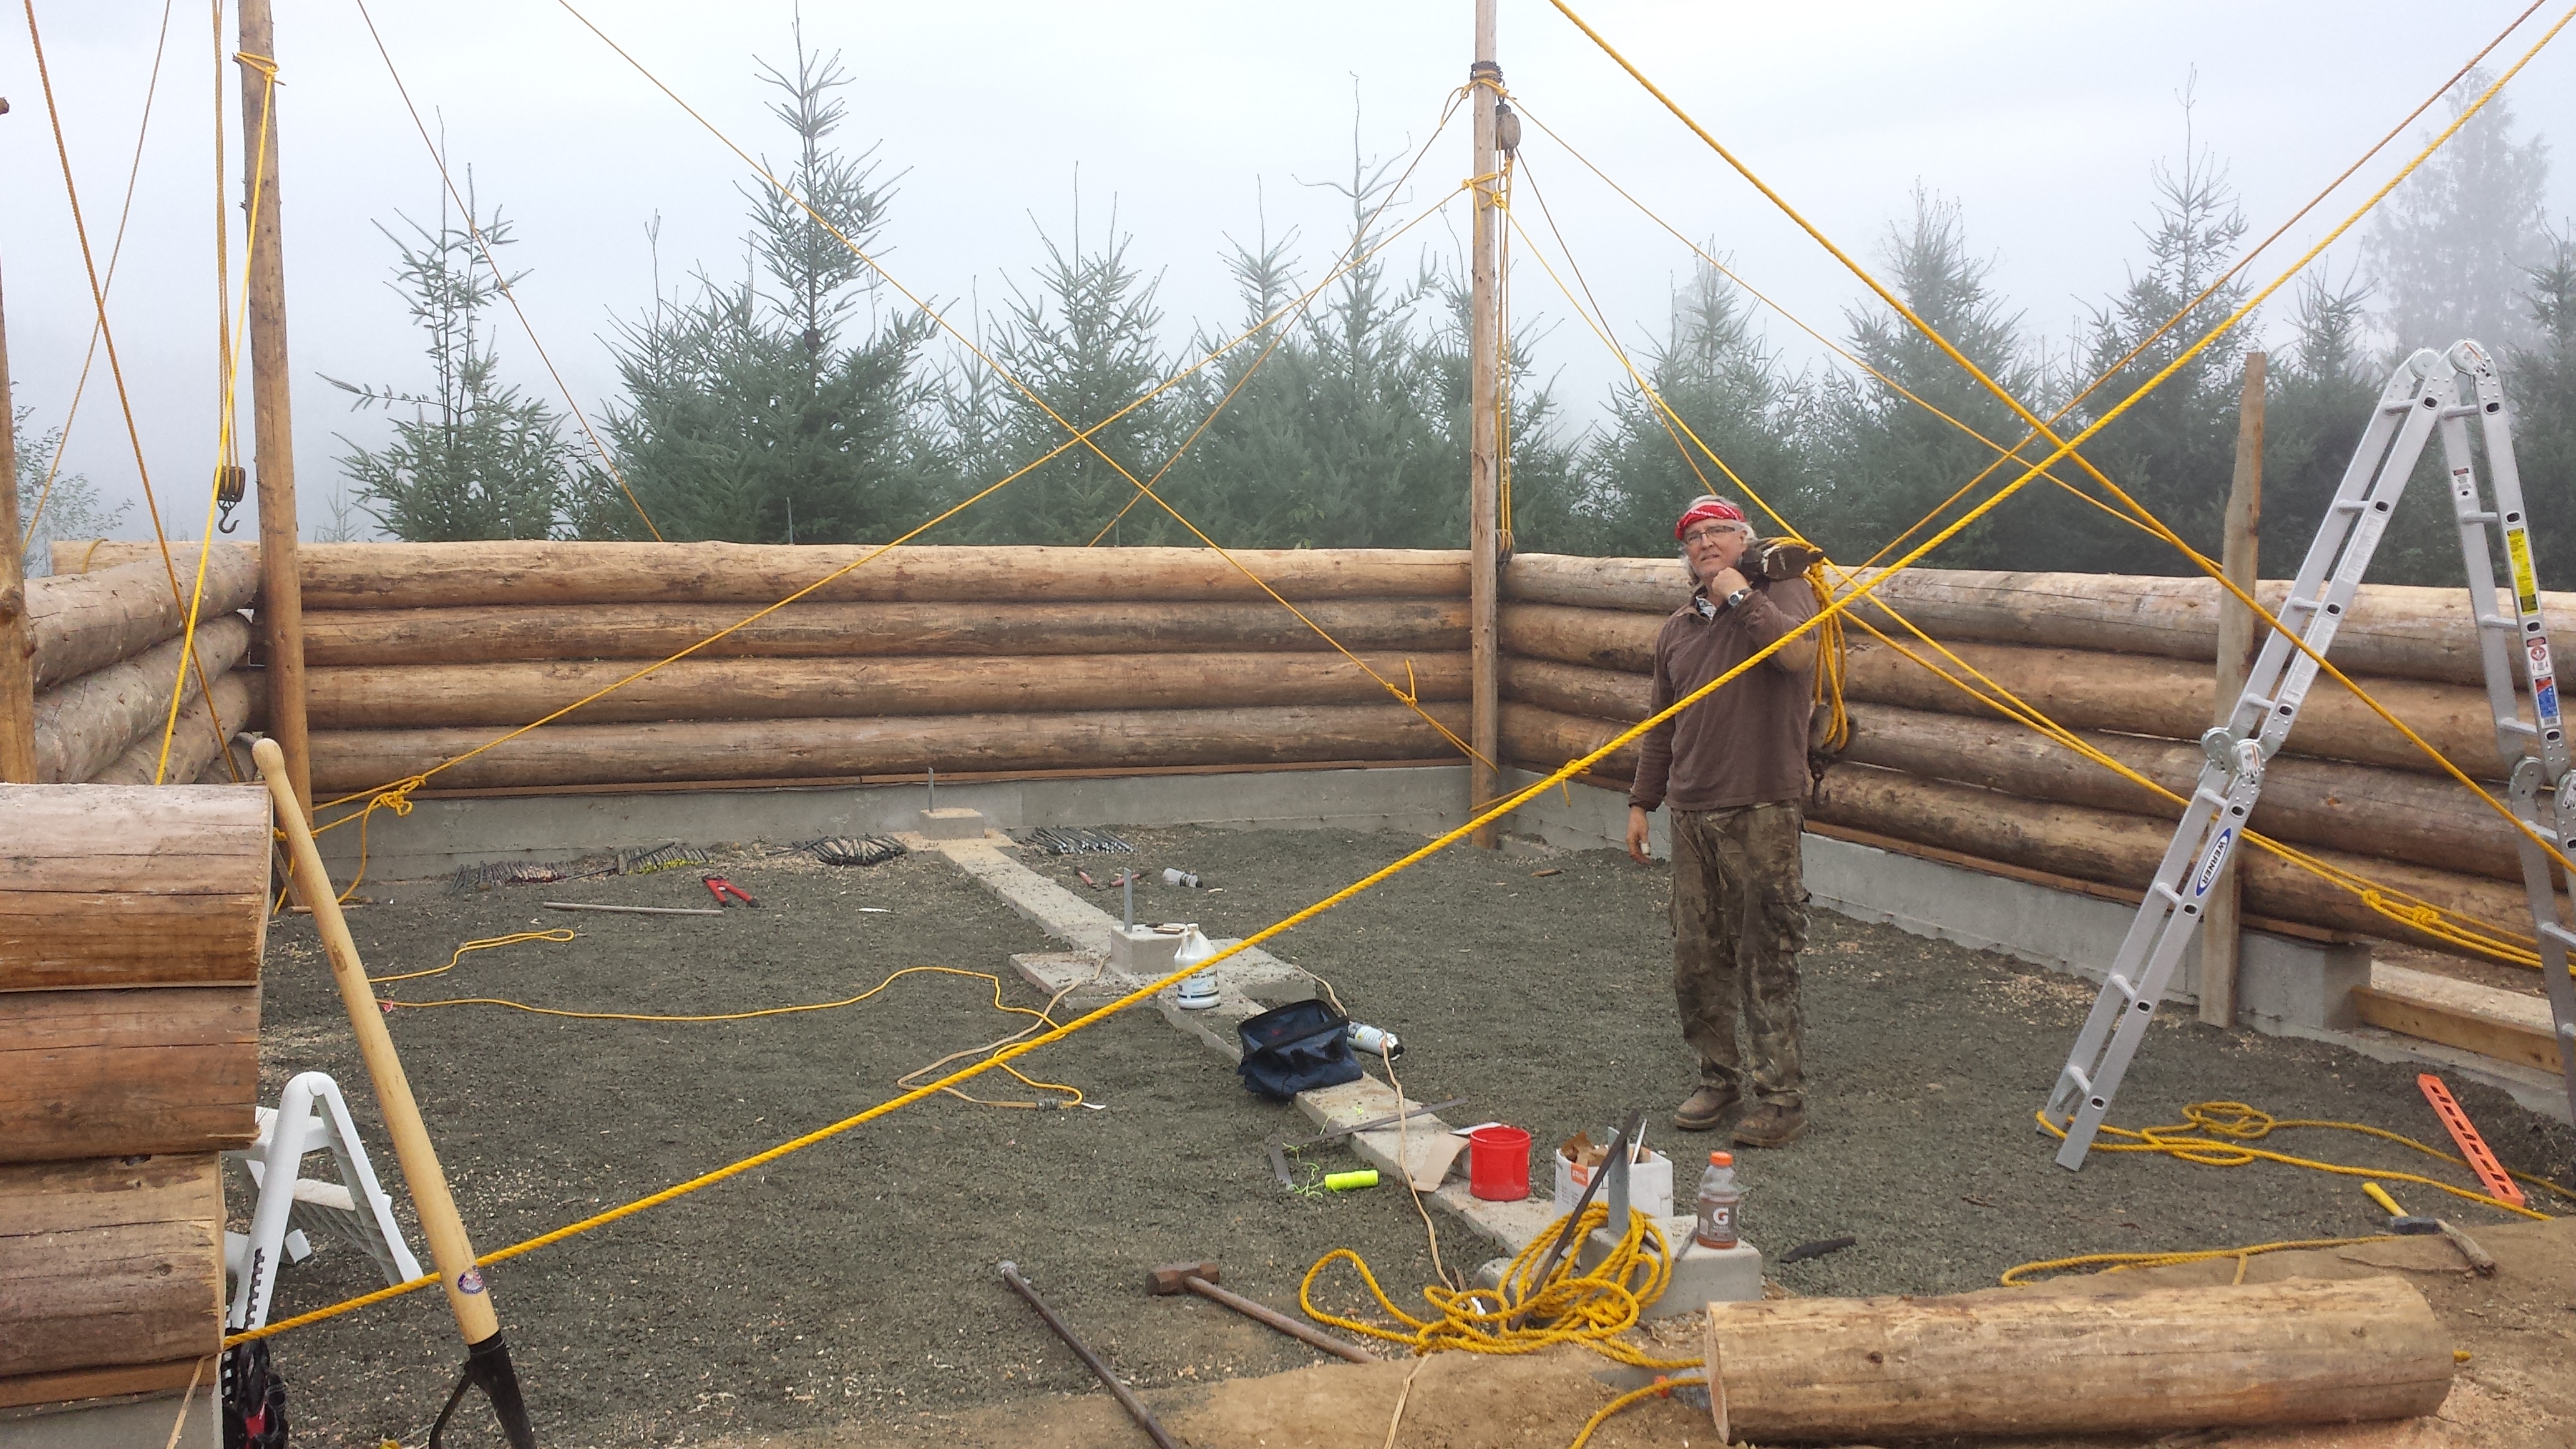 We used 18-24″ ship auger drill bits for the log drilling.
Jack and Sharon helped us with the first log but we were left to ourselves on the second log. We had lowered the log to within 5″ of the sill plate when everything bound up.  We first tried using a 12lb sledge that got us to within 3″ then the bucket of our tractor to 2″. I went to sleep that night trying to come up with a solution for the last 2″.
  The next morning I got back up on the tractor…filled the bucket with gravel and tried again…the added weight in the bucket was enough to seat the log the final 2″ flush onto the foundation wall. Solution making is part of every day…and I love it…except when I get stumped(no pun intended).
The method we used of laying logs is called “BUTT AND PASS”. The first log starts at the corner then passes past the far corner by usually 2′ or less. The next log butts to that log and passes the other corner by 2′ and so on and so on. Important to note is that there are no ‘notches’ or any milling of any kind. 
 You cut down the tree…peel it…cut it to length and stack it on the wall. So many ‘kits’ or professionally built log homes today use a ‘Swedish Cope’ scoop cut or are milled in a number of ways to marry the two logs together. These are sure nice and ‘tight’ but any of these methods require more time and experience and thus will cost more. The Butt and Pass method is taught by Jack and Sharon as a method that is easily accomplished and the least expensive way to build a log cabin. You might say it is more like an authentic pioneer method. Personally I like this method because it gives me much more satisfaction because I accomplished it myself. Besides, I’m not a fan of kits…and I love the ‘look’ of the Butt and Pass. OK…onward…your next question is “how did you hold all the logs together”? 5/8″ rebar…and LOTS of it! My engineer called for a pin(5/8″ rebar) every 4′.
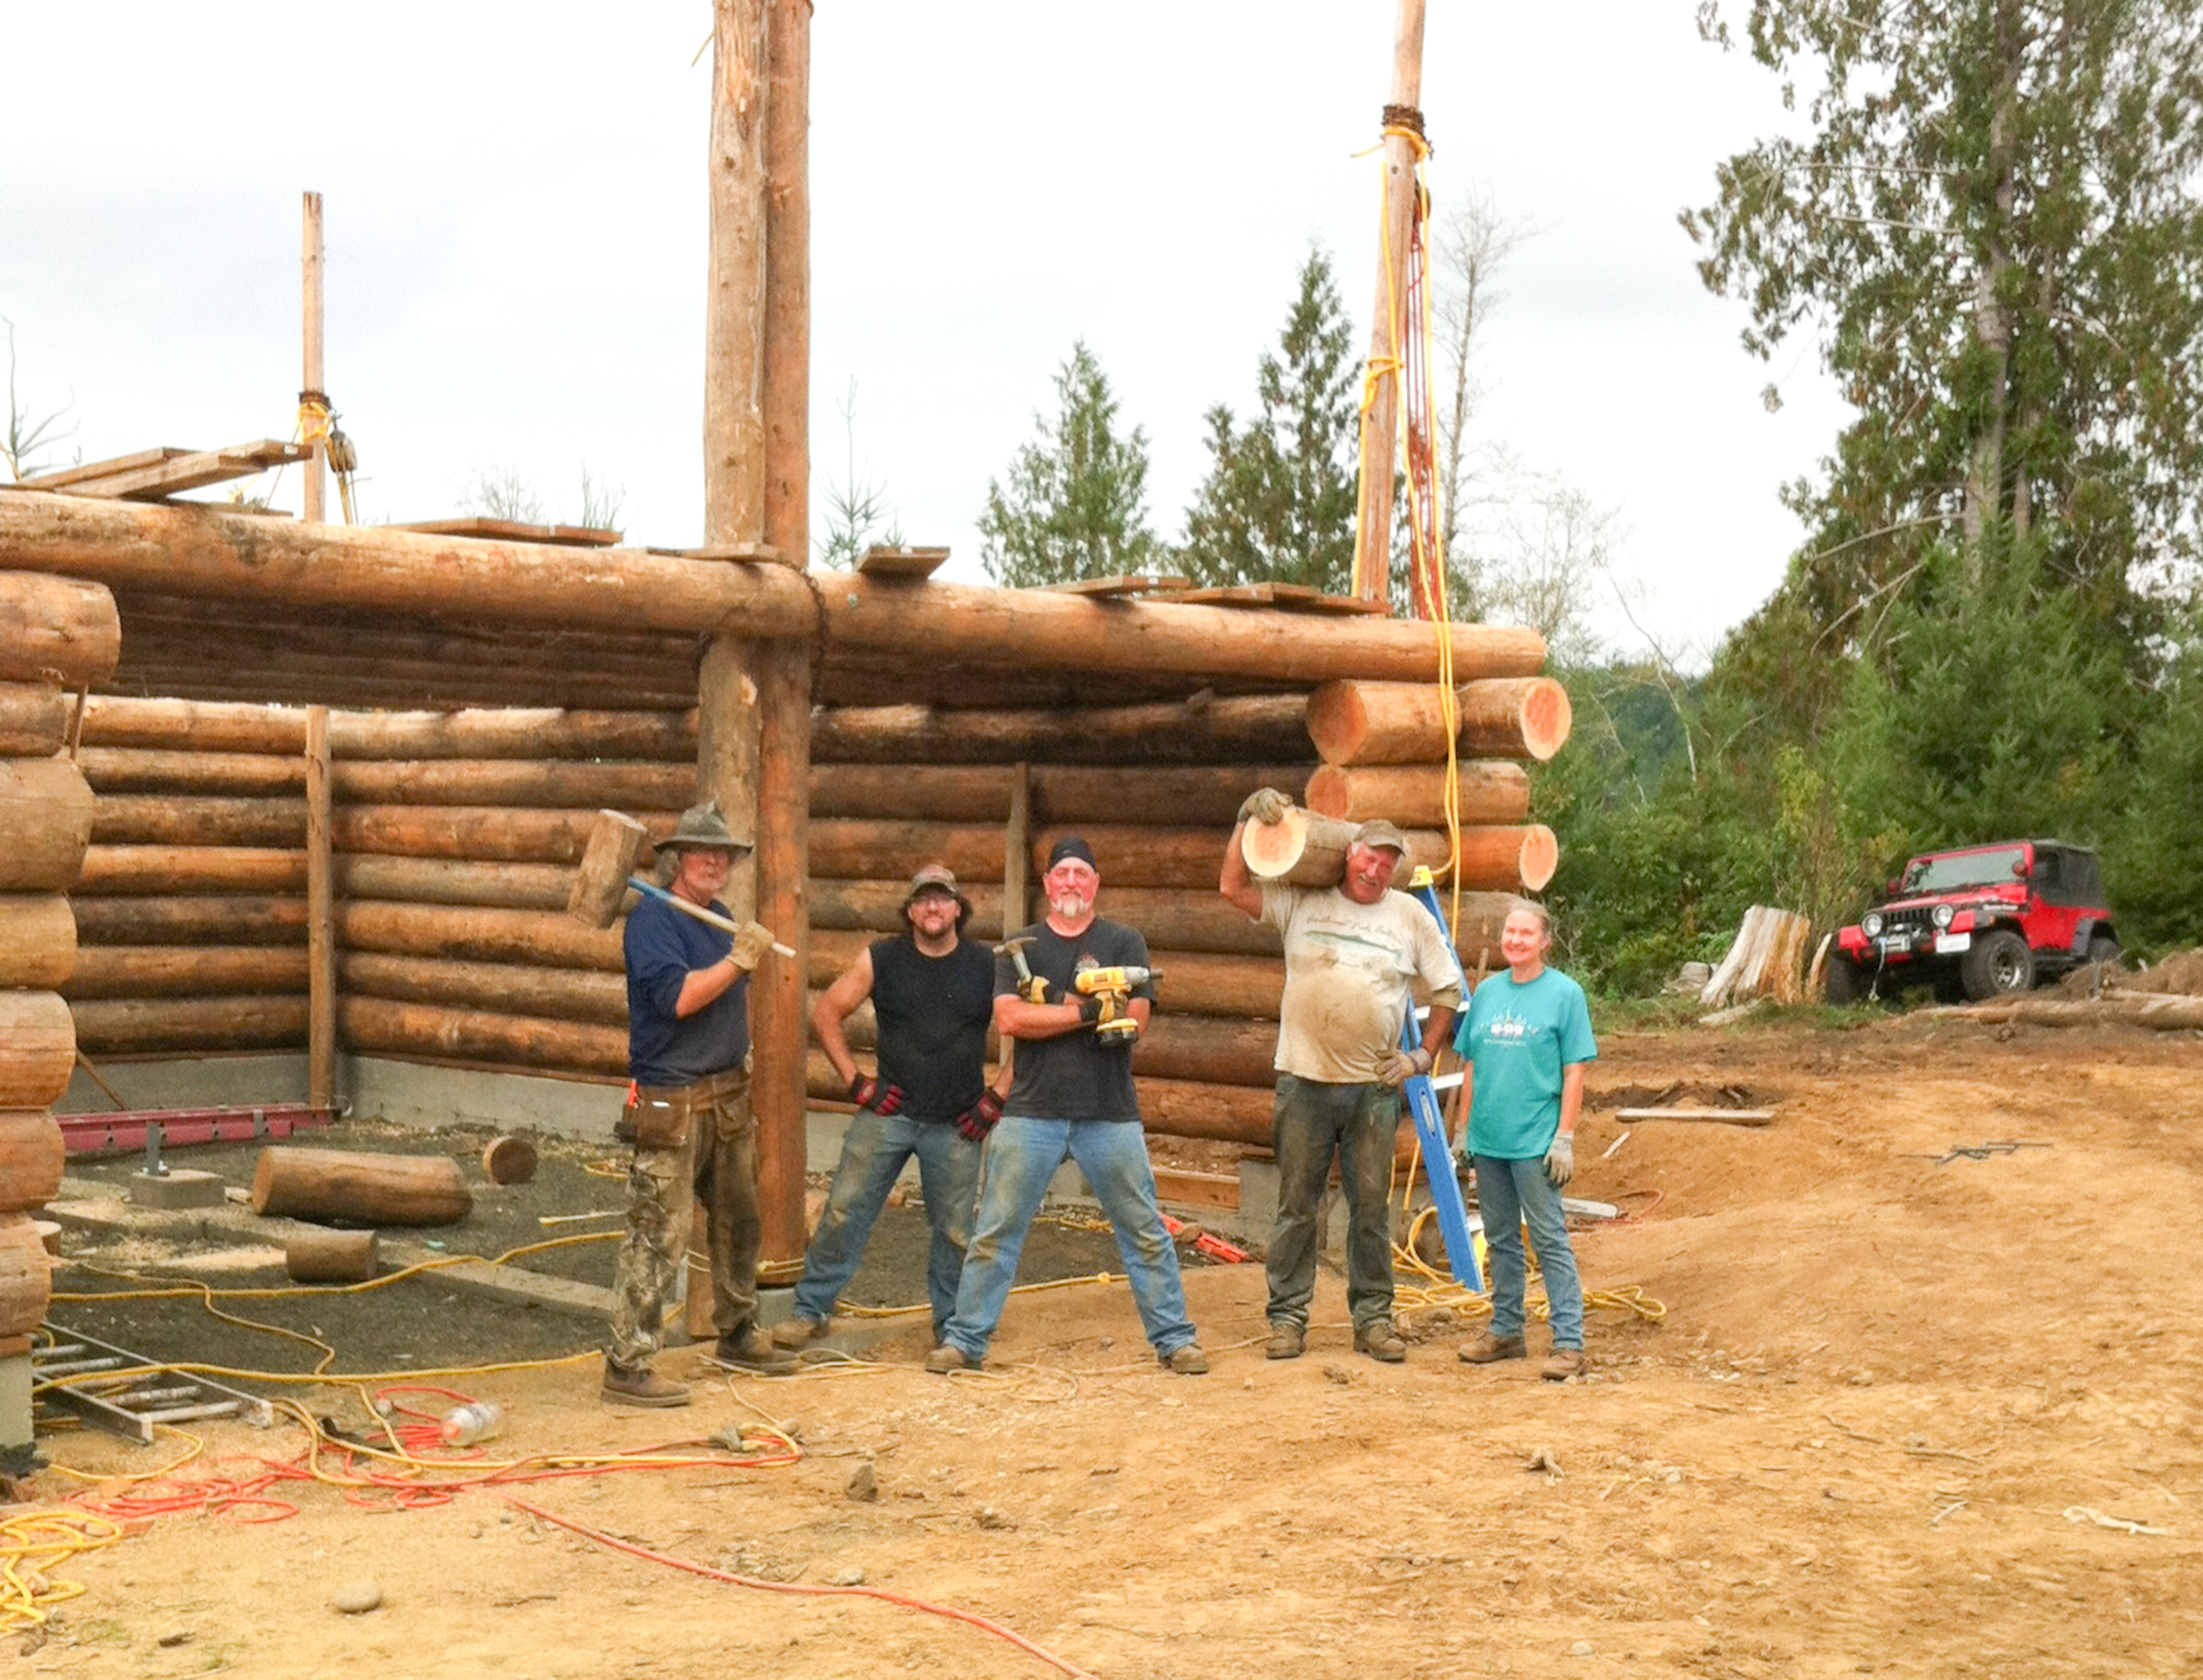
  So every four feet we would drill a 1/2″ hole through the top log, being careful not to drill into the pin in the log below(stager pins). The hole would only go through the top log…but we’d sledge hammer the 5/8″ oversized rebar through the top log and halfway into the next log(with no pilot hole)…to be sure of a very tight fit. This was probably THE TOUGHEST job of the entire log structure. Be sure to have plenty of young strong guys around…or in my case my best man who is not so young any more but strong and well…gullible.
  You remember the story of Huck Finn and the white washing of the fence. So…if you estimate that we had approximately 10 rows of logs plus the gable ends…that is close to 110 running feet per row…x 10 rows…that is 1100′ of logs…one pin every four feet leaves us with 275 pins…plus the gable ends…50 more x 2 ends…that’s 375 so far…oh, and I forgot to mention there are three more pins on each corner coming from all angles…that’s 40 corners x 3 = 120 more…so that’s 495 pins of 5/8″ rebar…all sunk by hand with a 10lb sledge hammer into 1/2″ drilled holes!
 Lot’s and lots of sledge hammering. So much so that half way through we decided to rent a jack hammer. That worked great when Rob welded a socket to the end so the rebar would fit inside and not slip off.

Am I boring you yet…I’m boring myself actually…but I’m hoping that some of you will appreciate the detail… Did I mention that we pulled the logs up onto the walls by using my jeep winch and our truck. THE RIDGEPOLE Wow…what an amazing feat to have the ridgepole in place.
 The log was the largest, longest and heaviest of all our logs…18″ x 40′ x 1600 pounds! And it had to be lifted the highest. We chained two additional lifting poles to the existing posts on either end of the garage…added chain to the top(6-8′ higher than the posts) and added another set of pulleys. I know this wasn’t quite as hard as building a pyramid but it seemed pretty complicated to me.
  We lifted and changed ‘lift points’ and pulley sets maybe 10 times before we finally had our ridgepole laying on our first floor next to the posts.
 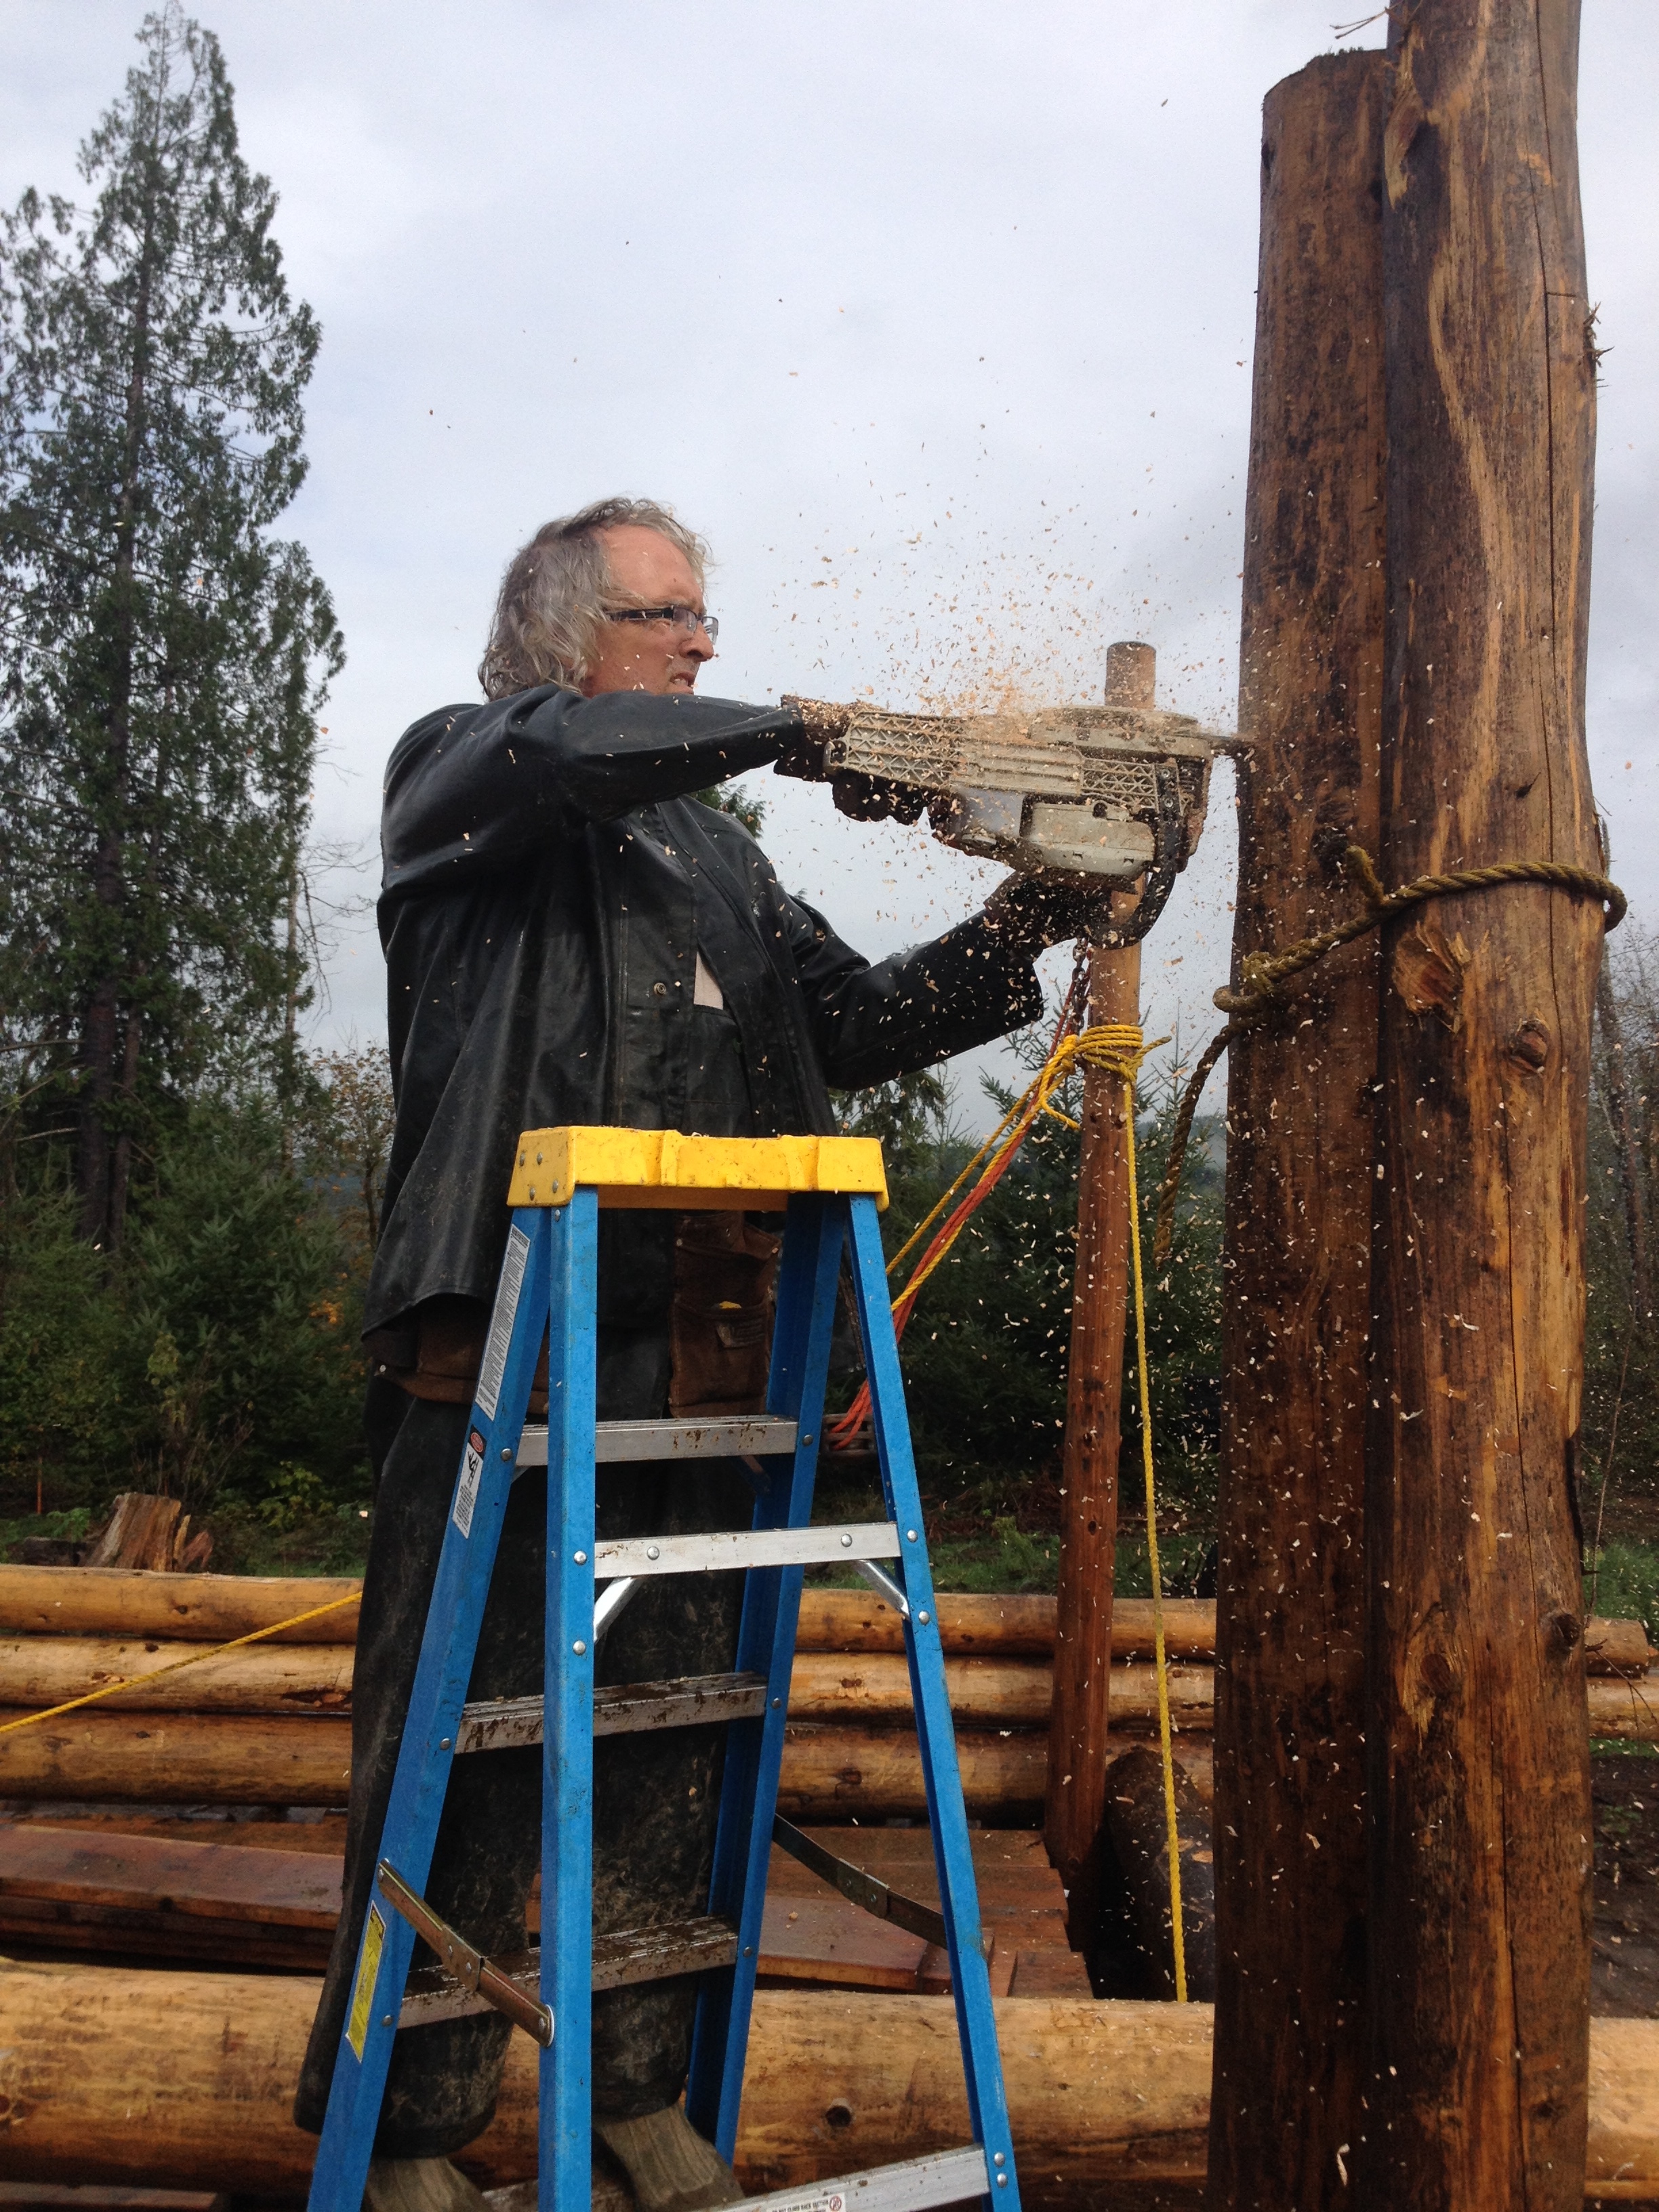 We measured the posts according to the inside loft height we wanted and cut off the excess. With the three rows of logs past the loft floor the roof pitch ended up somewhere between 5:12 and 6:12. I am 6’3″ and I can walk 6′ either side of the ridgepole inside without hitting my head on the rafters. Perfect!
 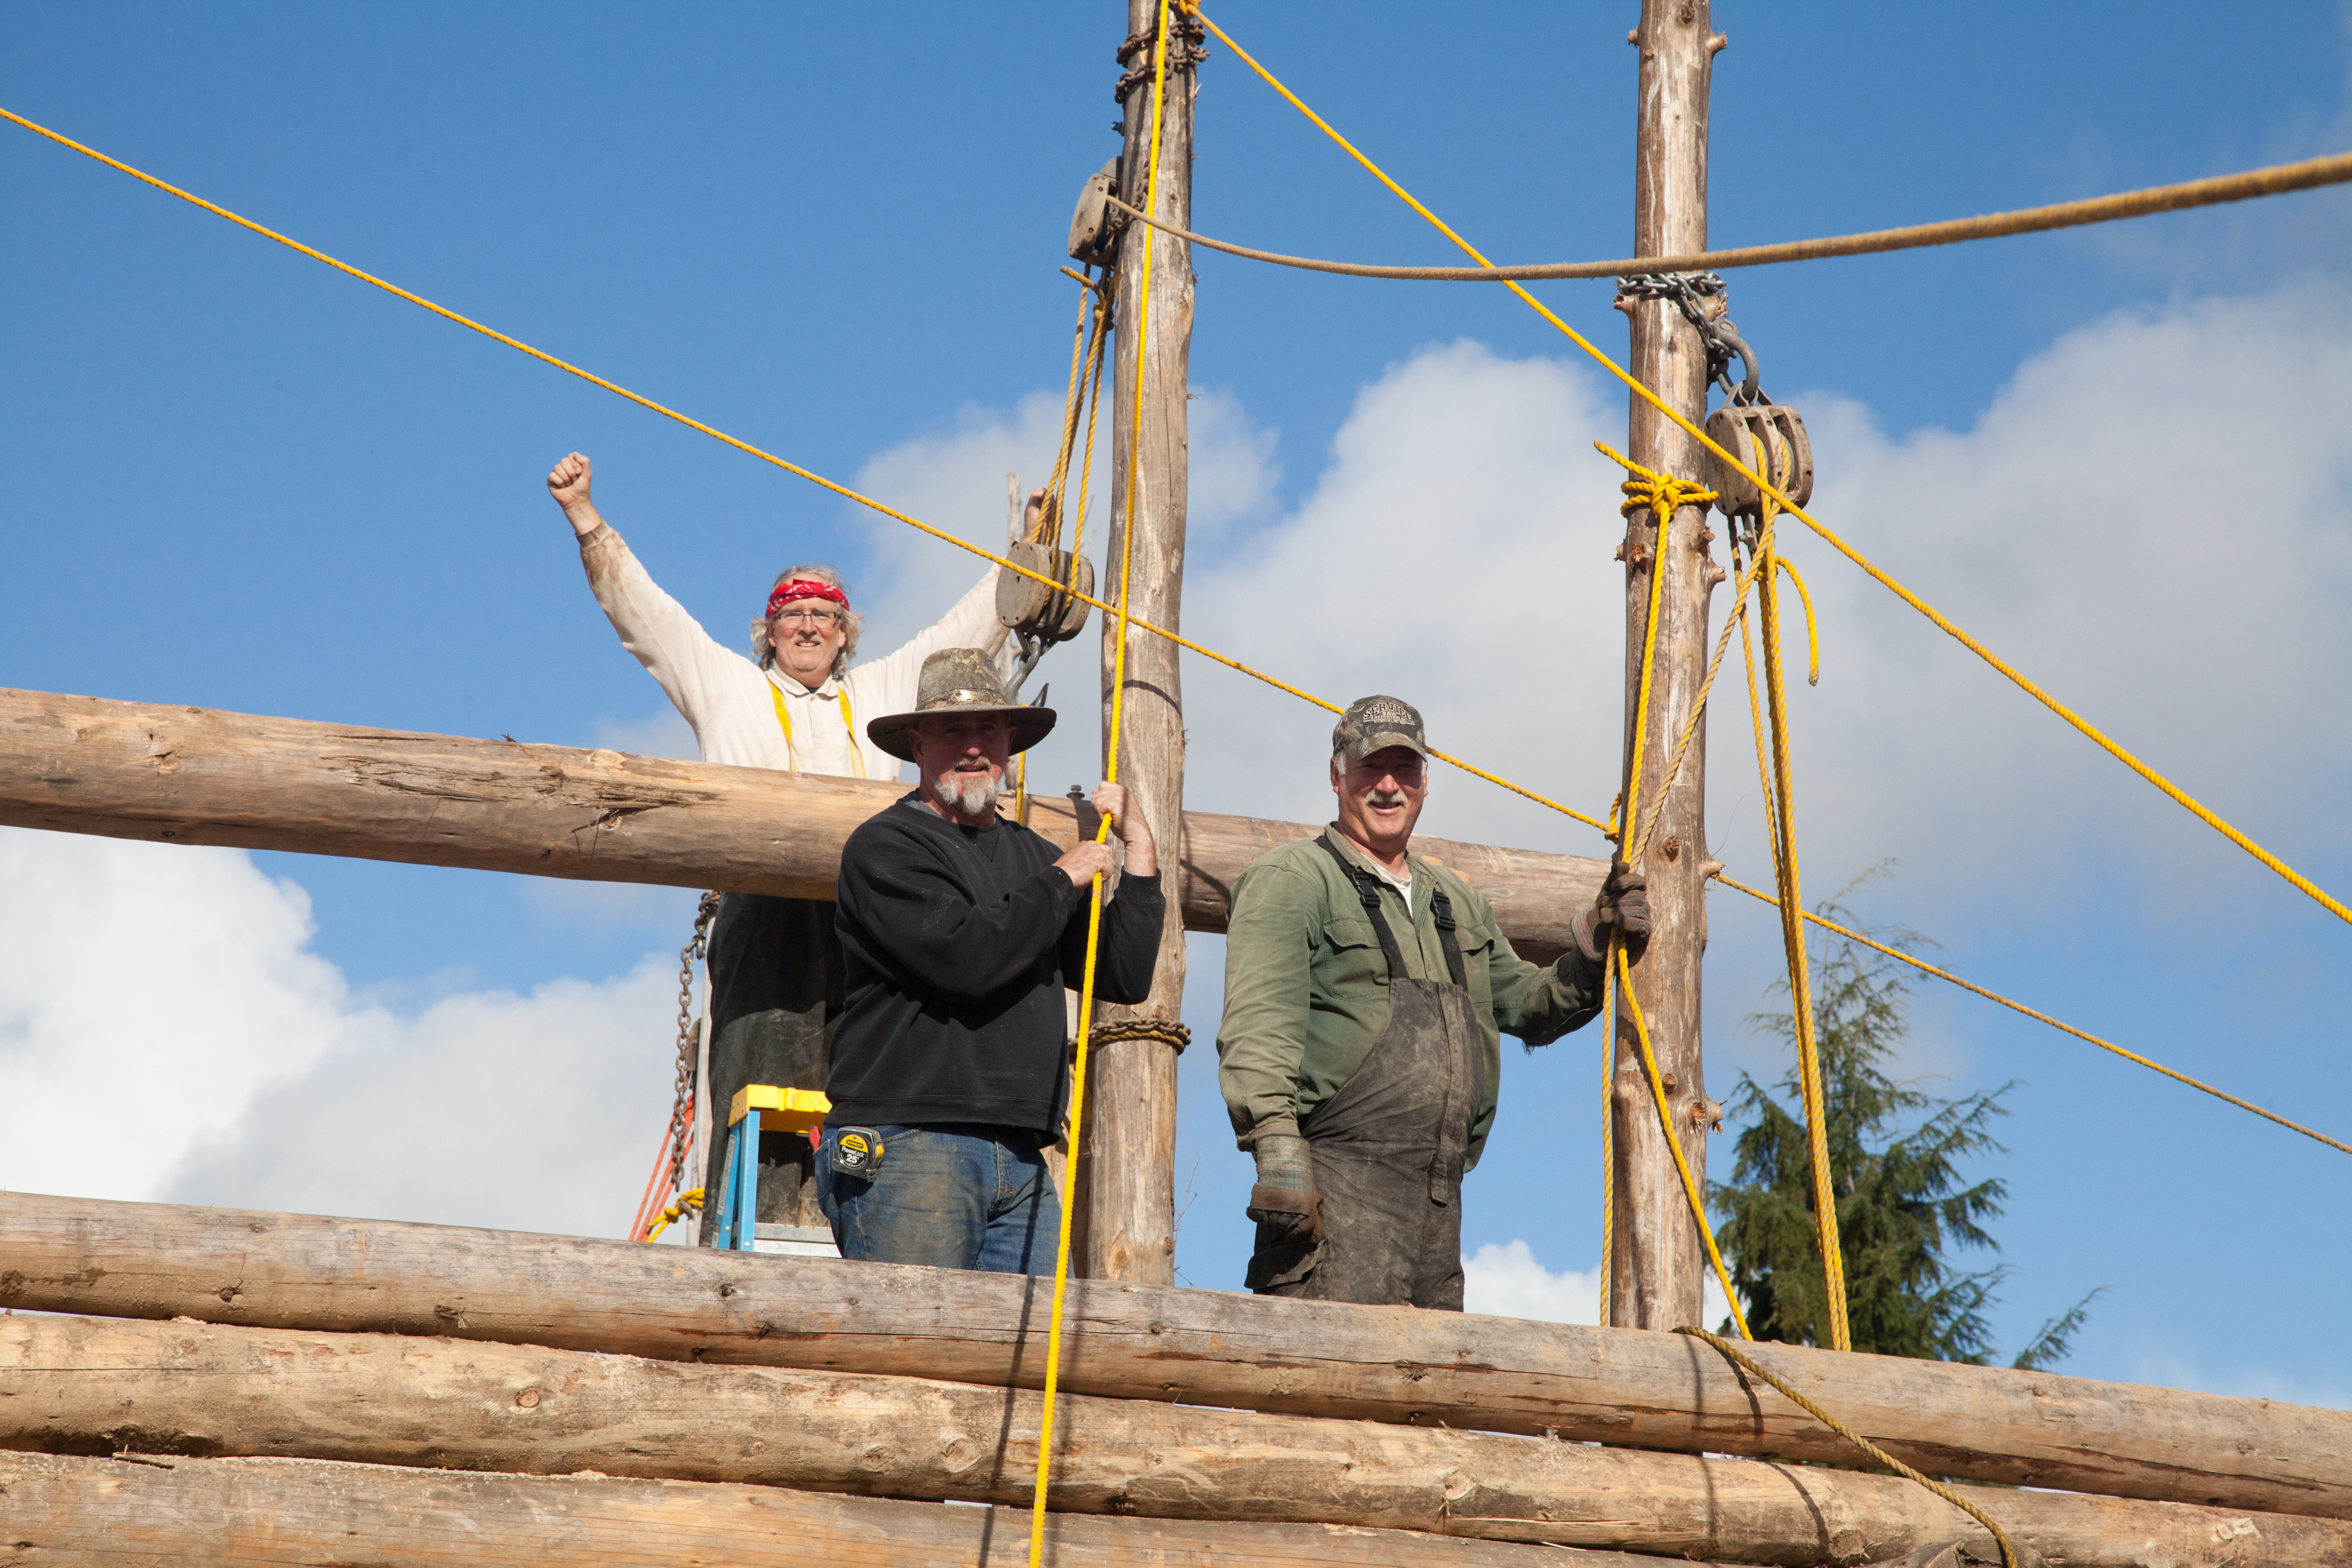 After securing the ridgepole with 24″ lag bolts it was on to the rafters. Since the logs were smaller(for the rafters 8″) we were able to lift them up by ourselves using the roped pulley blocks.
 First you lay two rafter logs cut at equal lengths overlapping them by 11″. Clamp them
 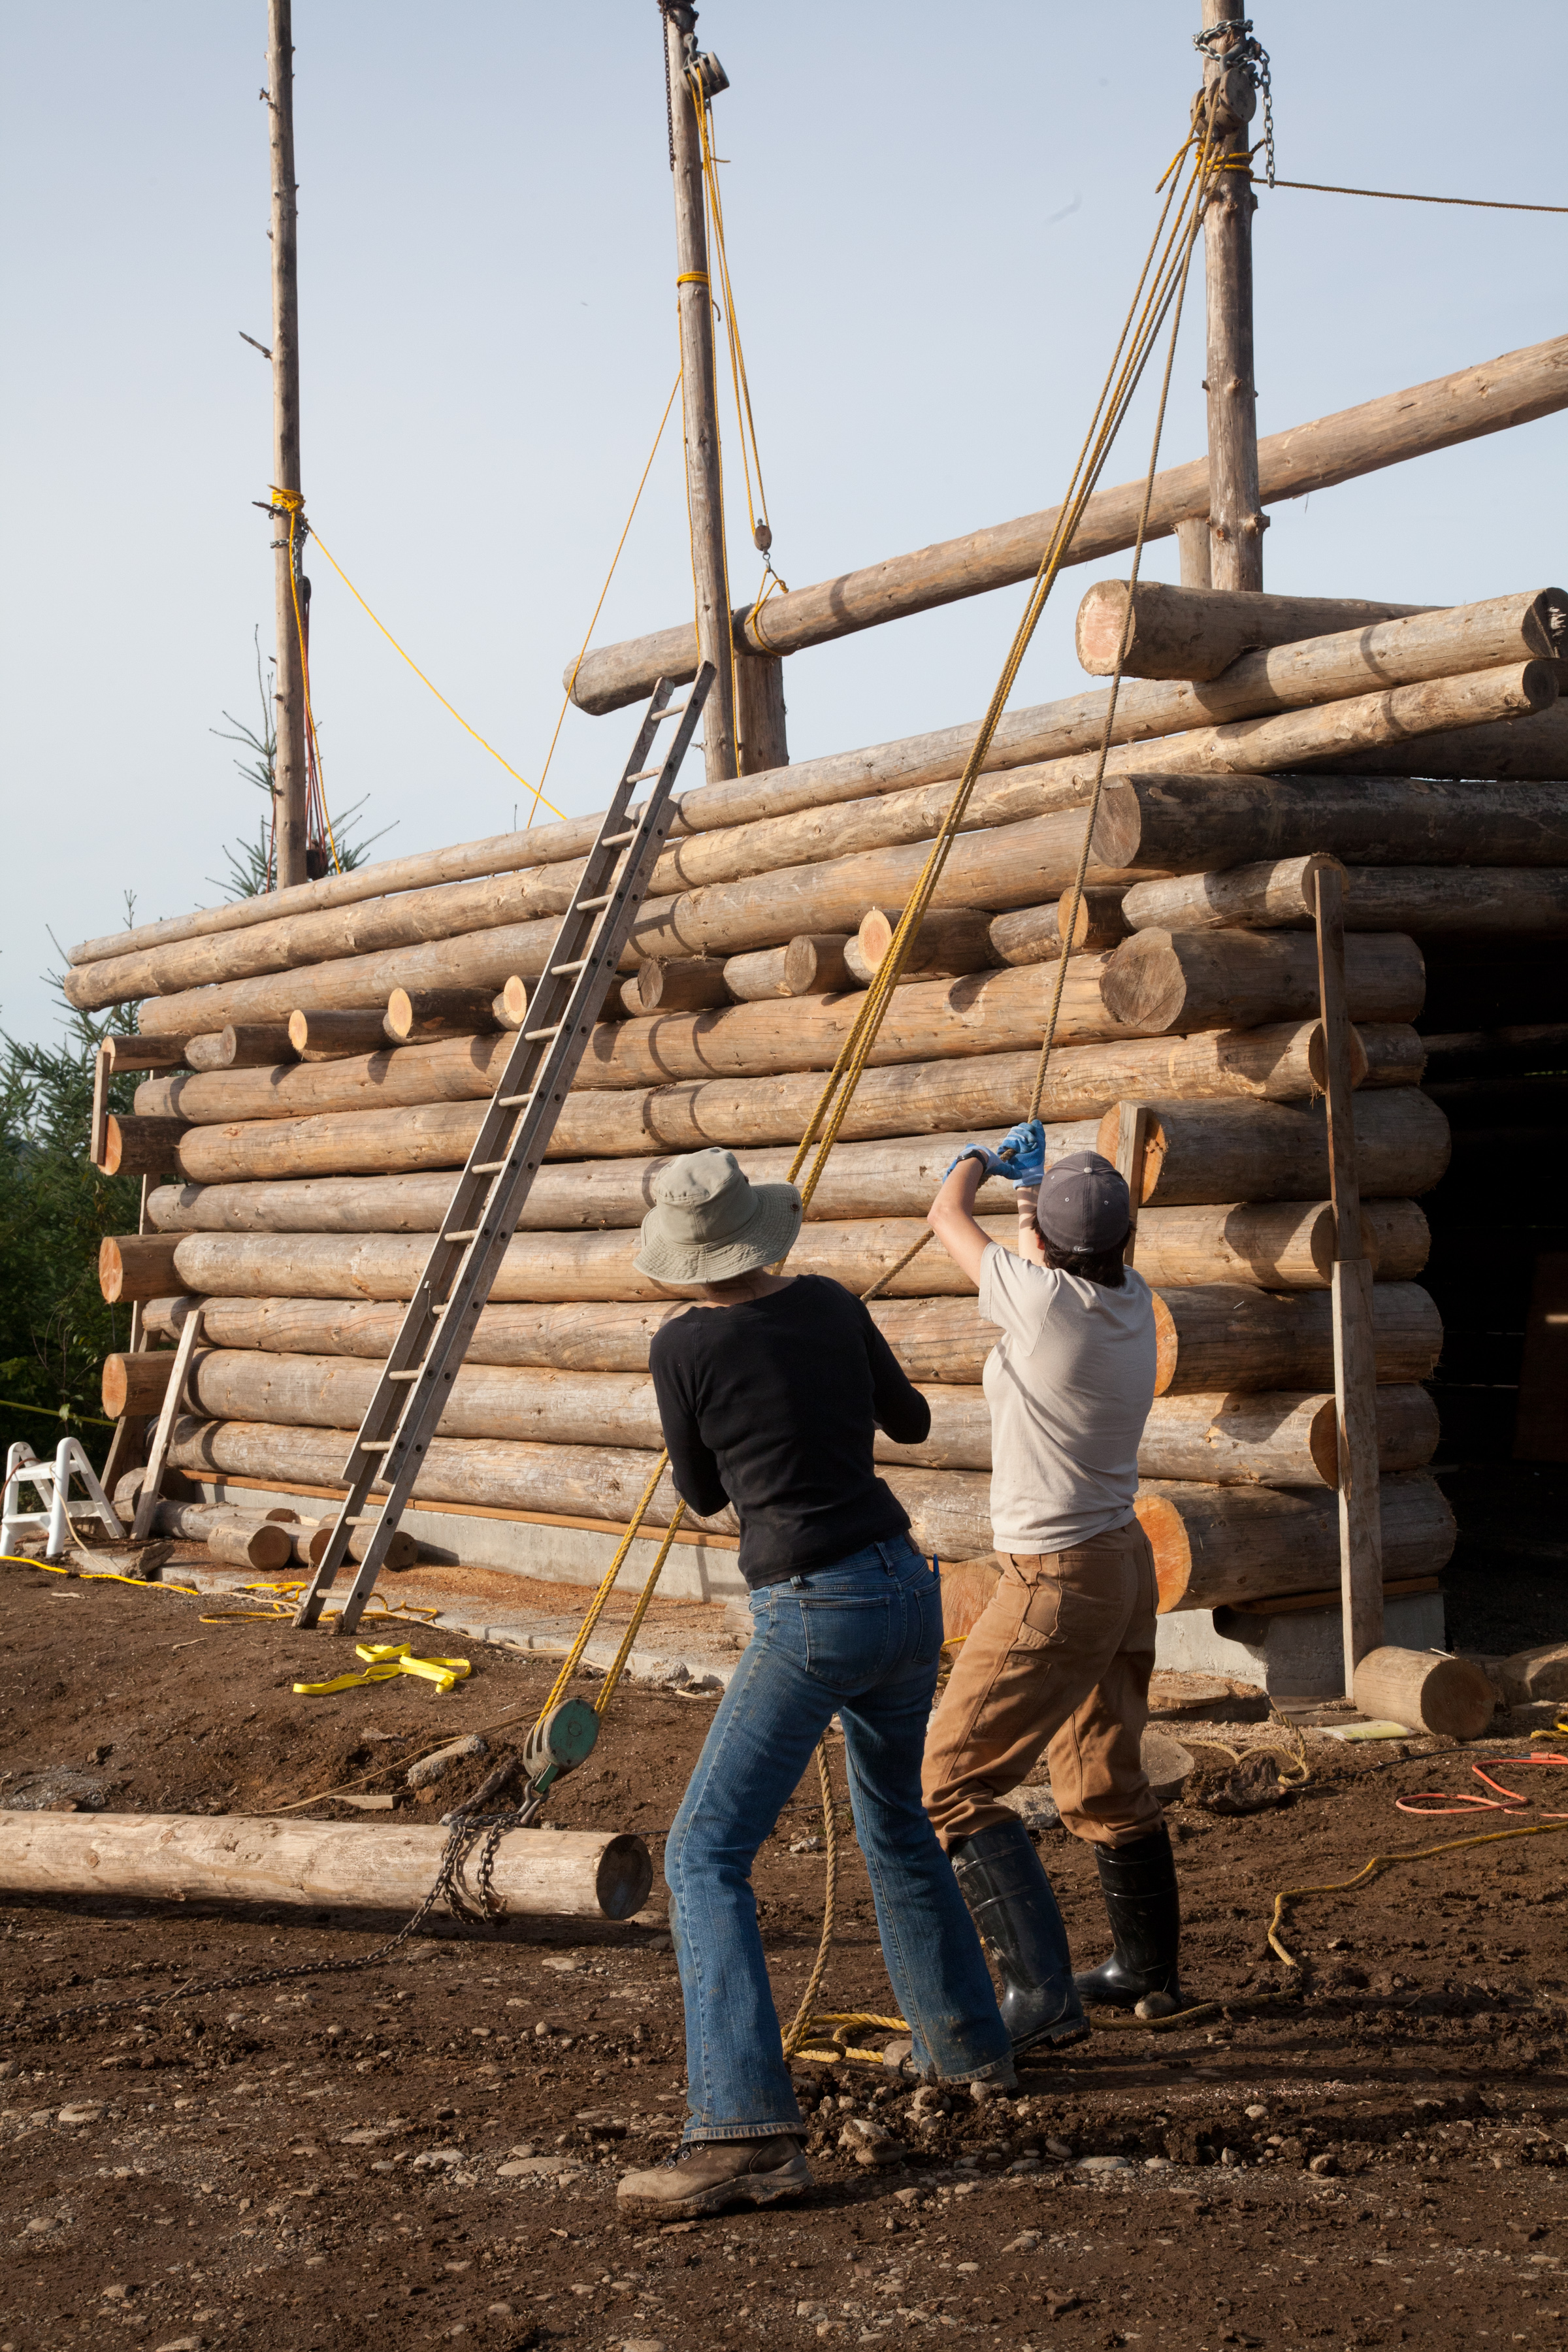 together and drill a 5/8″ hole through both logs. Push 5/8″ AT through both logs and bolt. Now you have a long (double)log that will pivot in the center. Drag the logs perpendicular to the roof, attach a length of chain to the log and hook the pulley system to the chain. As you lift you’ll need to reposition the ‘pull point’ several times as the logs lift over the wall and even the ridgepole. Eventually the lead half of the log will be pulled over the ridgepole and pivot over to the ridgepole and land on the opposite wall.
  After a little positioning you now have one ‘set’ of rafters in place. Easy! Now, try doing this in the mud and rain. After pulling 11 sets of rafters over the ridgepole we measured and placed them equal distances apart.
 Each rafter was lagged into the ridgepole and wall logs. We left an 8′ gable end overhang and a 4′ side overhang. Overhangs are very important on a log home. Water is your enemy. The dryer you can keep your logs the better. Our cabin will have 10′ gable end overhangs. The next two days I spent pressure washing the logs.
 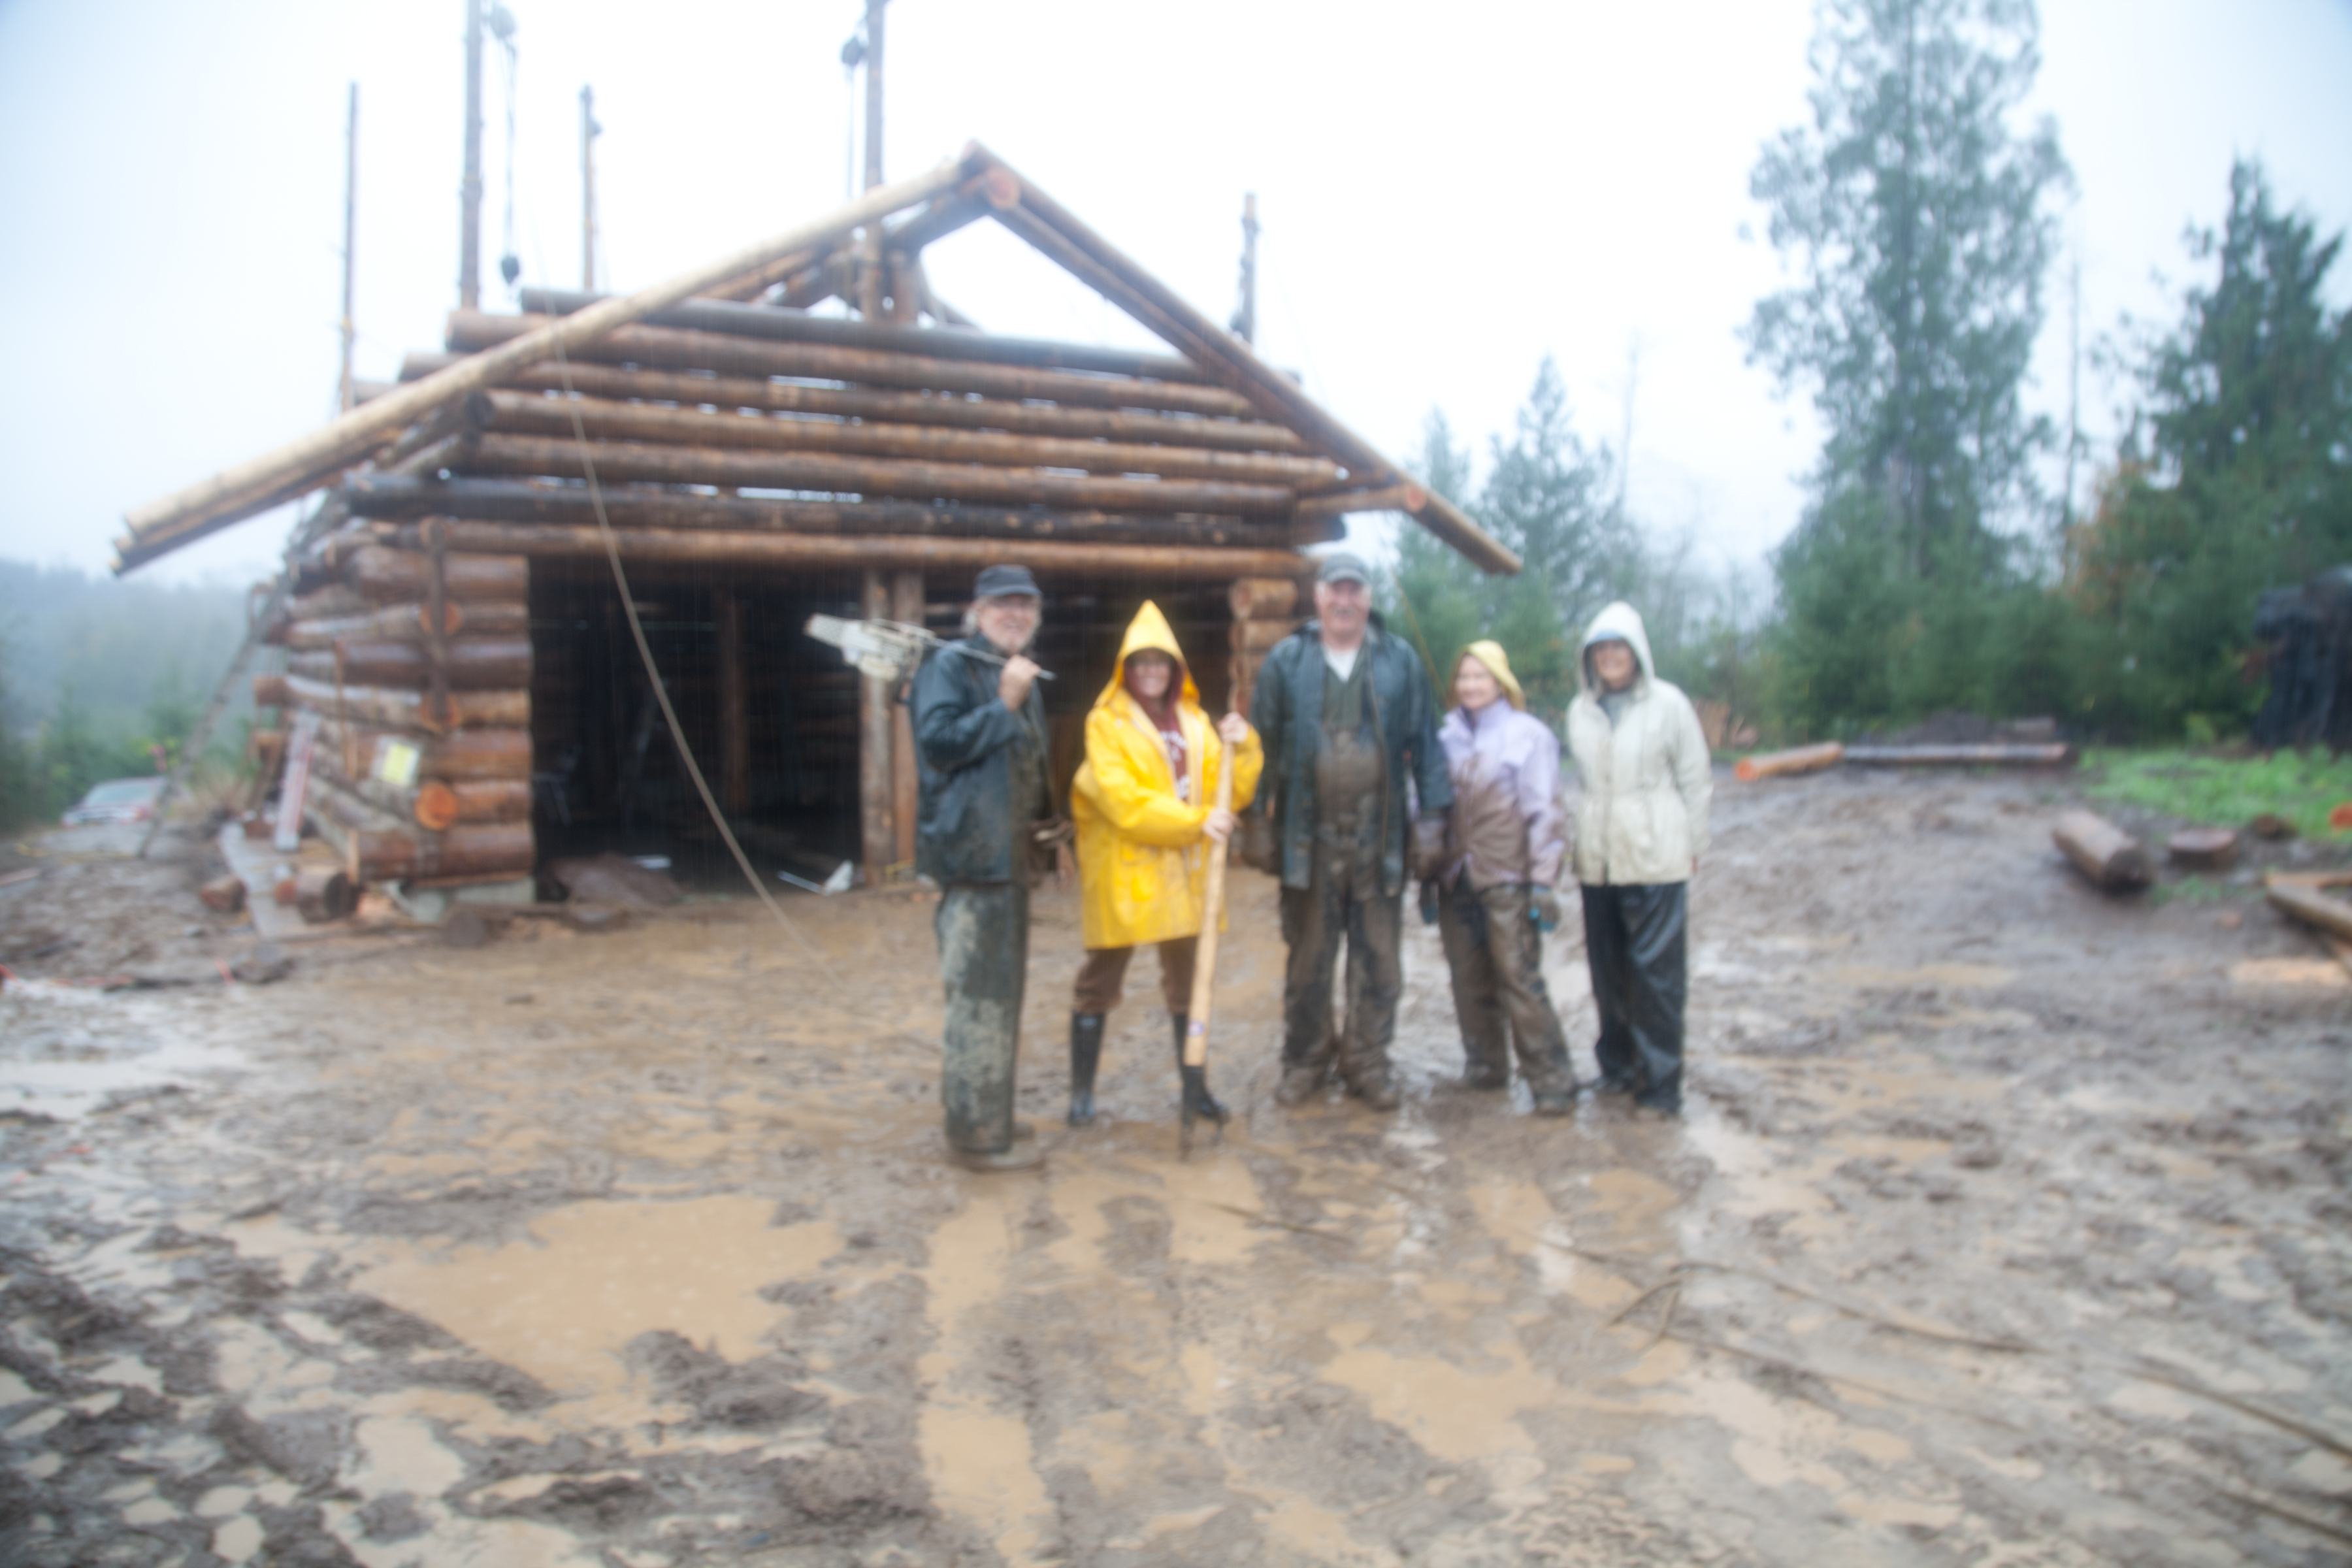 Because of laying on the ground all summer the logs had developed a bad case of mold.

The next step is the 2×6 TG(tongue &groove) decking on top of the rafters. Remember, these rafters are trees…peeled…not milled to perfection. Yes, we laid them as best we could to maintain a semblance of uniformity(levelness) but they looked pretty gnarly to me.  As we laid the 2×6 I watched for any ‘high’ spots and took care of them with the chainsaw. We had a whole crew out to put up the 2×6 but it still took two days. The weather was deteriorating since it was now into October so we didn’t get the metal roof up but instead had to settle with the famous ‘Blue Roof’…at least famous here in the state of Washington.