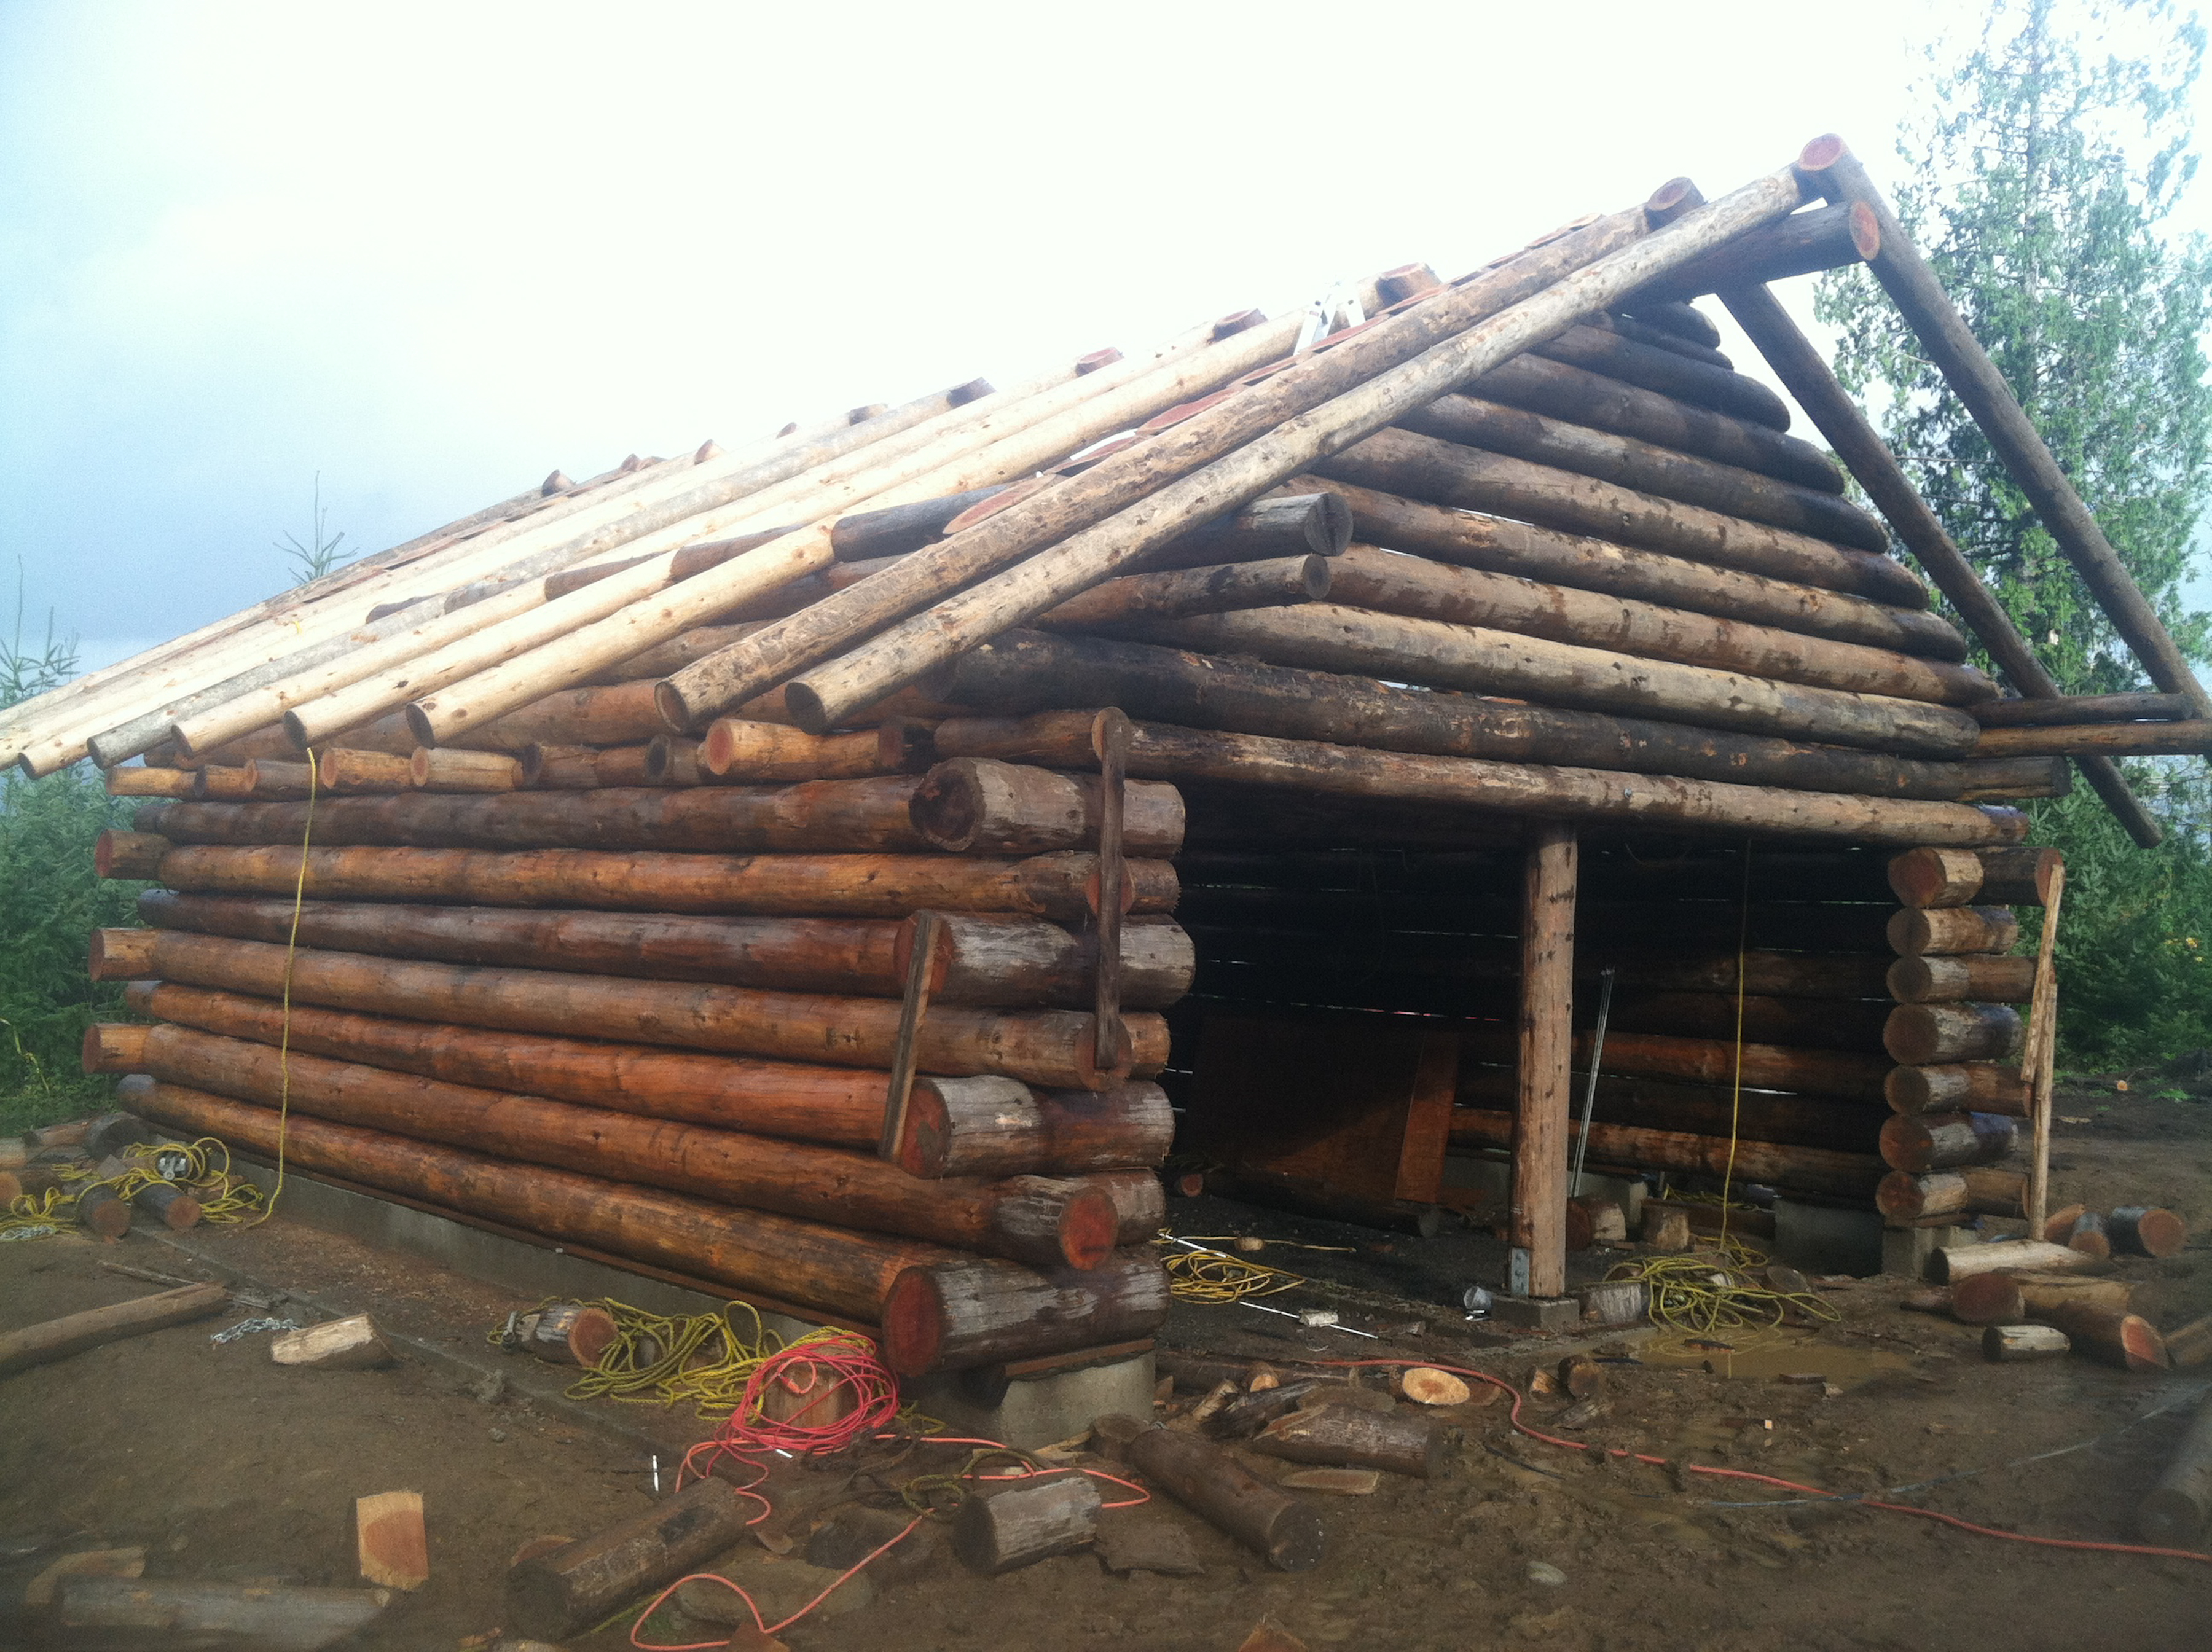
 OK…it’s a new summer…2015. The summer is full of family events so Bonnie and I decide to make our goal at the property smaller than 2014. Our hope this summer is to complete the garage and pour the foundation for the cabin(to be built in 2016). If you remember we left the garage with a tarp only so one step will be to install a metal roof.
  The floor of the garage is gravel so a cement slab is on our list. Garage doors will need to be built as well as a side door. Also we will need to level our land as well as develop our septic system for the future cabin. All this plus a family reunion in Colorado and a graduation in Florida makes for
  a busy summer. So instead of pushing to start on our cabin Bonnie and I decided to plan an ‘easy’ summer. Unlike the summer of 2014 I had our permits for the foundation in hand prior to our arrival. But the first job we tackled after building our campsite was the
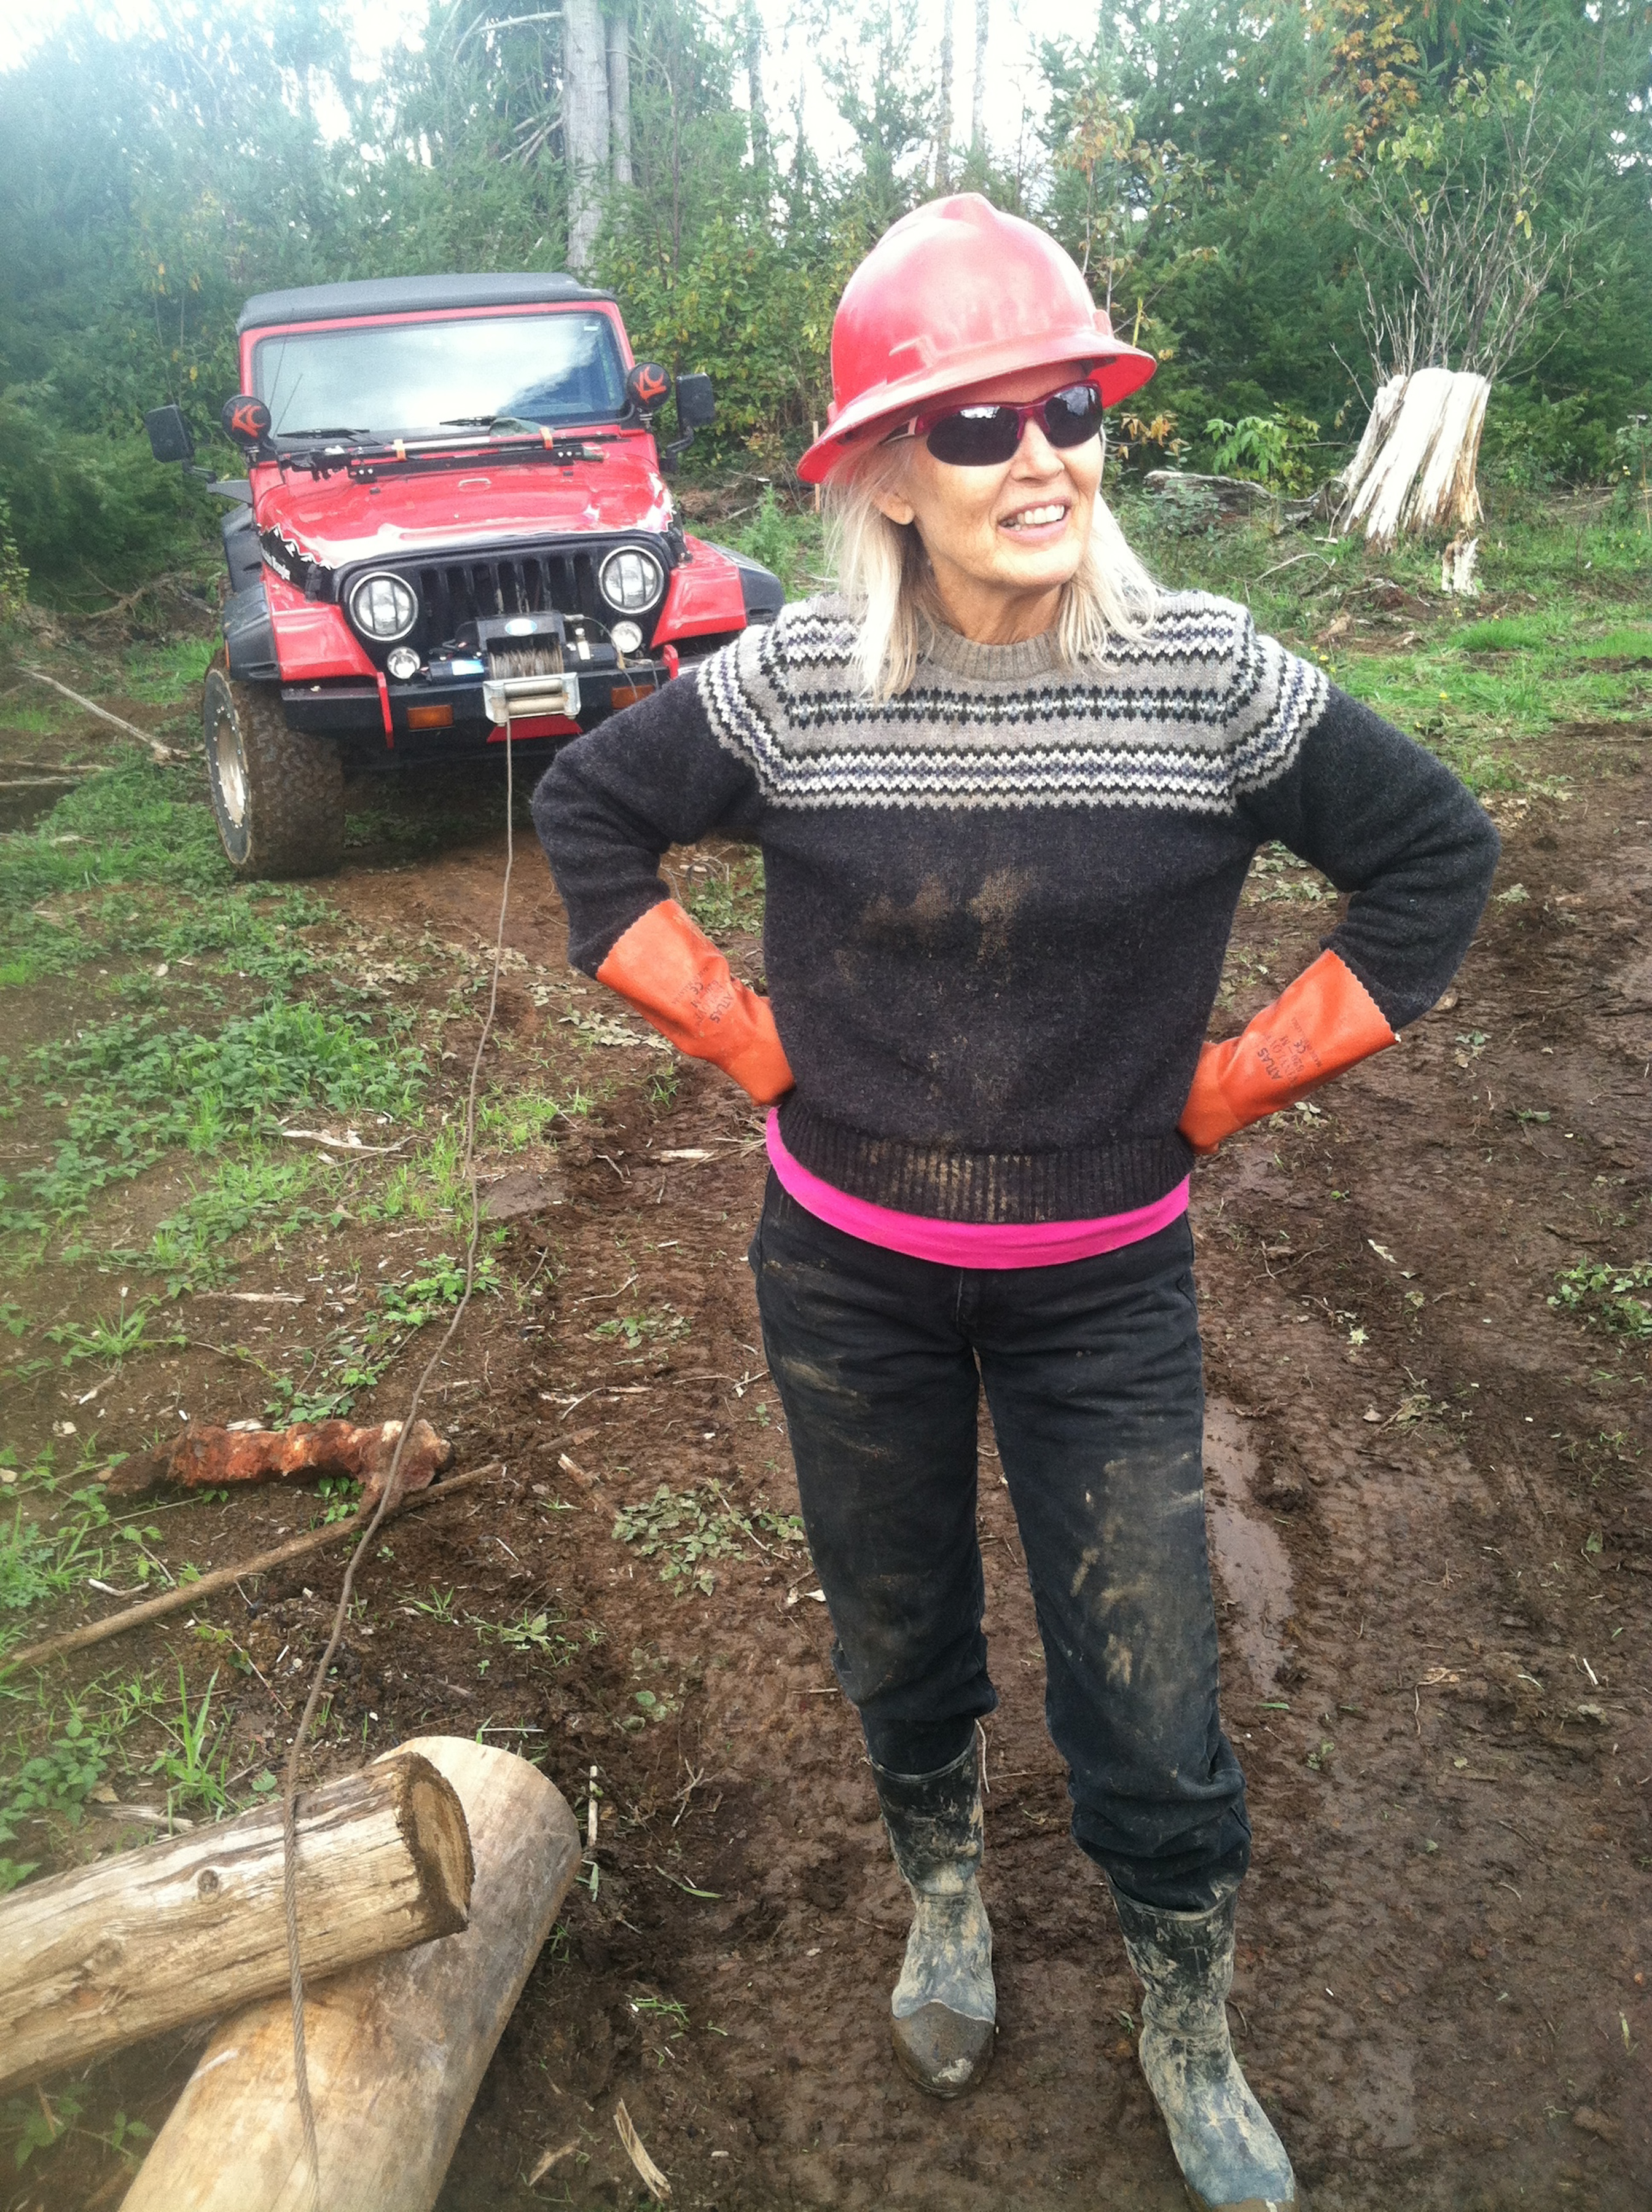
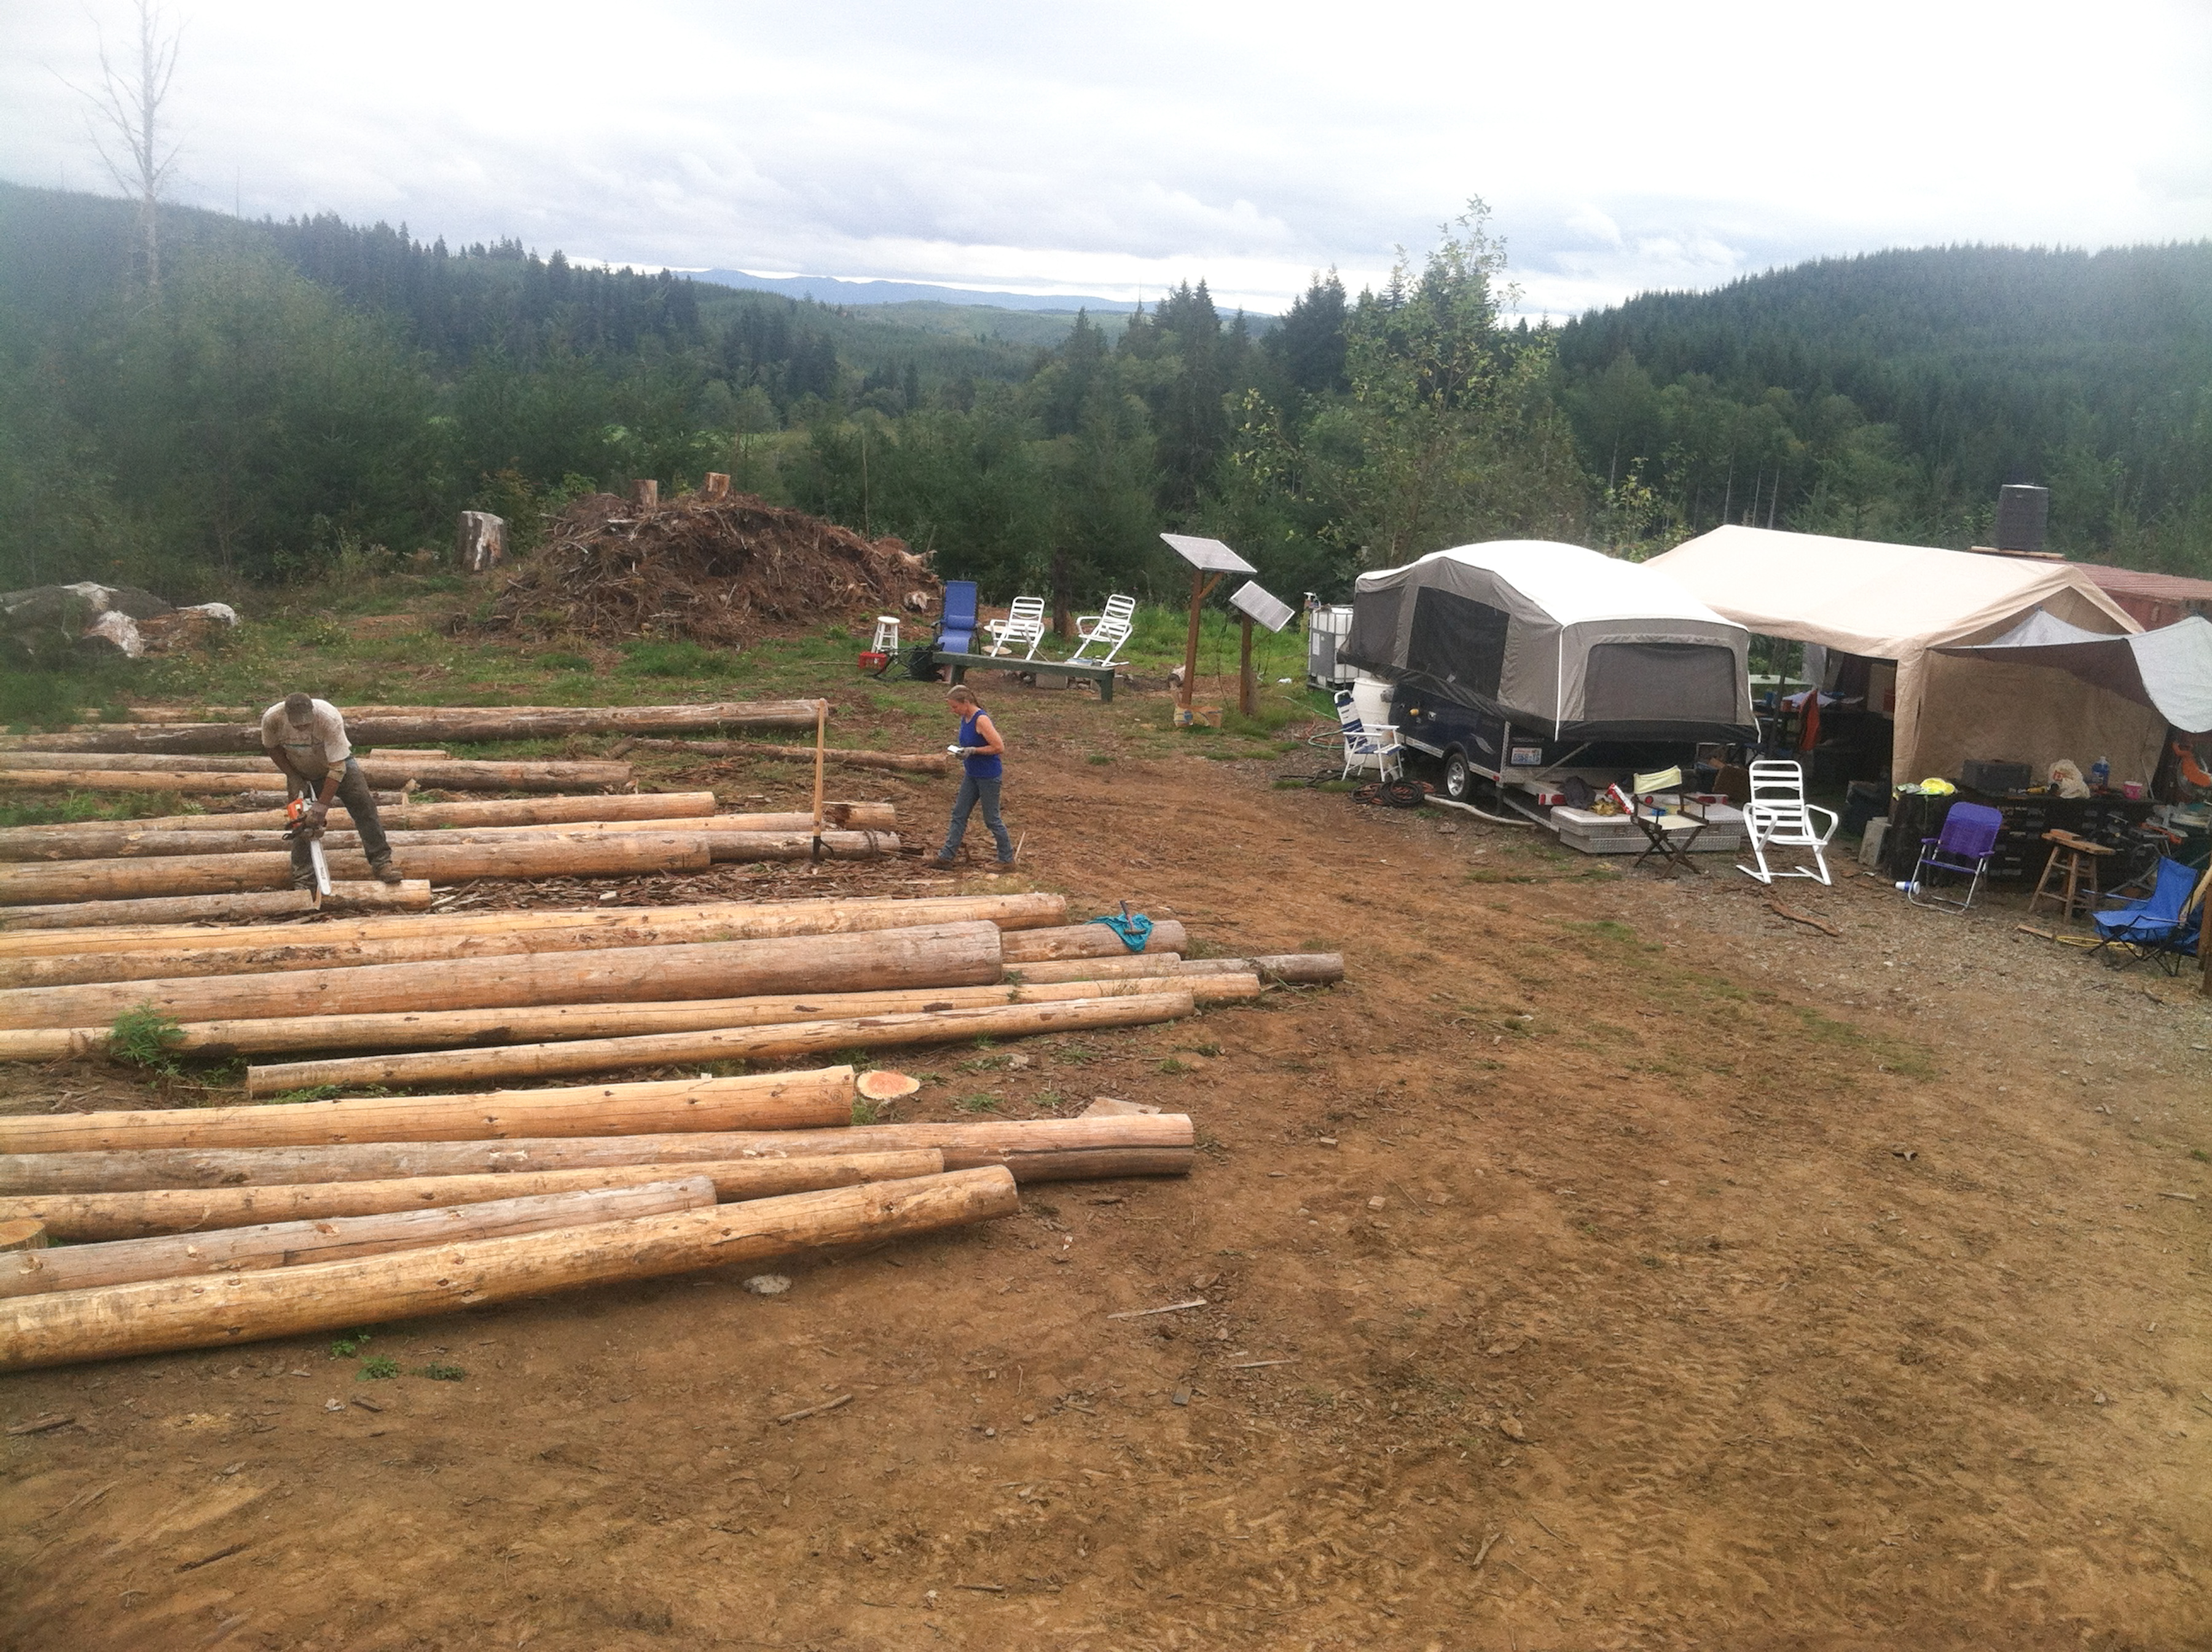
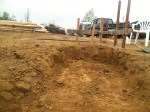
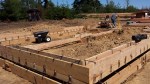
 excavation of our property. The before and after photos show the difference. When we bought the property it was covered by 12-15′ Douglas Fir…with stumps and rolling terrain. As we excavated the small trees we developed two huge burn piles. I didn’t realize just how stubborn those piles could be to burn.
  Bonnie sure had fun spraying diesel on the flames to encourage heat. Her favorite pastime became burning the second pile slowly but surely one branch at a time.
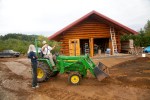
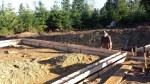
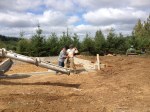
 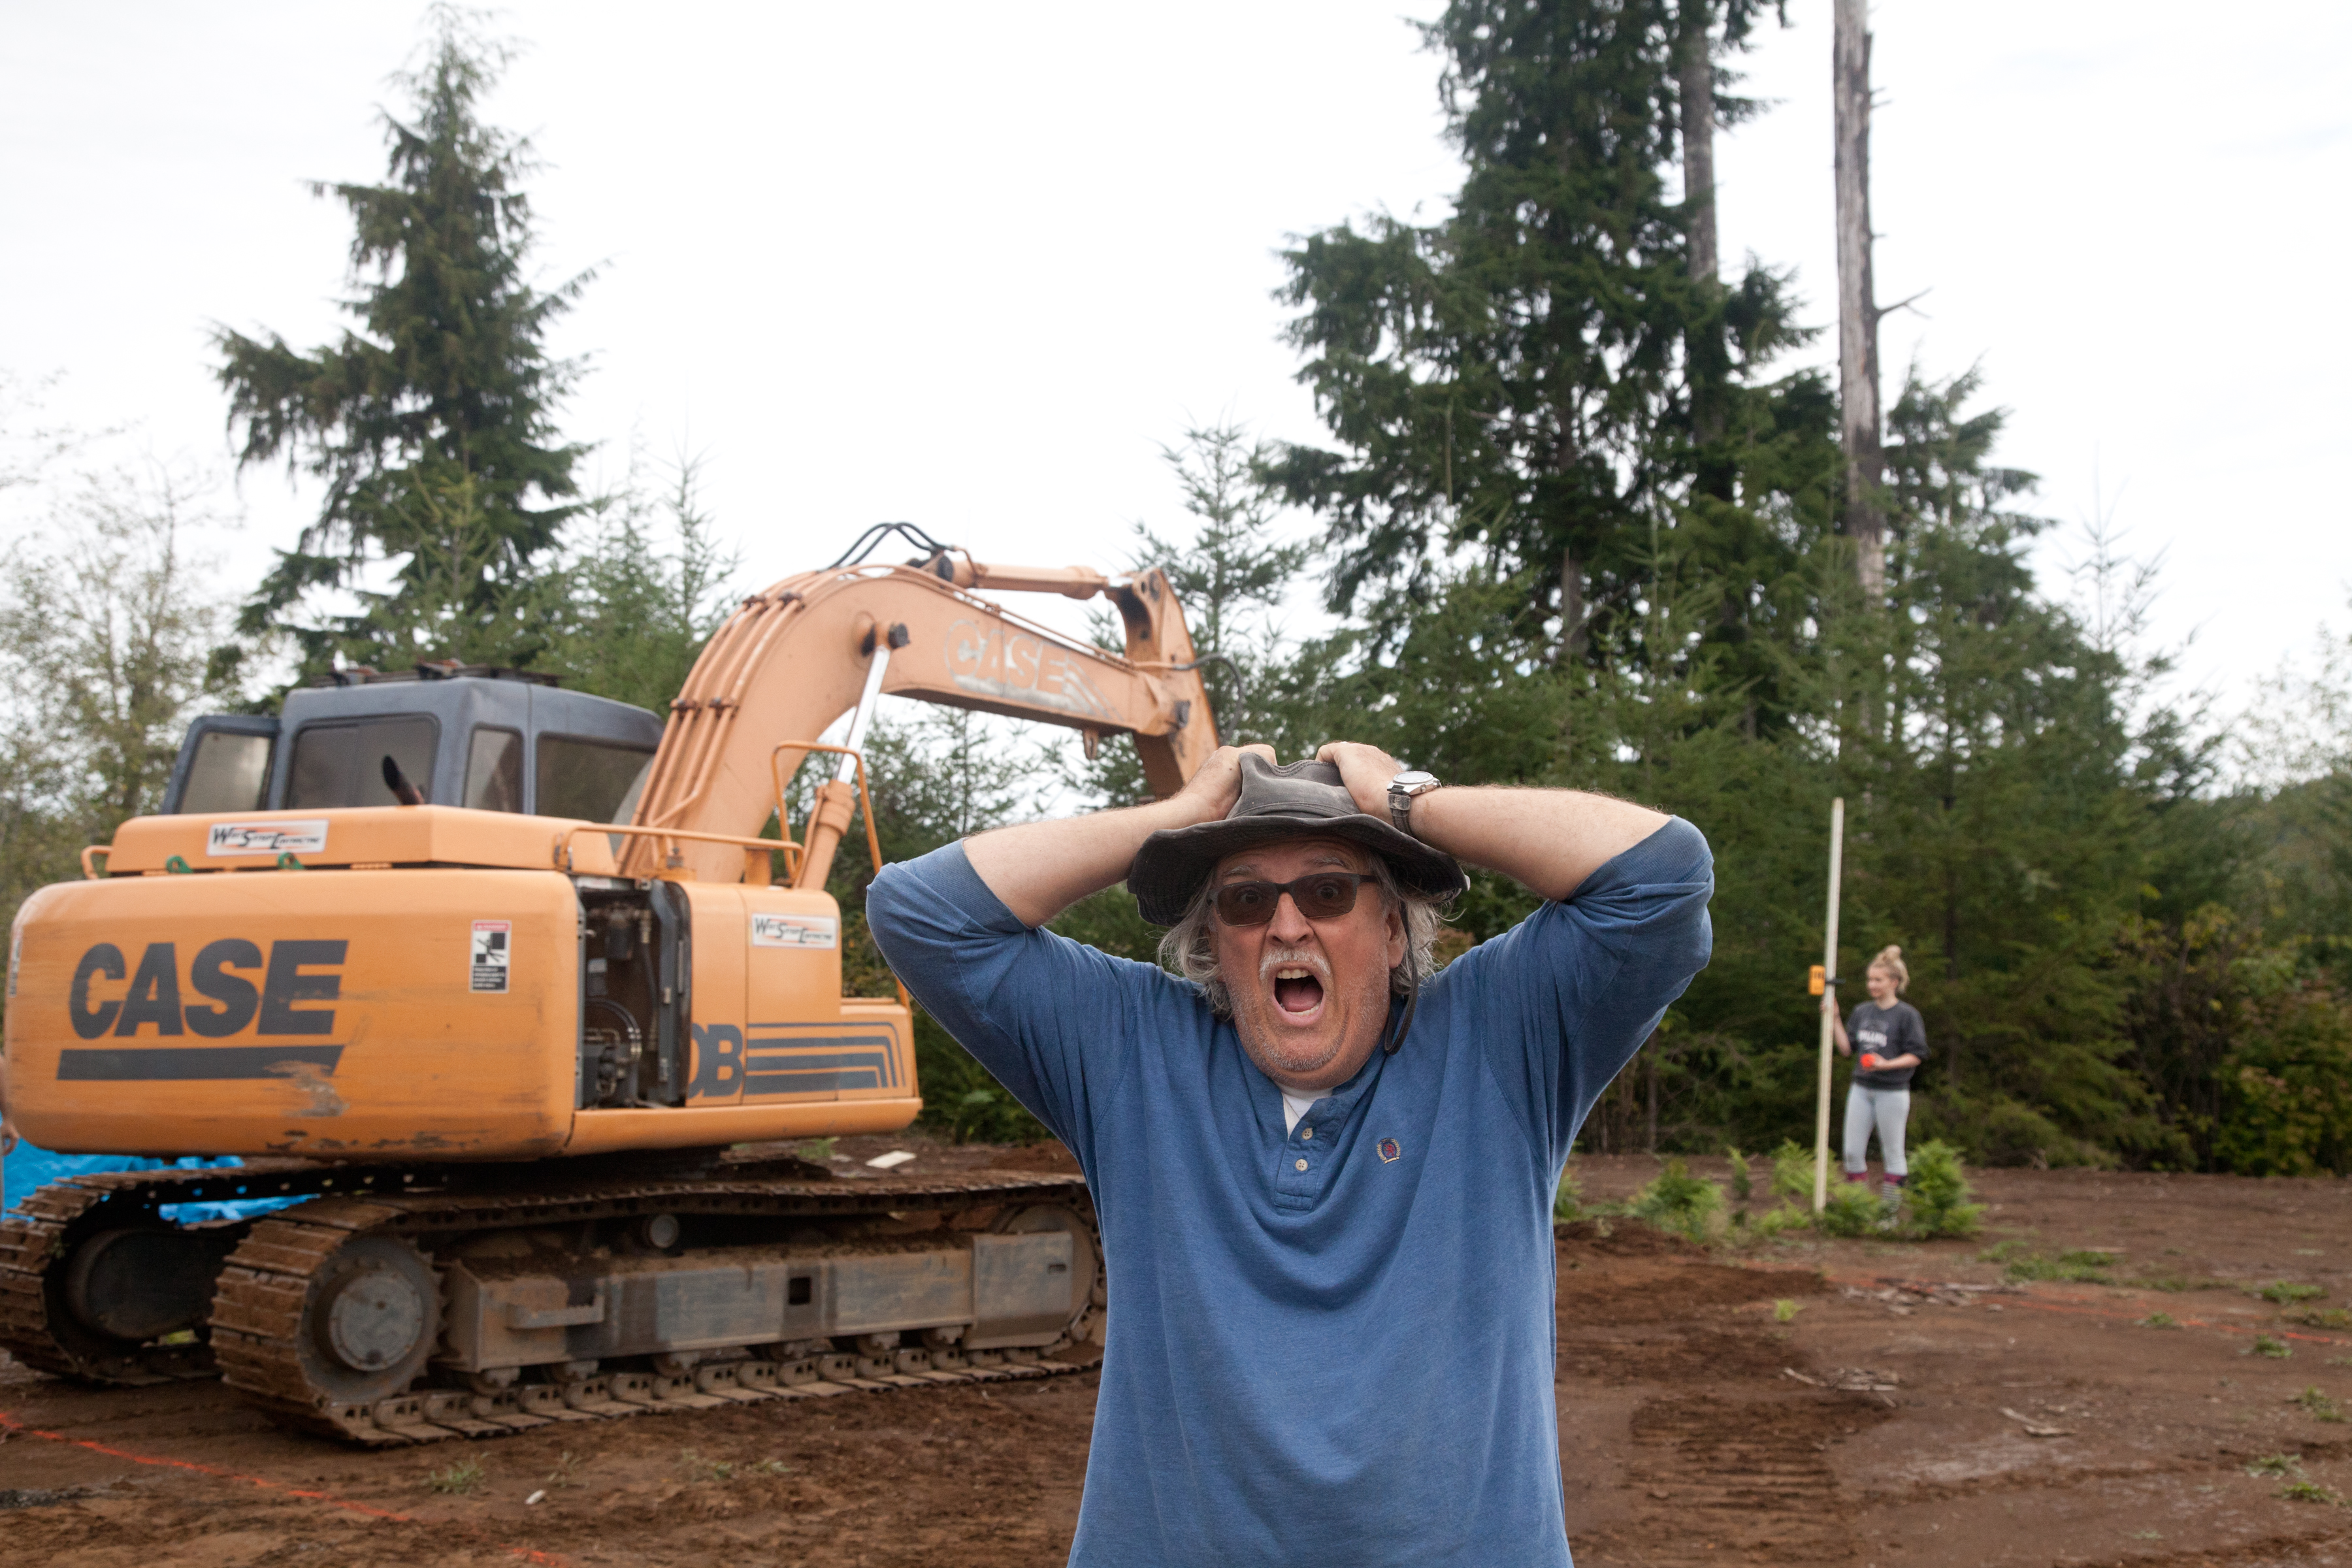 Jack brought his excavator in to groom our acre. He used a 9′ I-beam with skill. He needed to sloop the ground in the best way to allow the rain to run off and not flood the structures. Now it is nicely groomed and ready for living.
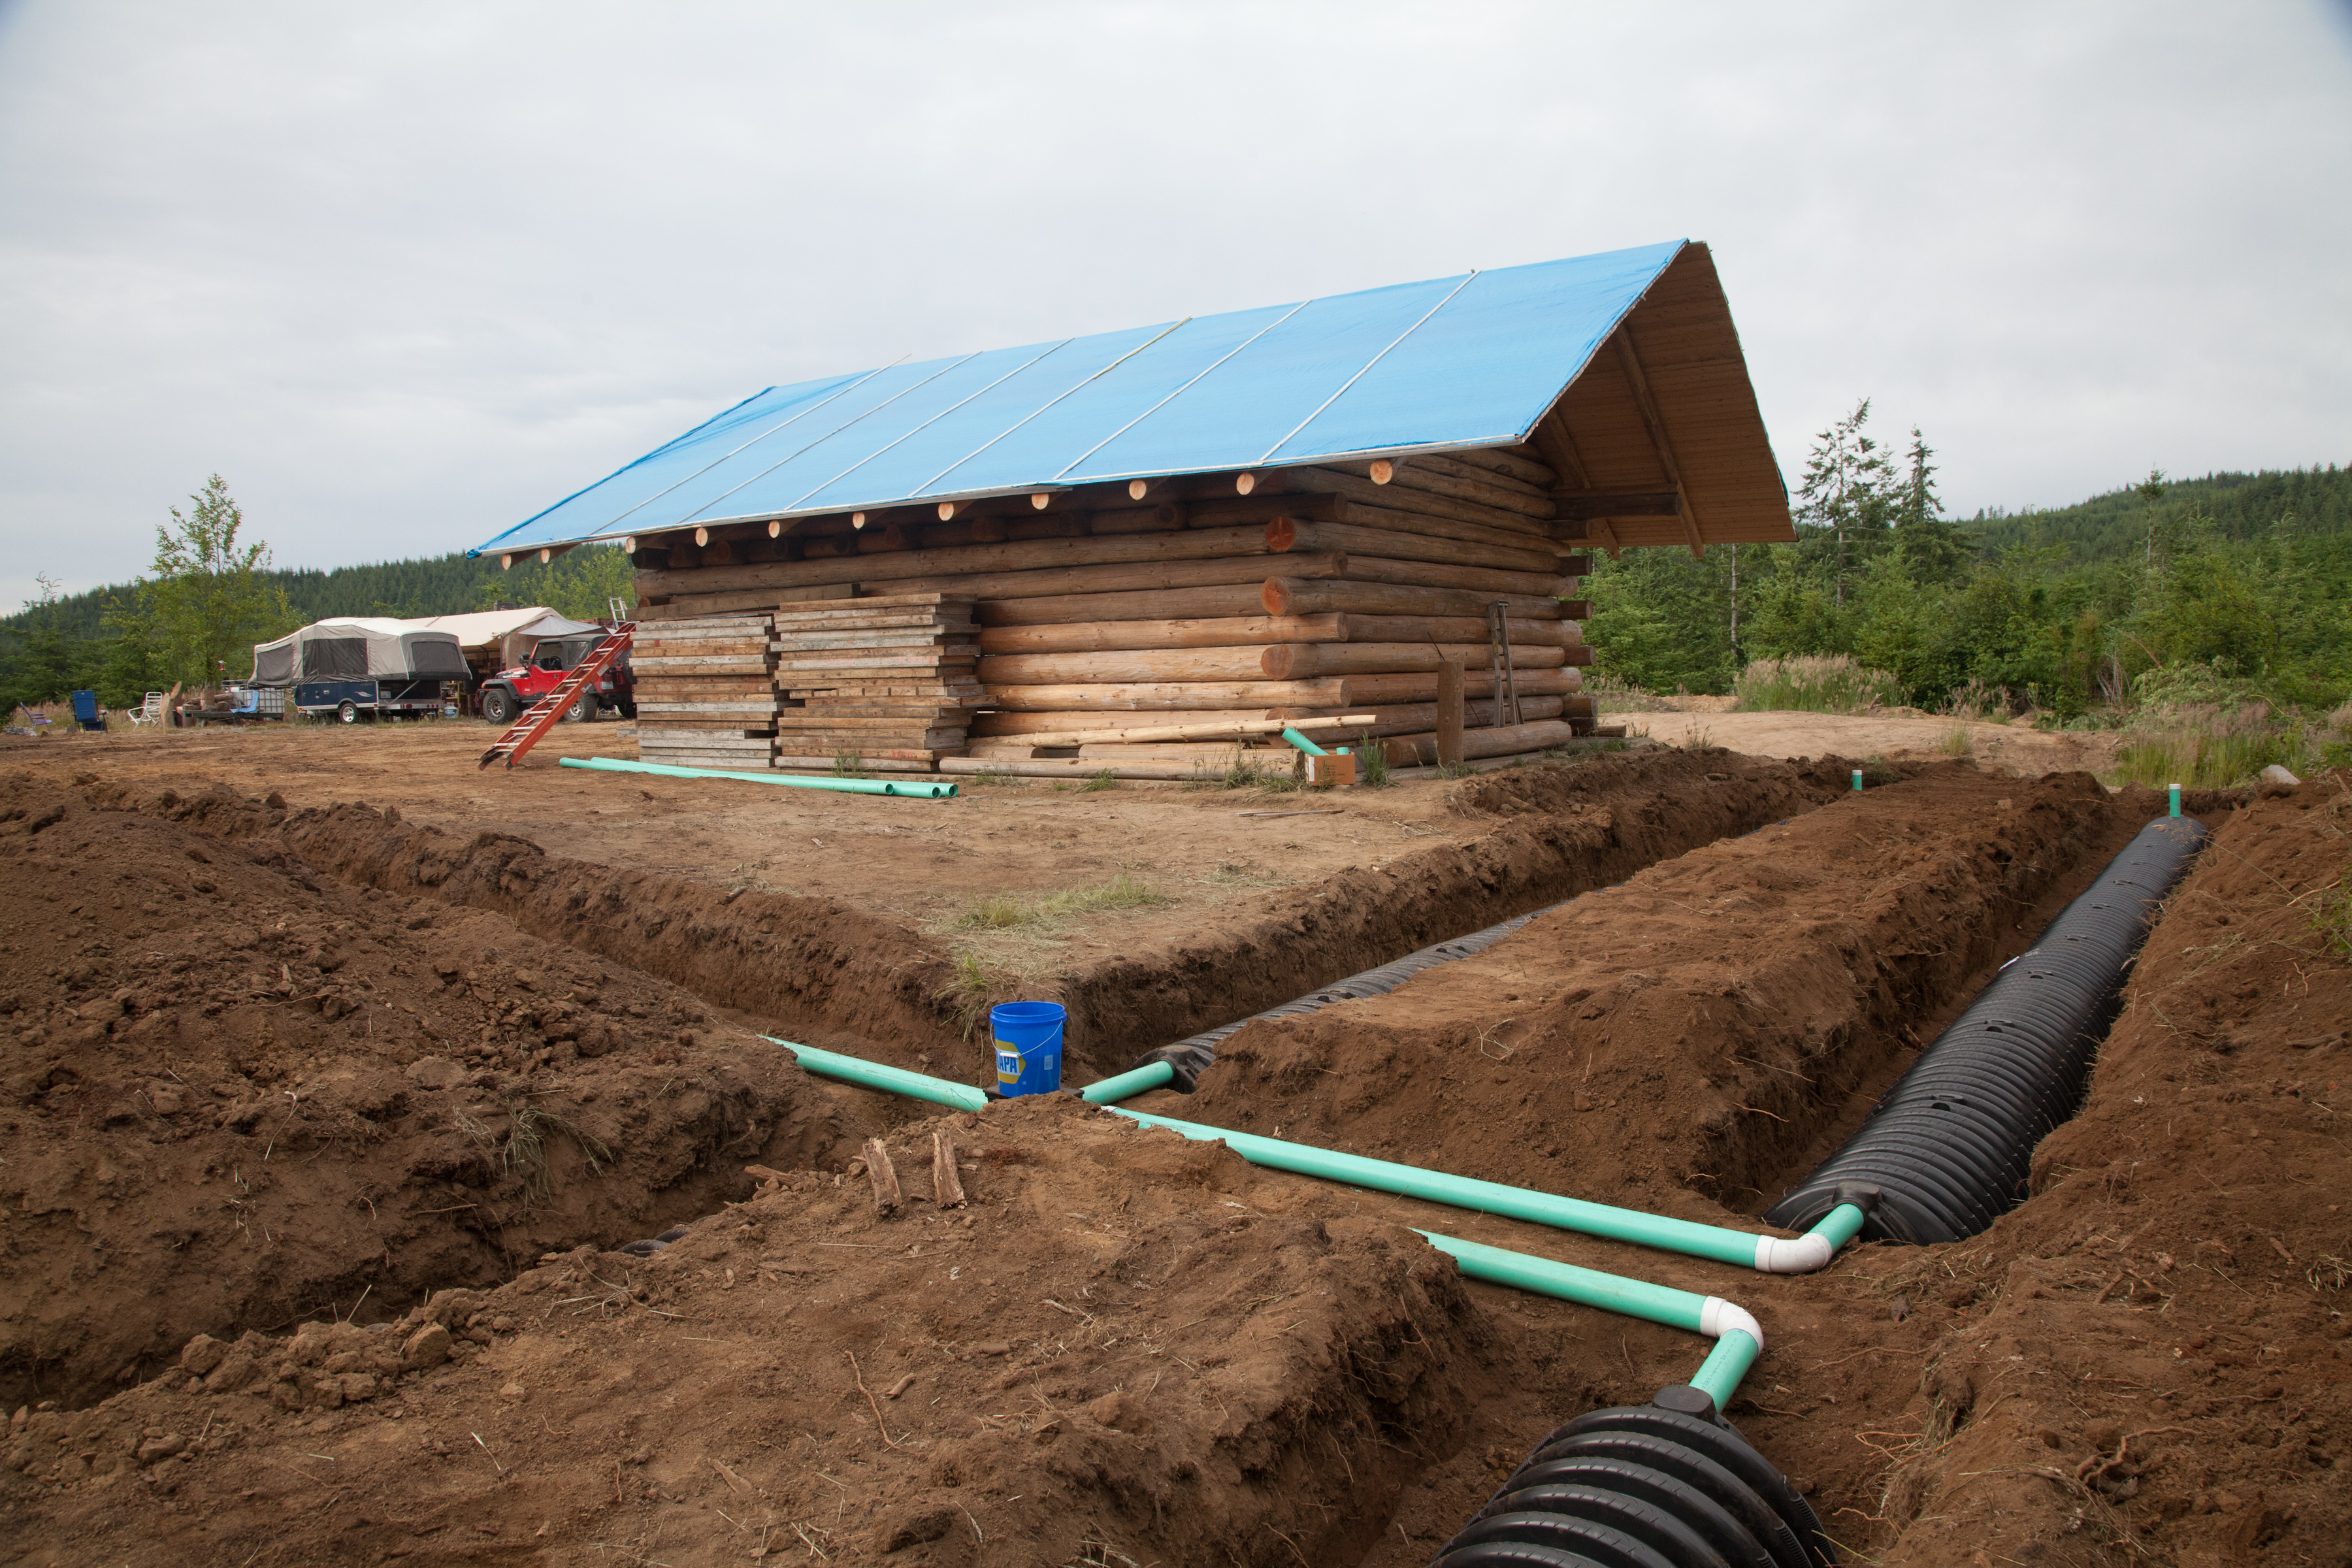
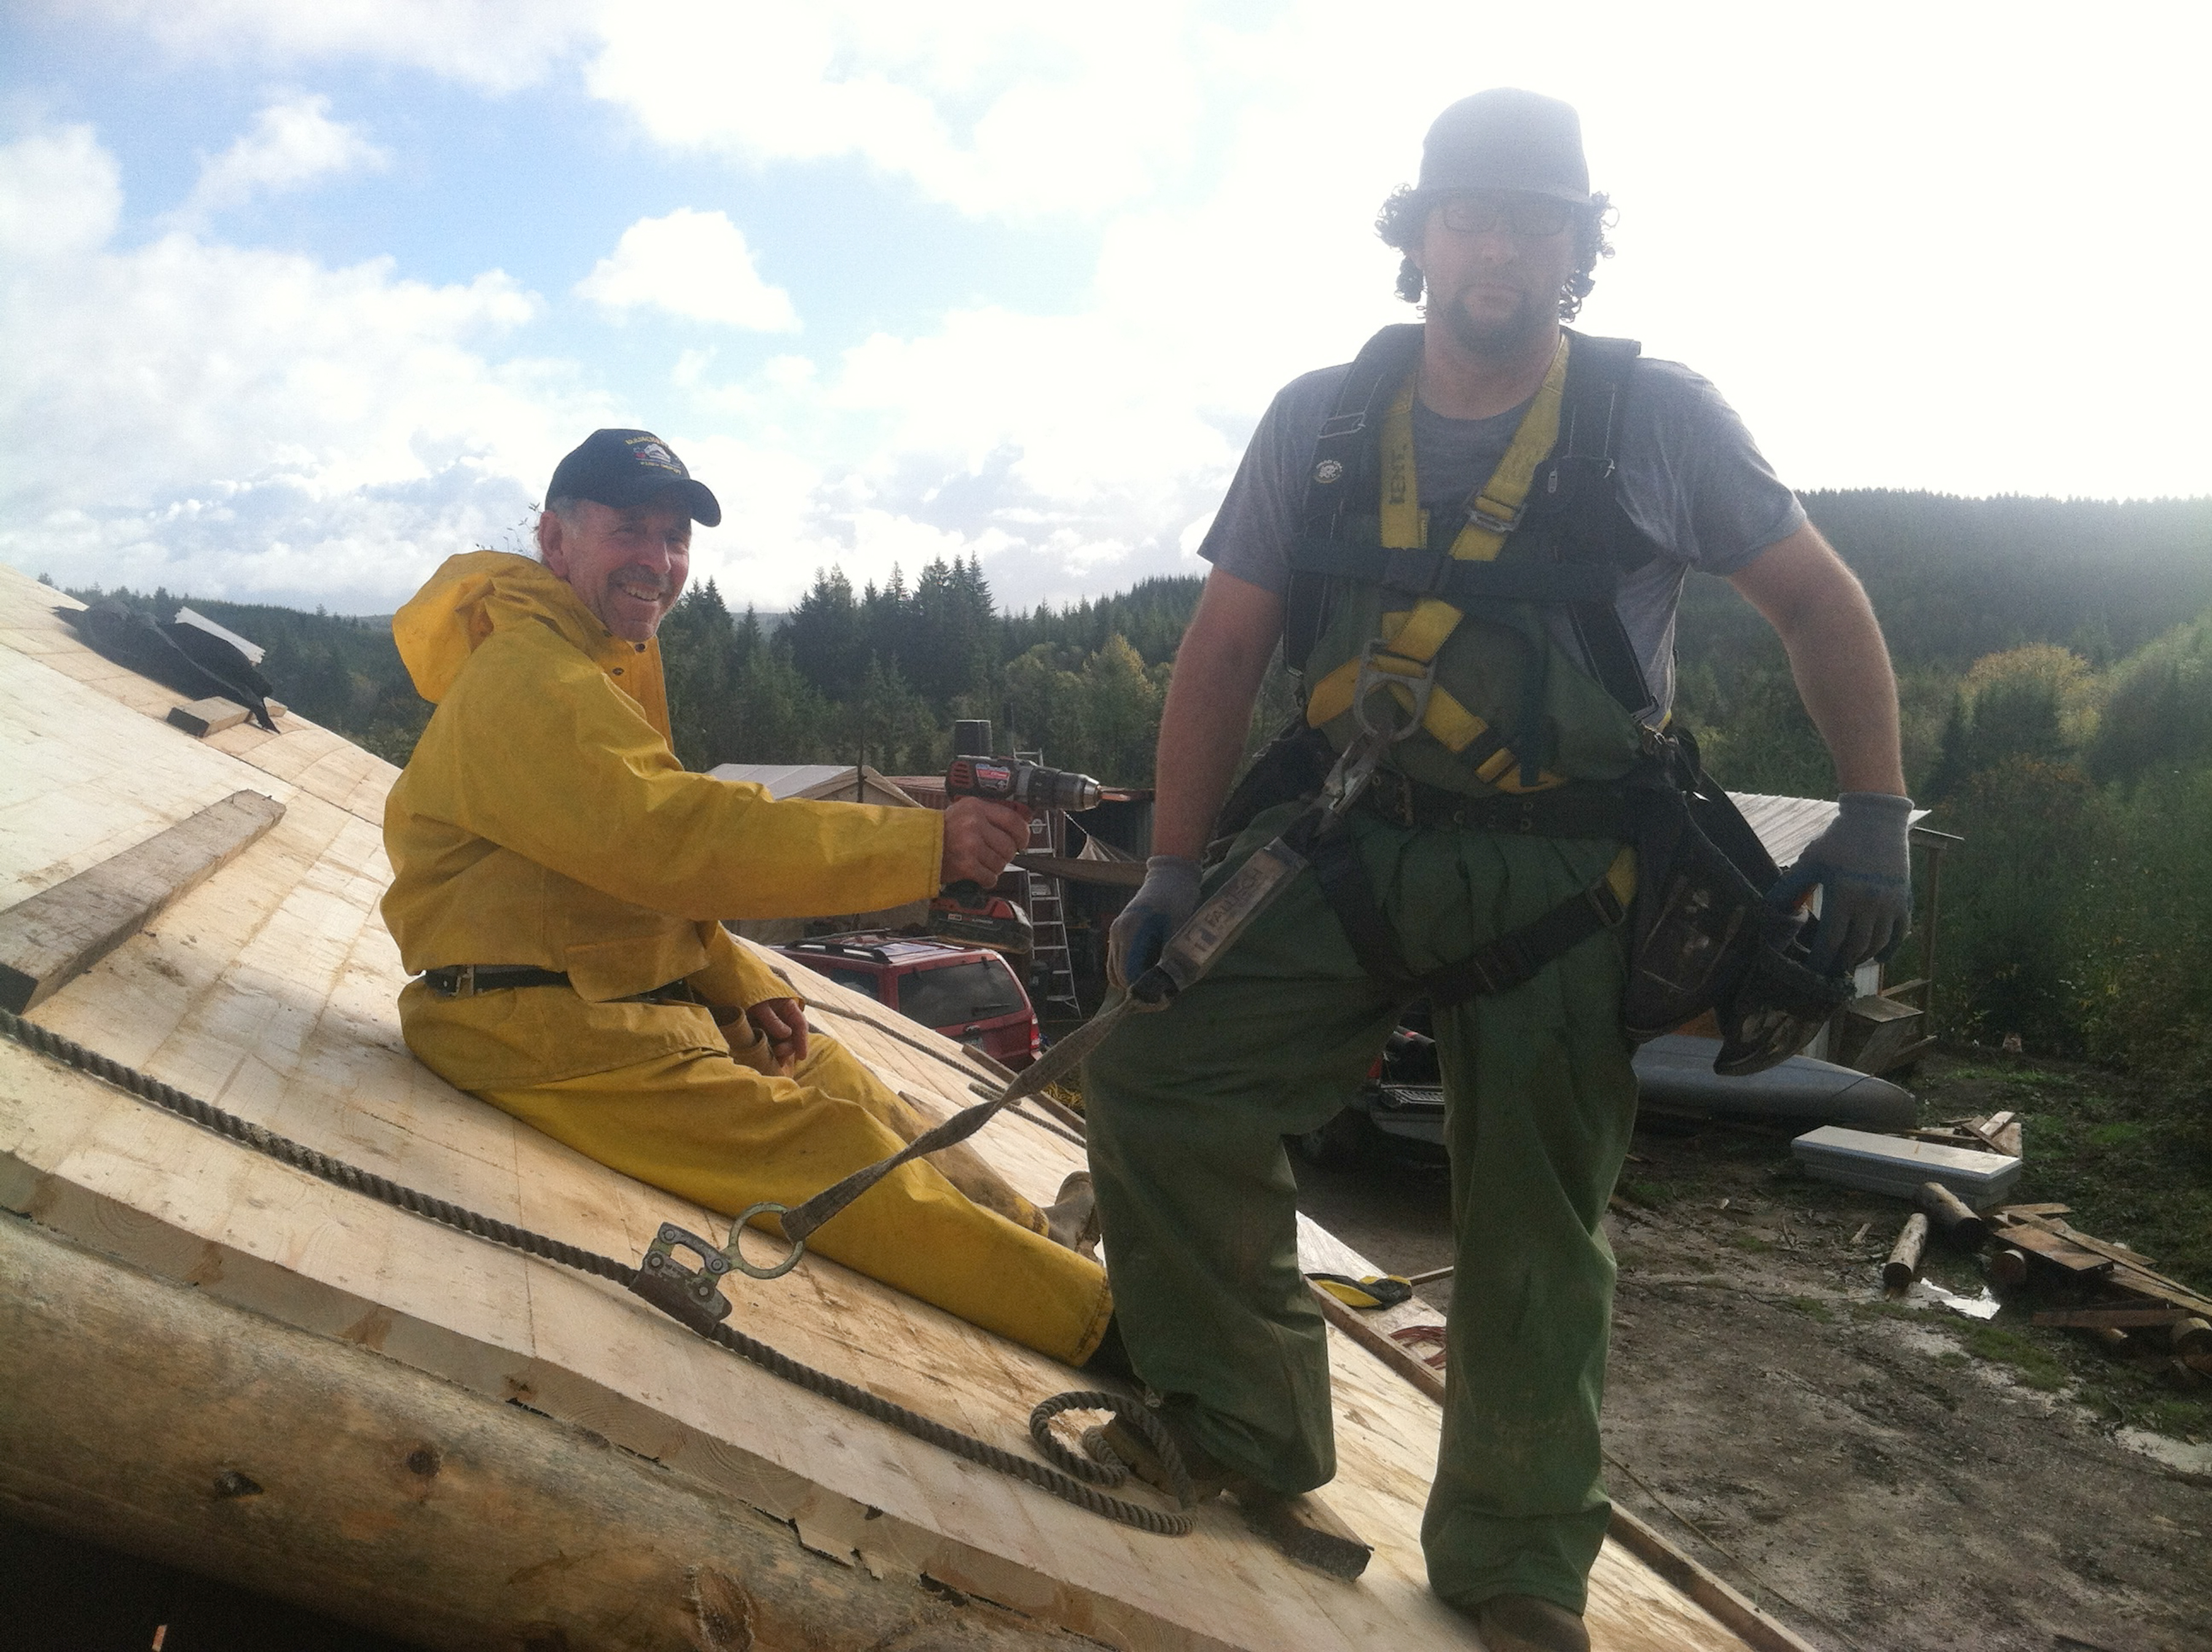
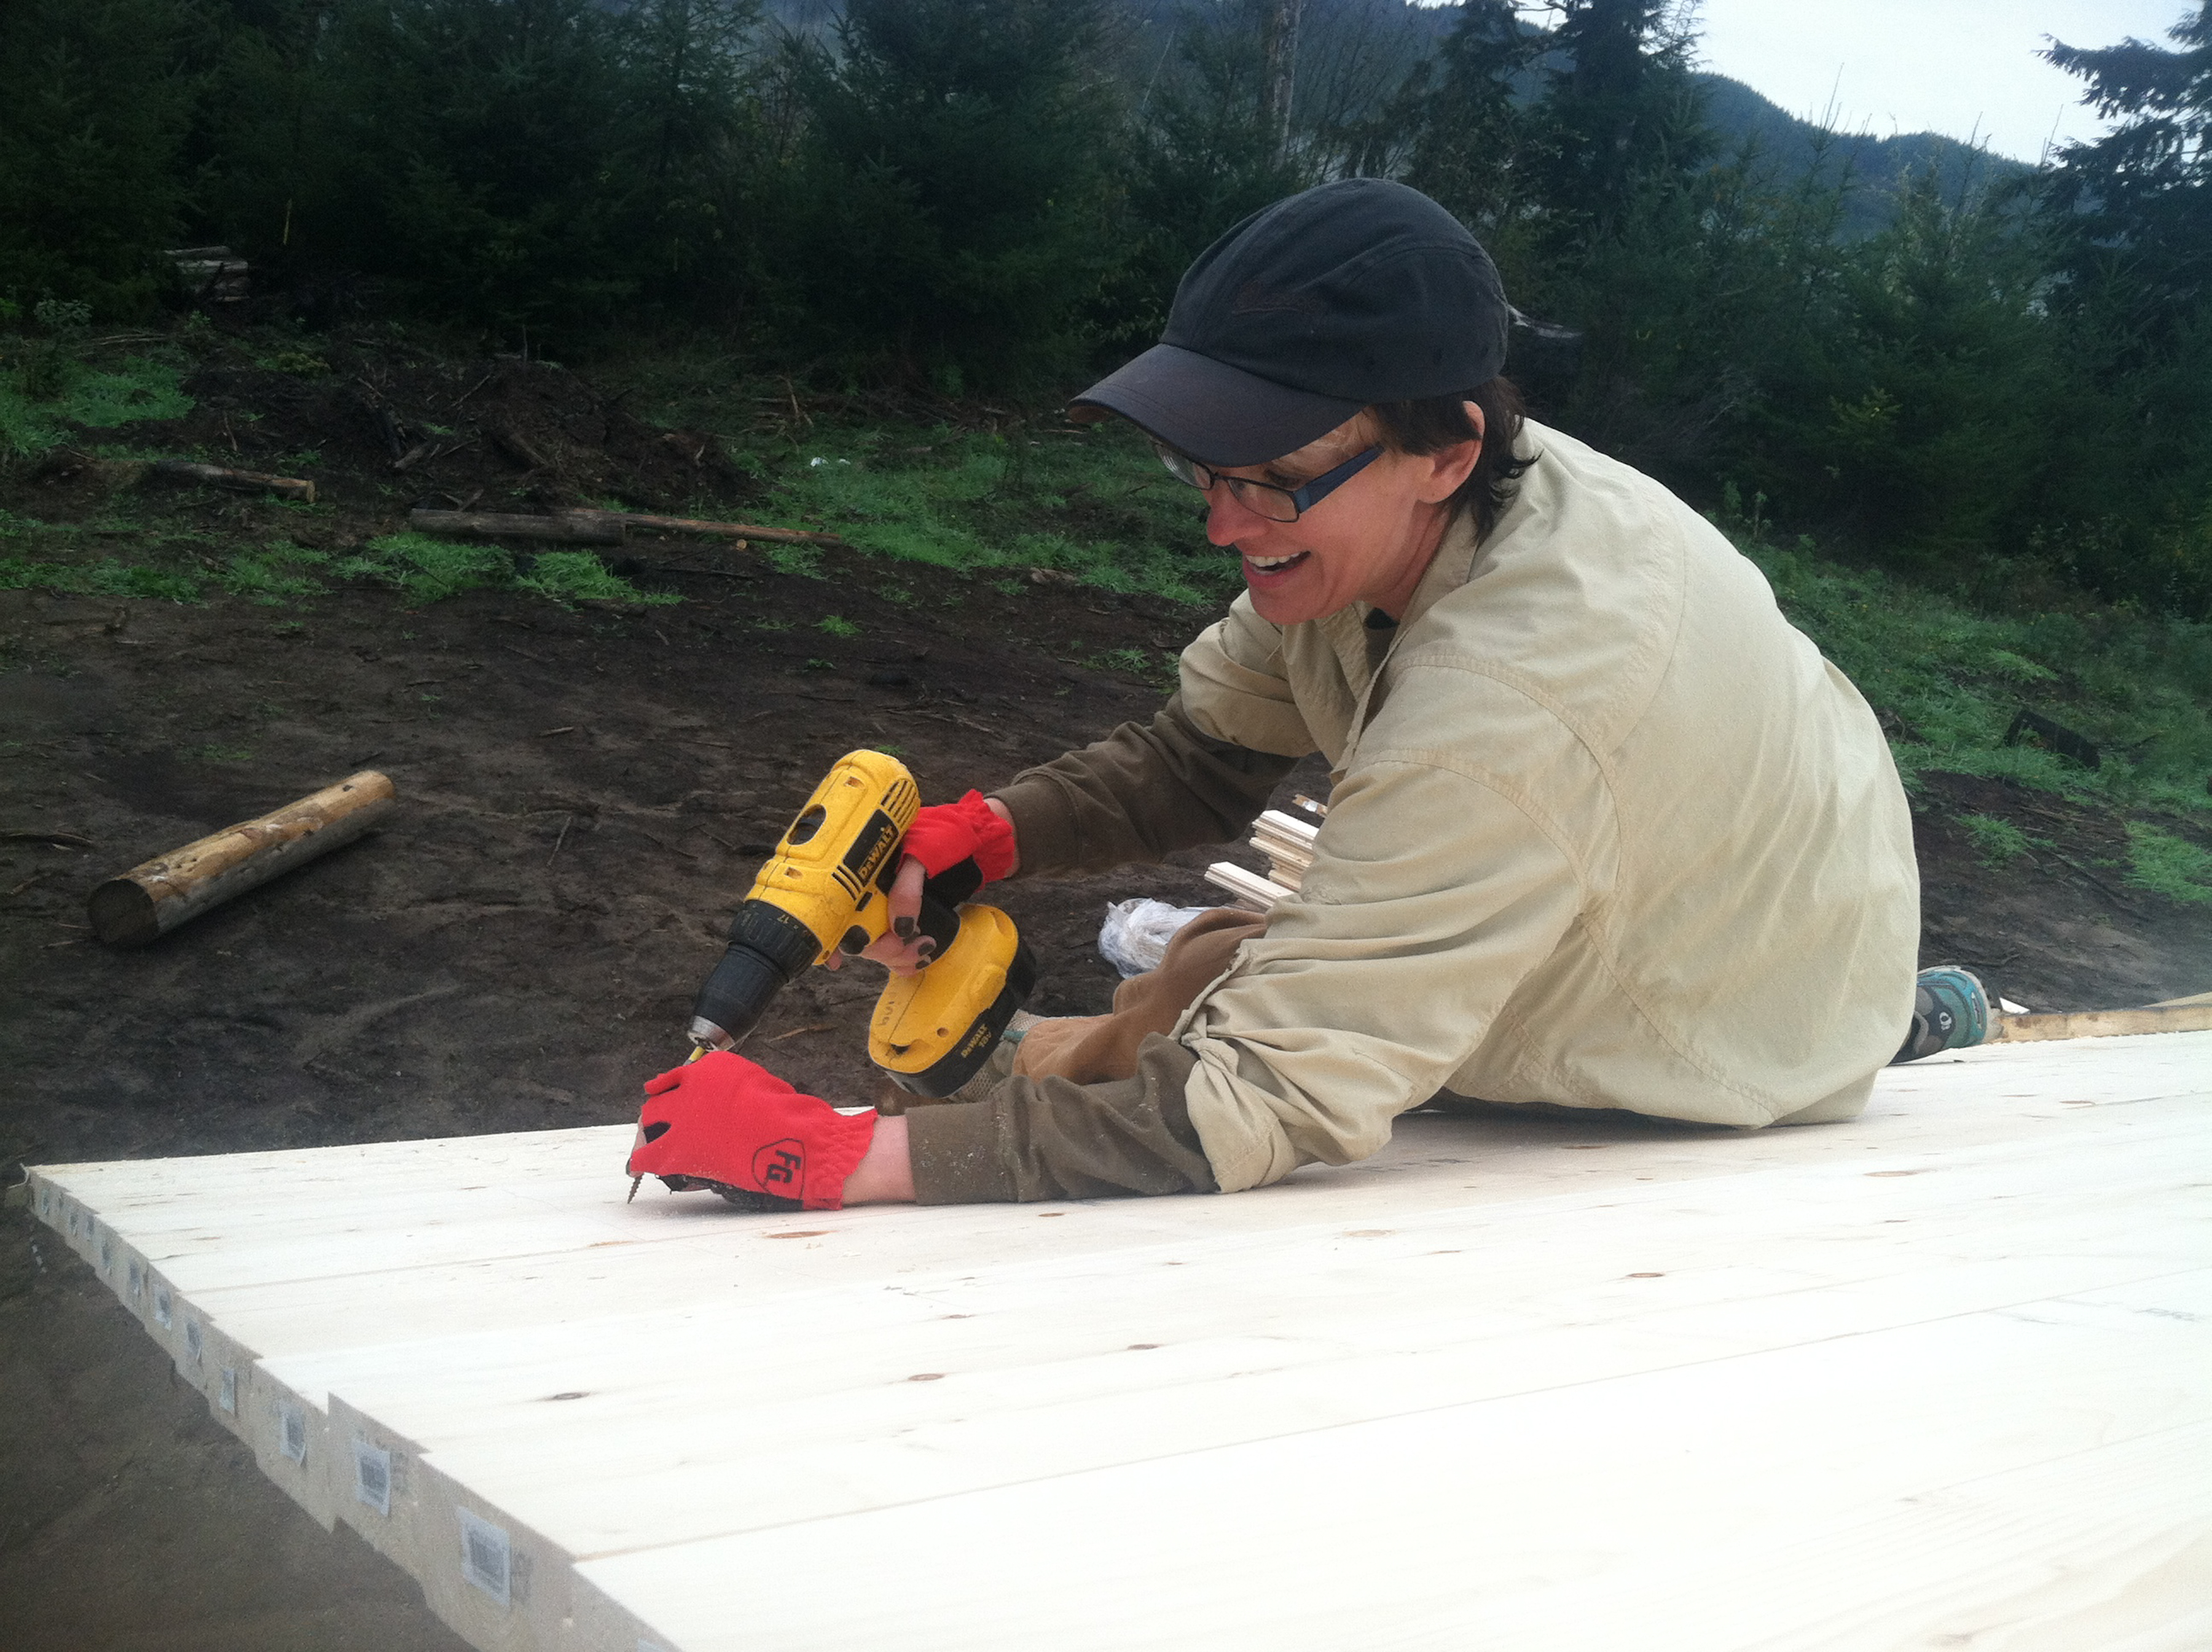
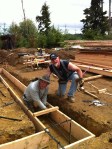
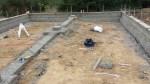
 On the same days we were able to dig trenches and add piping for our gravity fed septic system. We have 200′ of drain field and a tank large enough for a three bedroom home. This summer I will be setting up our privy next to the tank and piping our toilet directly into it. Our next job was to add the metal roof to our 2x6TG and felt. We chose a brick red color and 12″ width metal. Rob and Dwayne had experience so I stood back and played the gofer.
 A decision we had to make was ‘how much insulation if any’? If we went with the same insulation as we will put on our cabin…it would have cost 5k. Of course we could have spent less for less ‘R factor’. We decided to go with no insulation at all. Our thinking was that in the first place it was a garage and will be used sparingly for ‘living quarters’. Second, we will primarily be at our property during the summer. Lastly, I will probably have a small wood stove eventually.

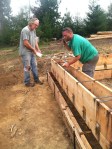
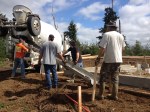
Next was our slab floor in the garage. Again, Rob and his dad(Dwayne) were my ‘go to’ guys. A thick layer of crushed gravel then covering of plastic keeps the moisture off your cement…plus it helps to slow down the setting up of the cement while you are smoothing and finishing. Tom and Yvonne traveled from North Carolina to visit us in Washington.

 They arrived precisely on the day we poured. Coincidence? Or could I have timed the cement truck perfectly? I’ll never tell. It is always special to have friends visit…wether they are able to help out or just to share a camp fire.
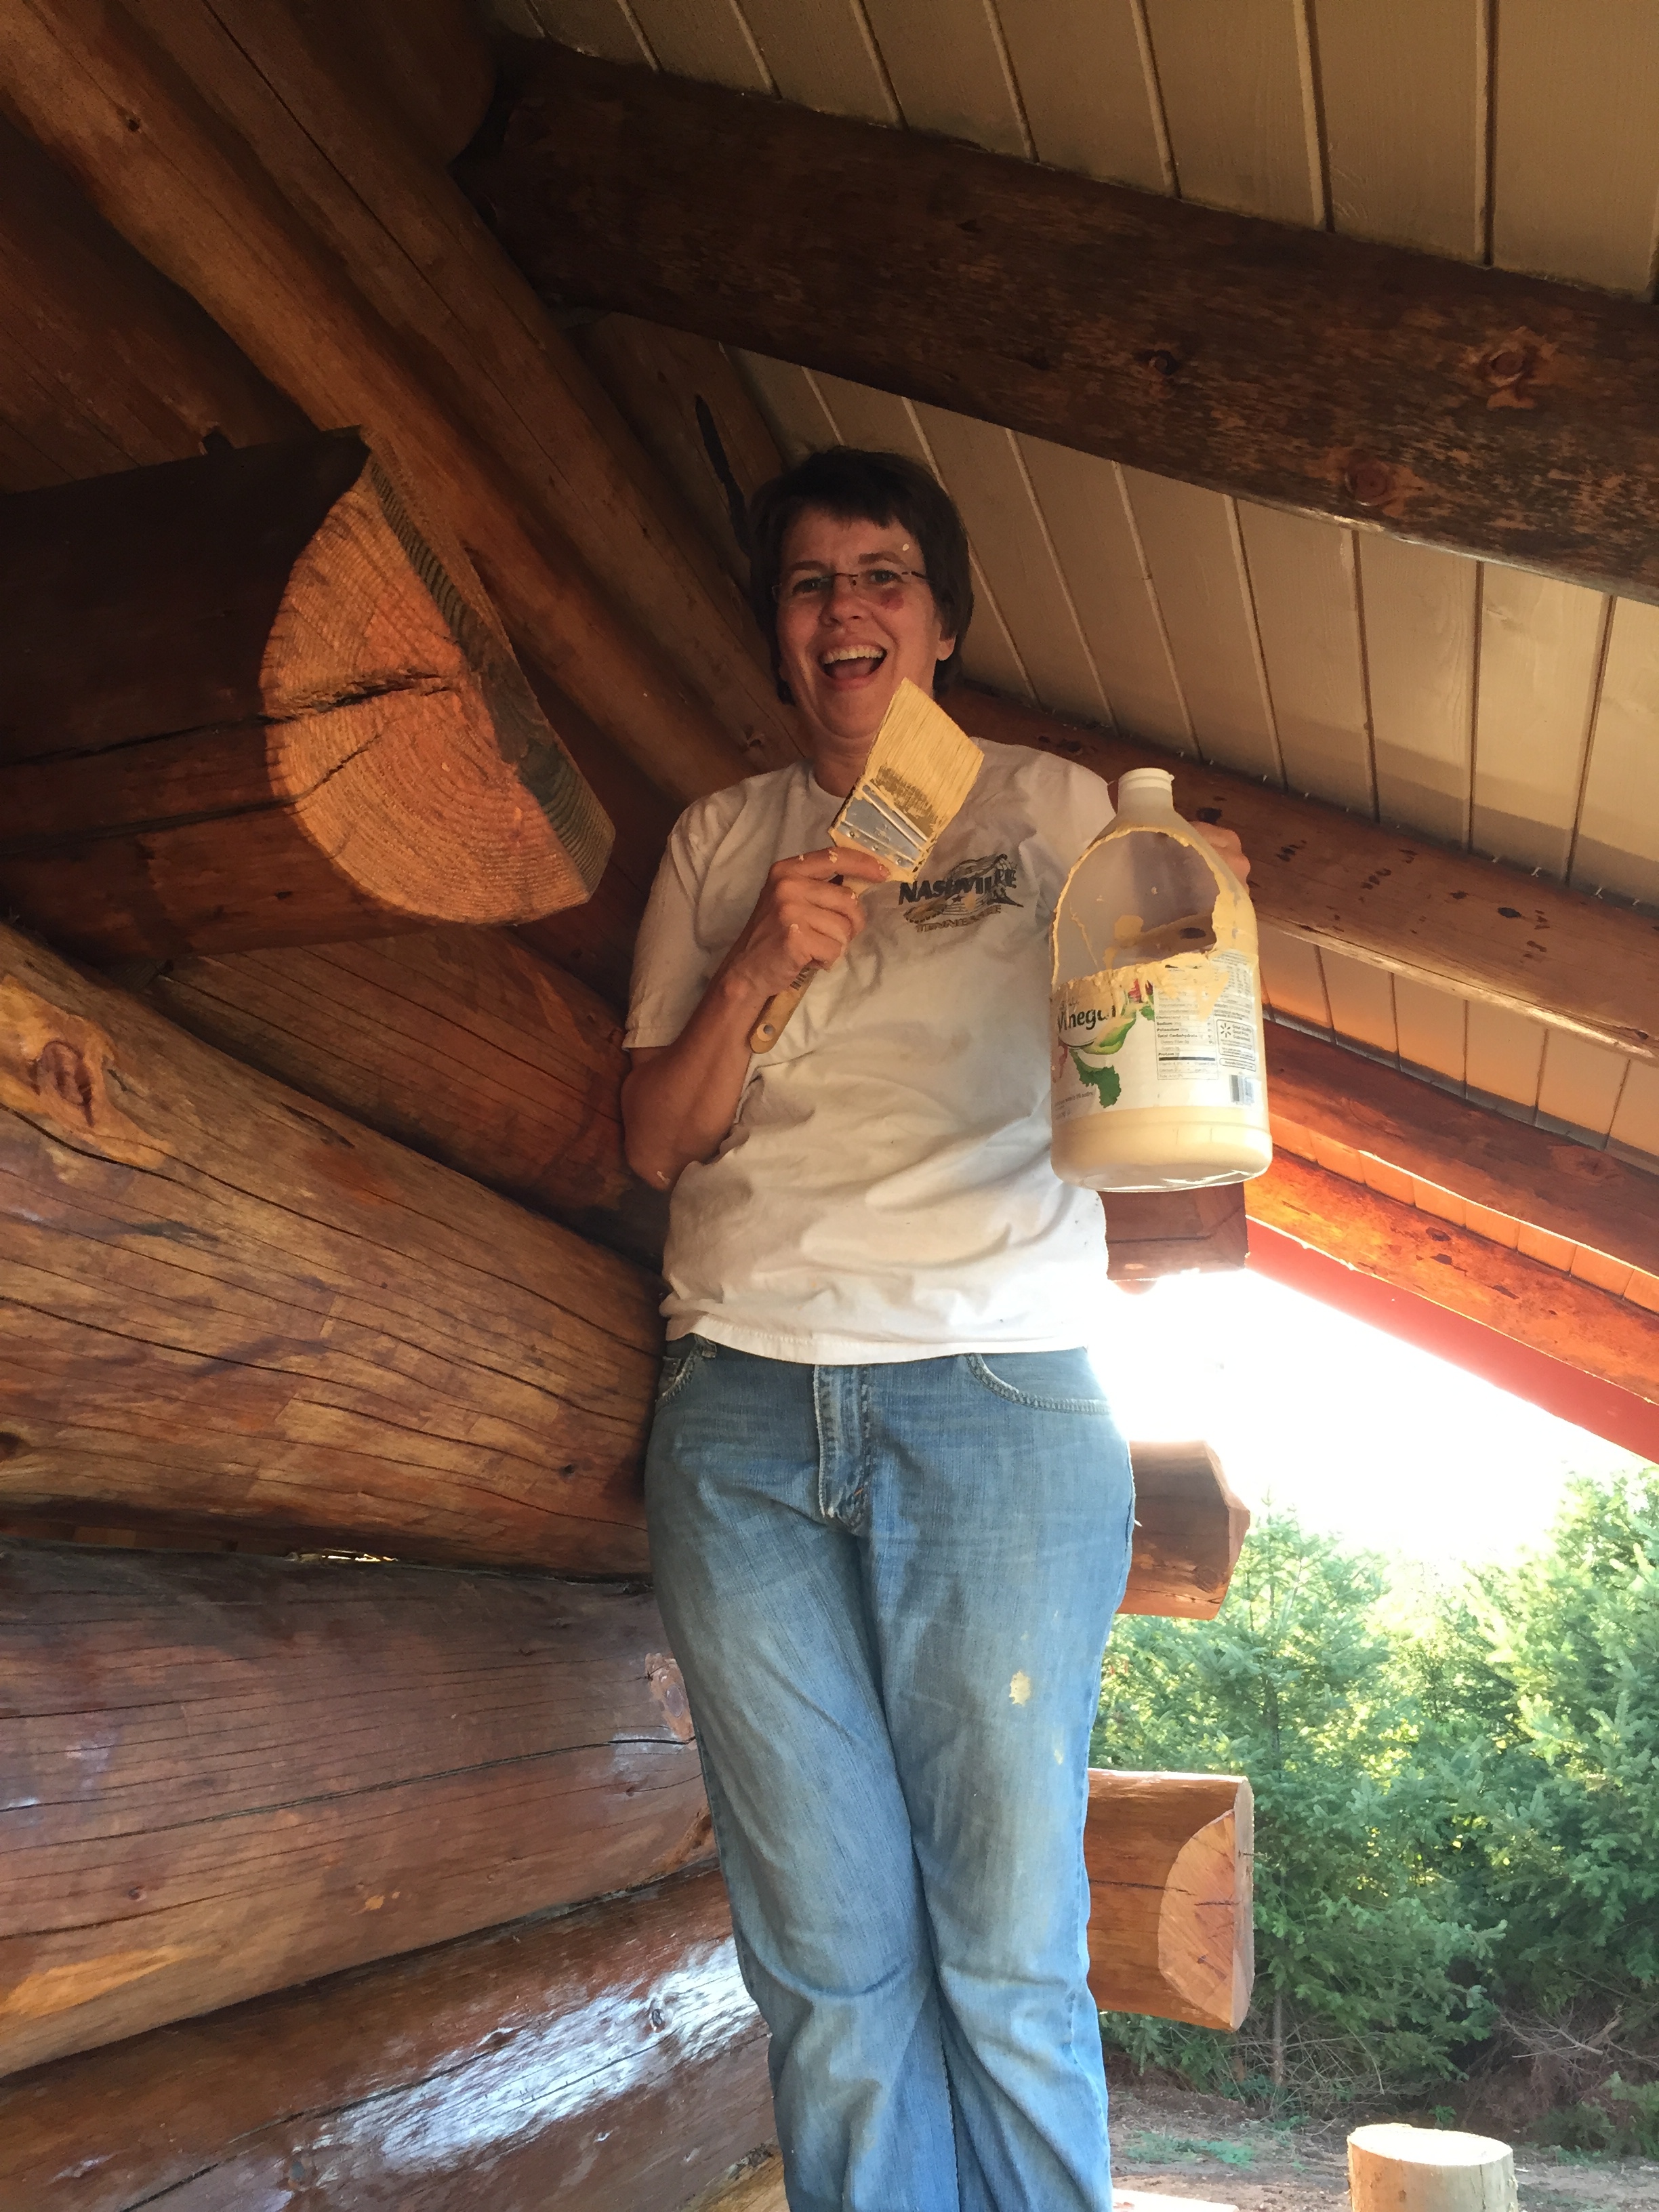
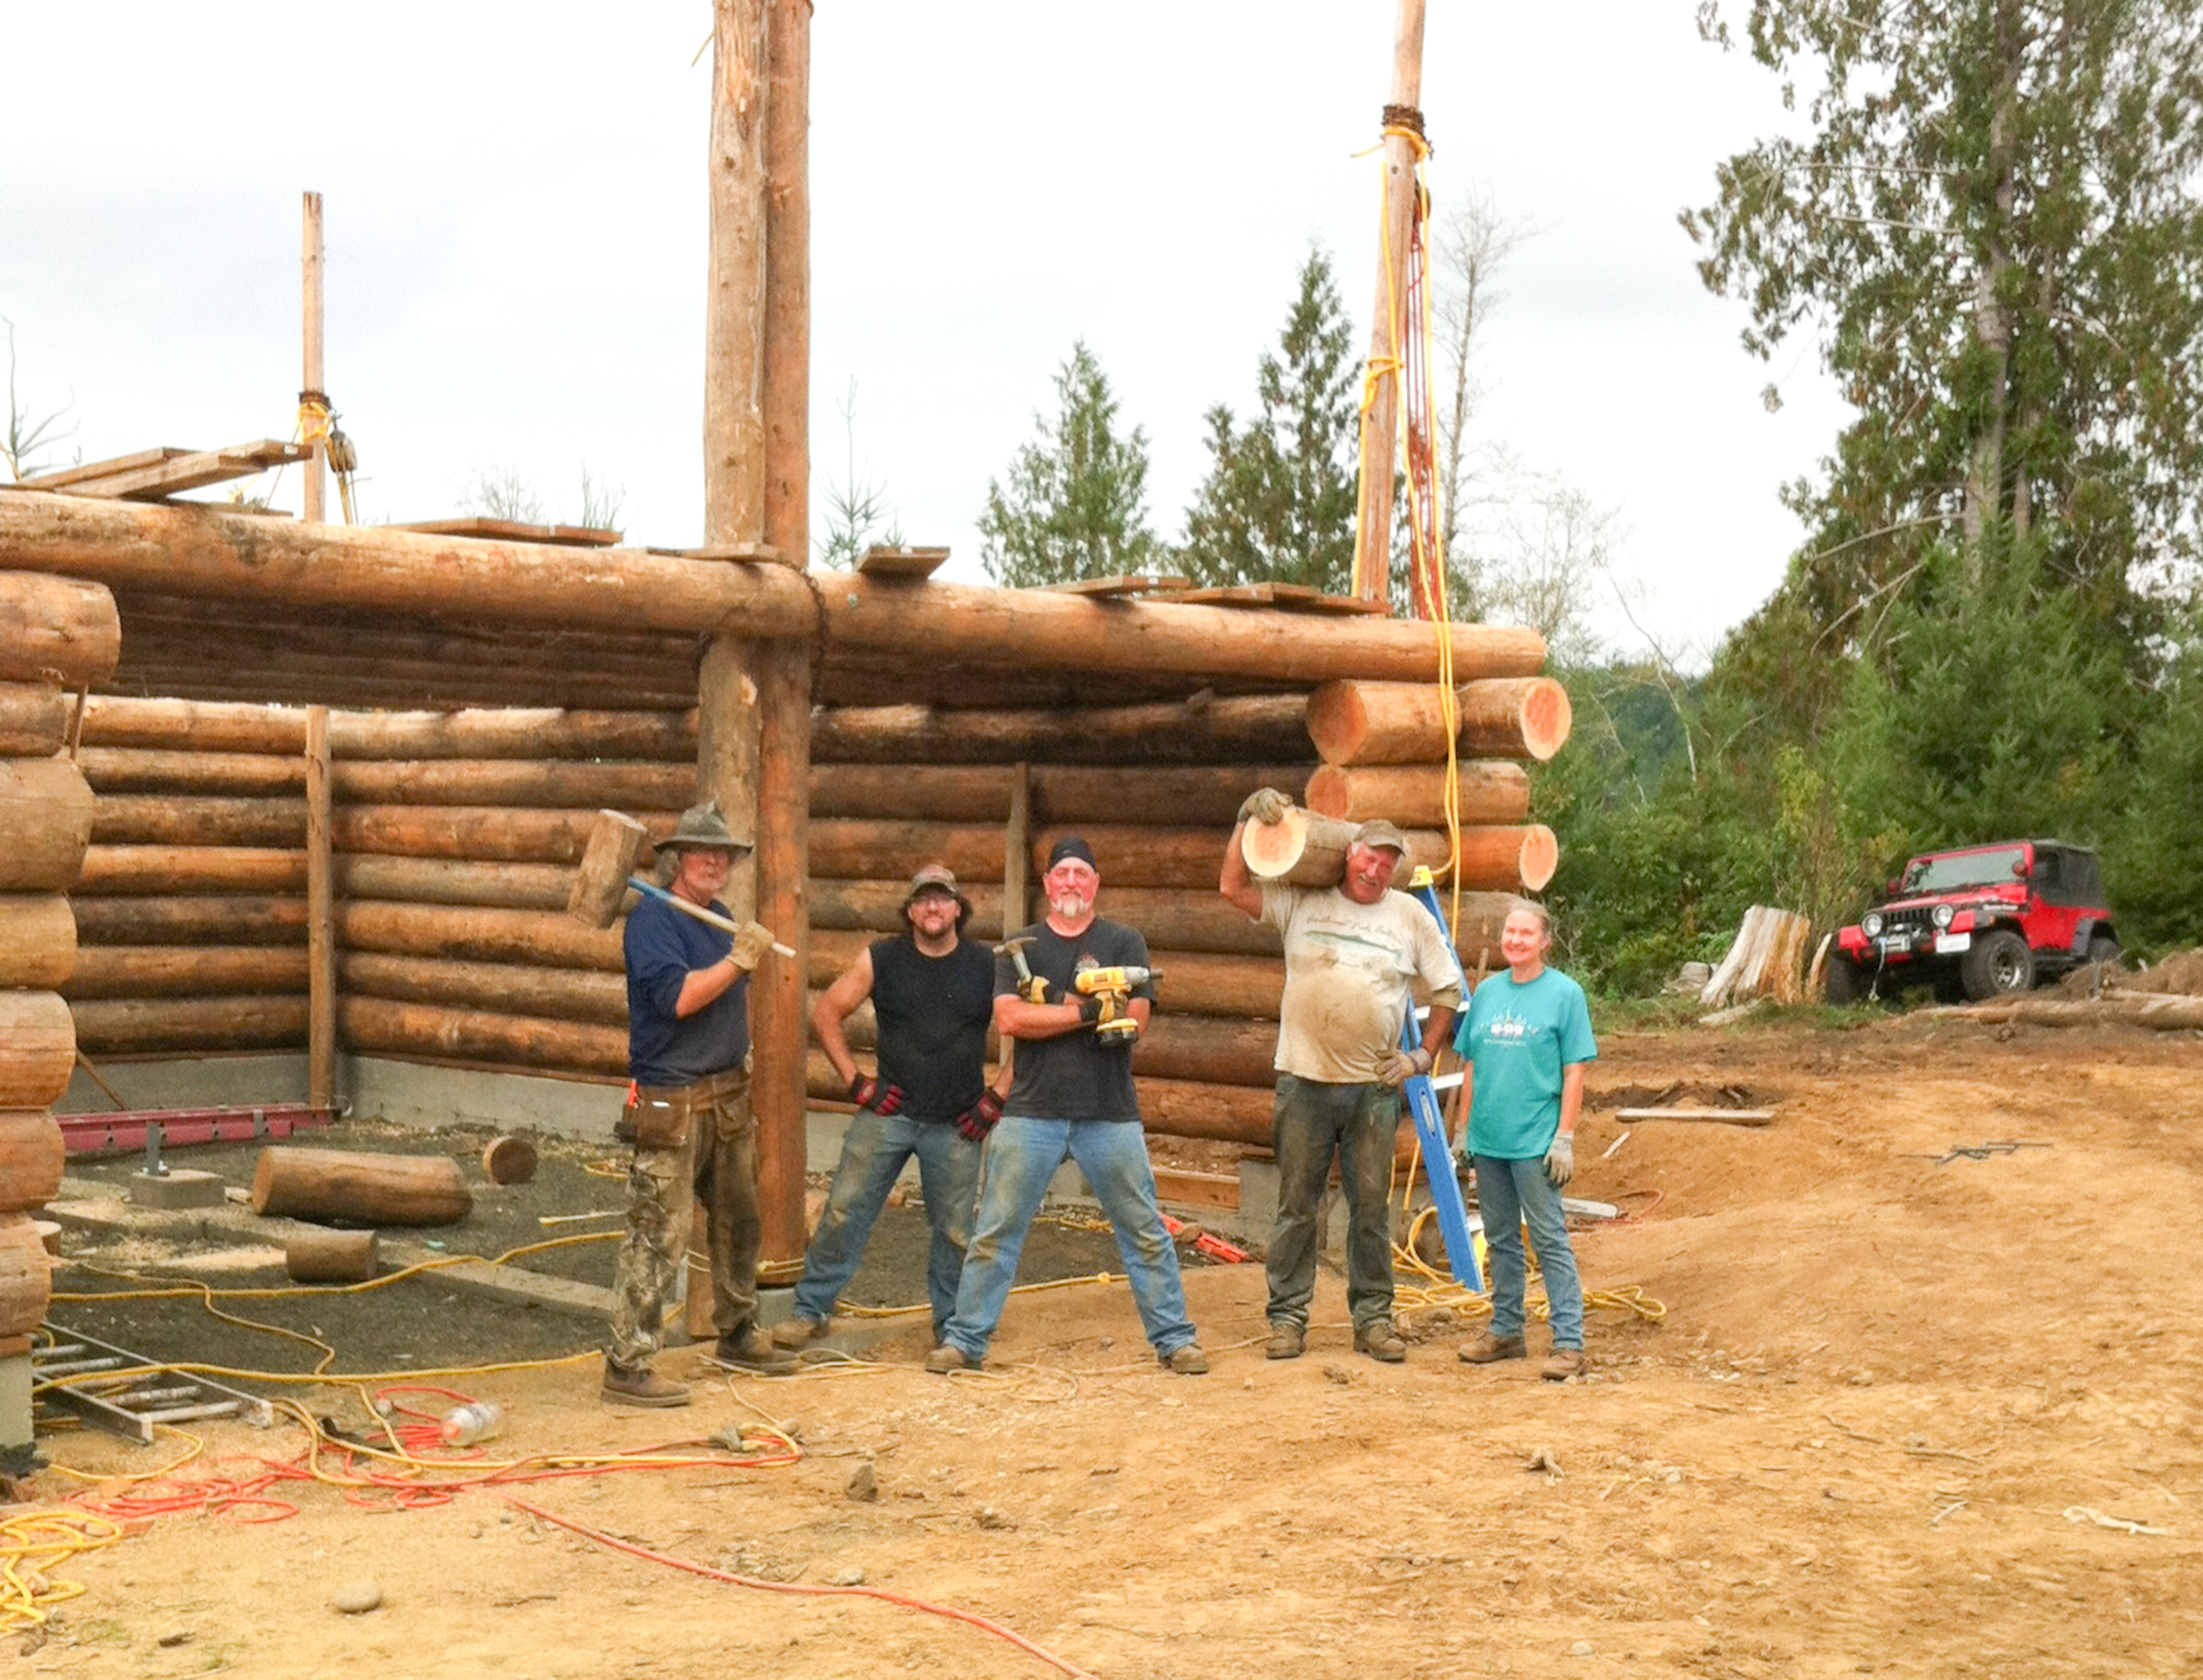
 Kim and Chris also helped during the summer…thanks guys!
 Probably my favorite time of the summer was when Craig my son stopped by for 4-5 days. We hadn’t been able to spend much time together in a while so this time was special. The project of the week was to build the swinging barn doors for the garage. First a good friend of mine Cory, came out for a weekend and installed some fantastic casings for the doors.
 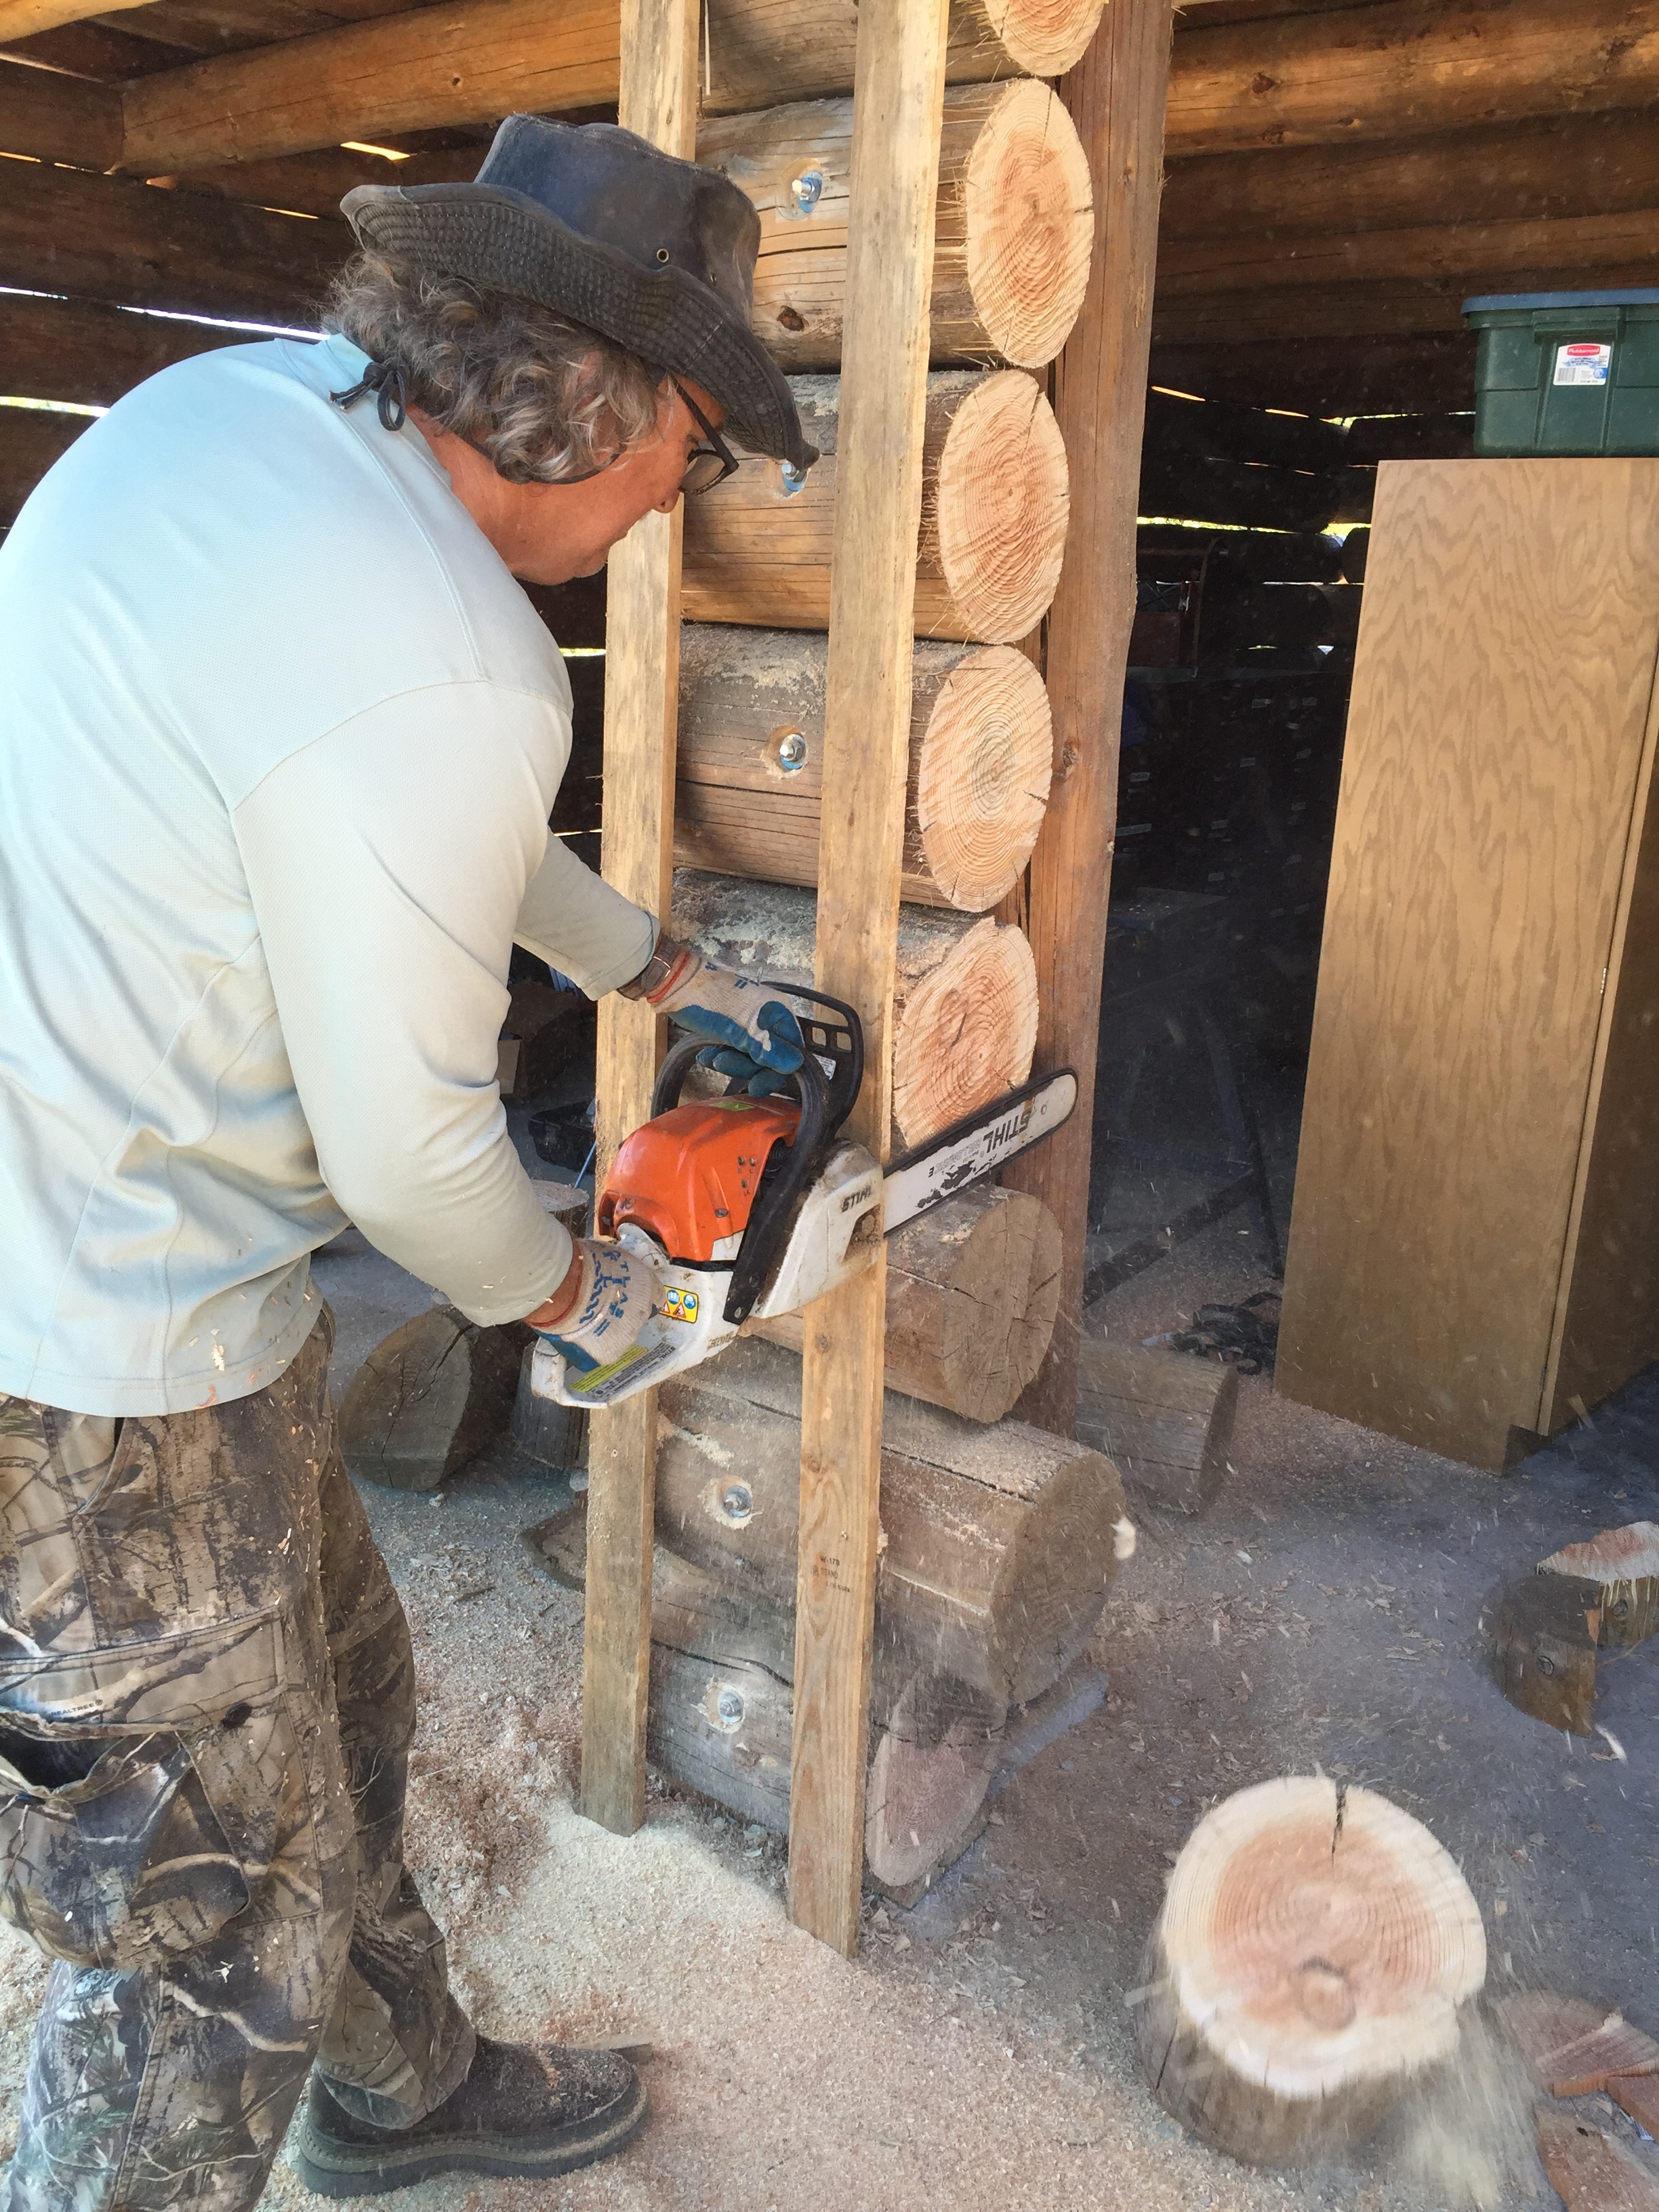 While I added an 18″ wall between the doors, Cory went to work on the casing. 2×12 kiln dried red cedar. Built to absolute perfection.
 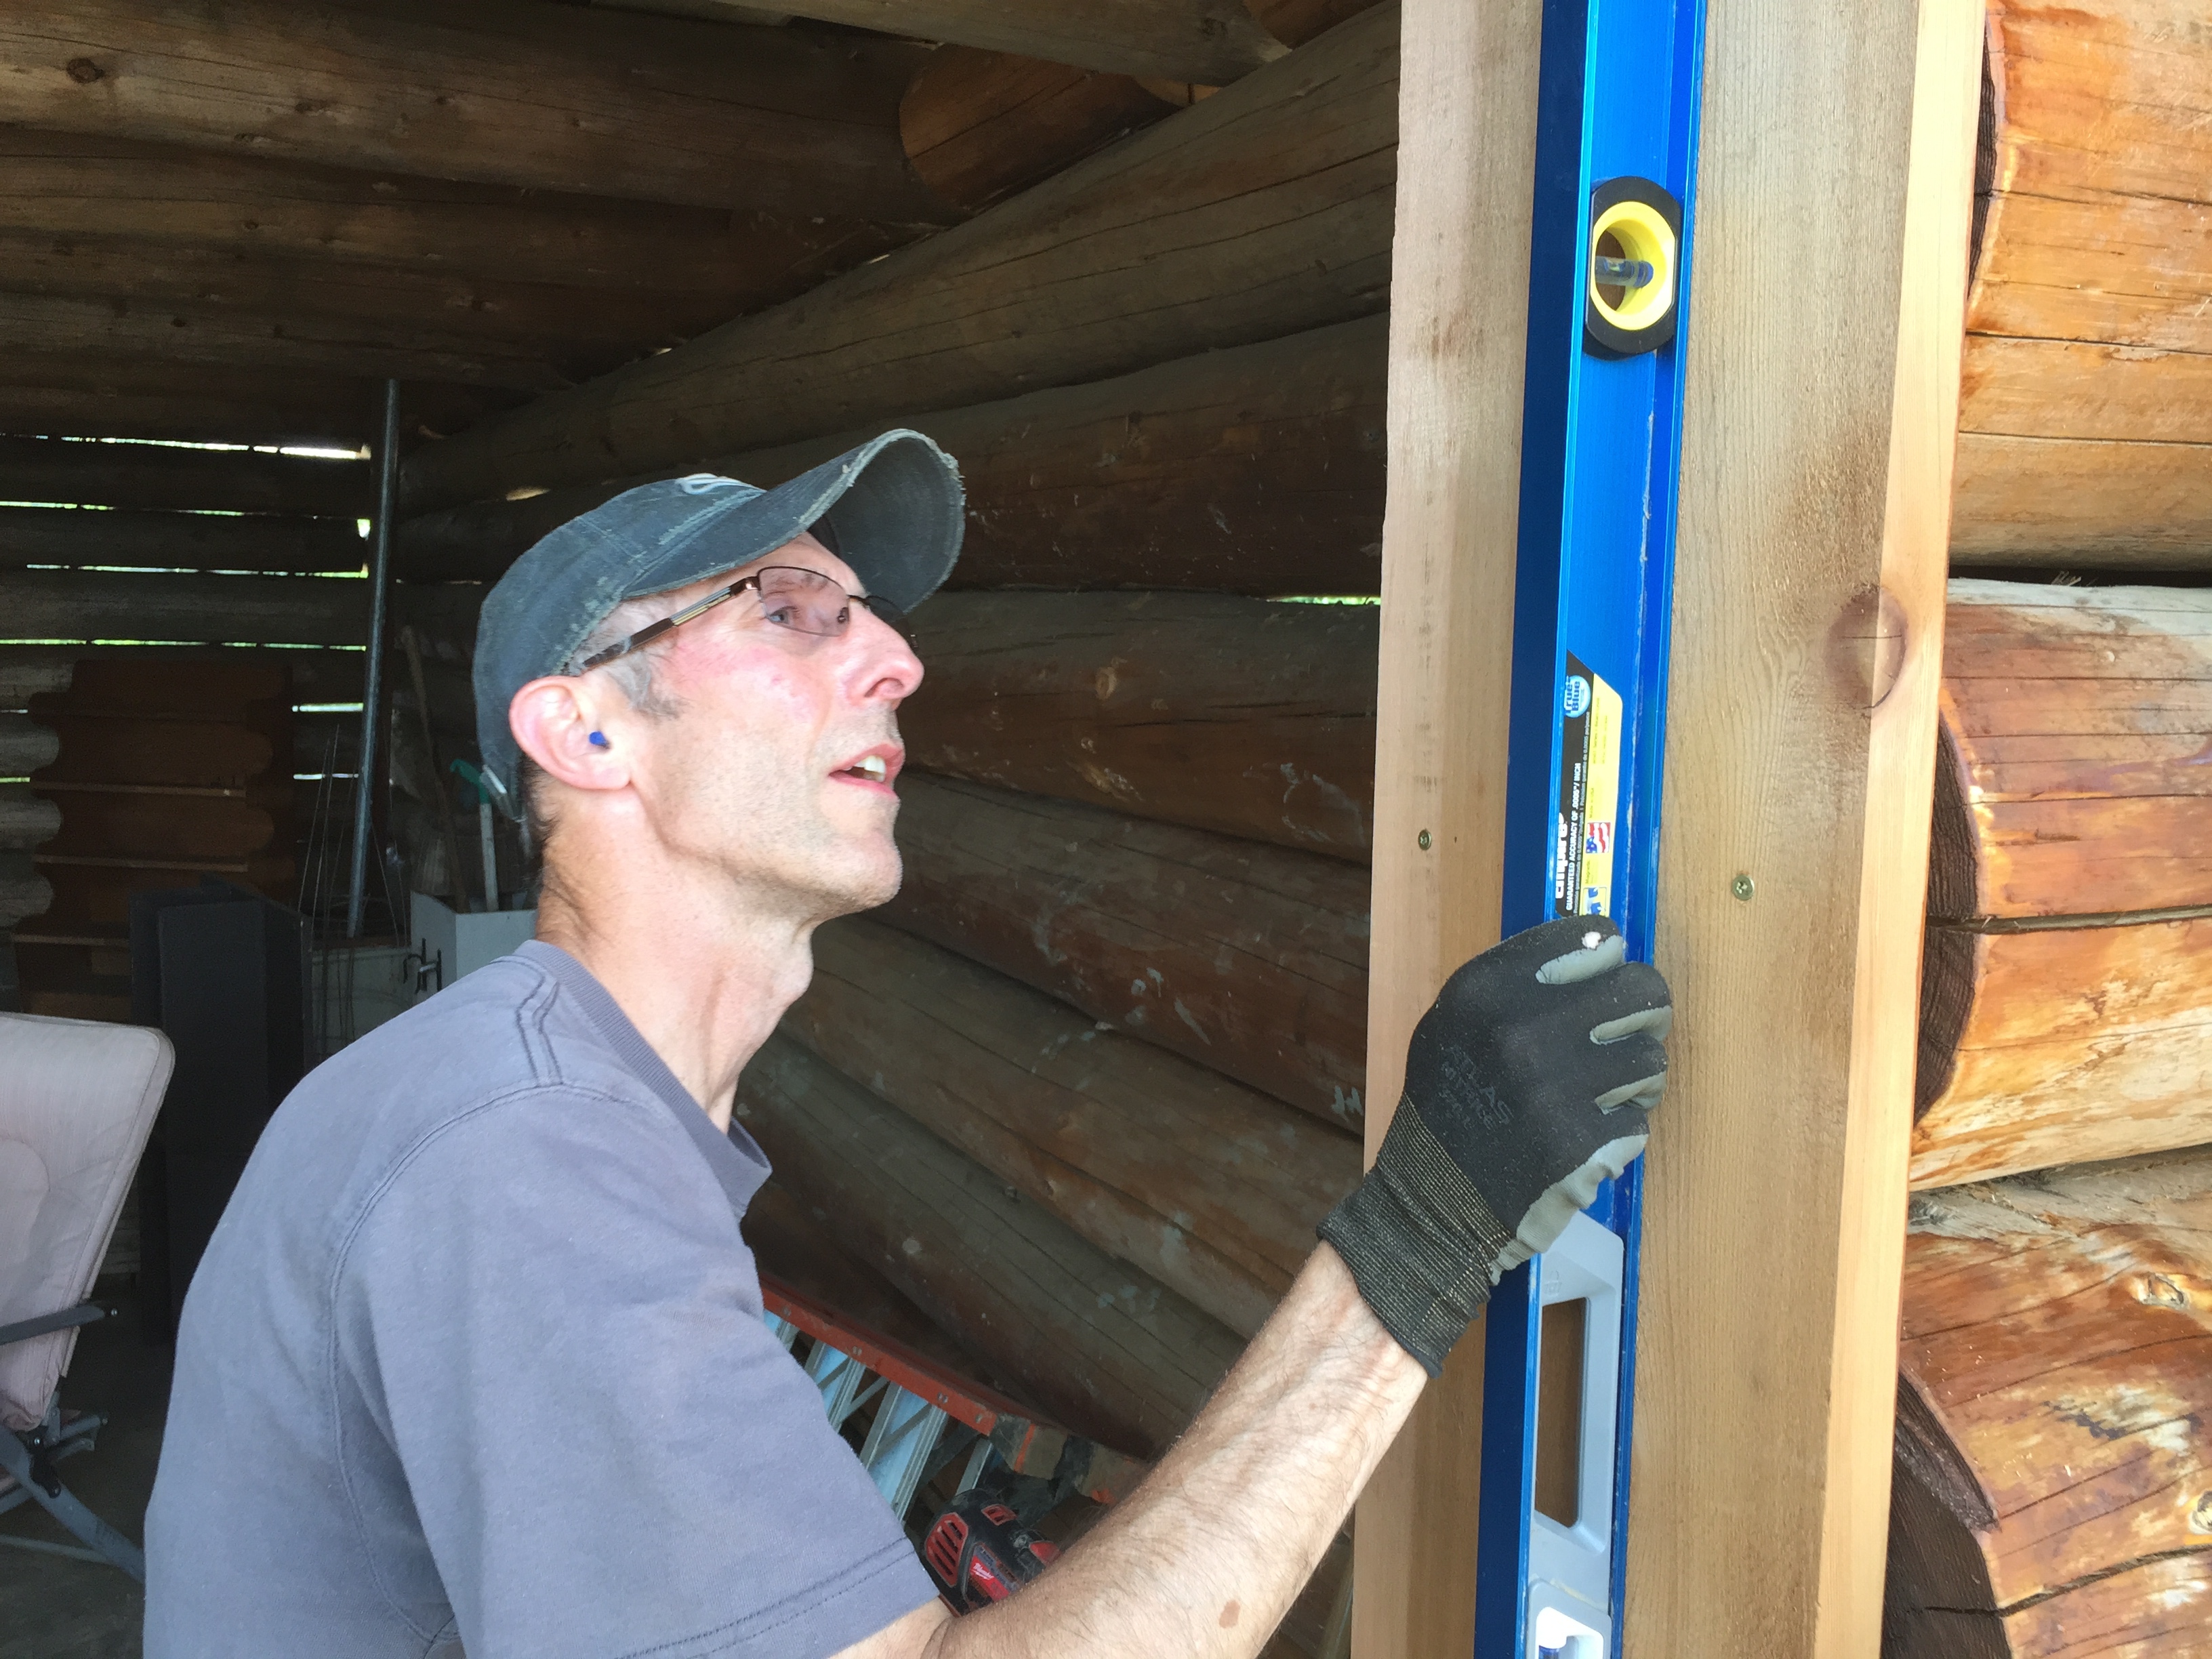 Square…plum…straight…level…and any other way you can say ‘perfection’. If the doors wouldn’t swing it wouldn’t be Cory’s fault.
 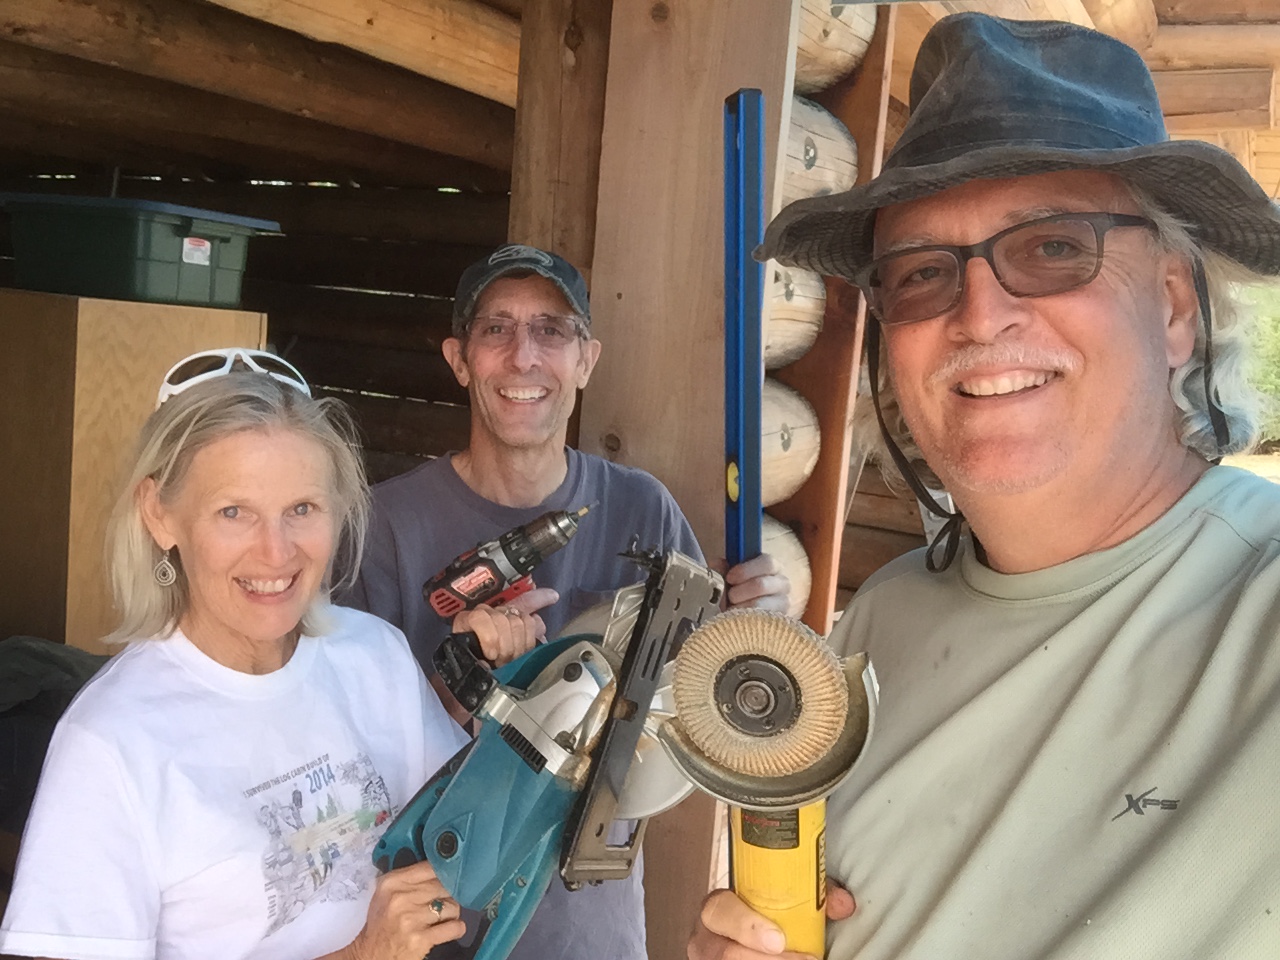 Cory even got the bonus of
 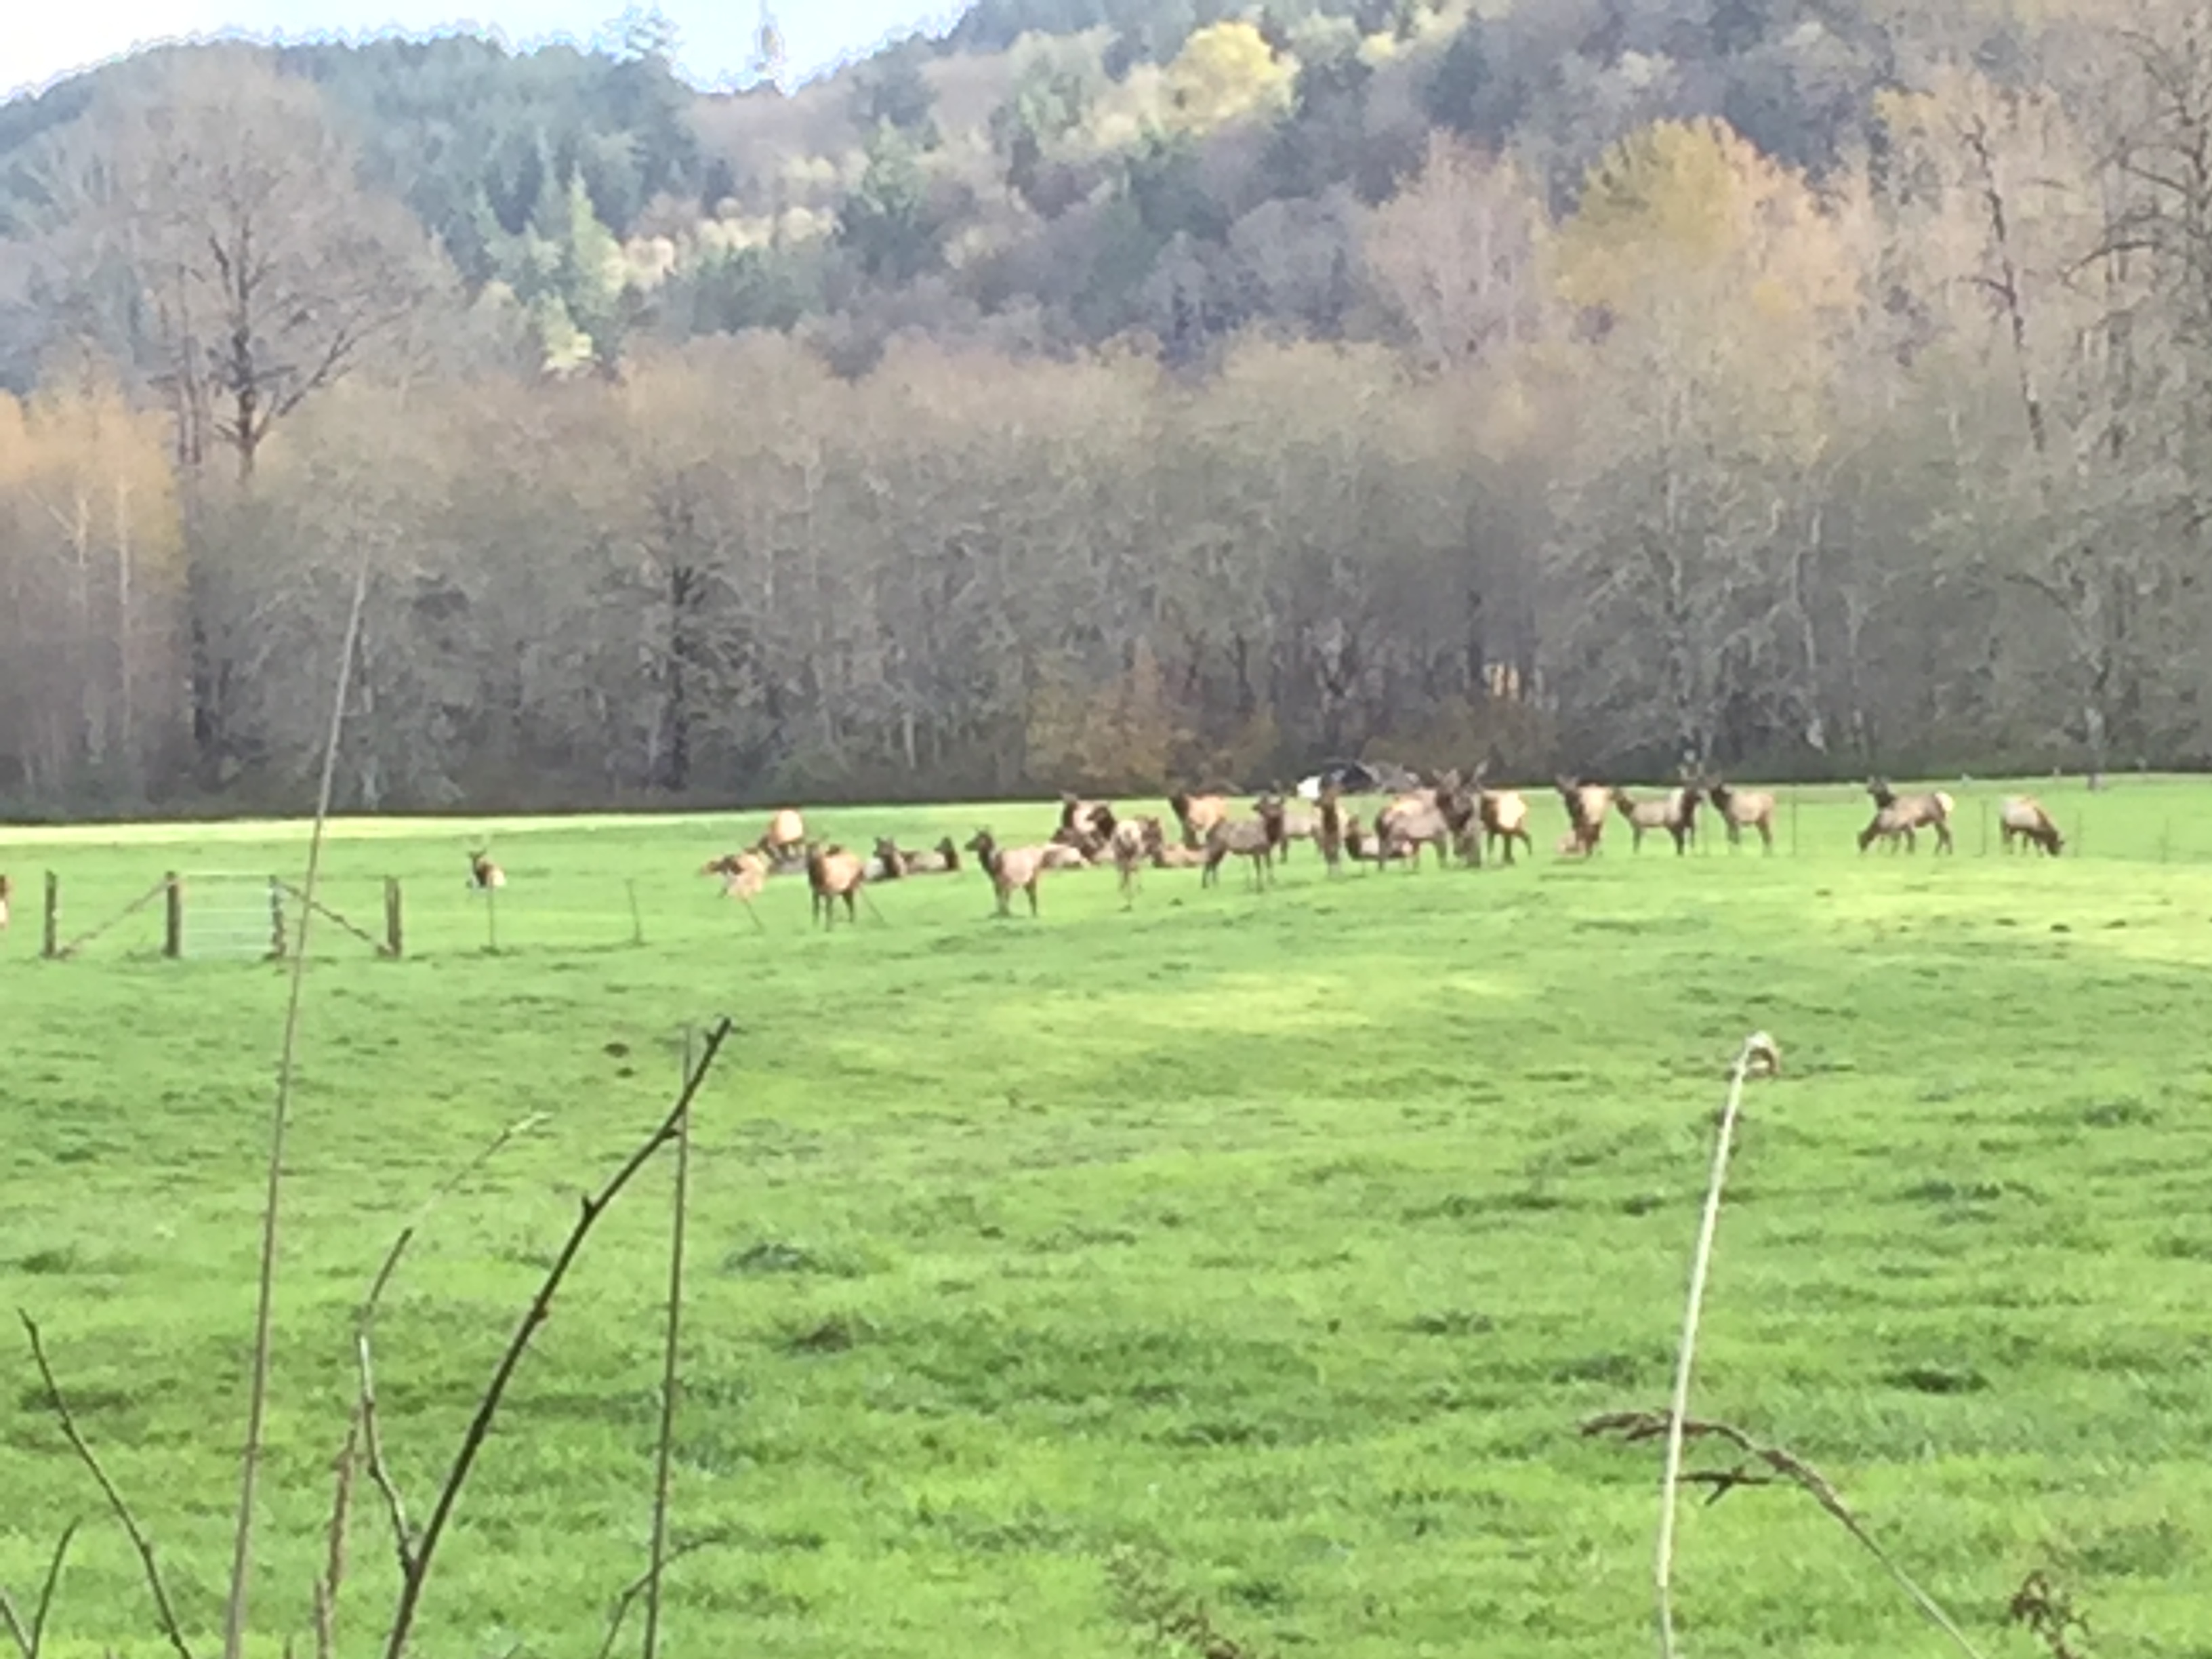 spotting some elk on the way out. After Cory gave us a great ‘foundation’ of wood…Craig and I set out to build the doors. I could have just hired a garage door builder and had some standard metal doors. But how would that have looked on a log cabin? I wanted wood…and I wanted the challenge.
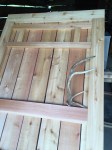
  I used a 2×6 cedar frame…on top of 7/8″ verticals…and mirror-framed on the inside by cedar 1×6 with a diagonal piece to boot. I added 8″x30″ windows by making the cutout then framing the cutout with 2x with rabbits made with my table saw for the plastic slider windows. Making the framing and windows myself saved at least $100 per window.
  This coming summer I will add elk antlers as door knobs. I ordered 18″ strap hinges and had my metal guy Pete weld extra backing plates to accommodate the large ends of the logs.
 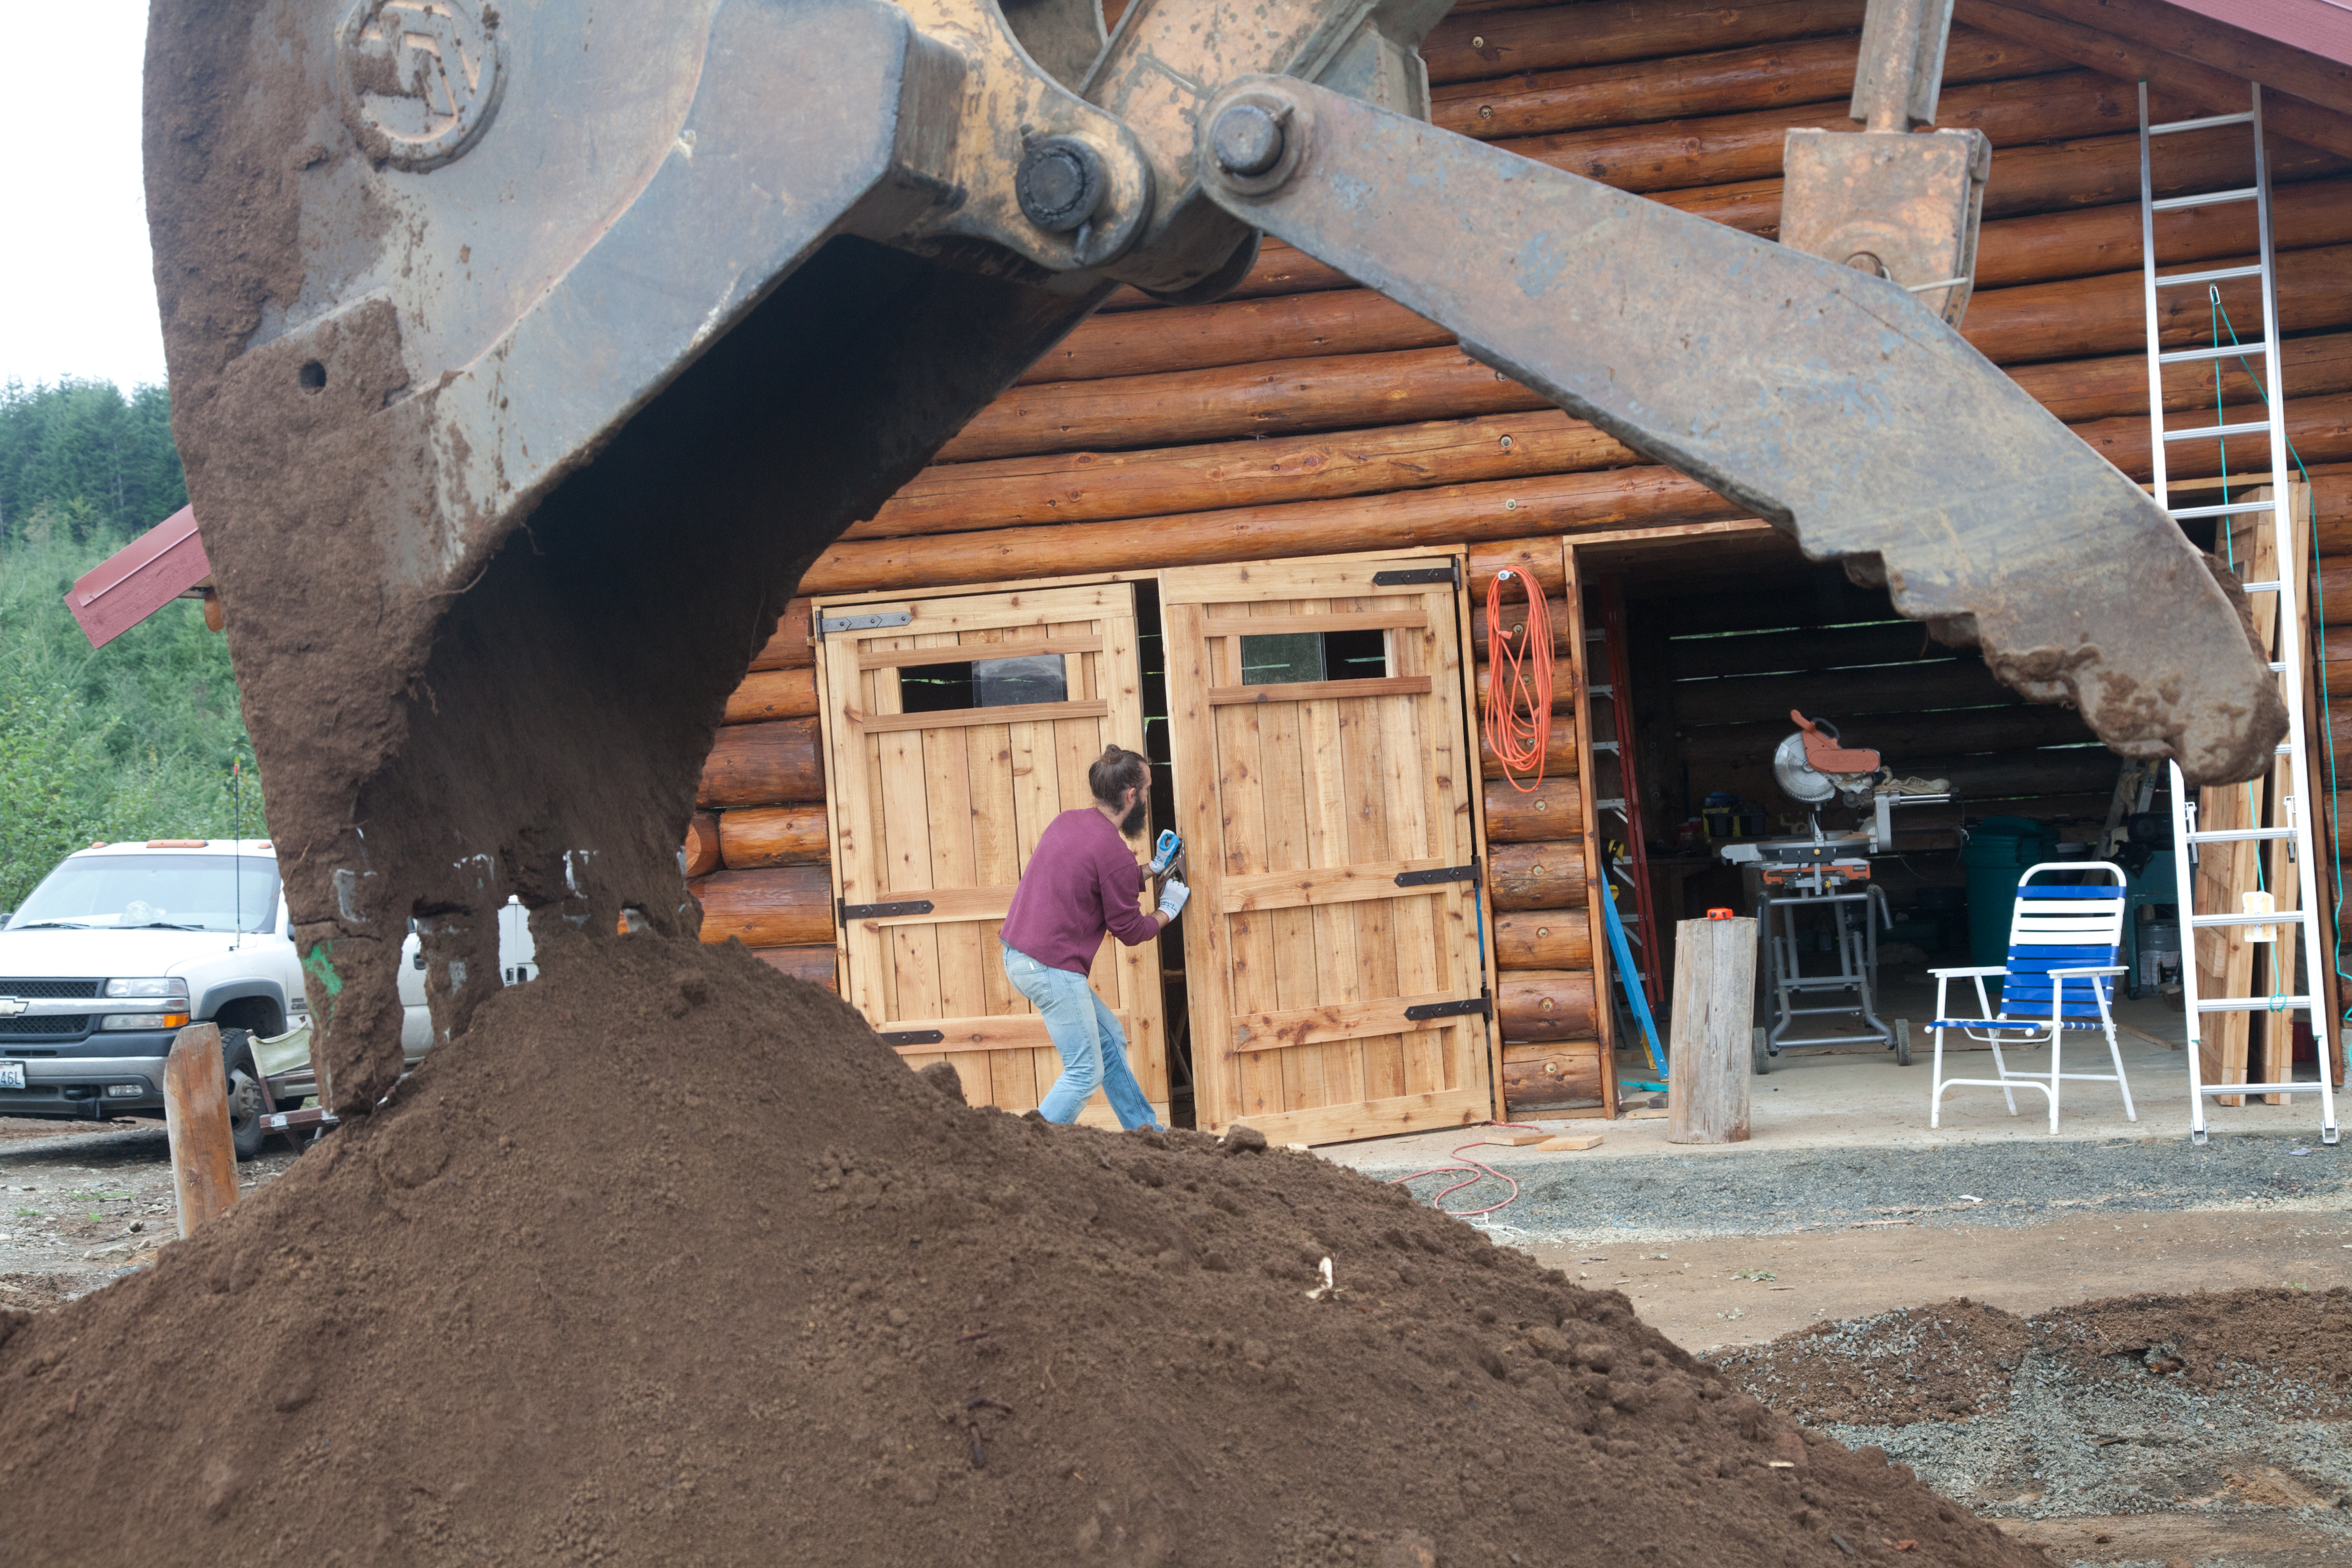 It was tricky getting all the hinges to line up as the logs of course are random. The large custom made back plates helped me to lag the hinges to the log ends correctly. We made sure to seal each piece of wood with Sikkens Cetol ProLux sealer.
-
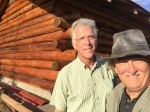
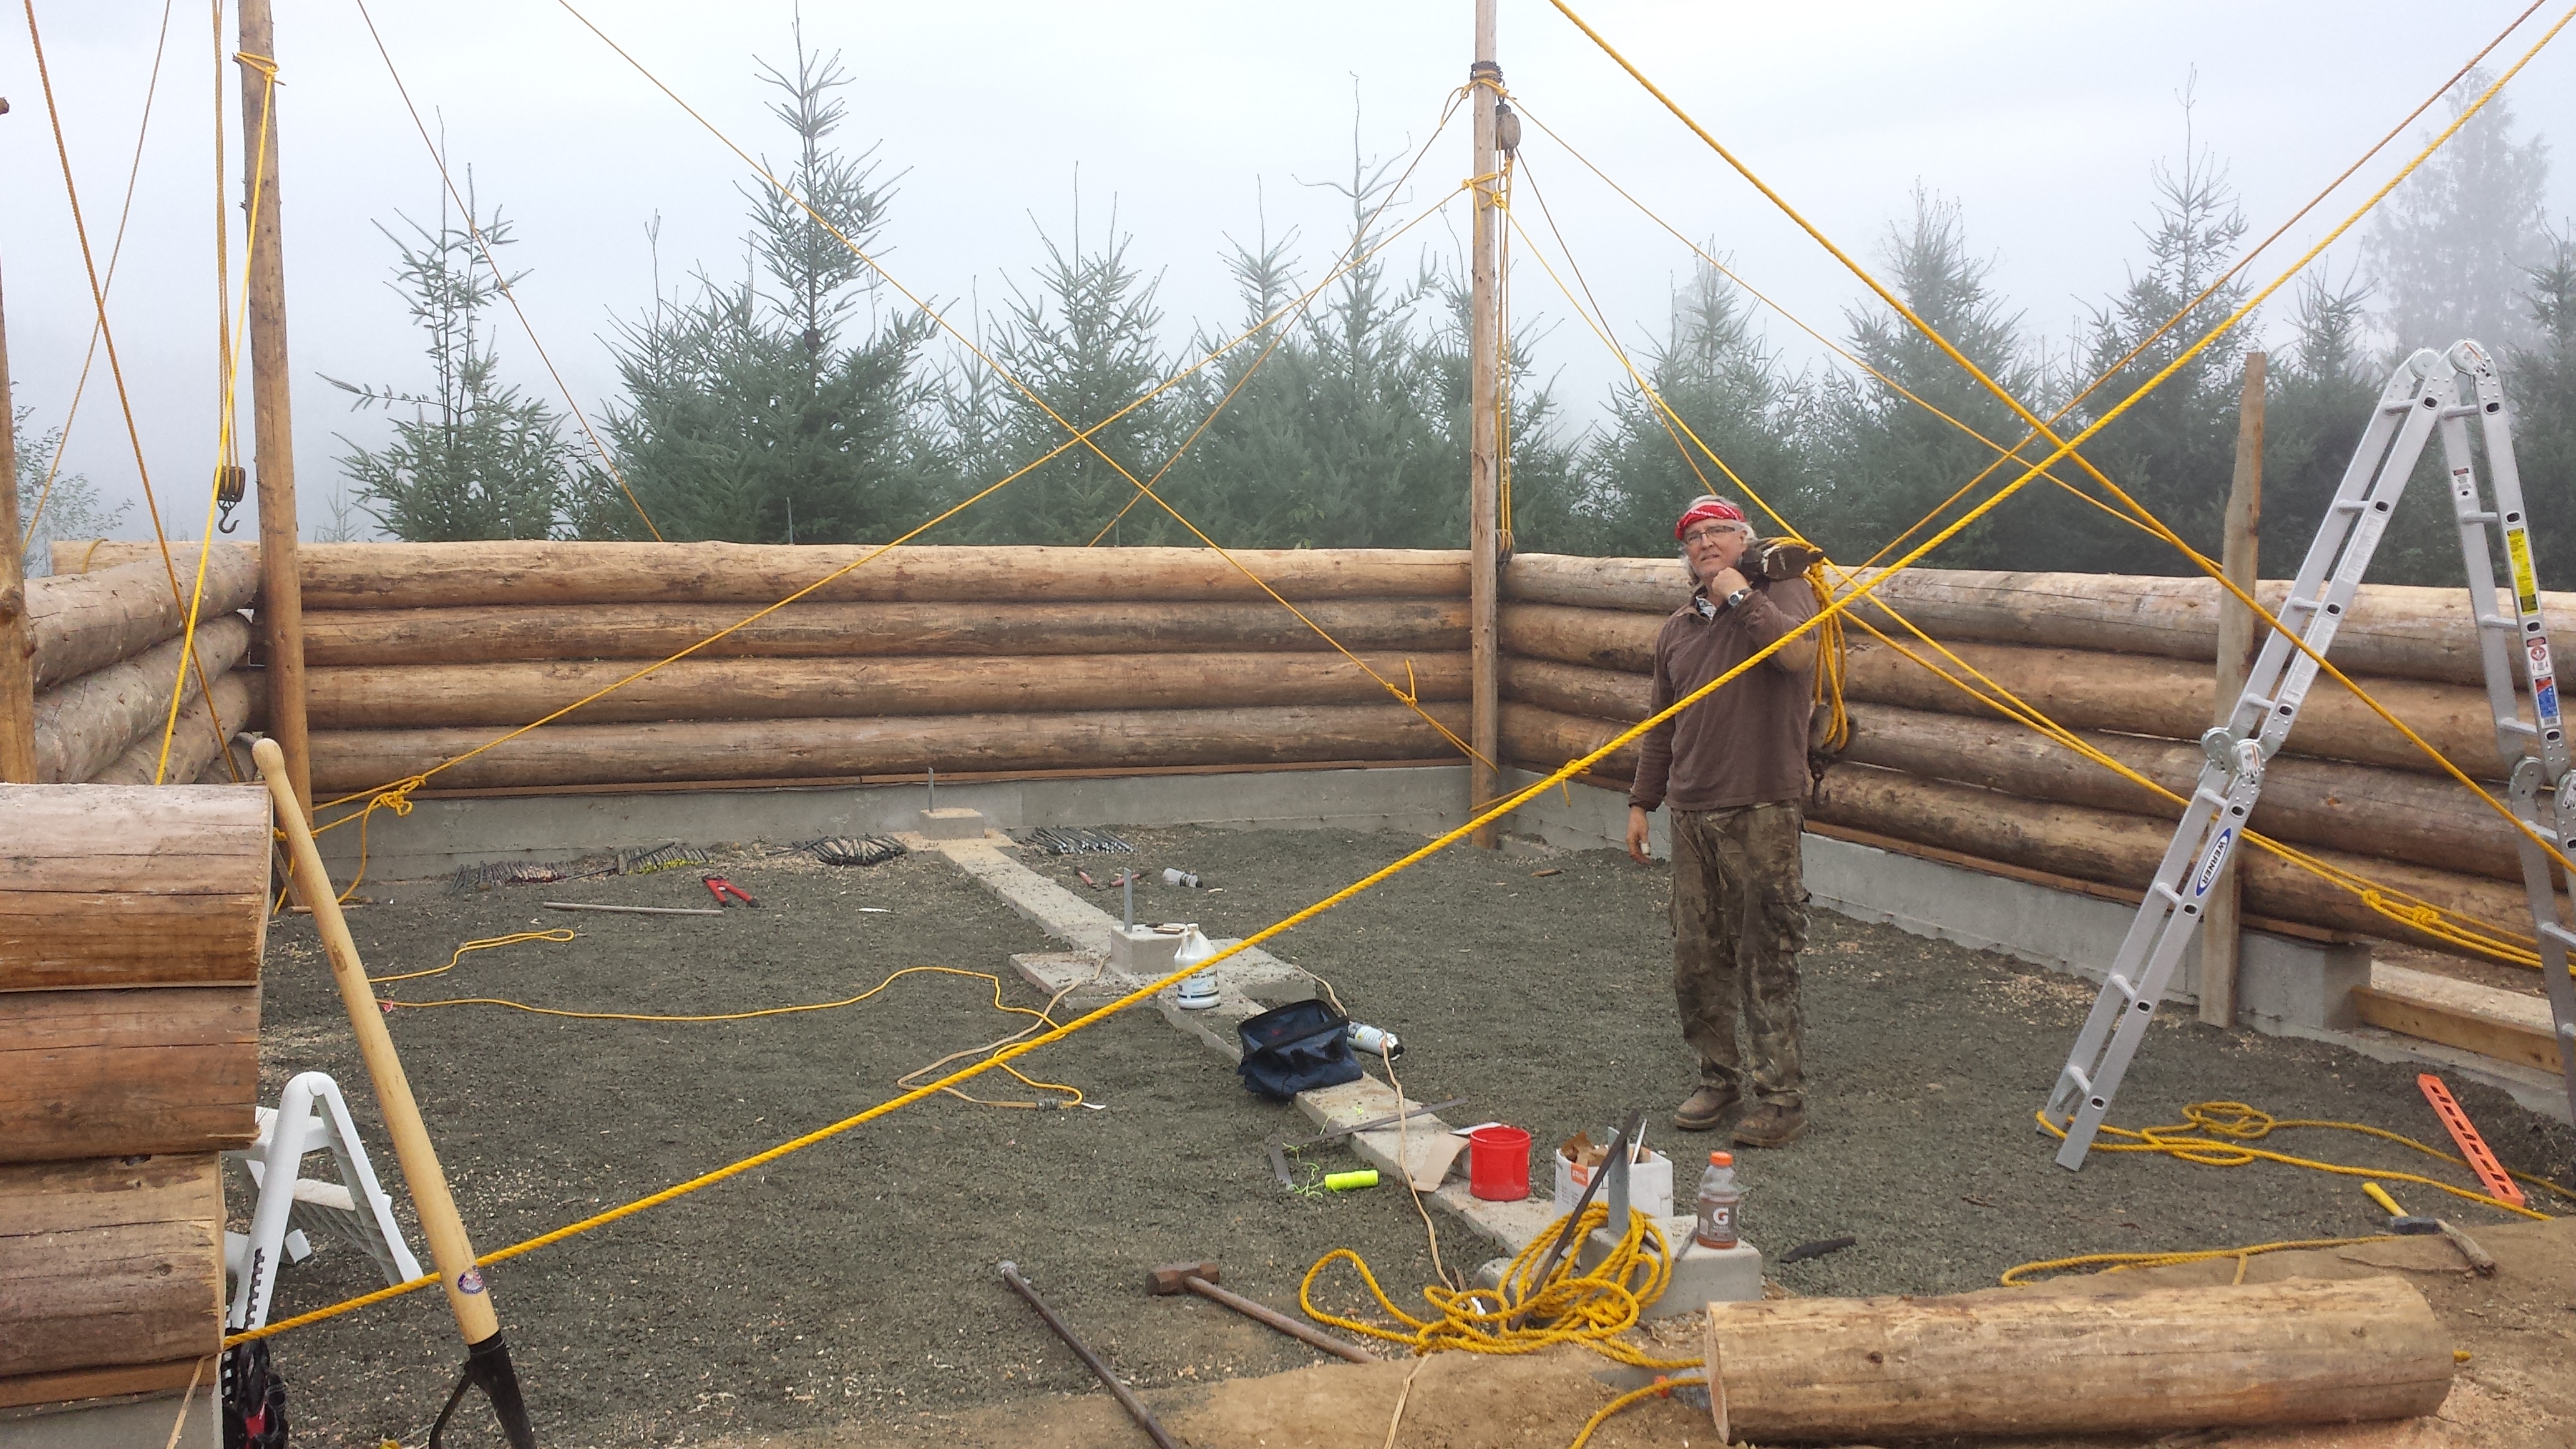
- Bonnie is talking with Jerry our wonderful neighbor who has helped tremendously
-
- We thought we’d surprise our grandkids with these bunnies.
-

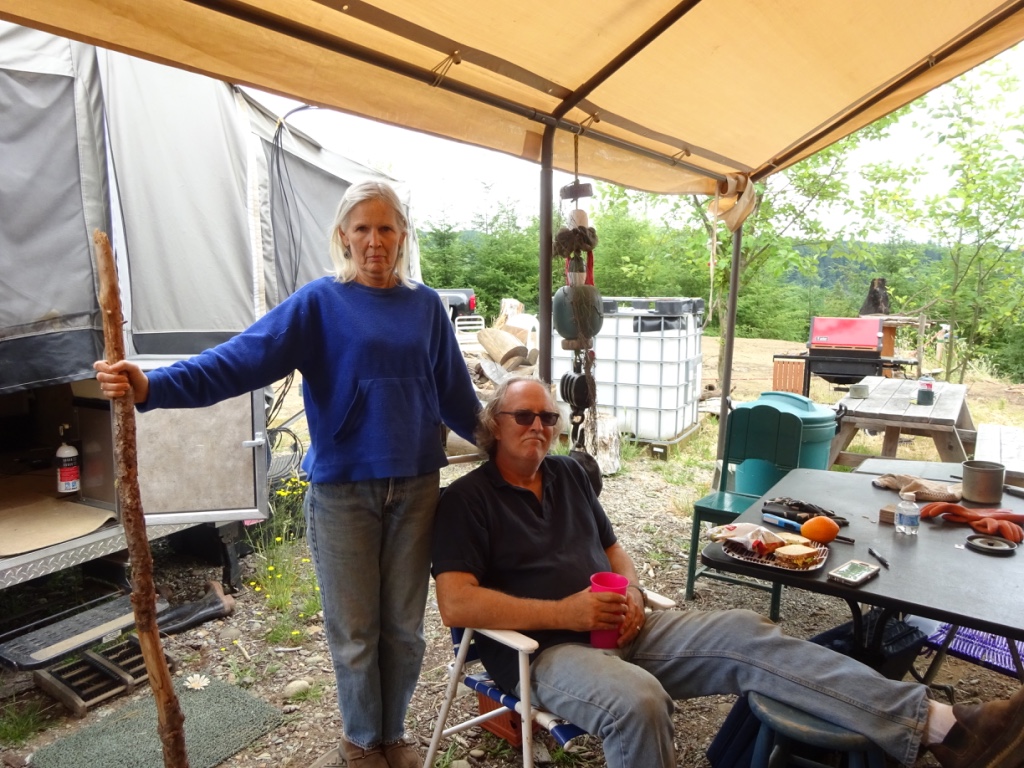
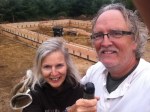
- One of our favorite times…campfire.
-
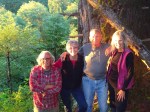
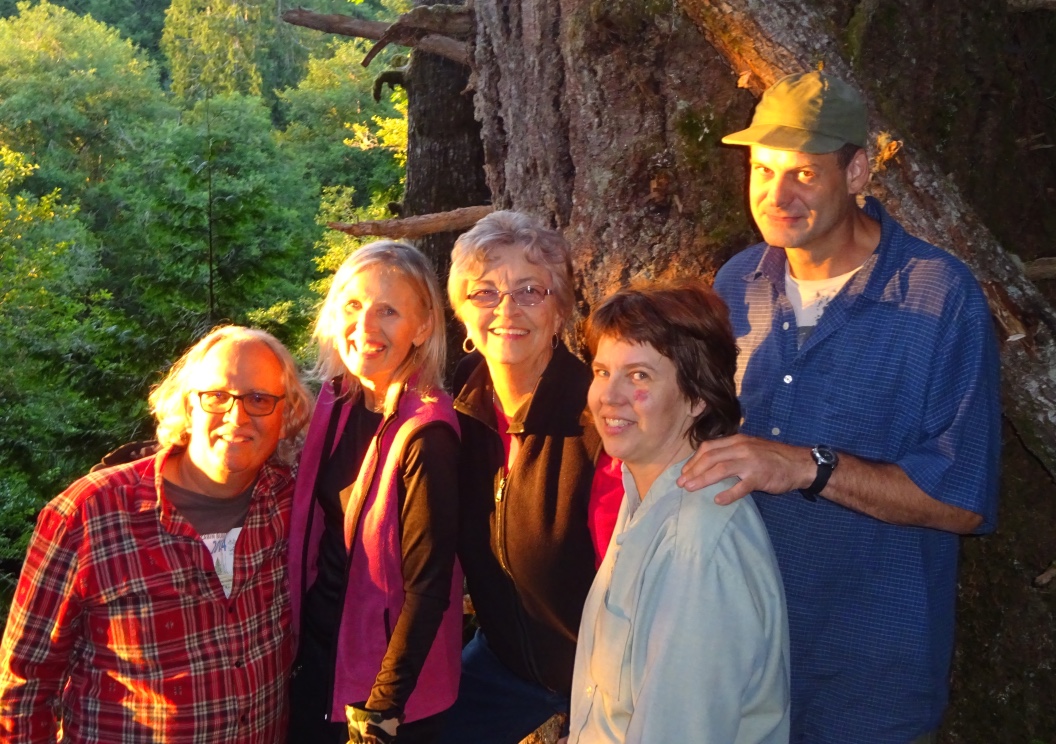
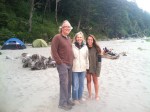
- Posing by one of our big trees.

-

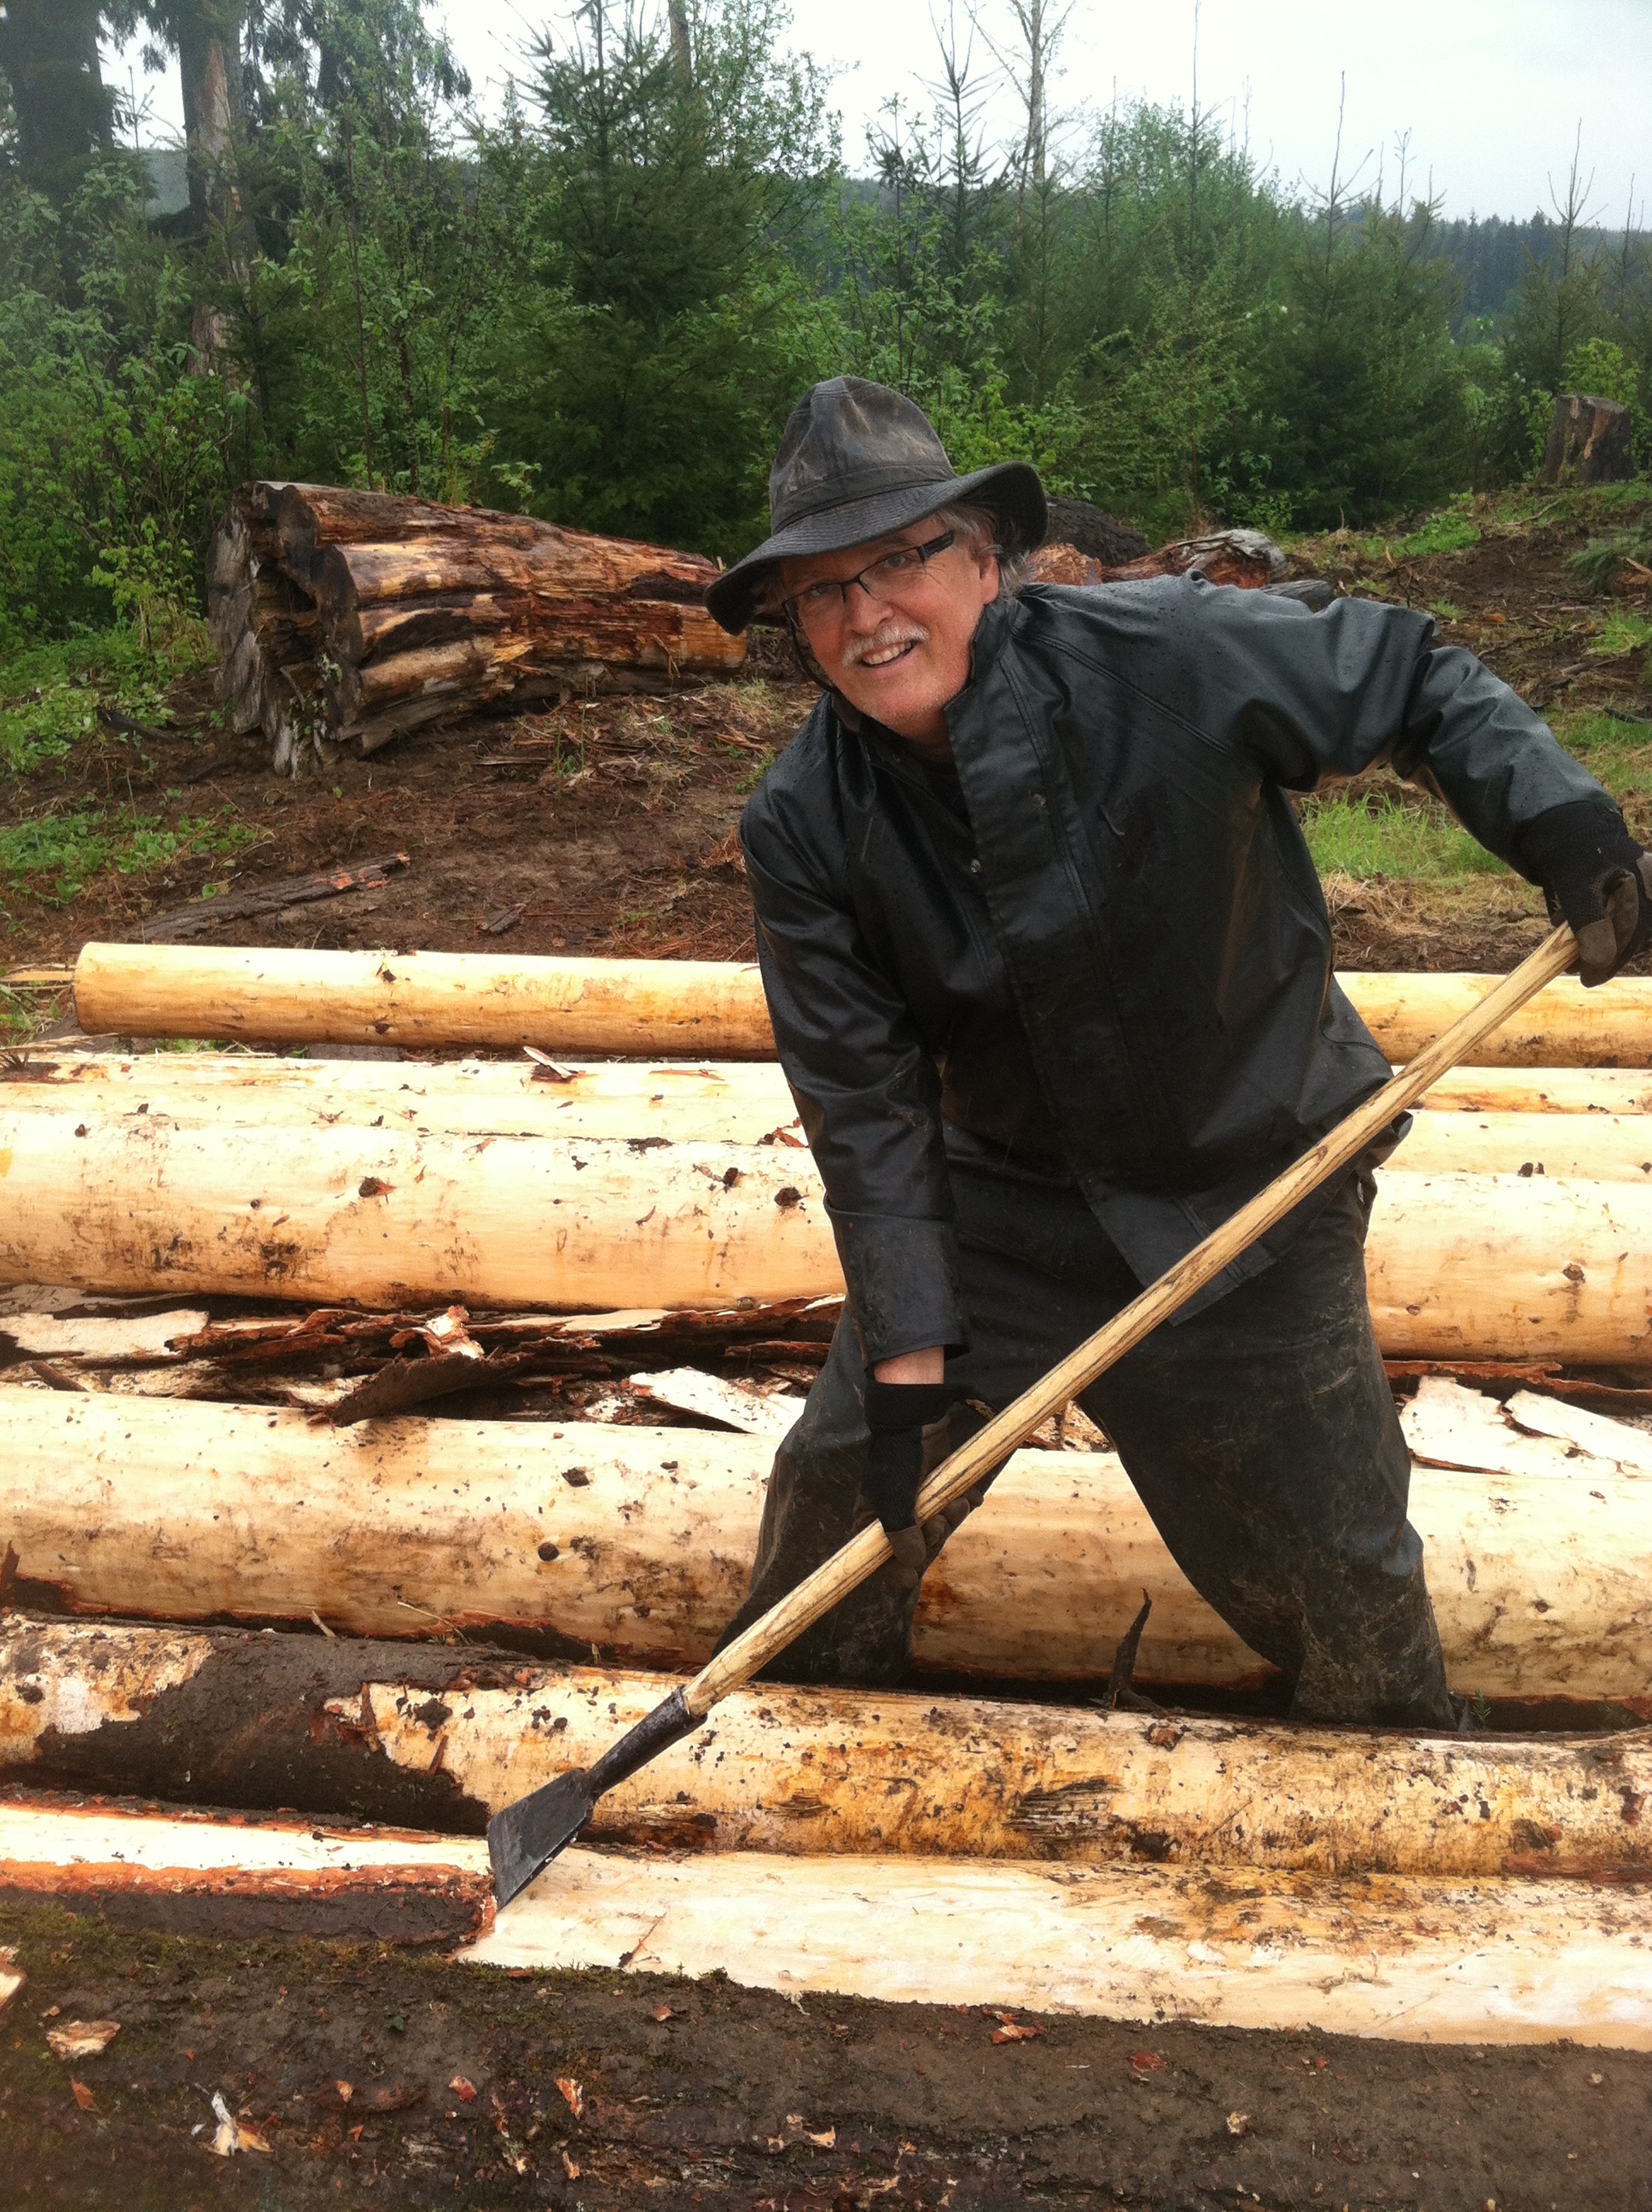
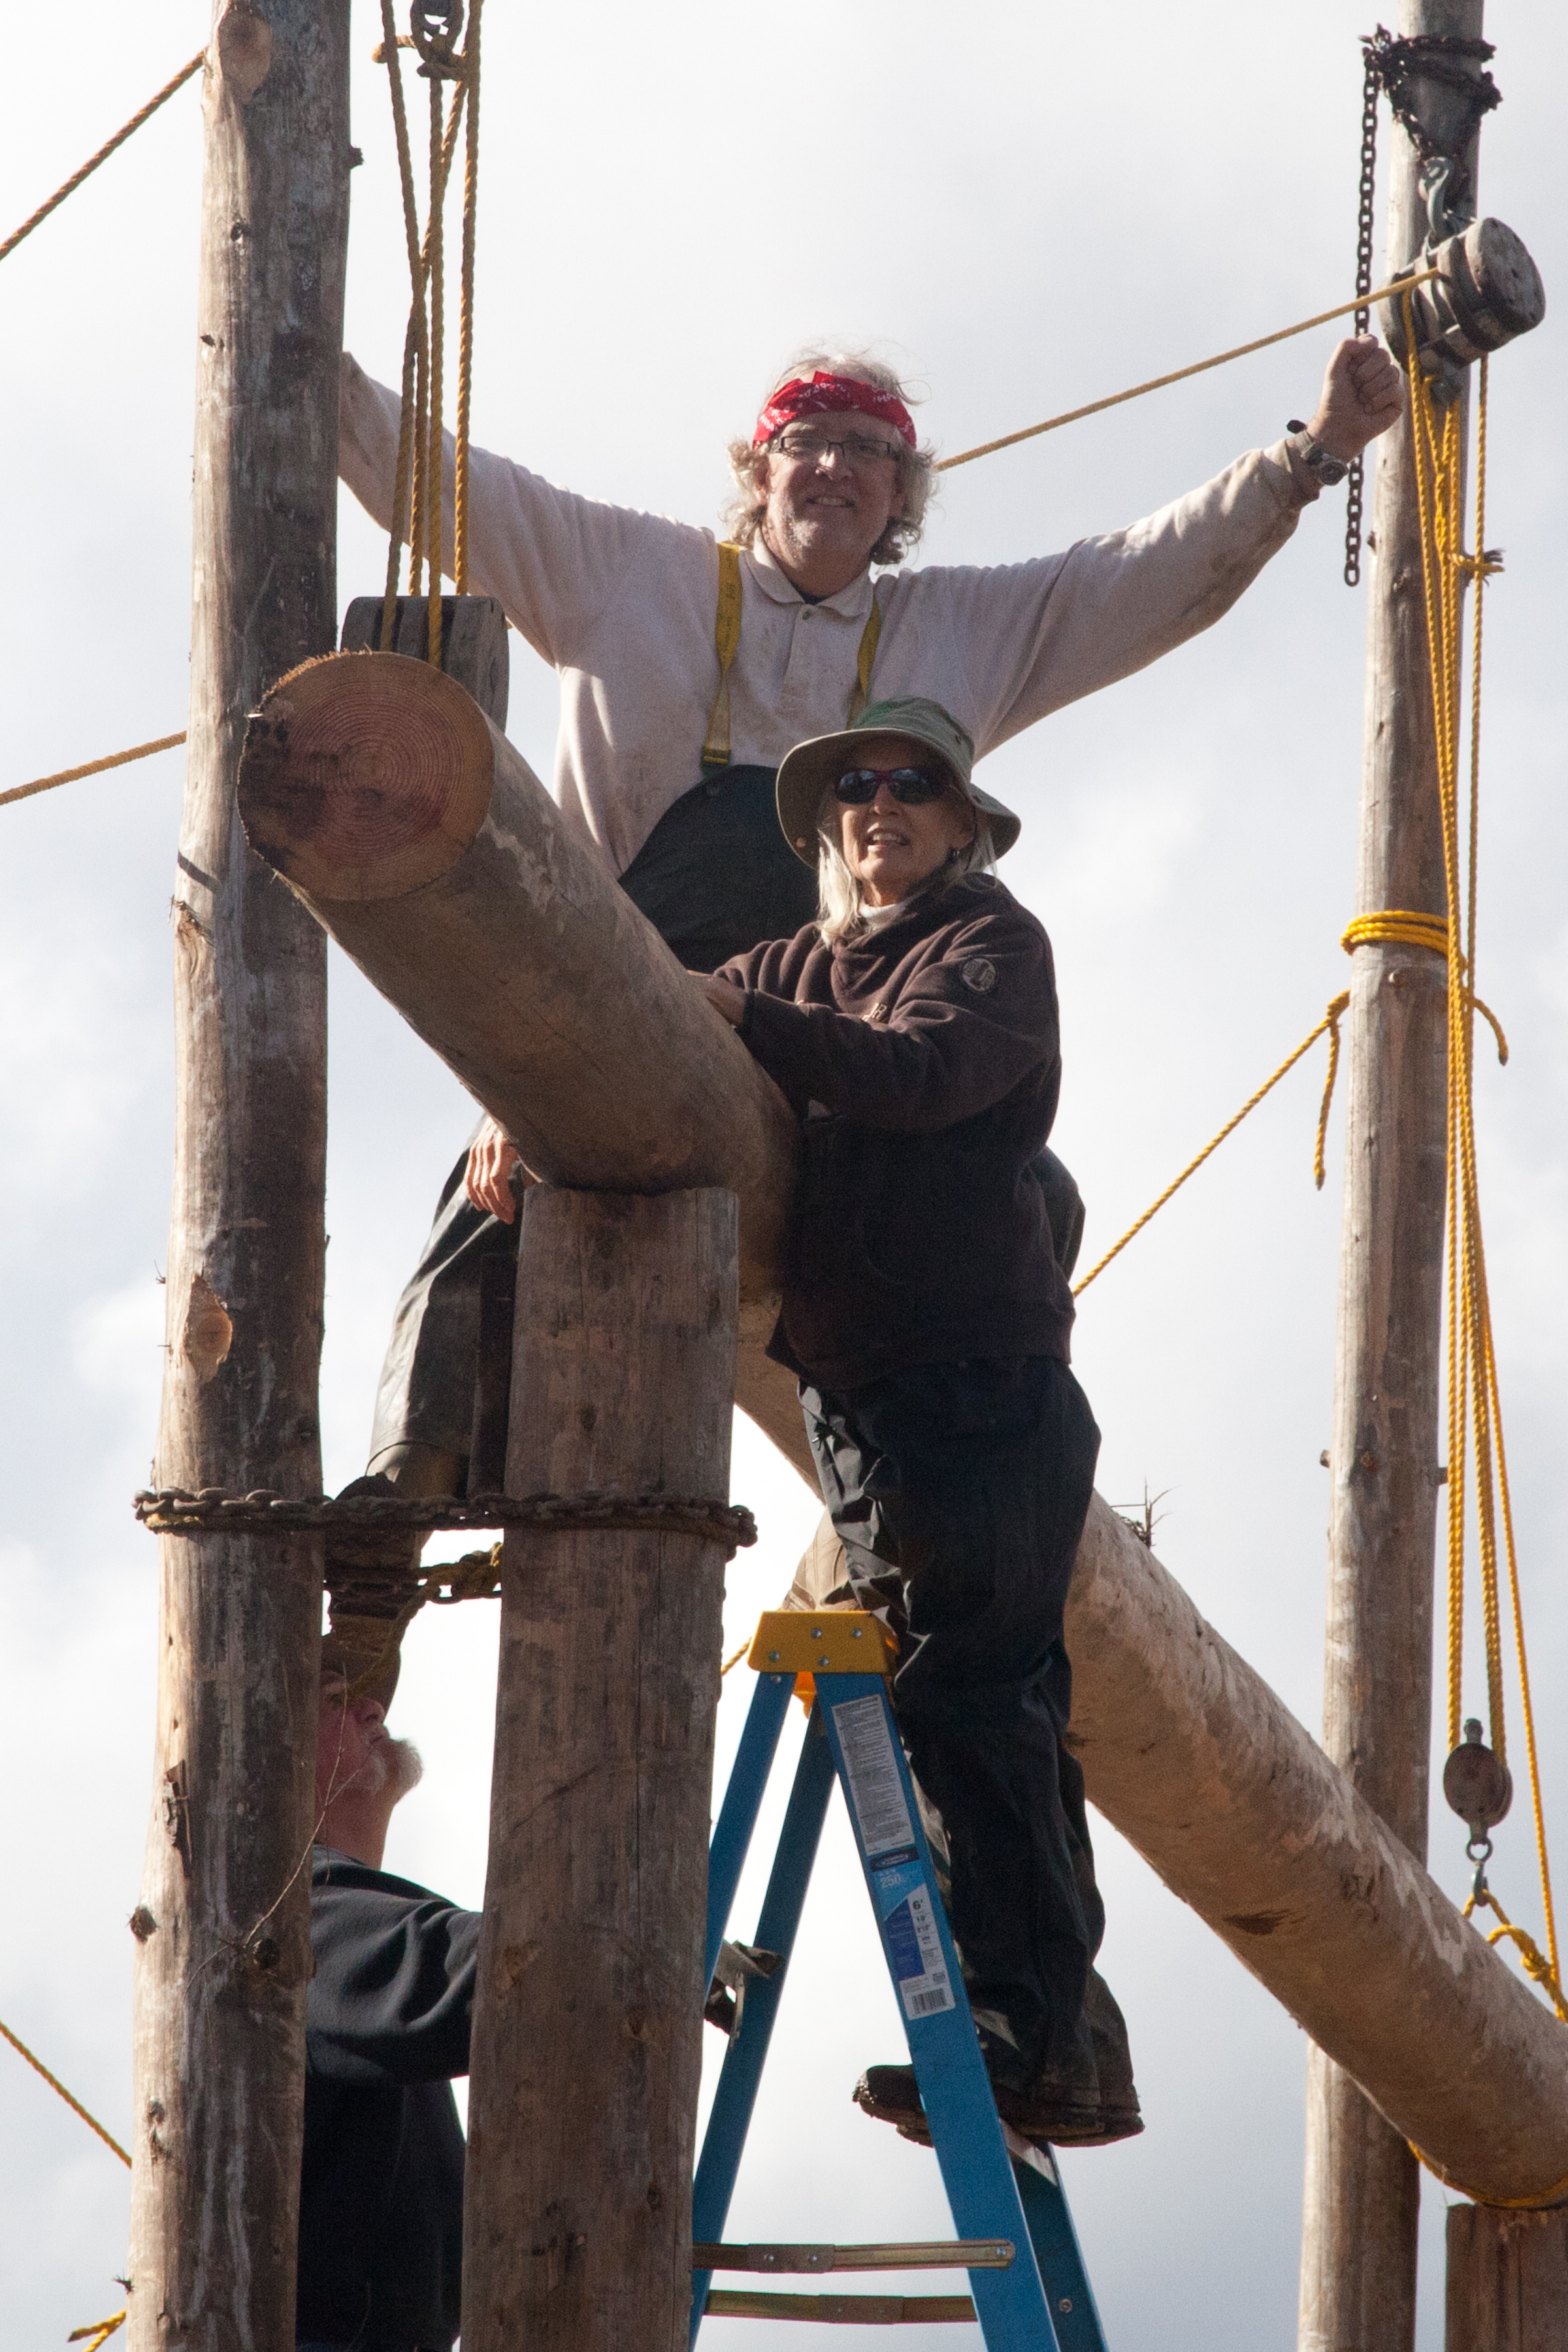
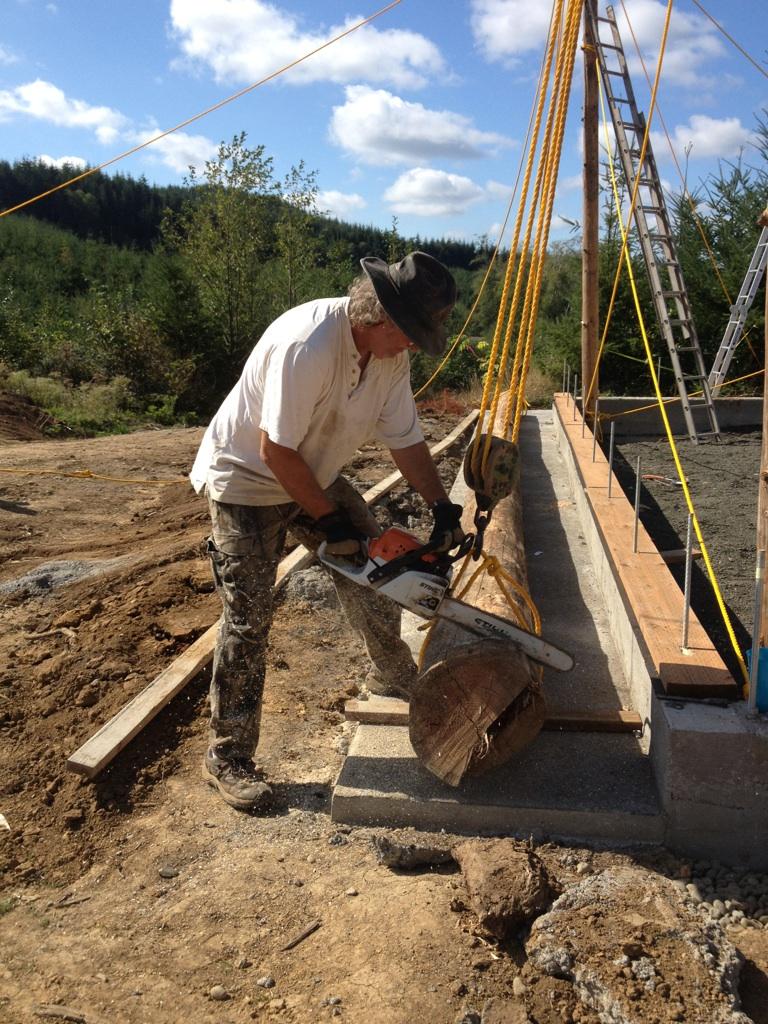
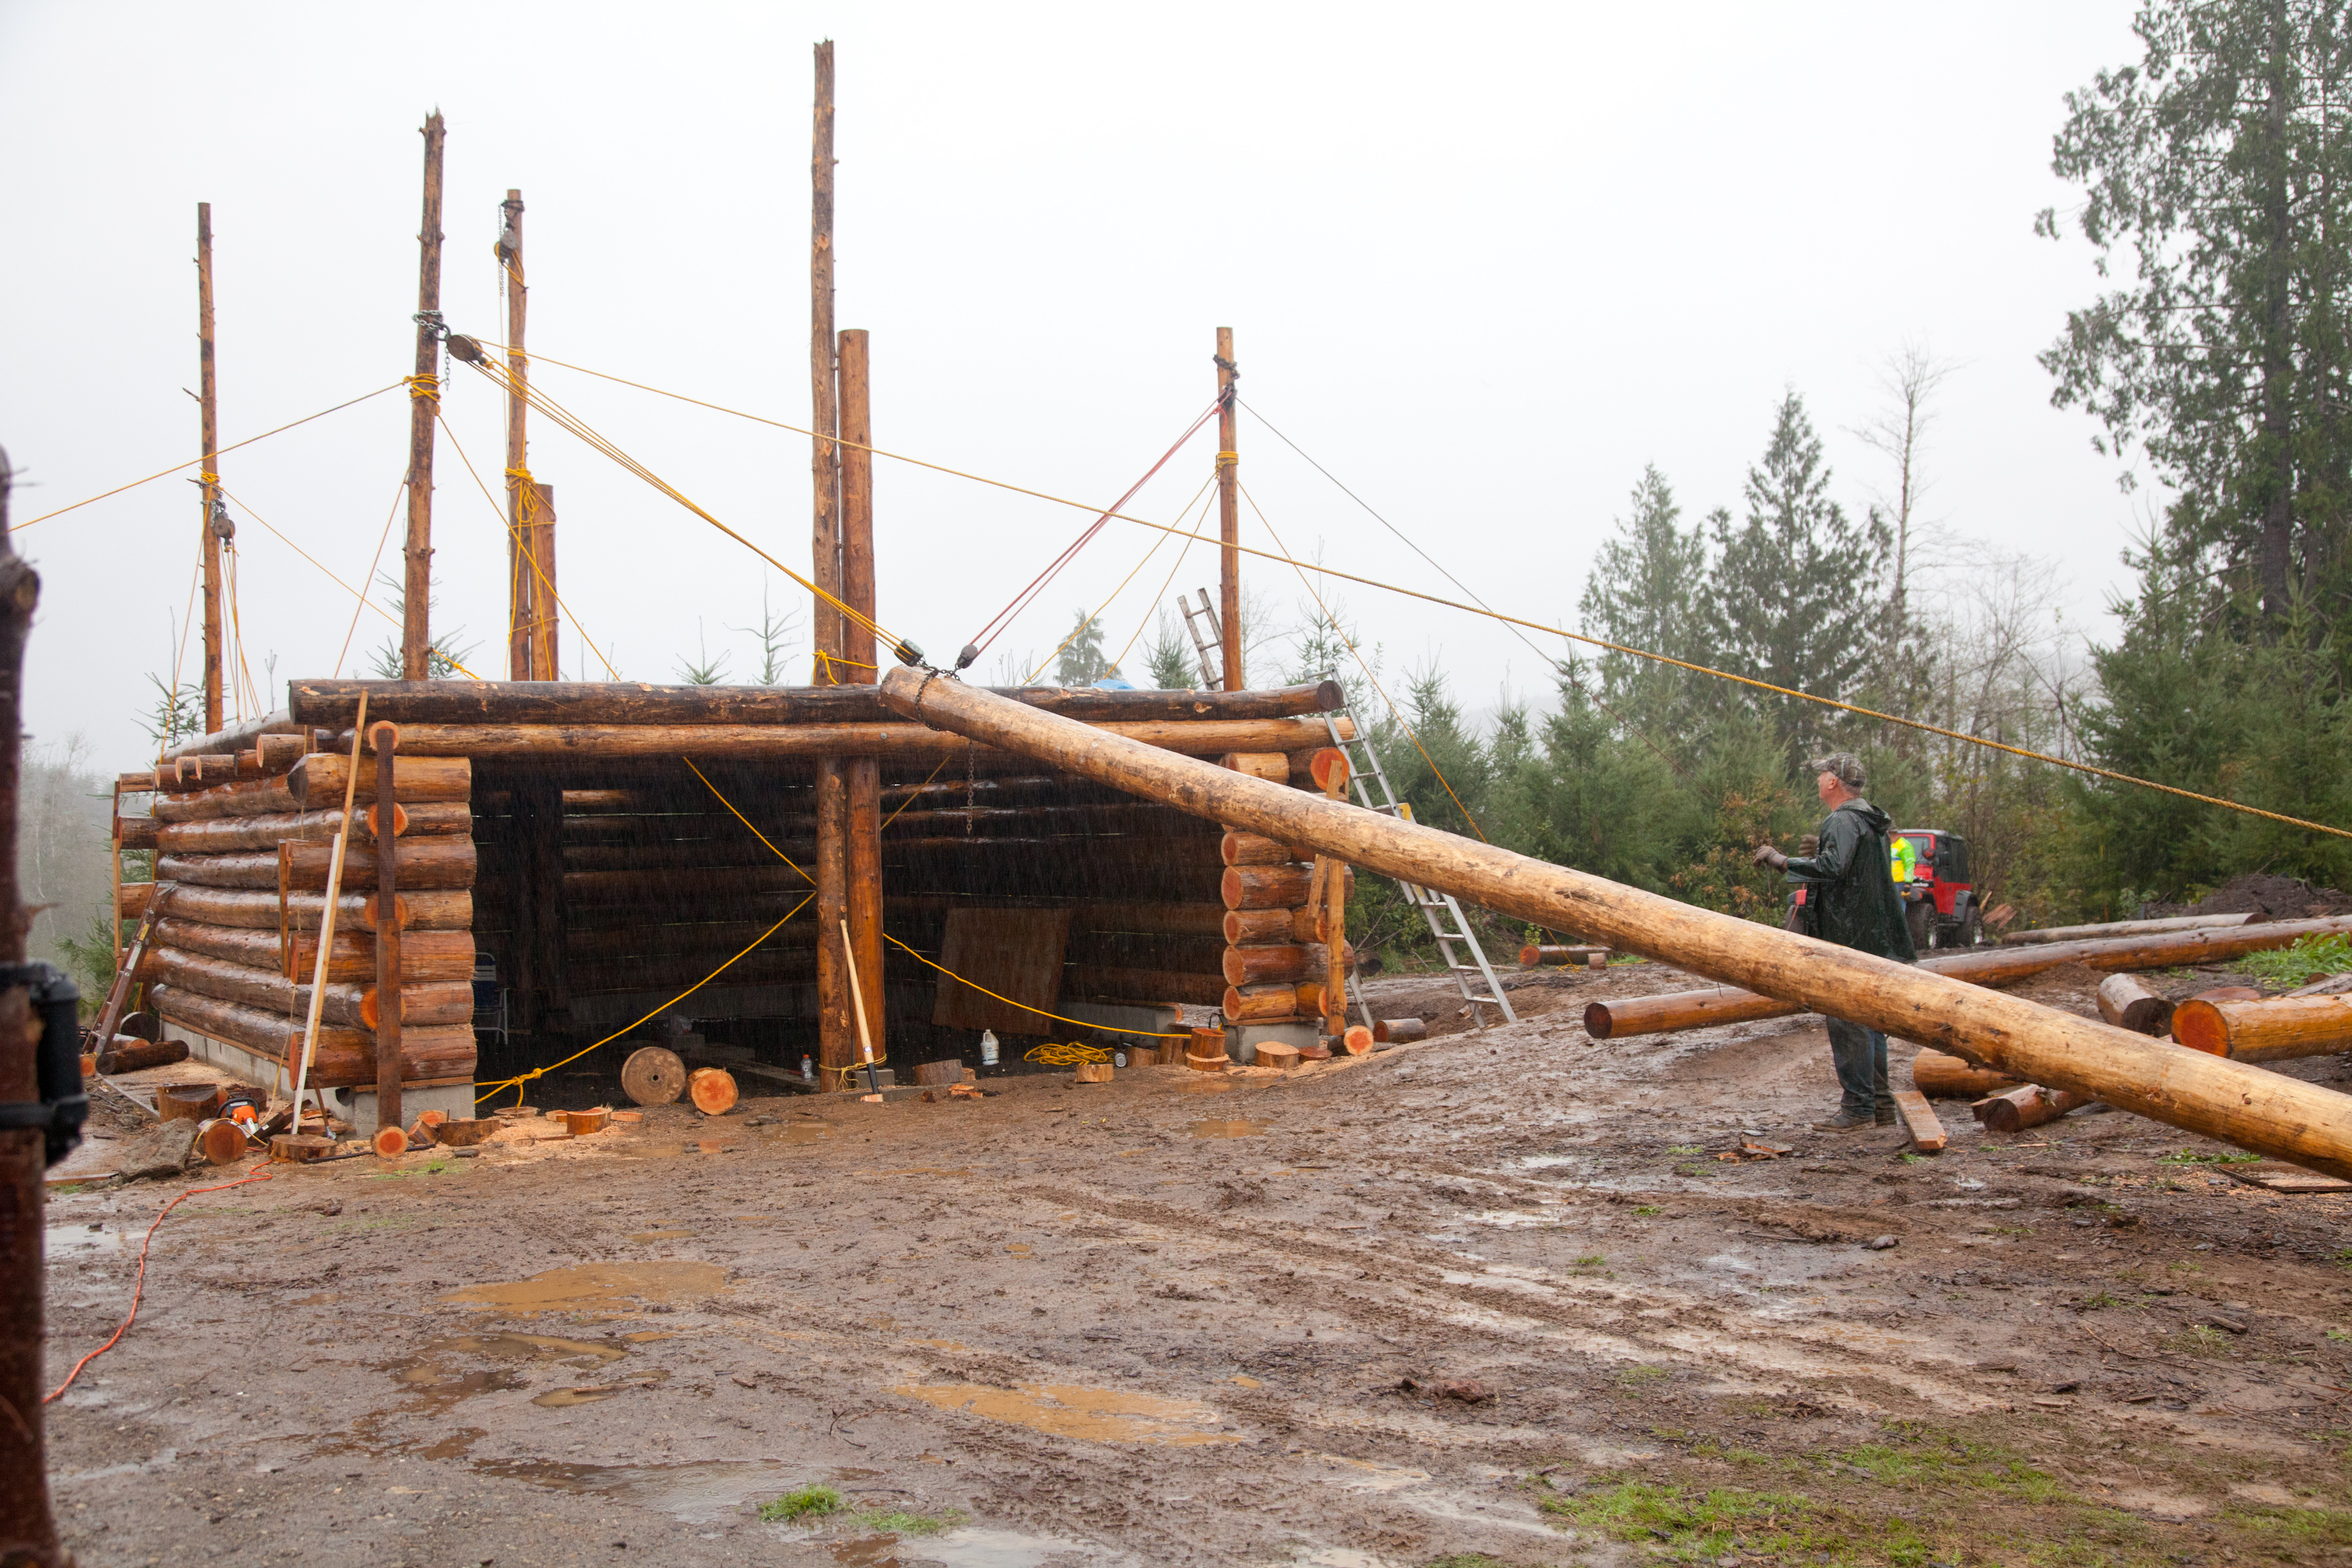
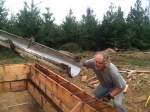
- I’m peeling bark off this huge cedar tree we will use as our center post in our cabin.
-

- We will add to our solar footprint in 2016.
-
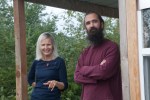
- Bonnie and Craig.
-

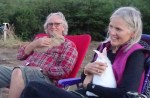
- Not sure who is enjoying this more…Eli or grandpa.
-

- Eli with Butch Cassidy
-

- Lucy cuddles Snowflake.
-

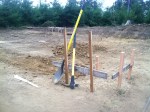
- The hole for our septic tank.
-
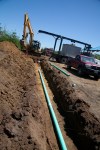
- Laying the pipe.
-
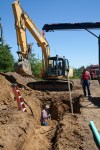
- We installed a gravity fed septic system with 200 feet of drain field.

-
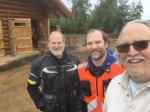
- Dave and Kevin dropped by on their motorcycles.
-
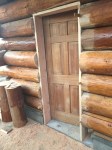
- I bought this door for $1 at a garage sale and Rob turned it into a beautiful side door.
-

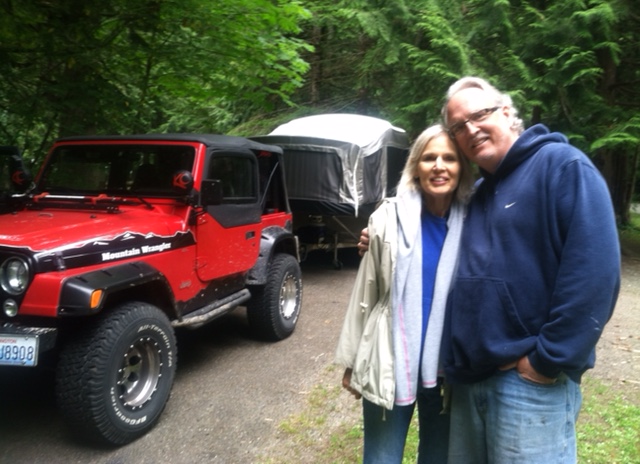
- My Sweetie and I pose by our new garage doors.
-

- Craig and I with our nice view.
-
- Craig helps me cut our the windows on our doors.
-

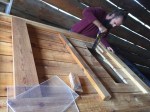
- Chris helped paint.
-
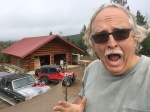
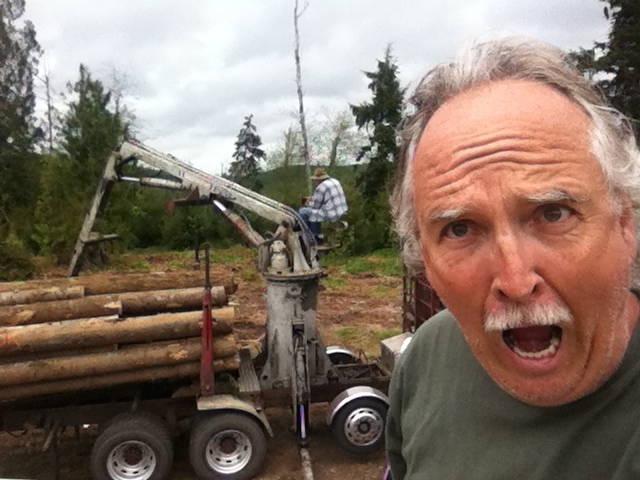
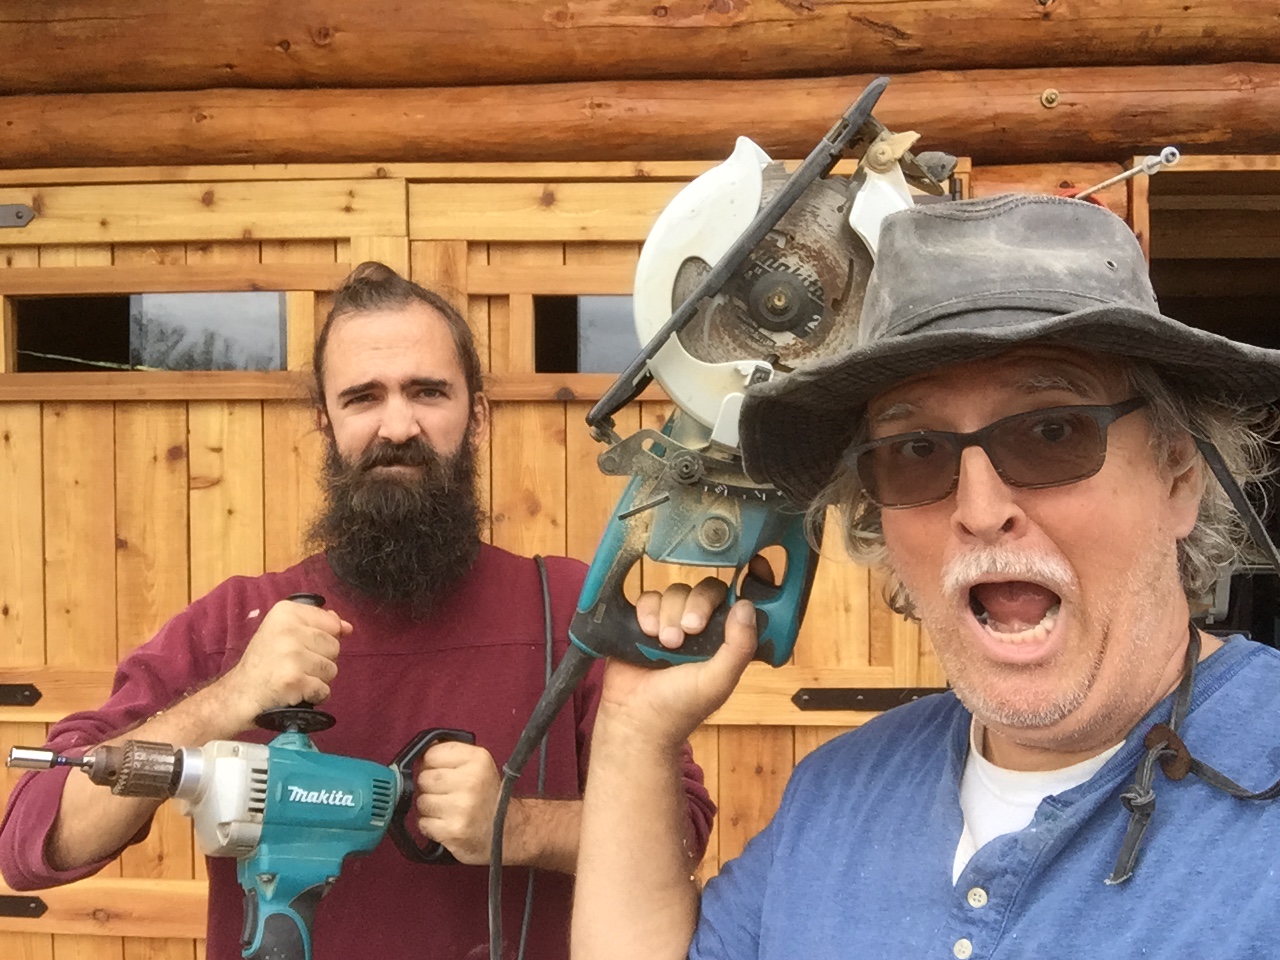
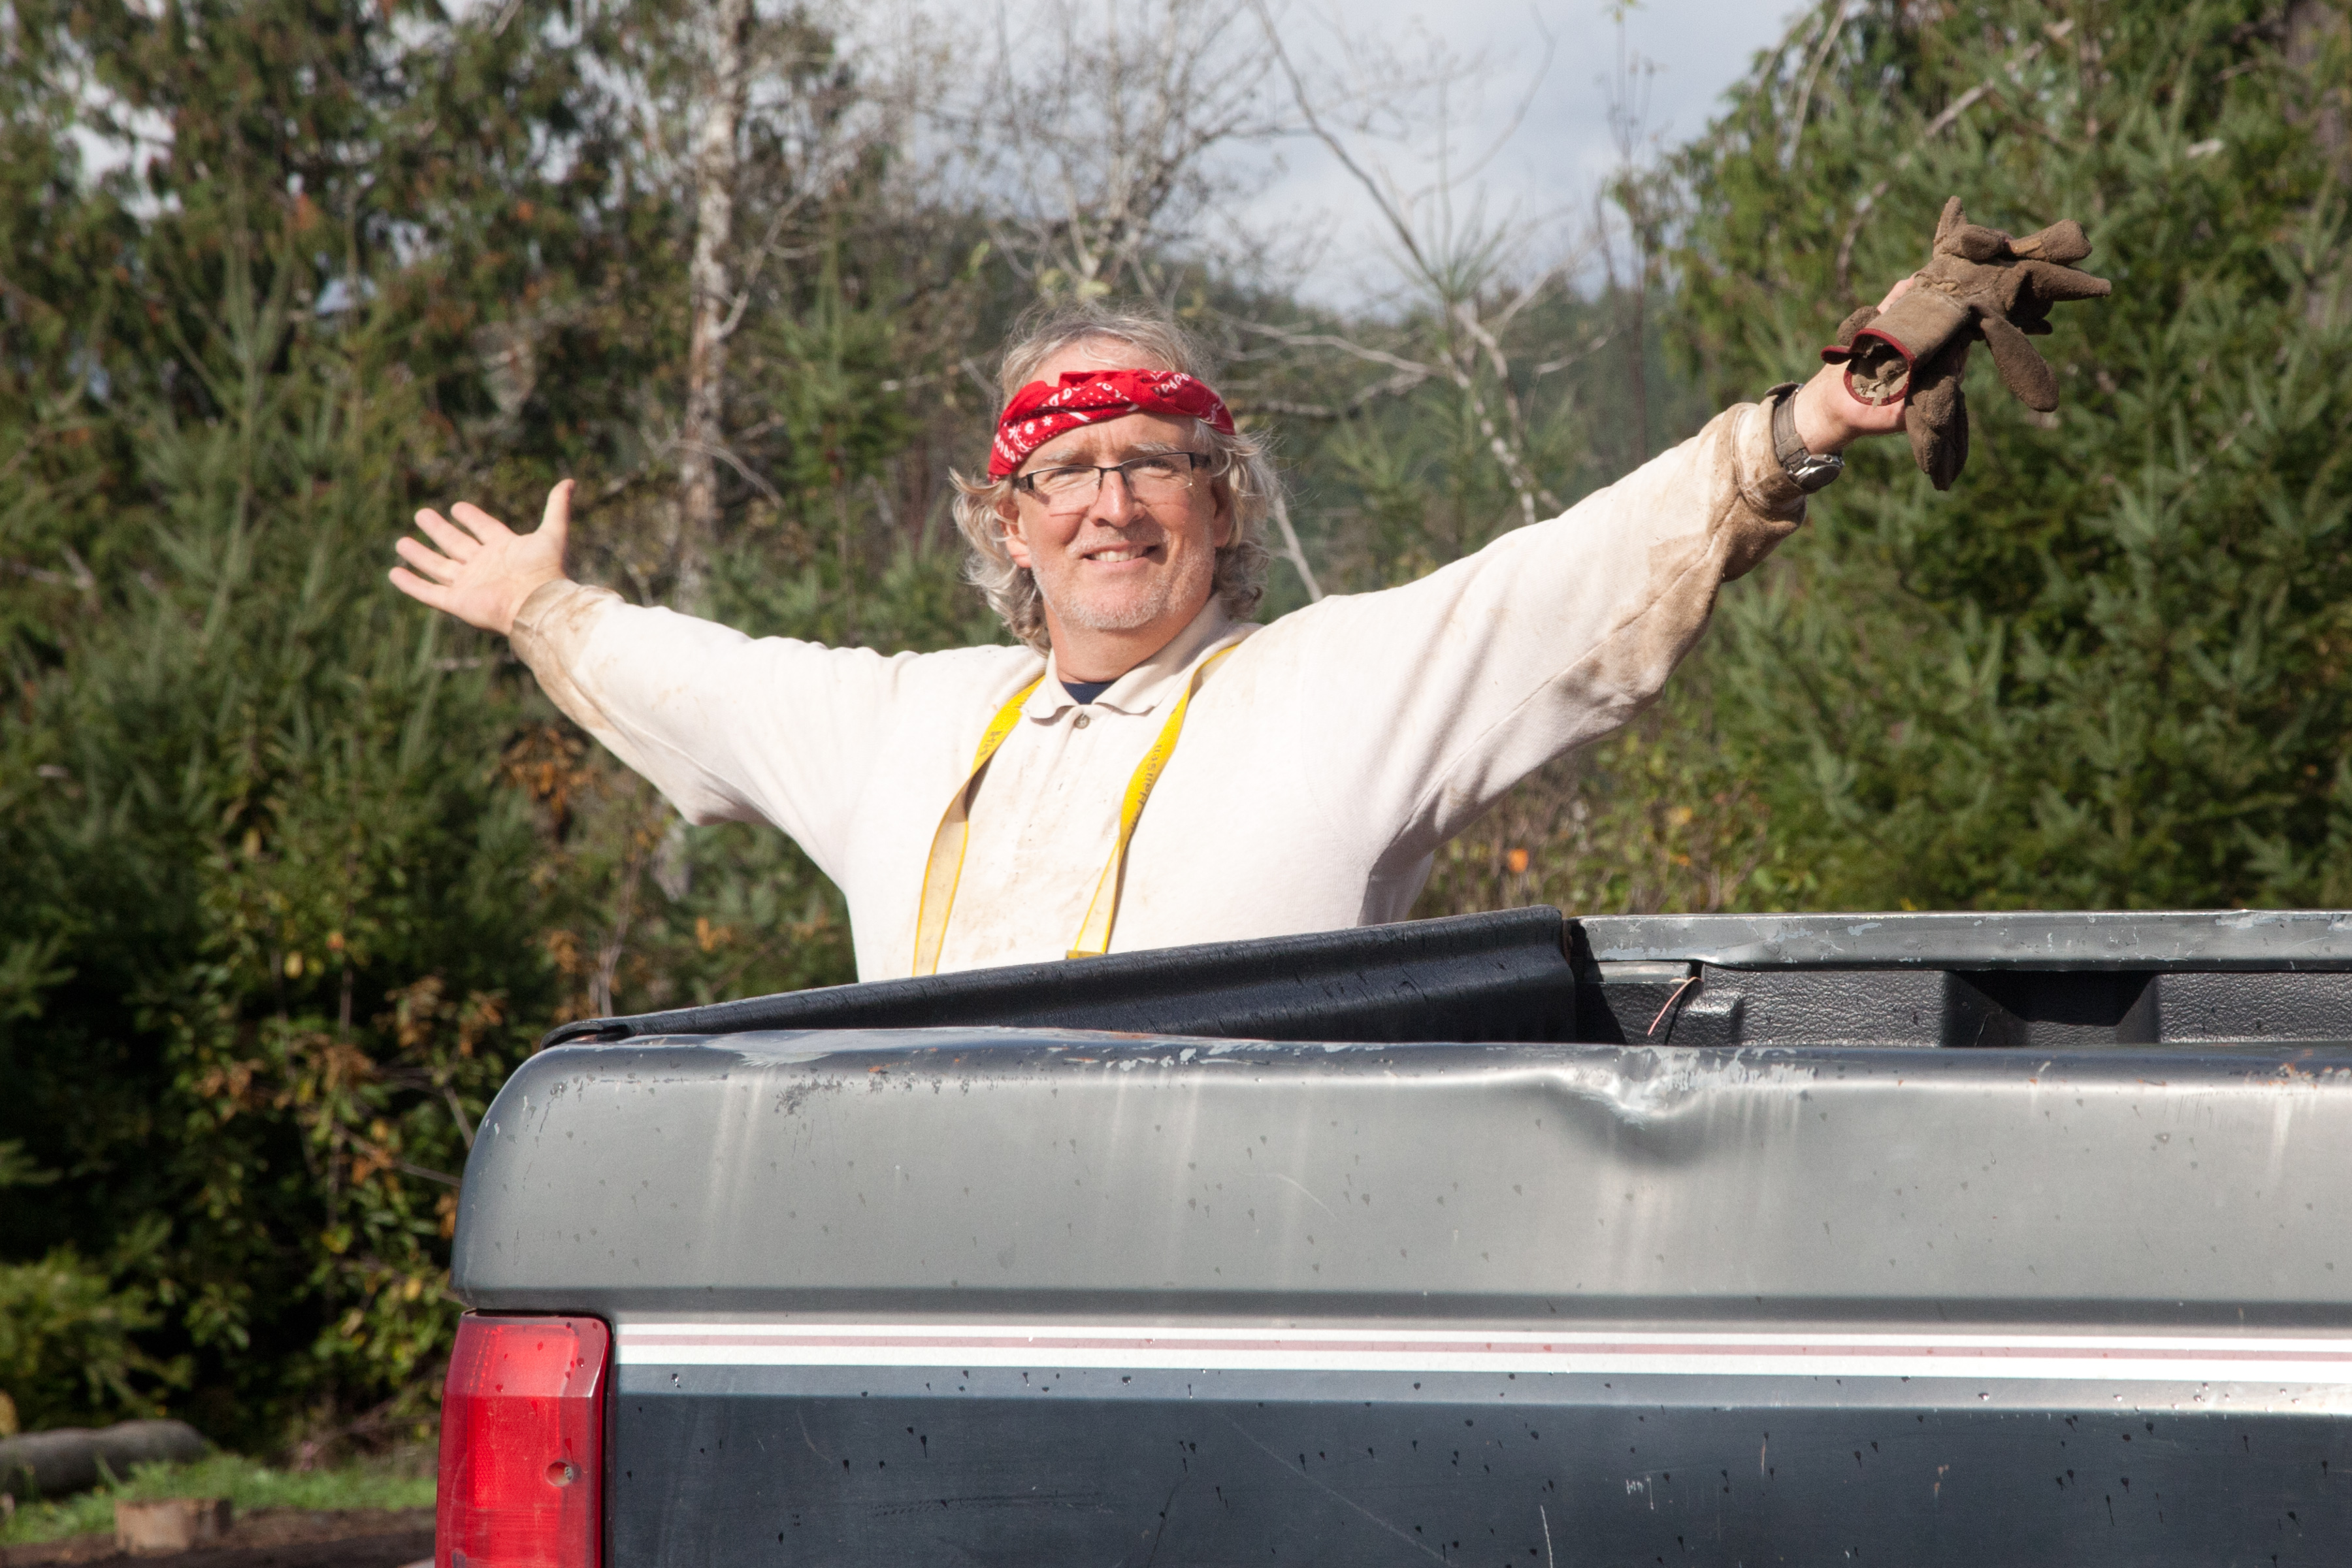
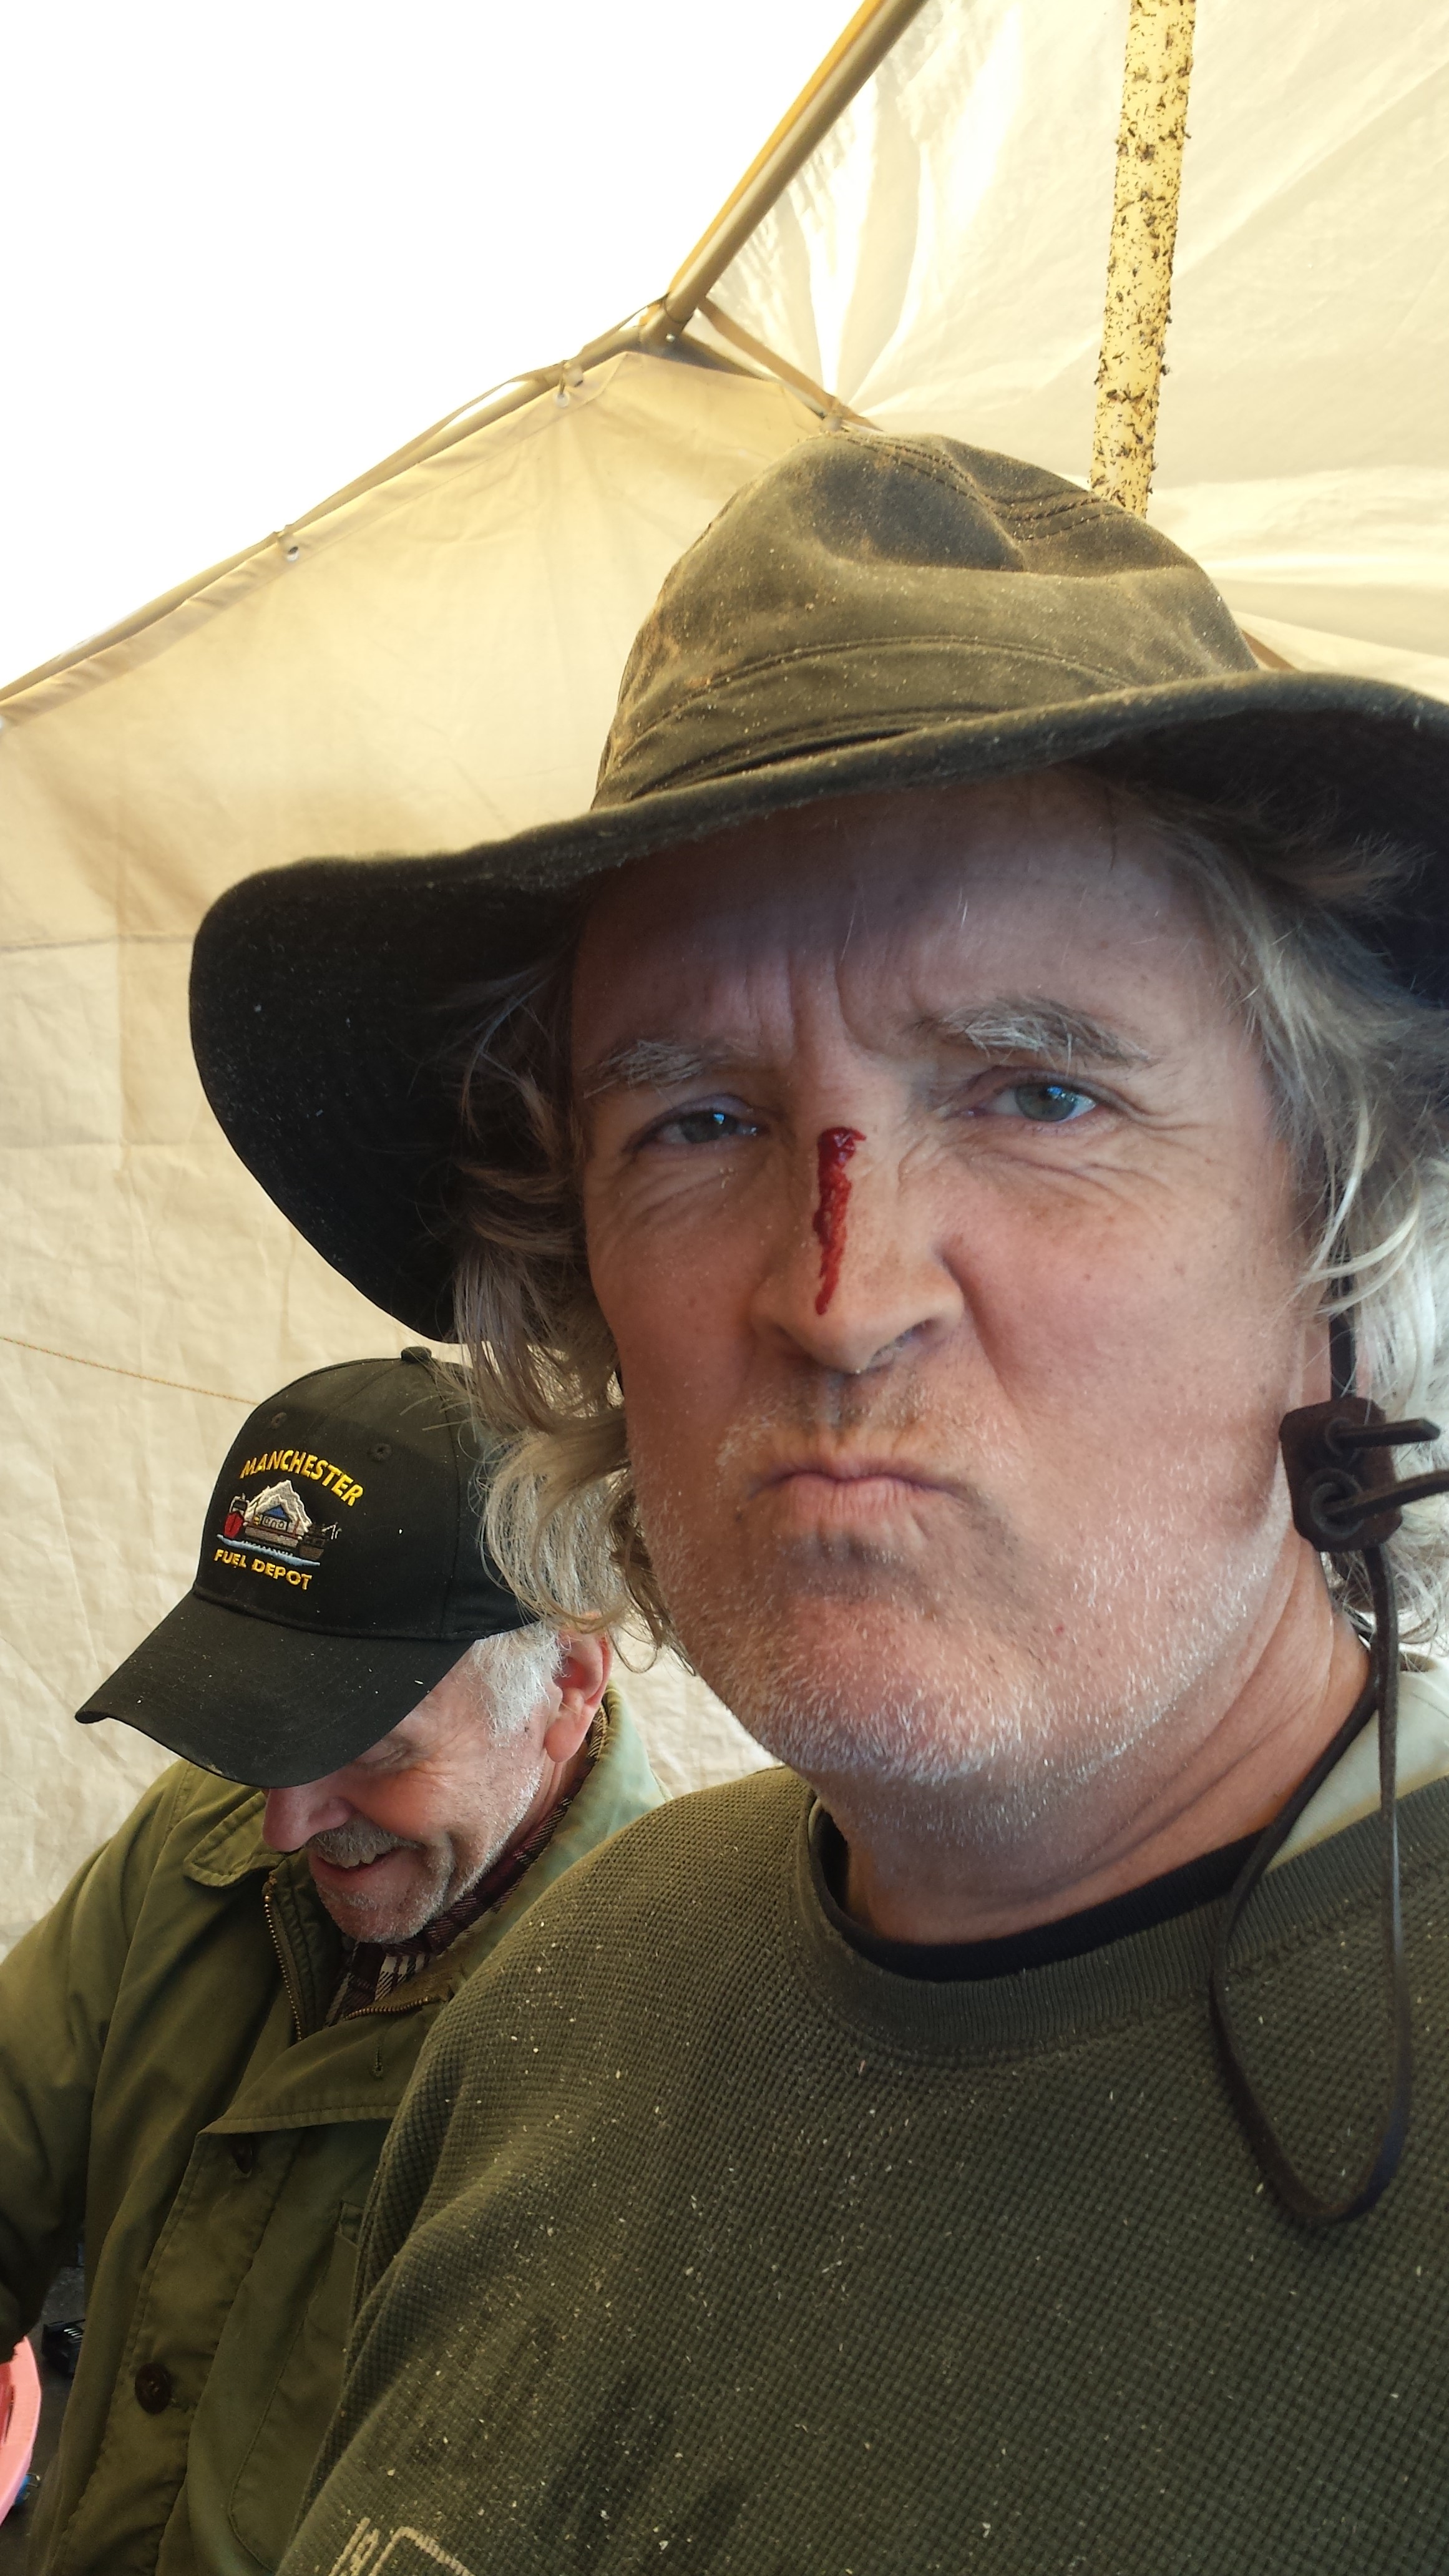
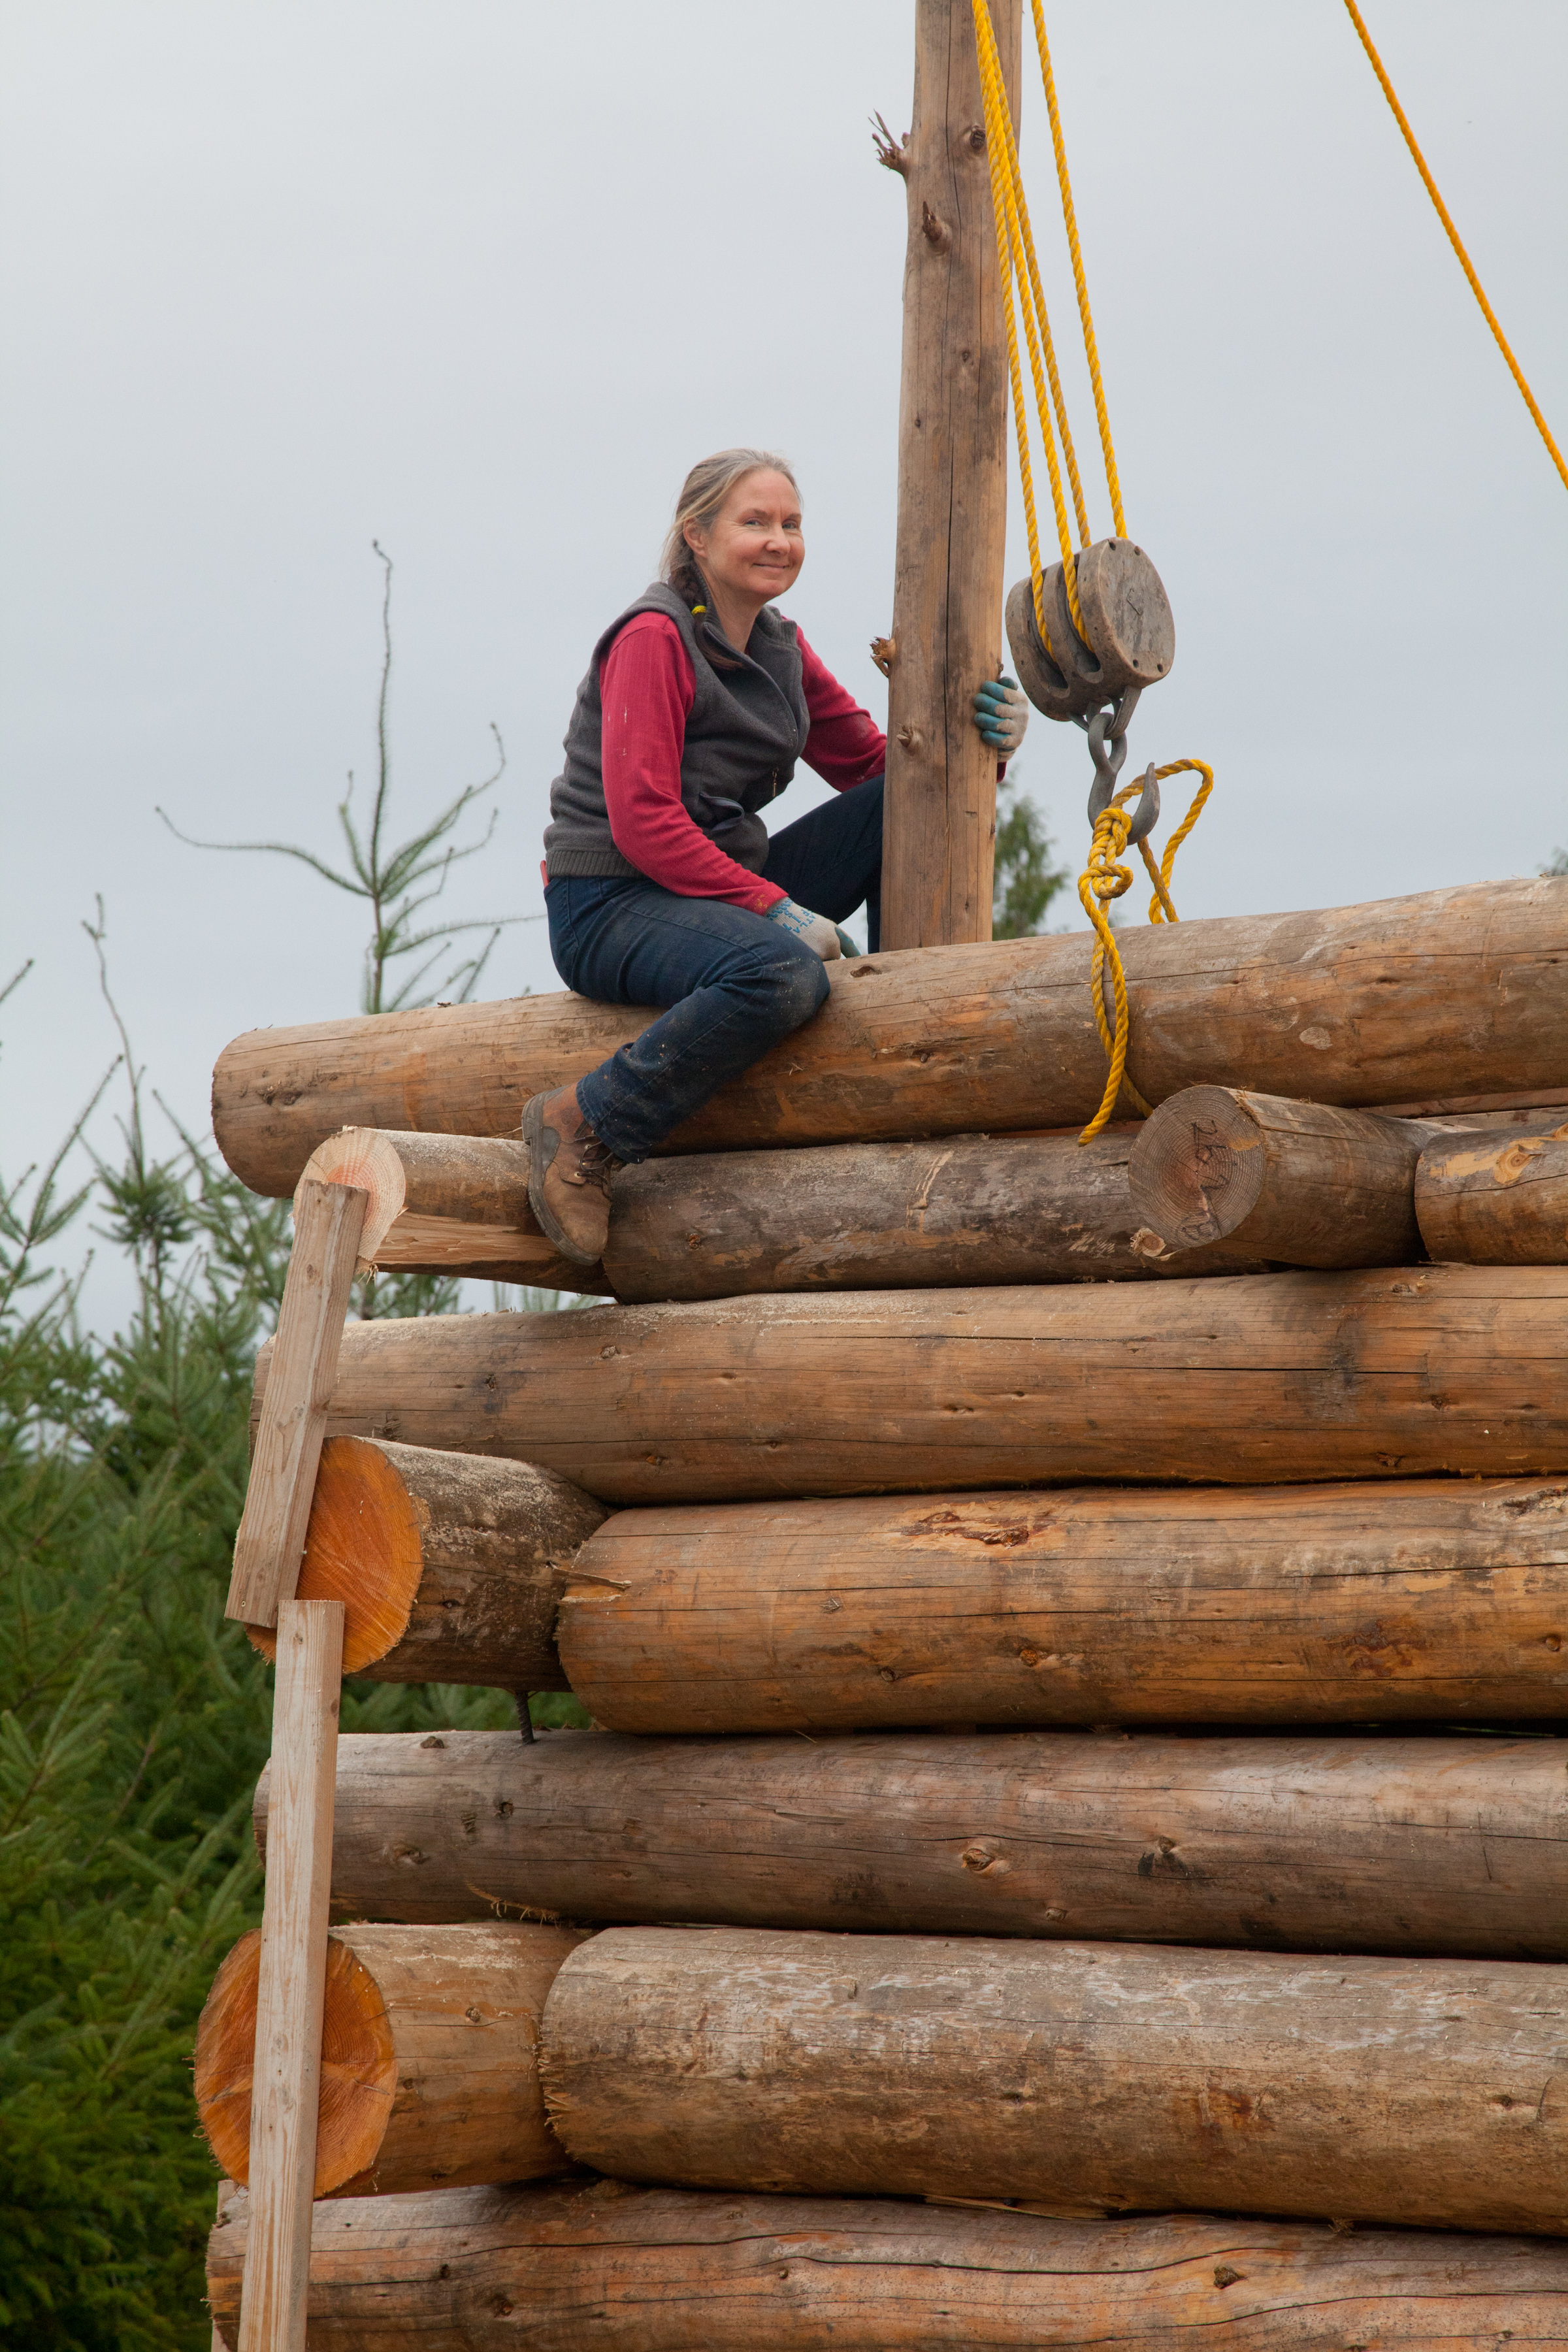
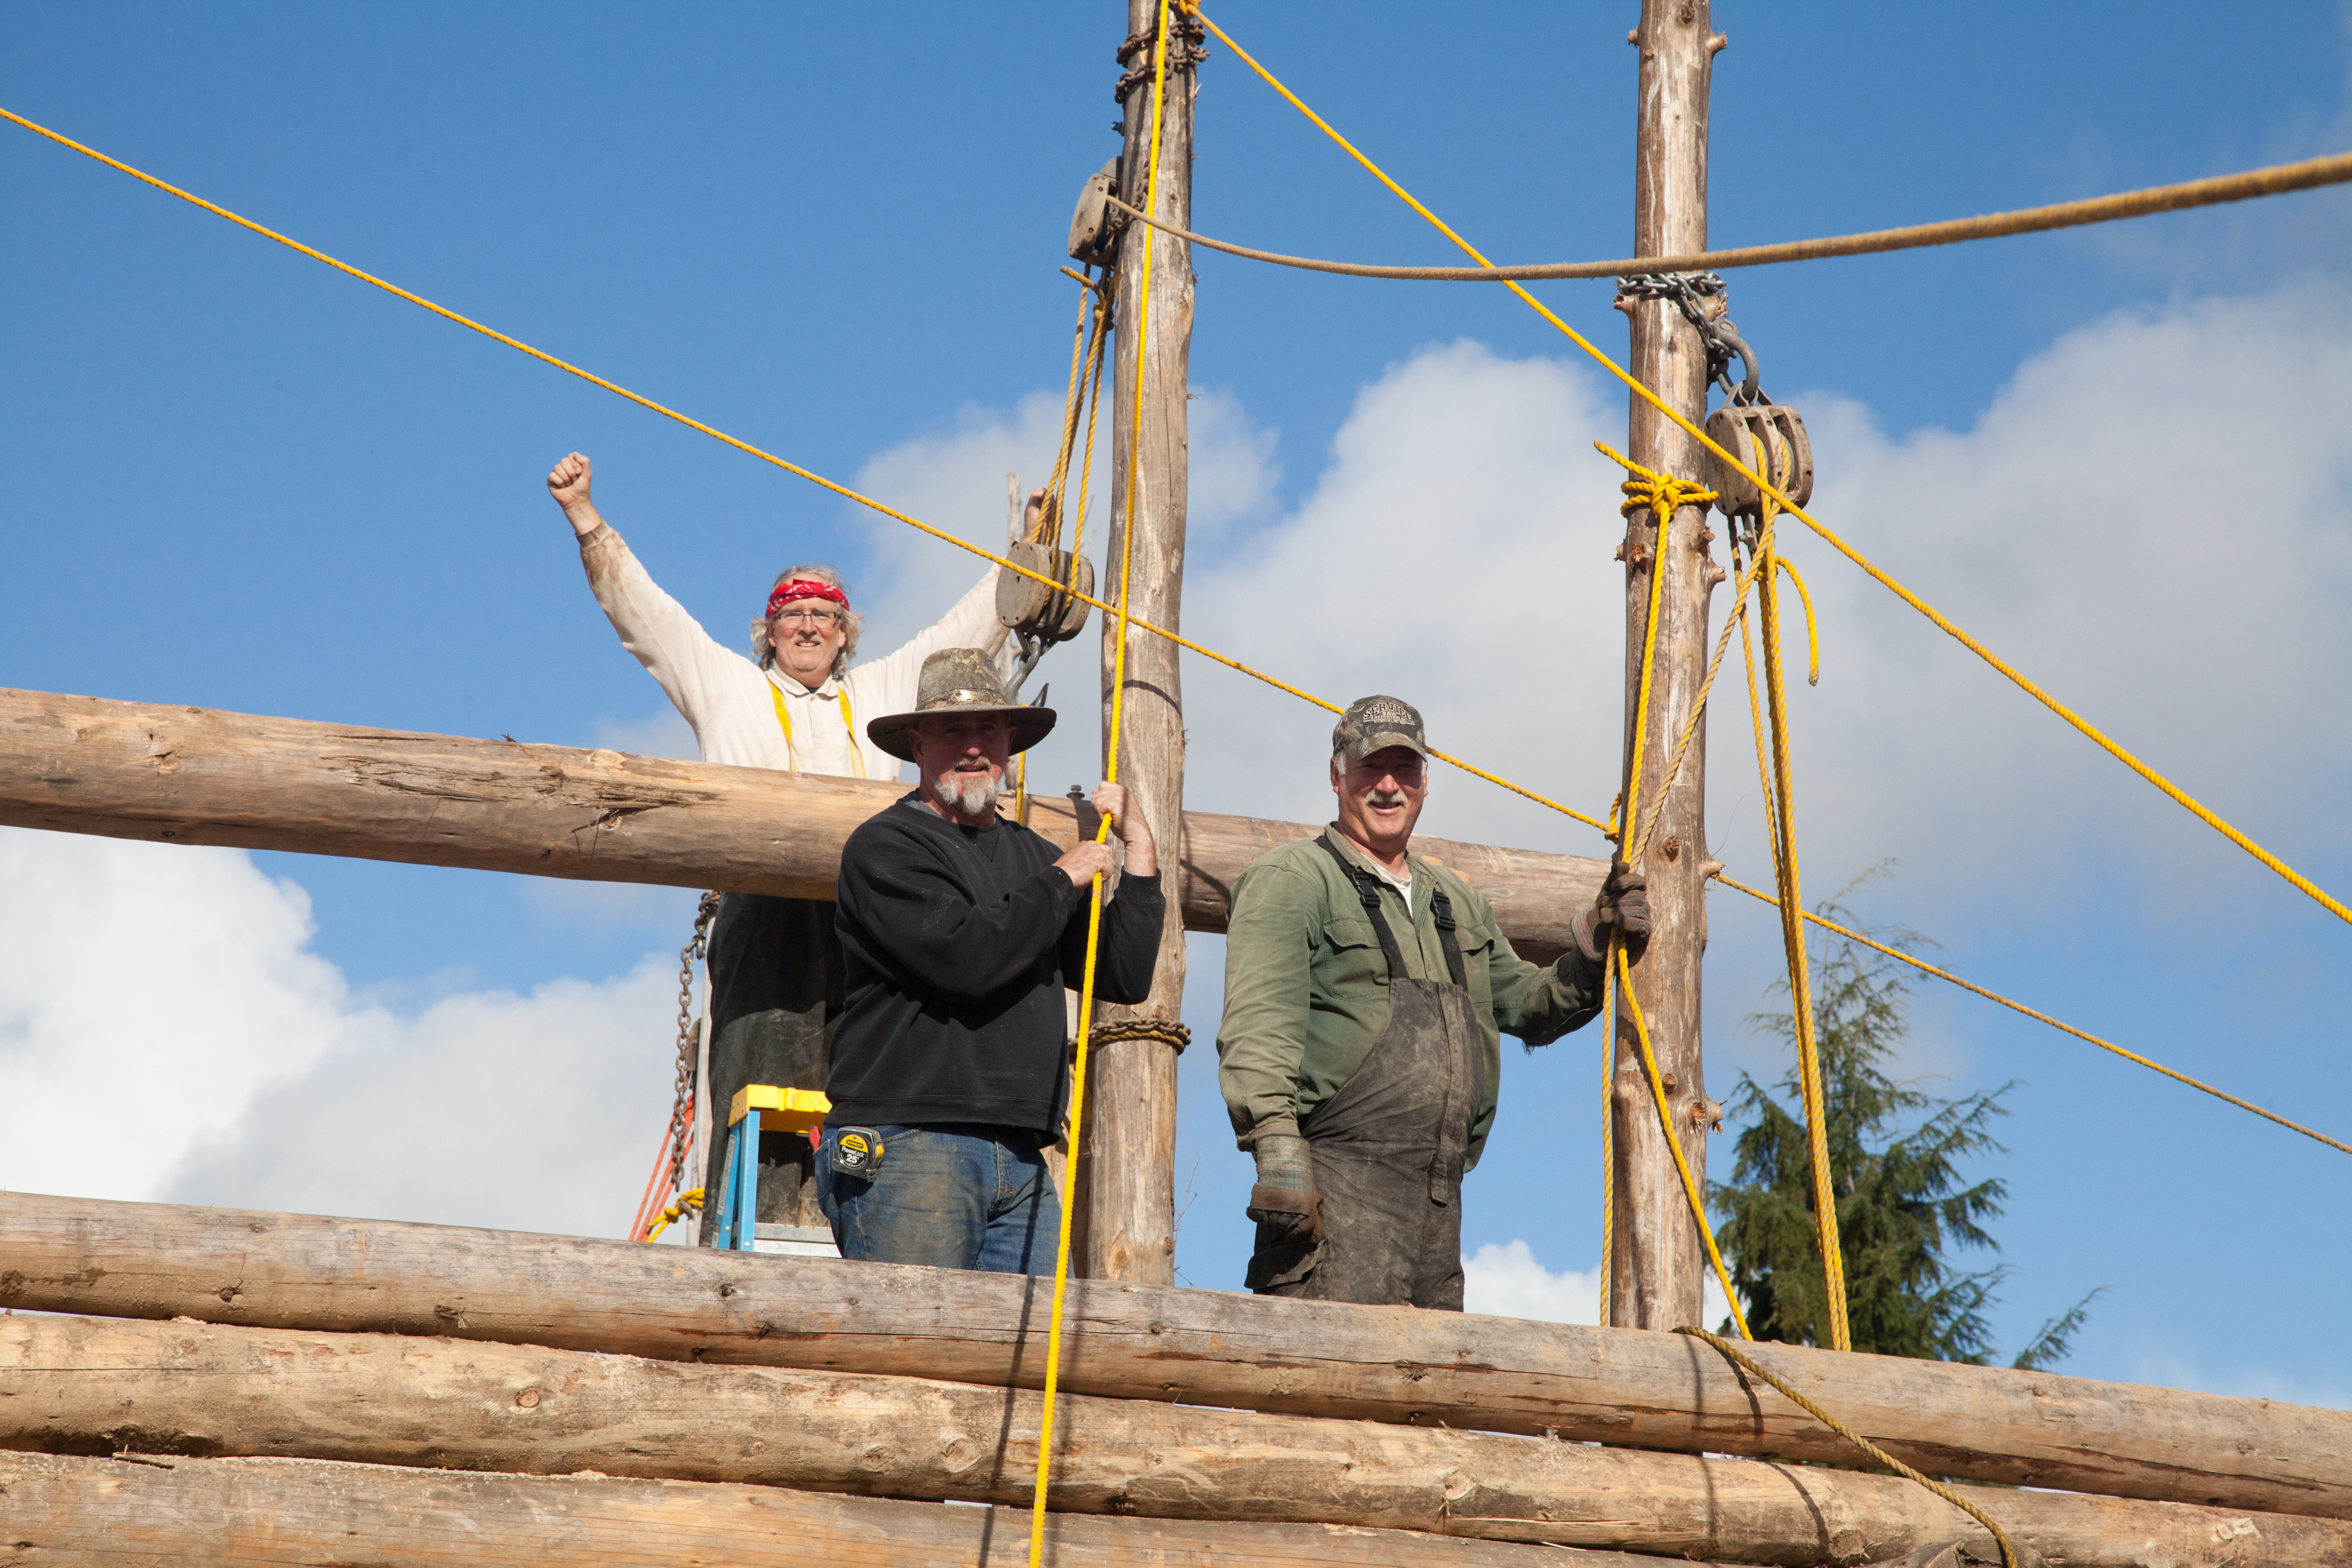
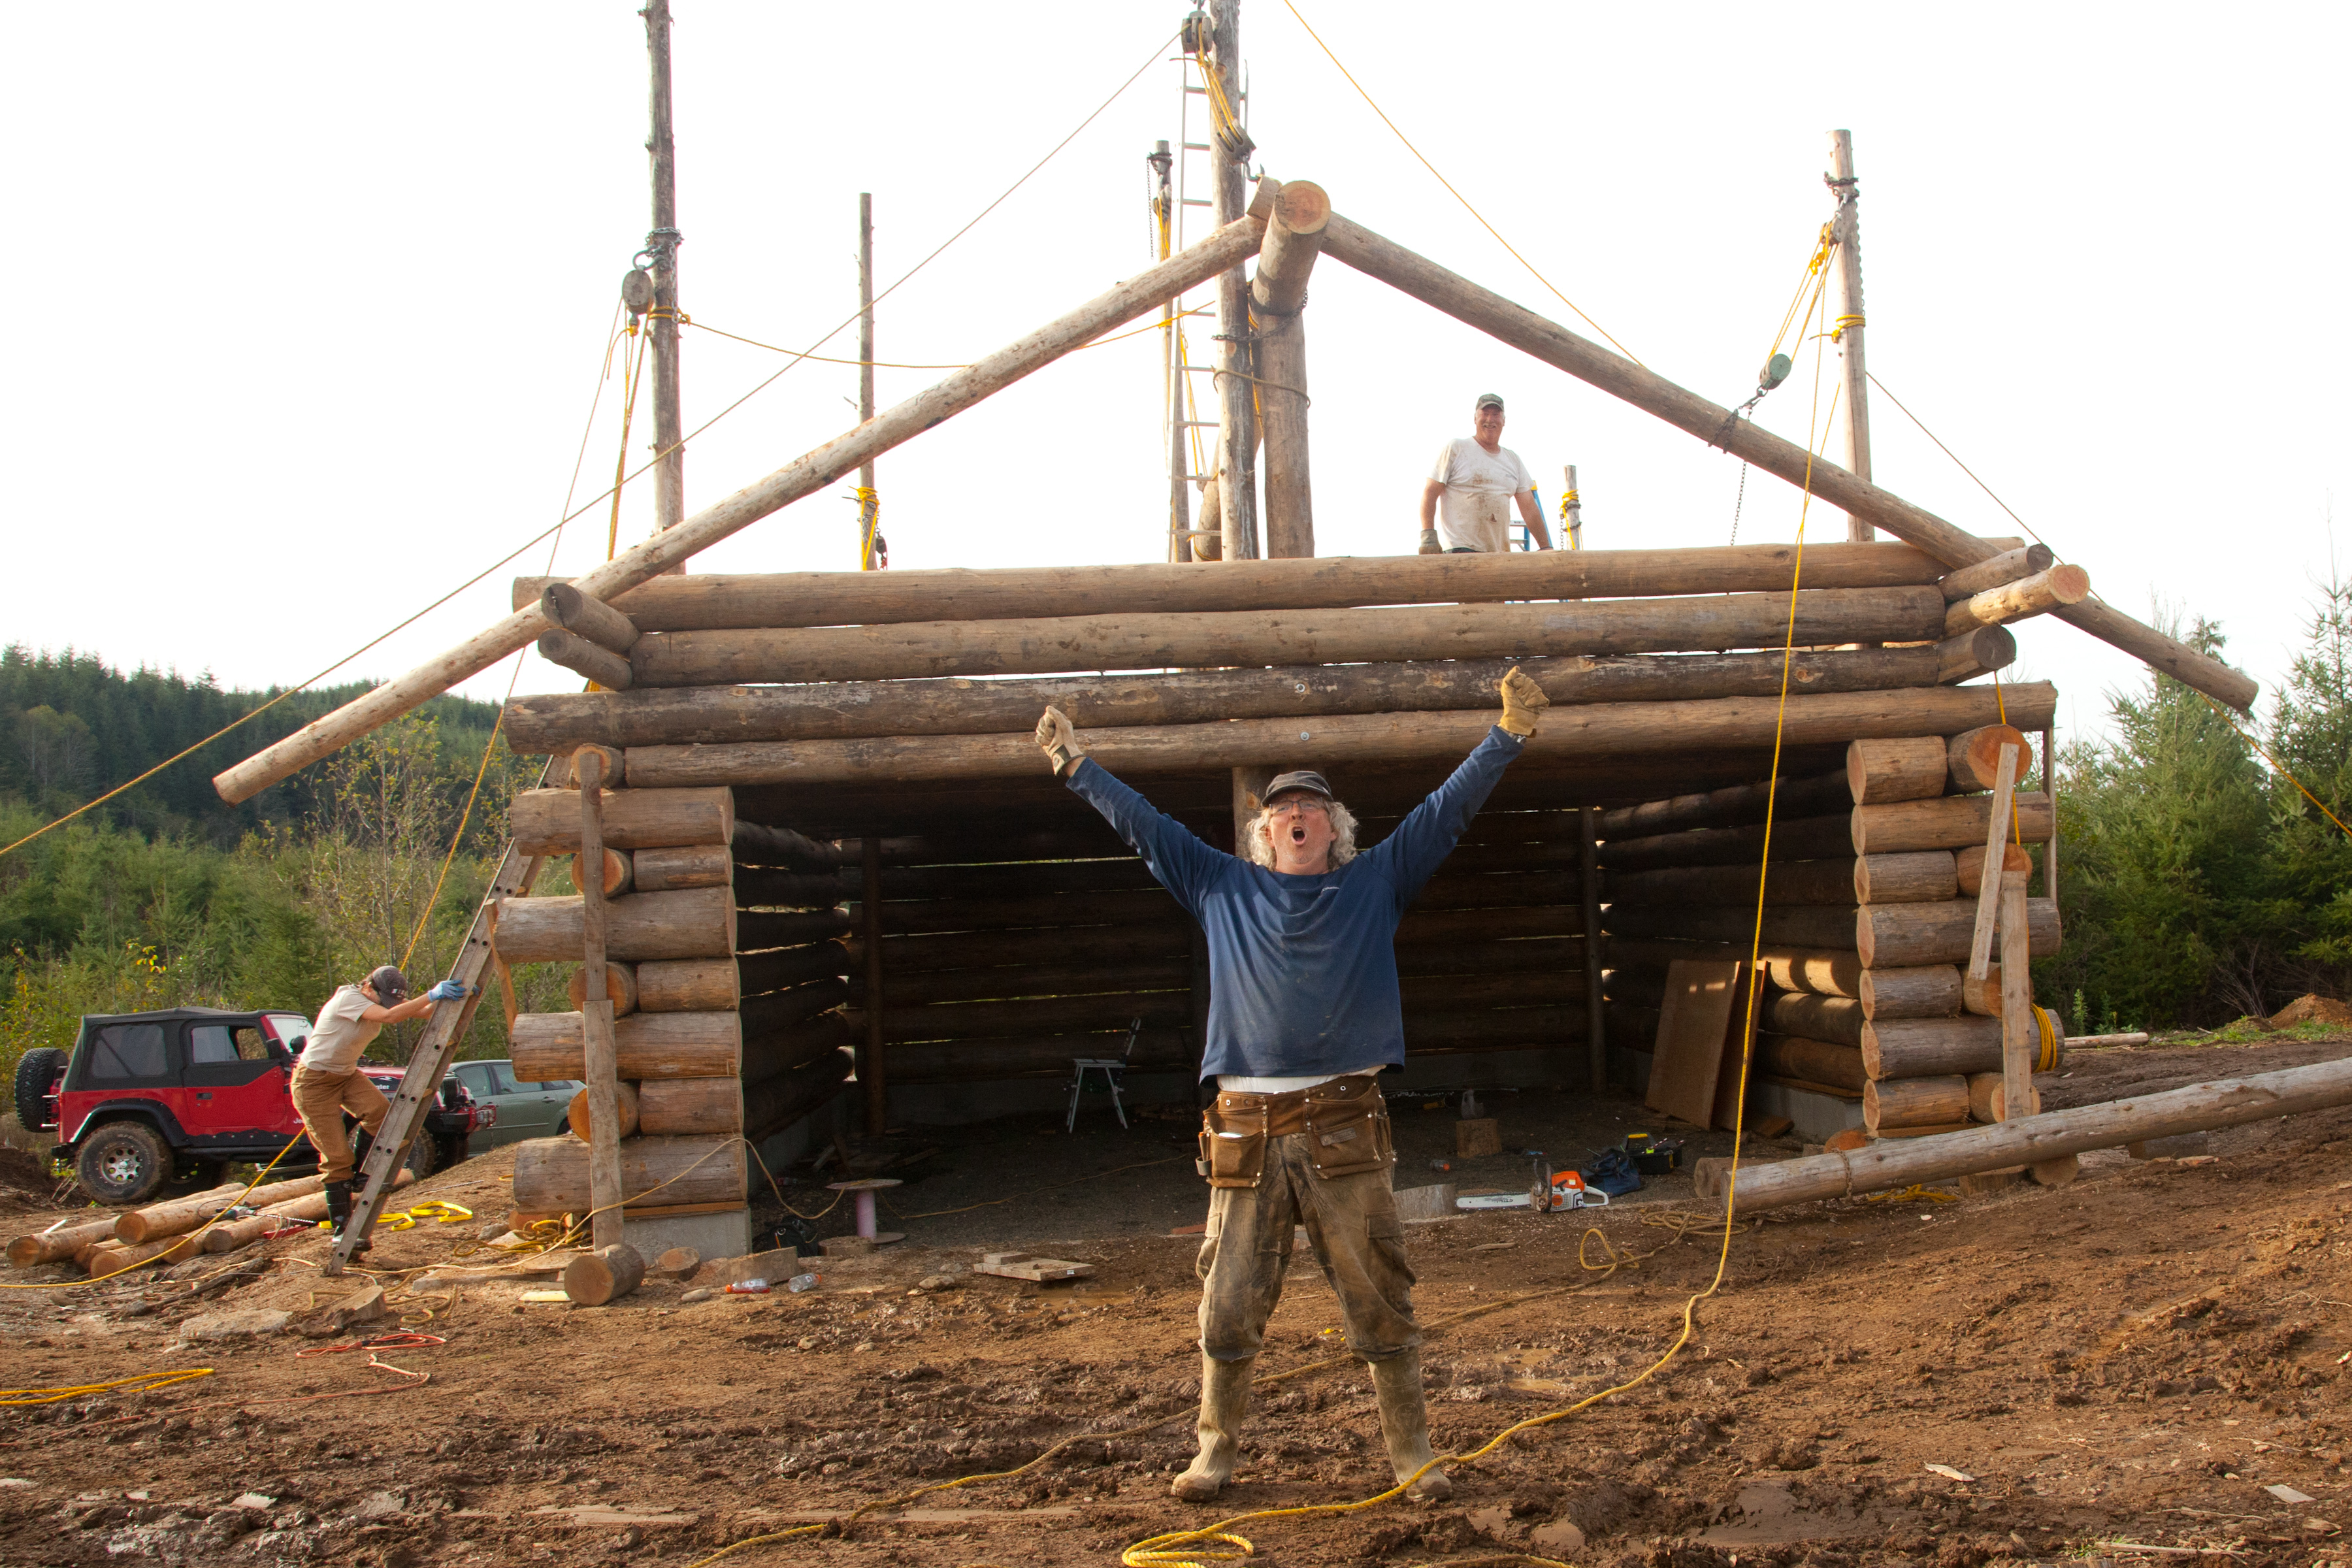
- I’m speechless.
-
- I will use elk antlers as door handles.
-

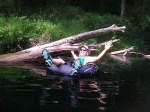
- I tried my hand at fly fishing.

-
- My friend John and his wife Anne came and spent some time with us.
-

- Slab floor is in!
-

- John and Anne join us in the NW.
-

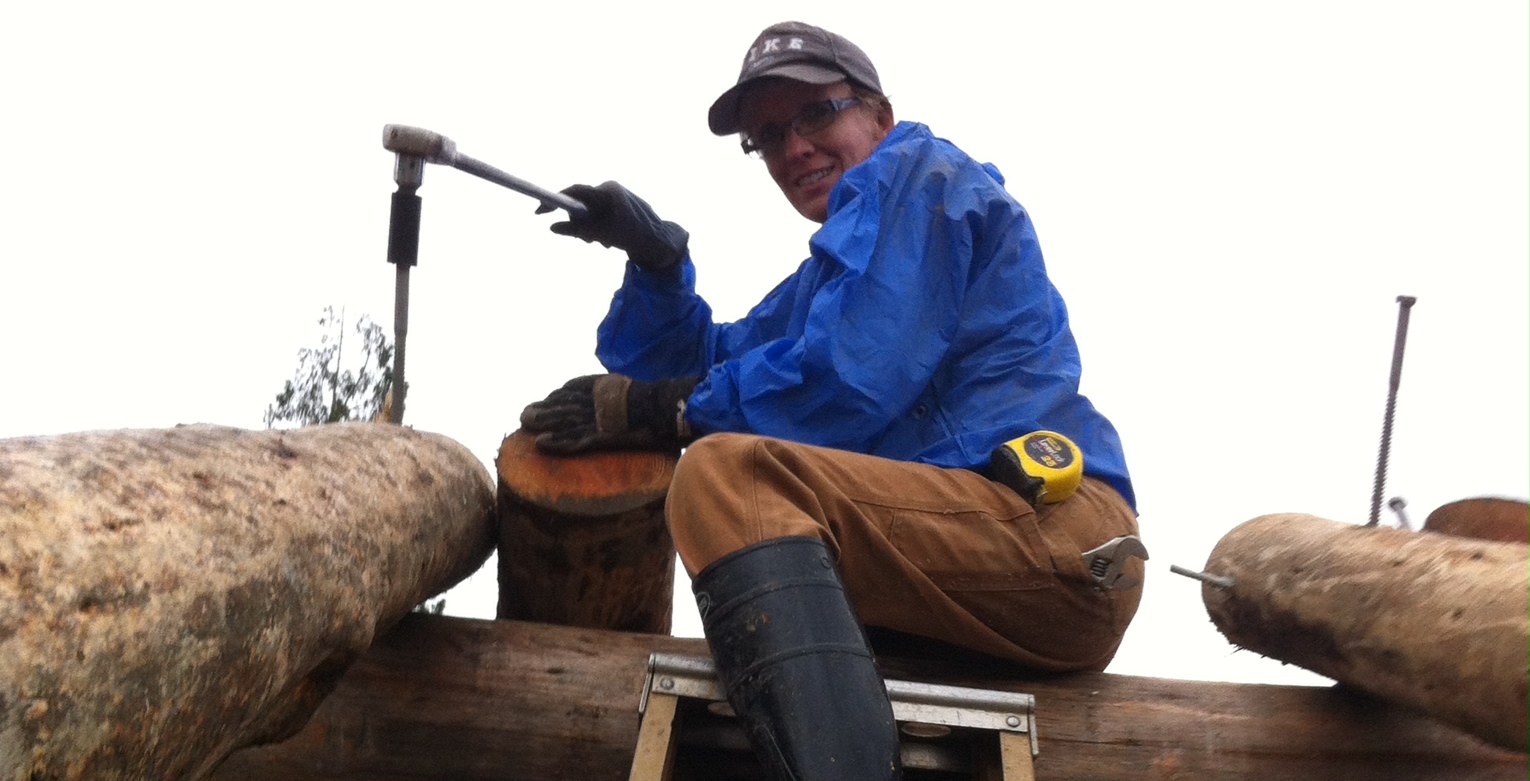
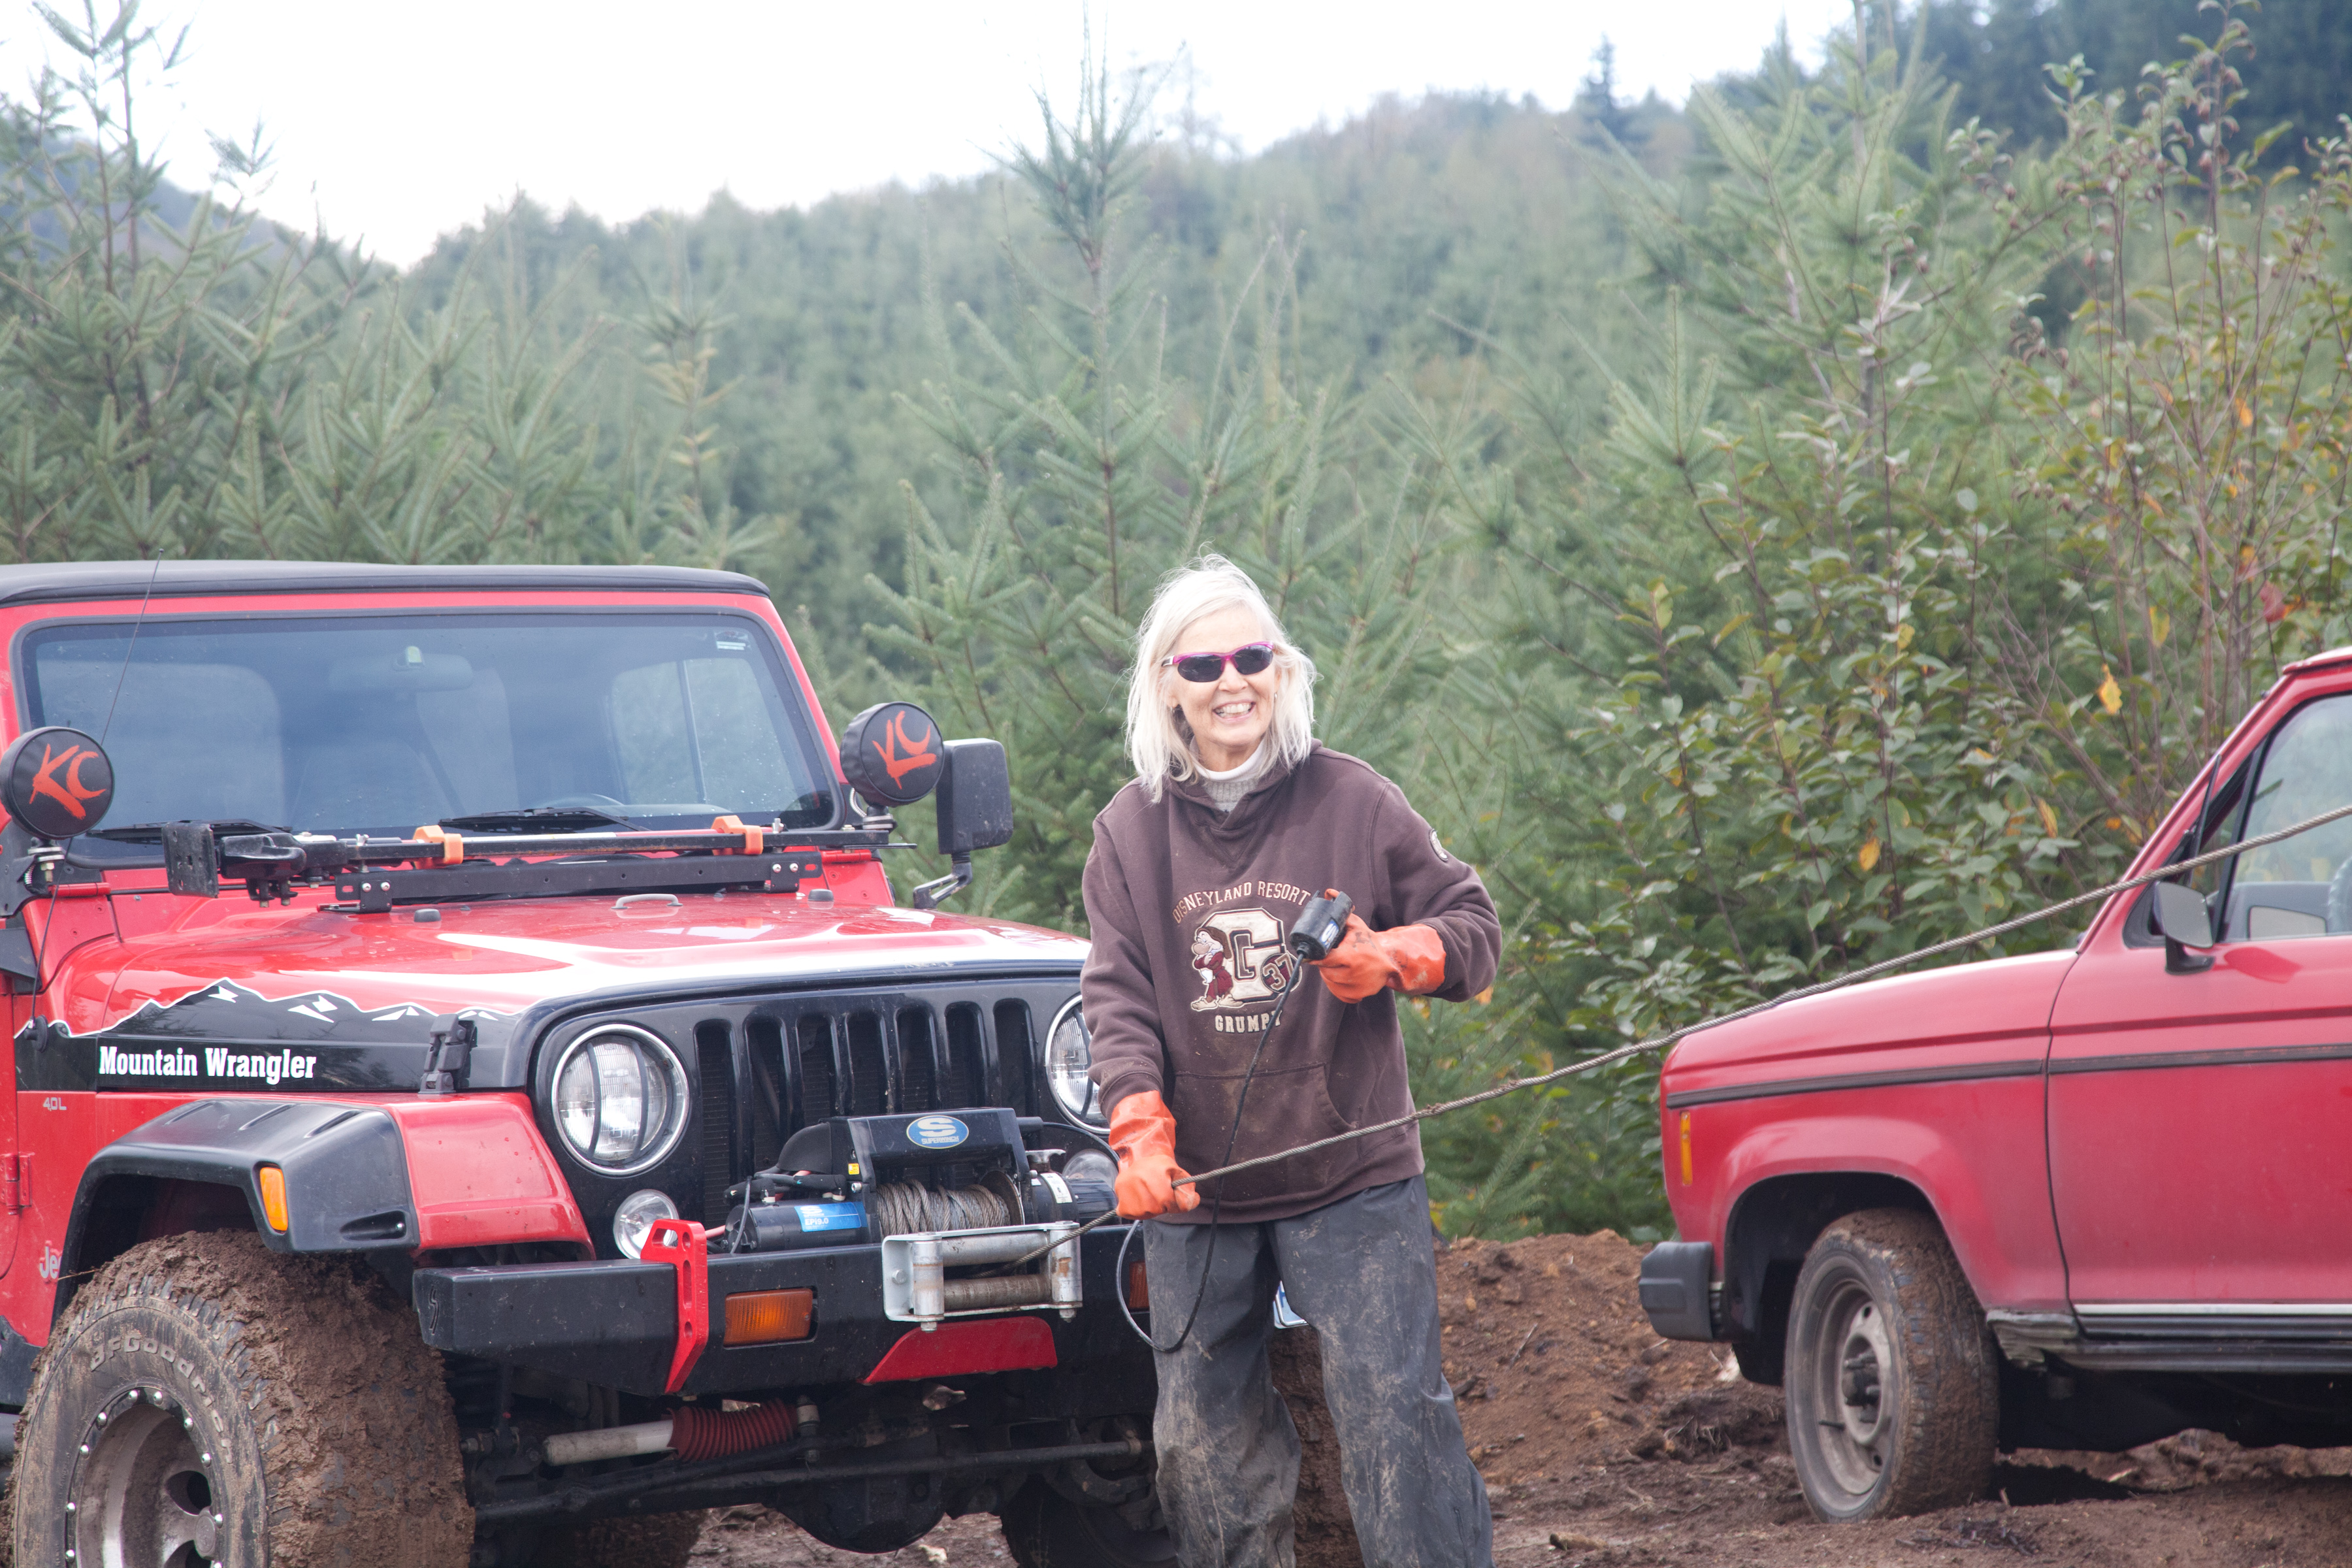
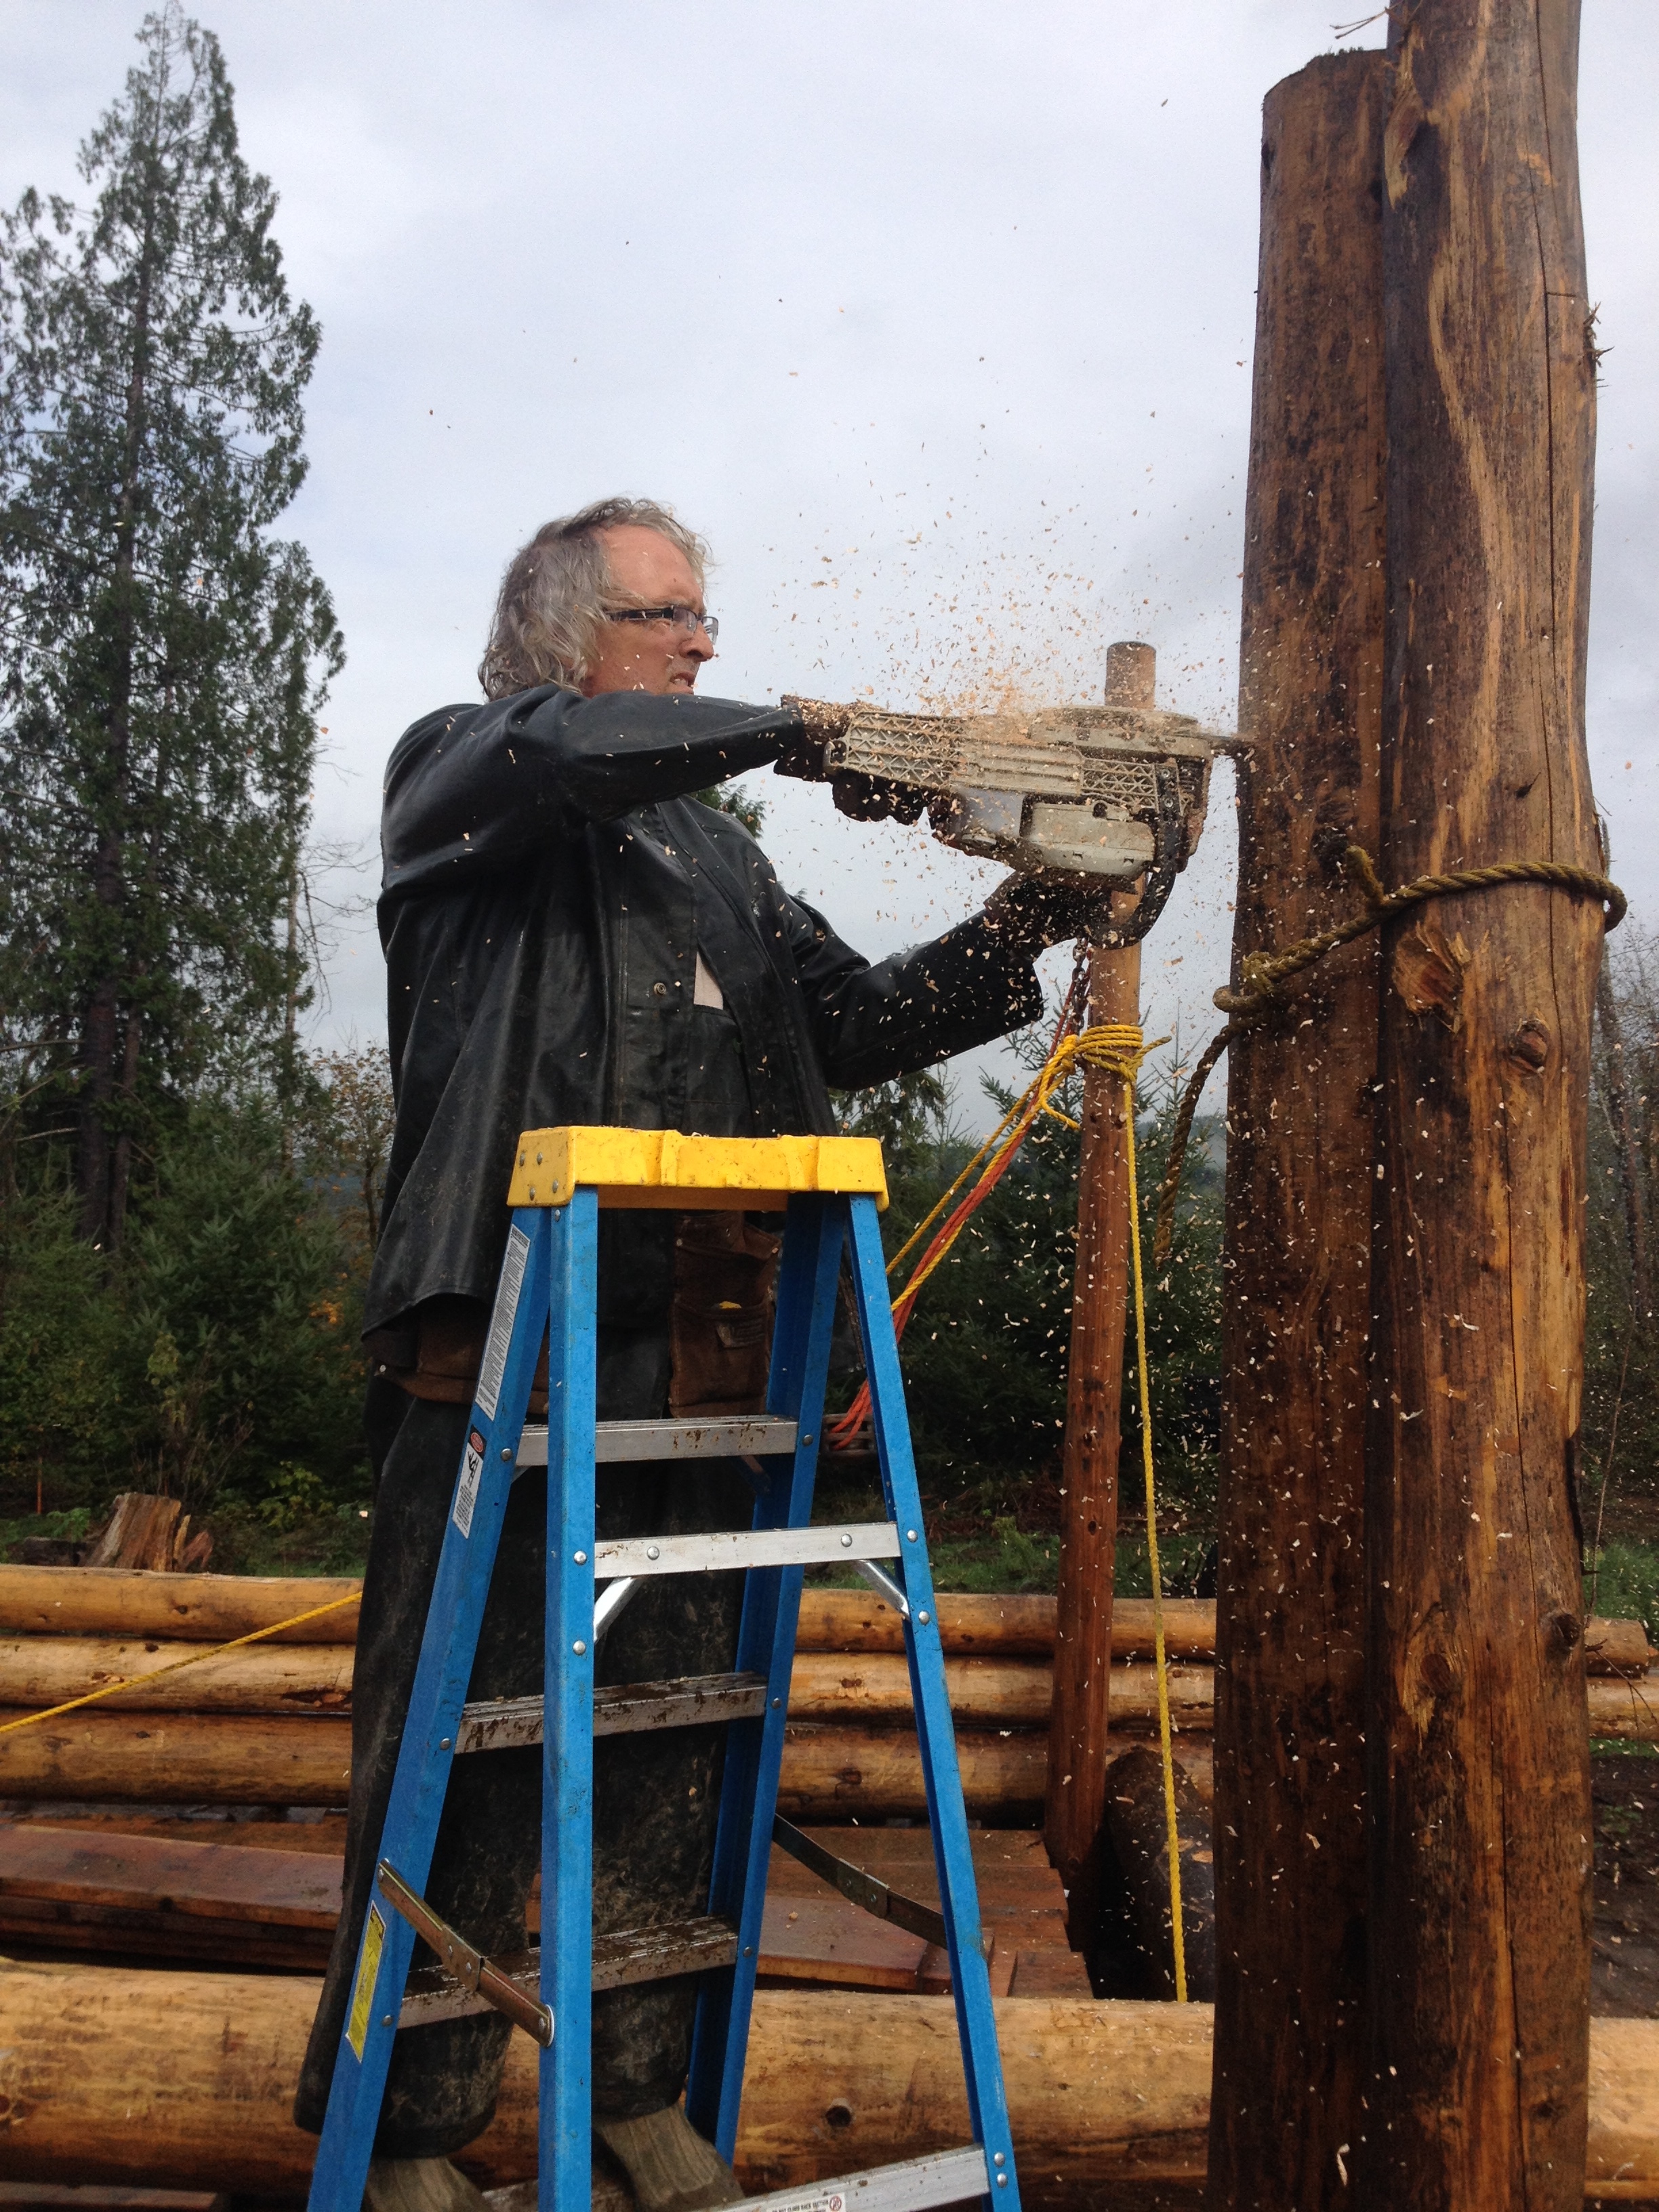
- I’m cutting off the excess rod.


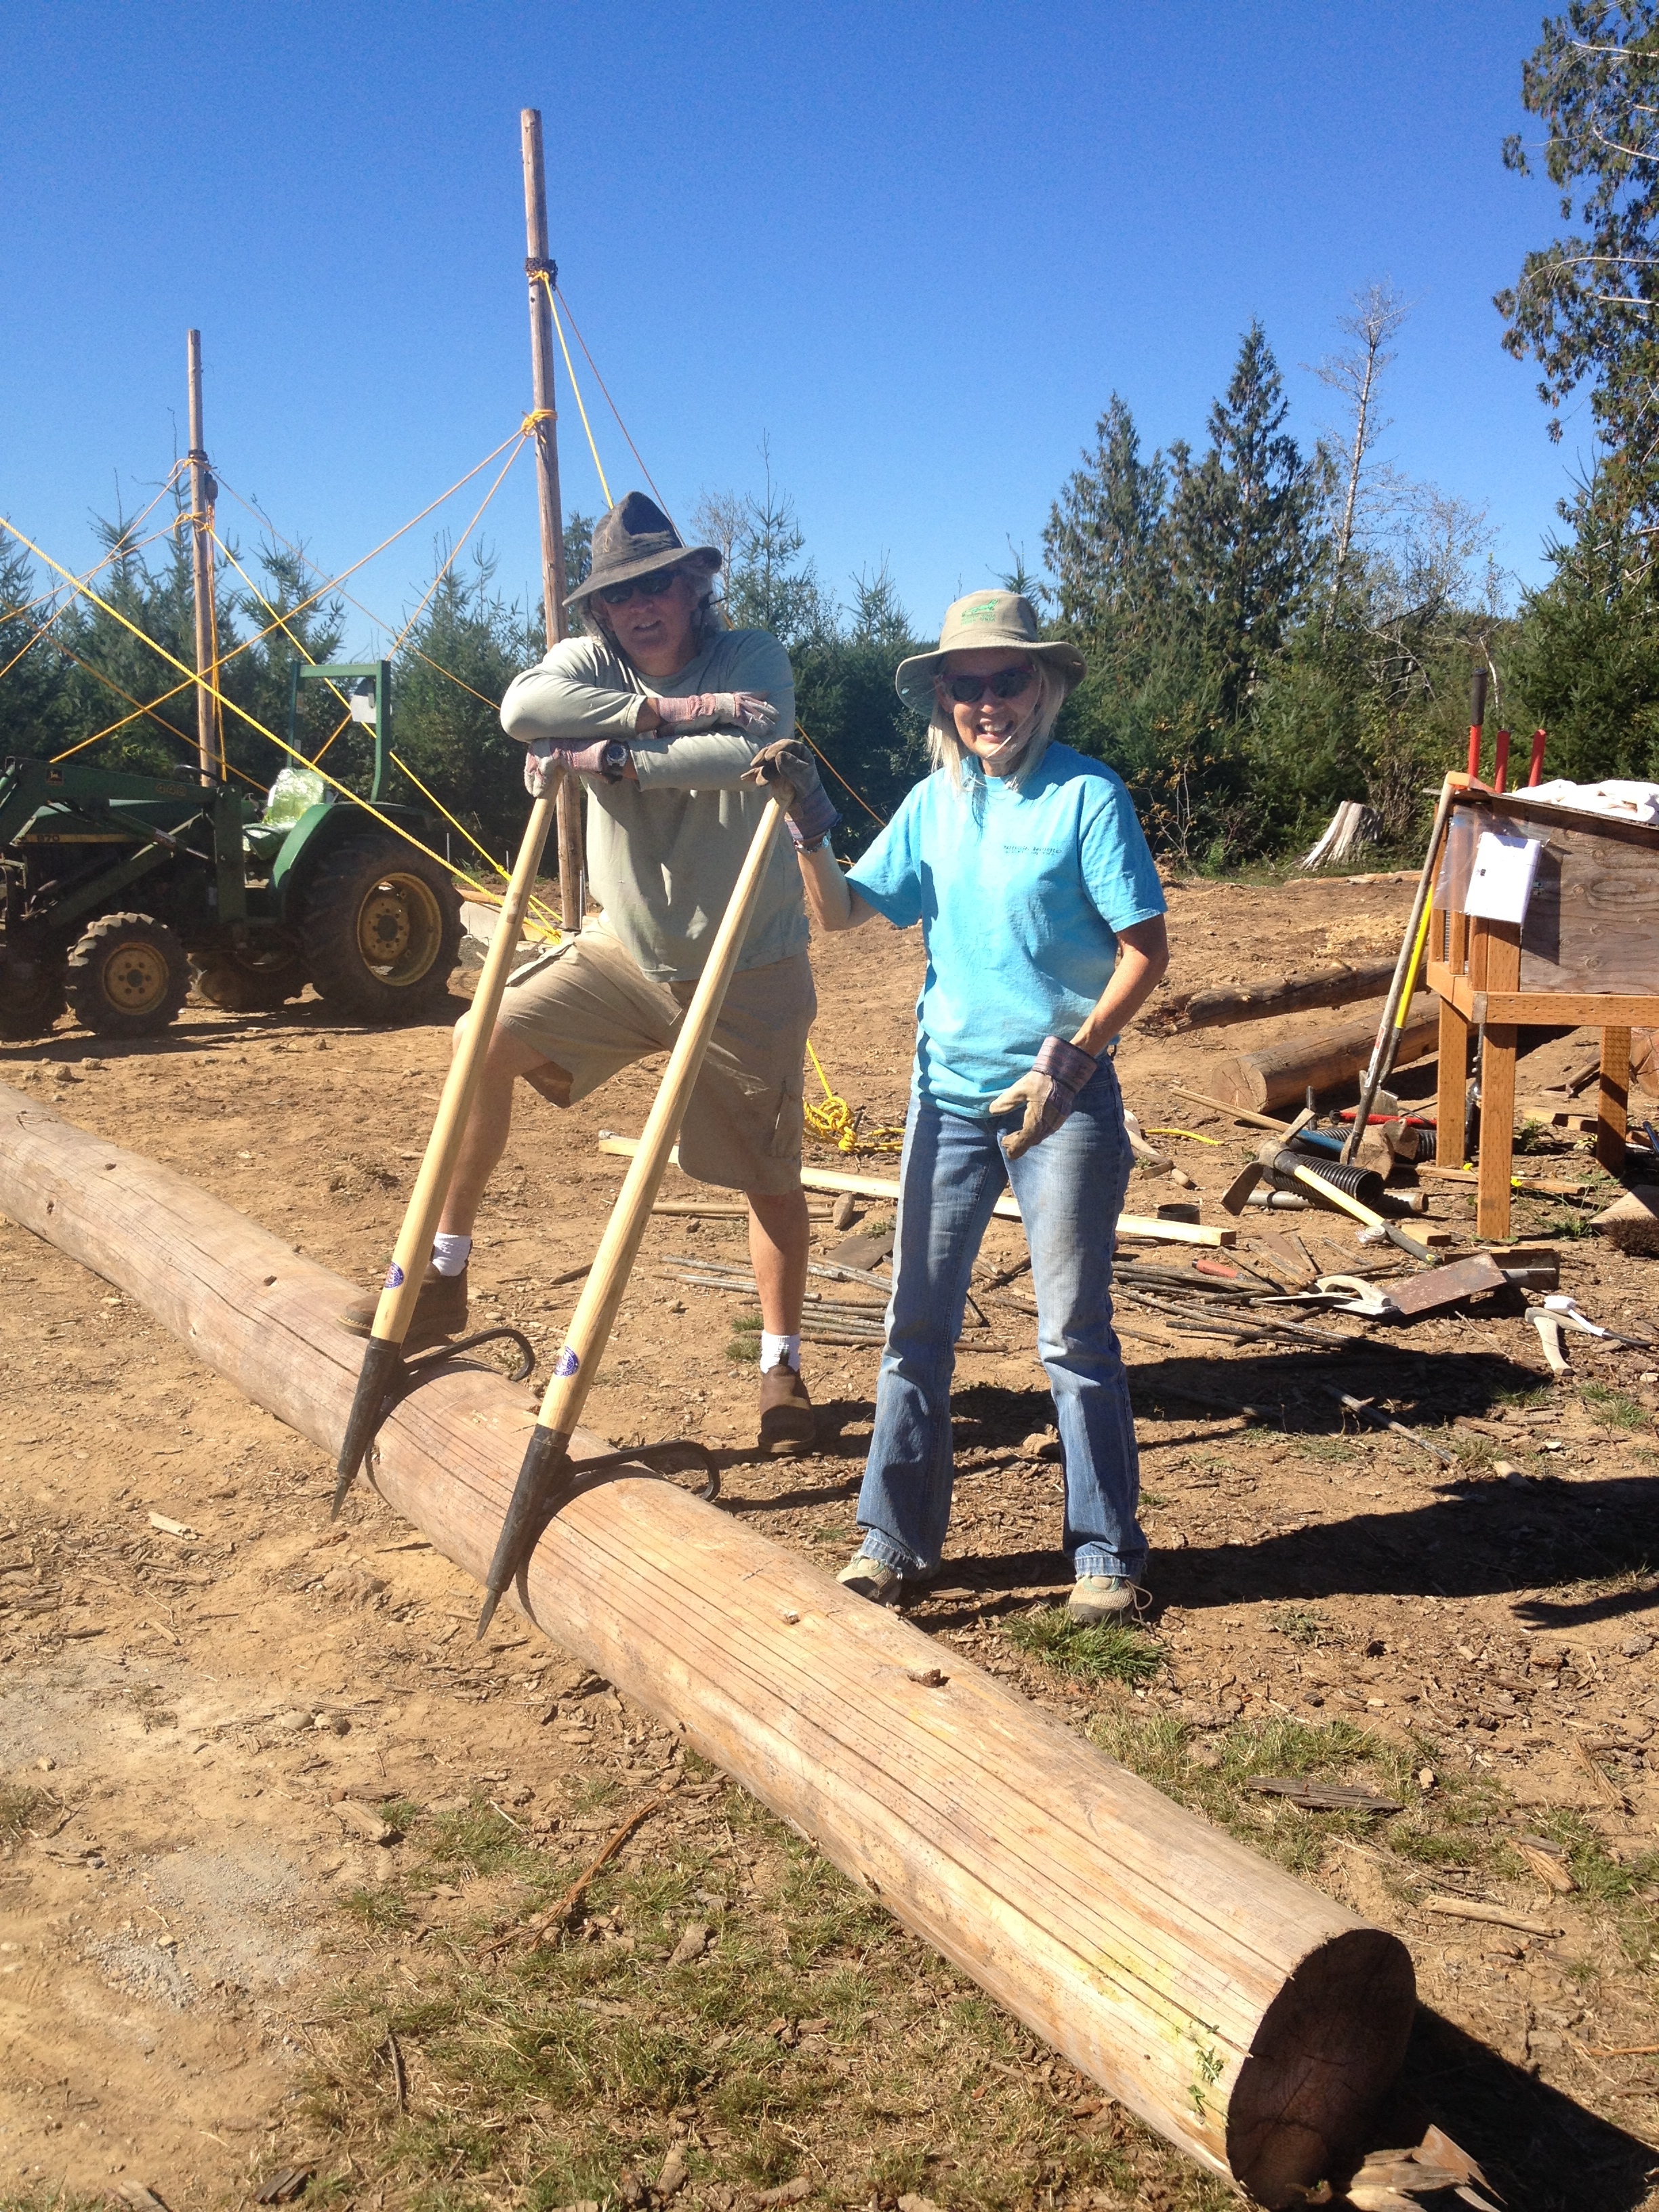
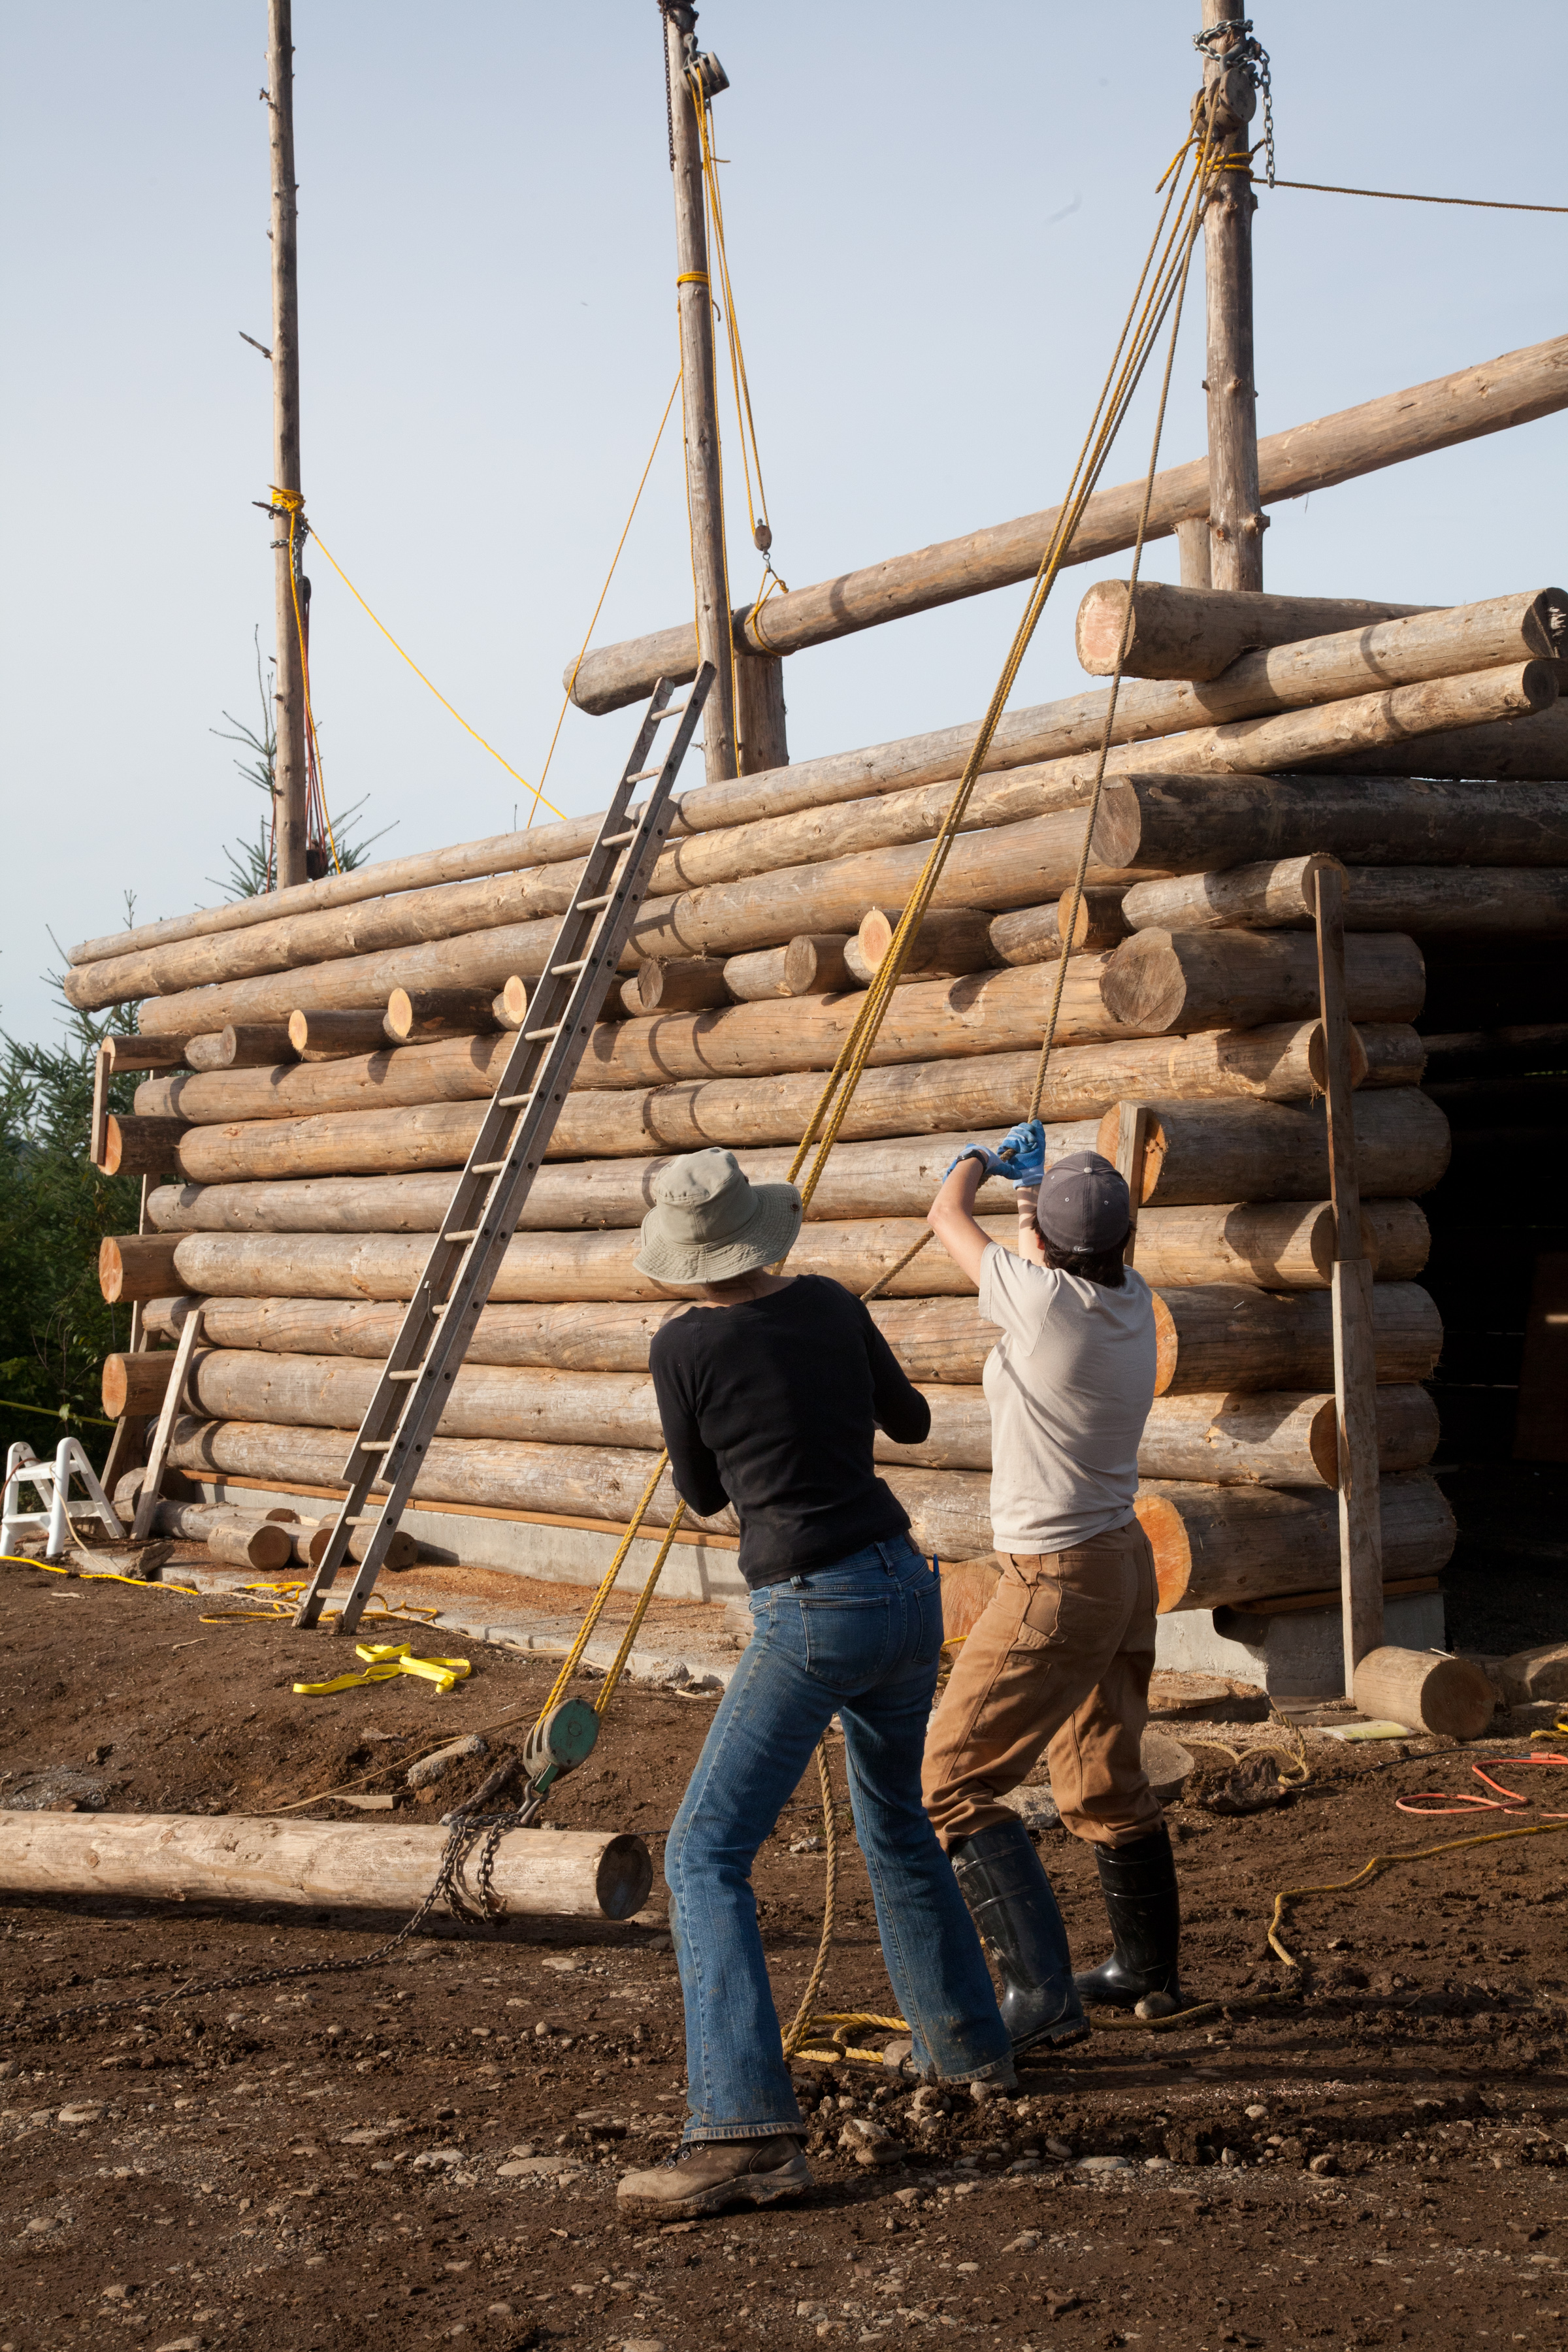
 Take care of your logs and they will take care of you. The pressure washing took care of the mold that had spread while laying on the ground over the summer. Prepping the logs for sealing…grinding the knots flat(I used my 4″grinder with a coarse wood disk)…took maybe 20 hours. Left jagged the knots would be dangerous to walkers by. Besides it made the logs look finished.
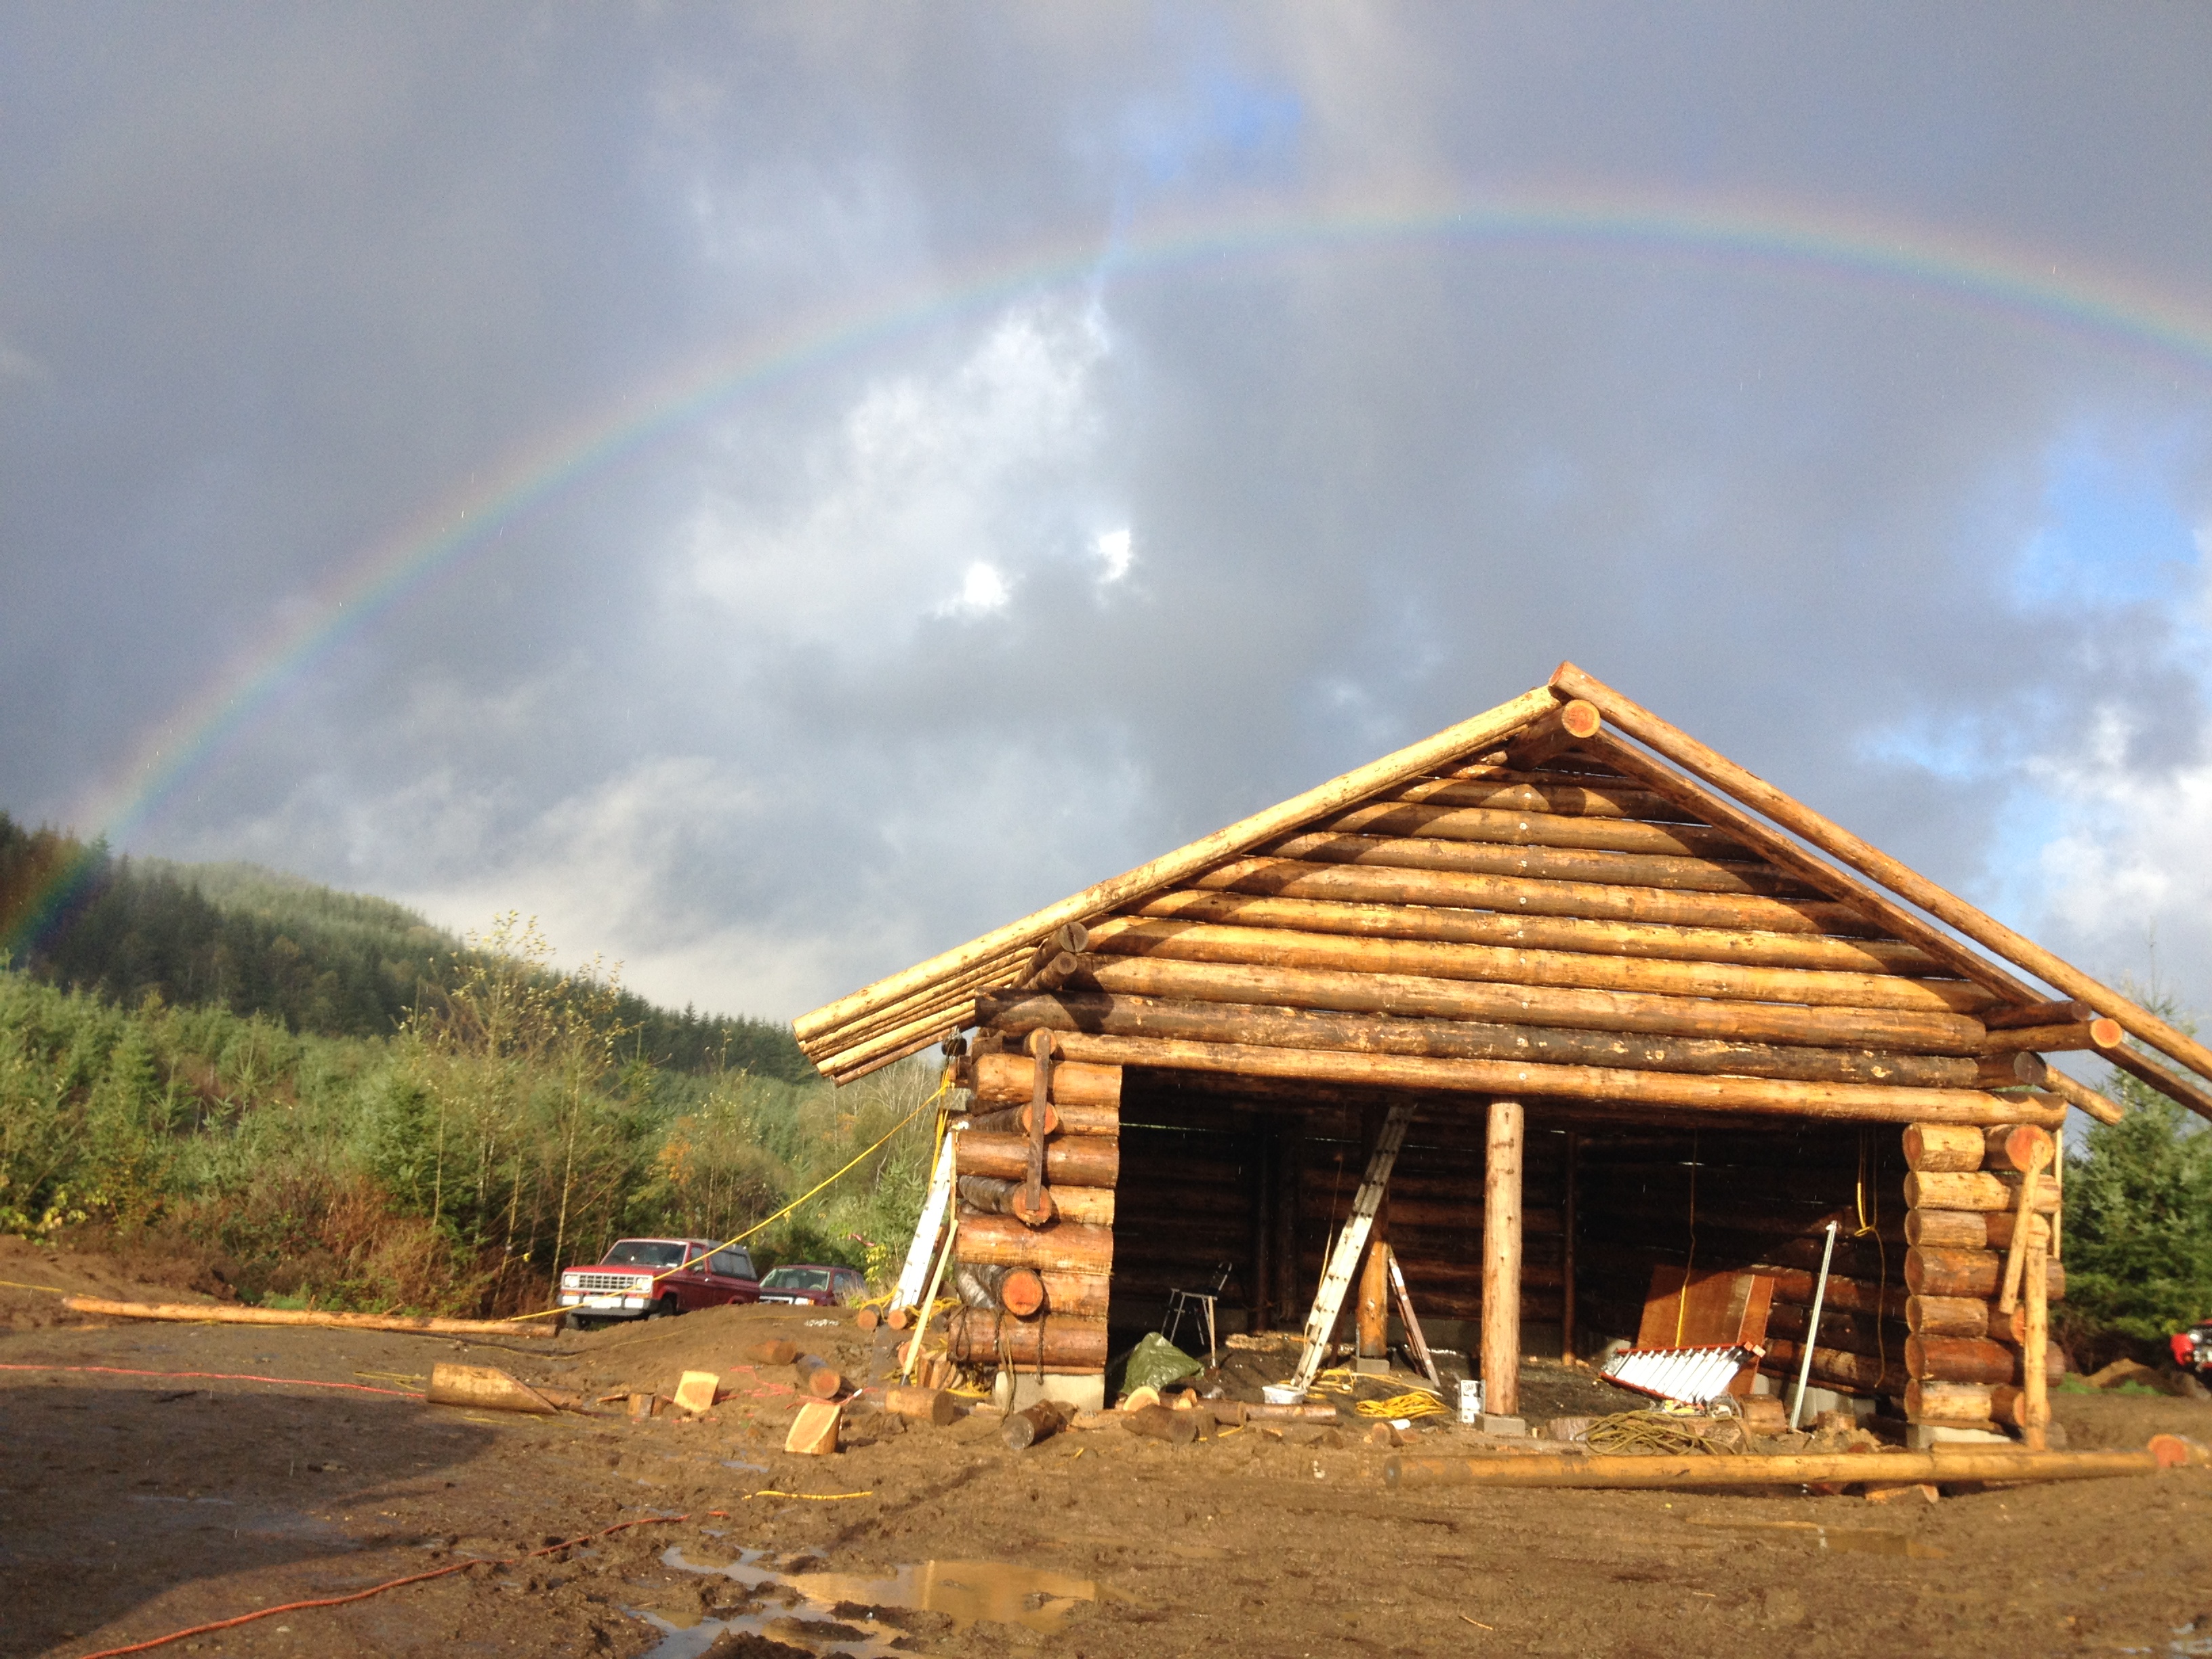


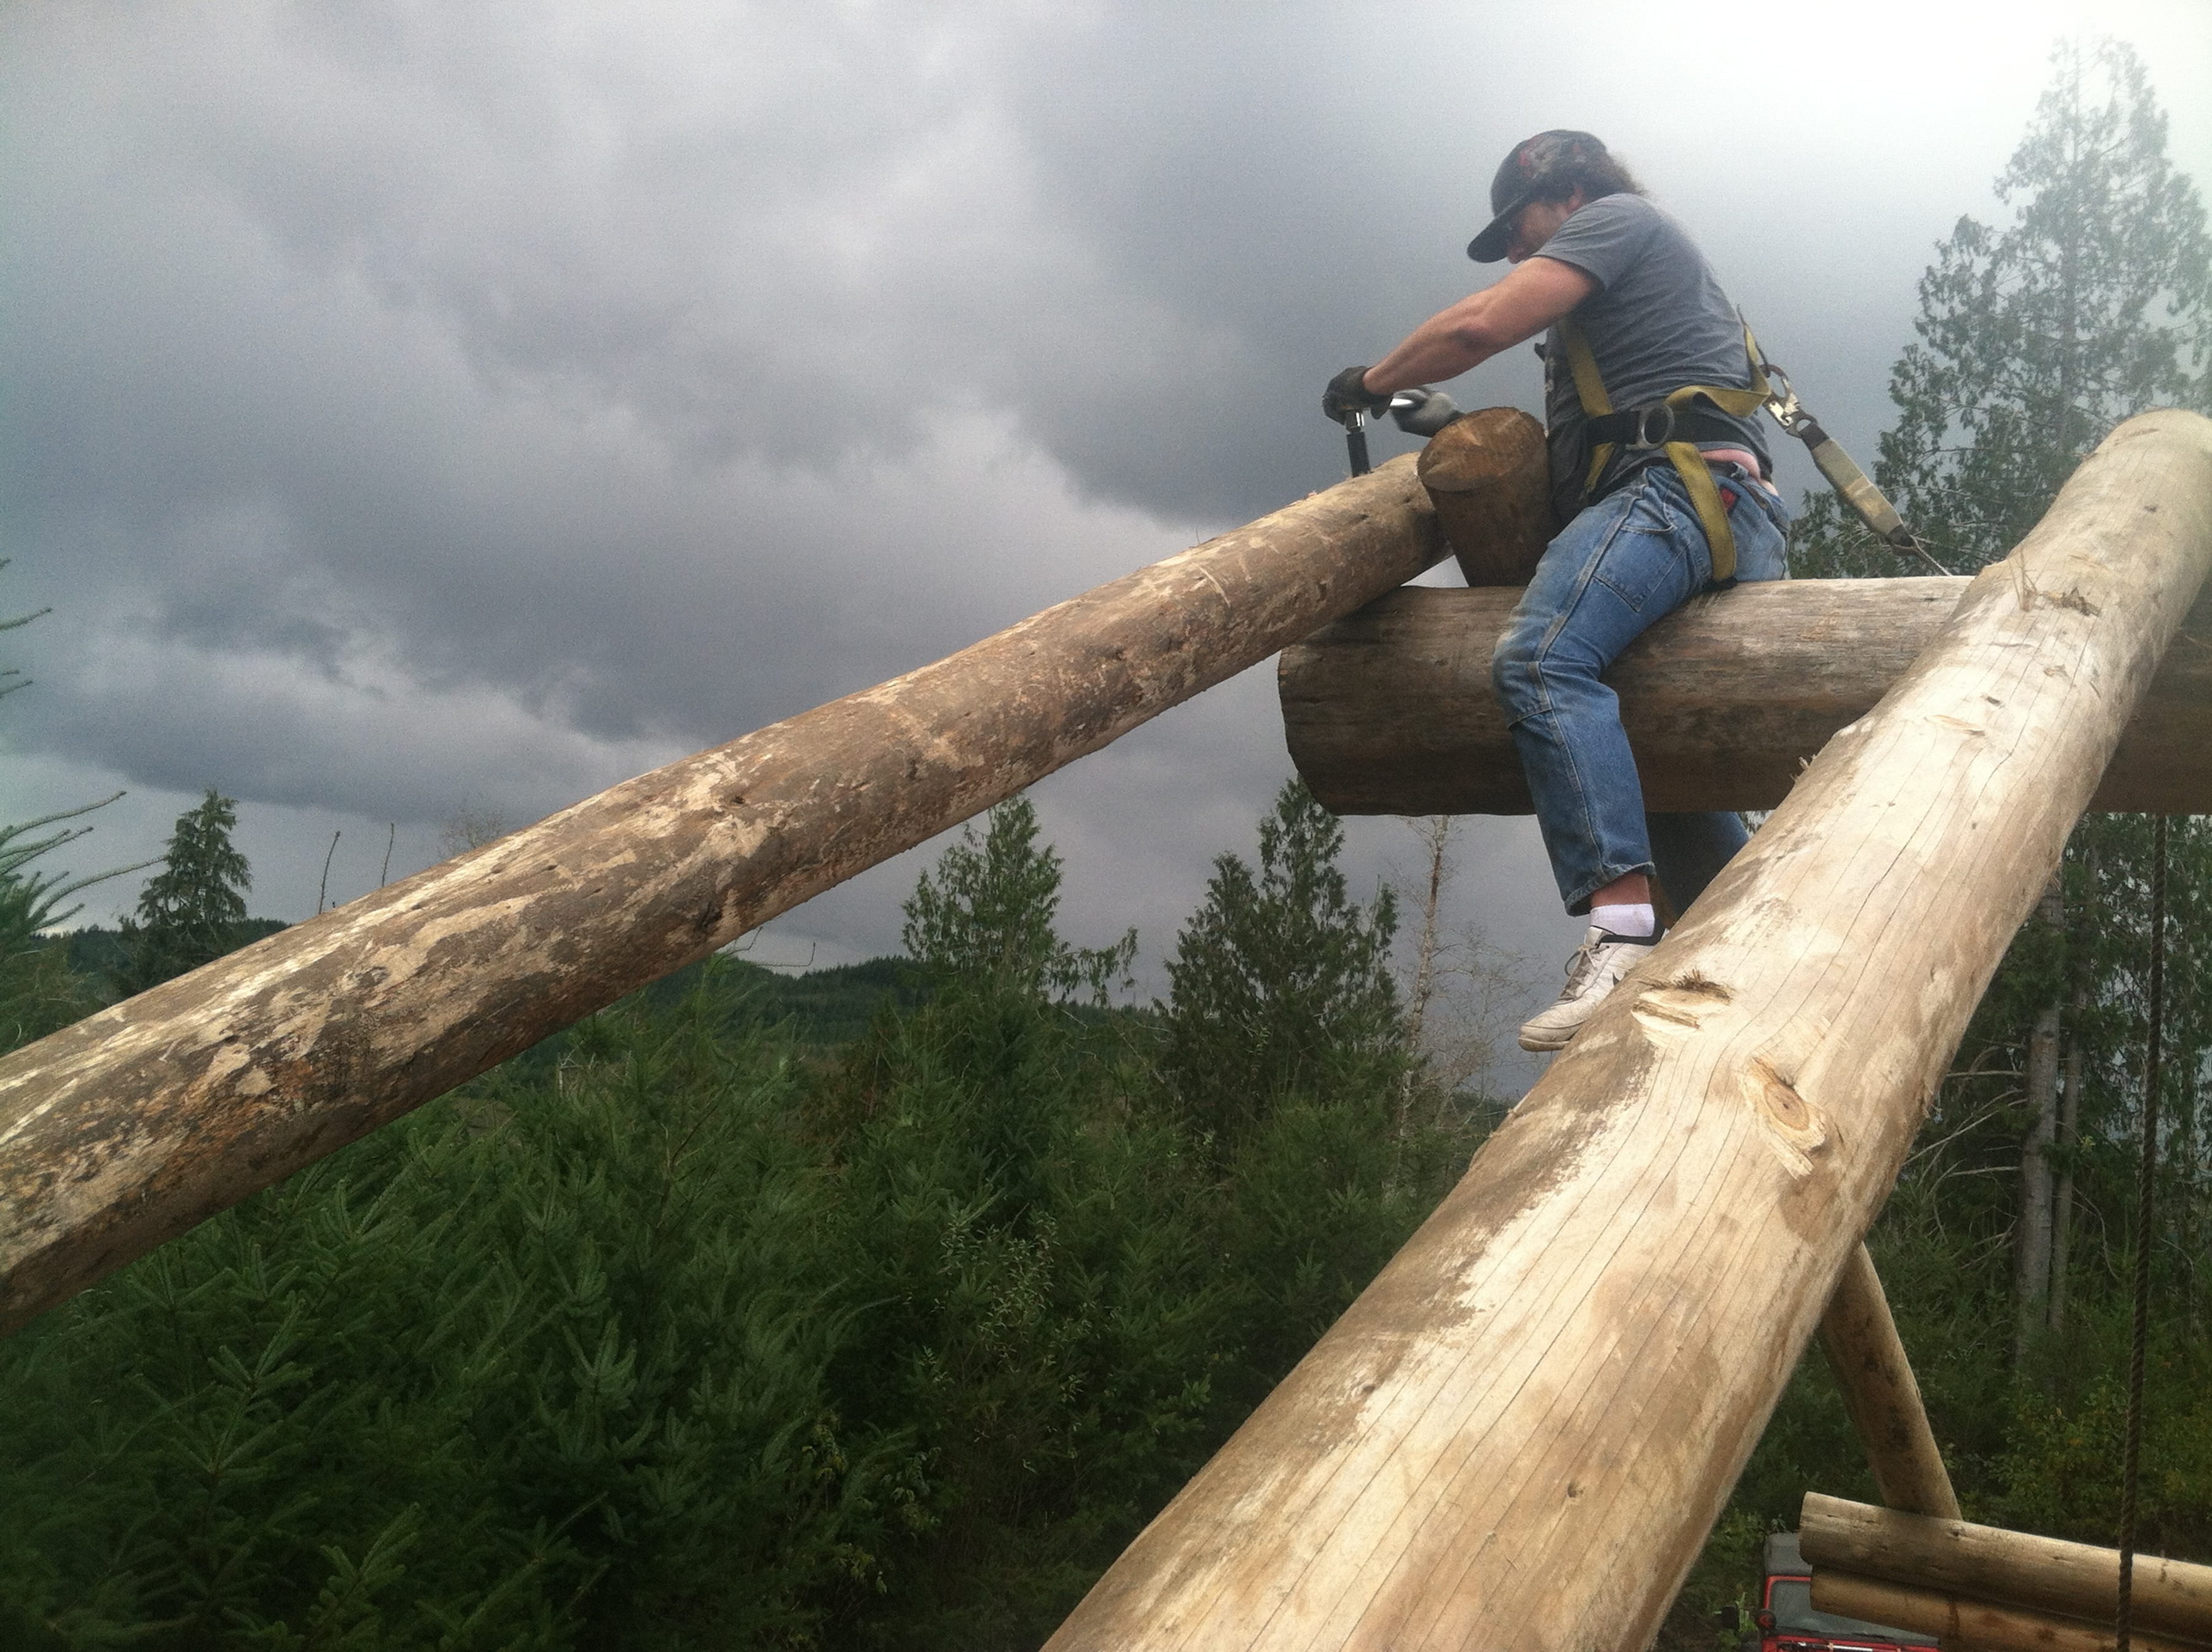
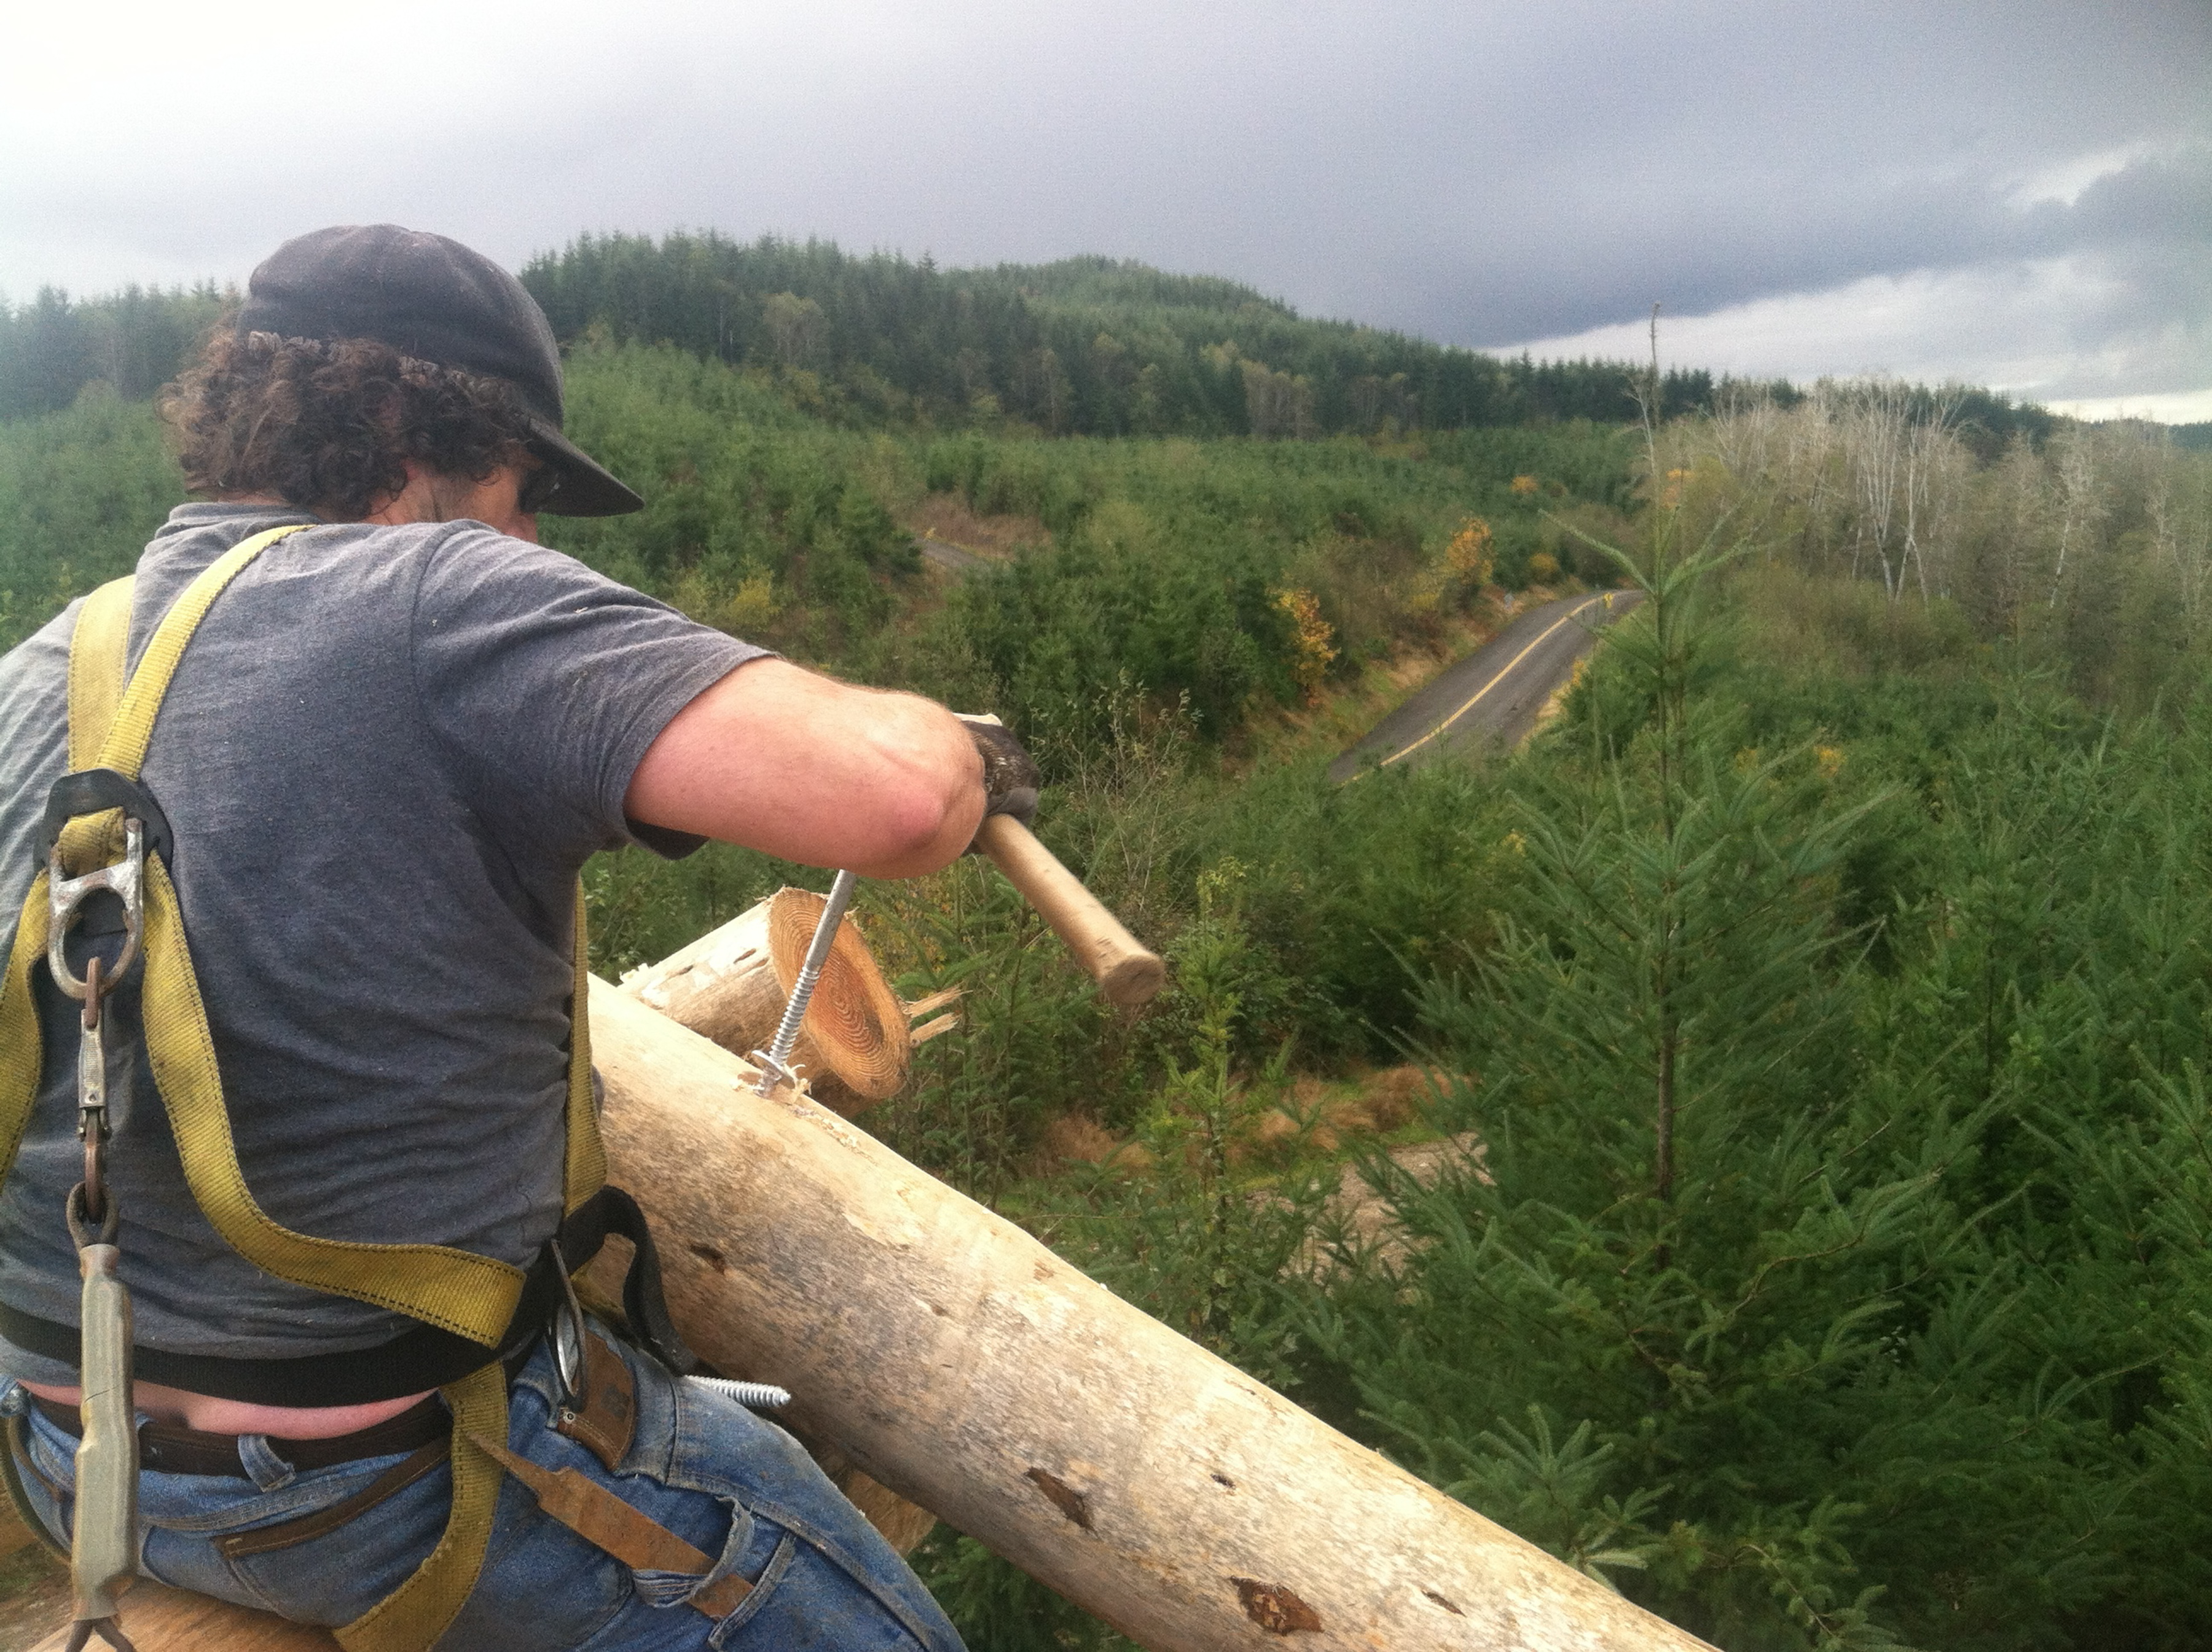


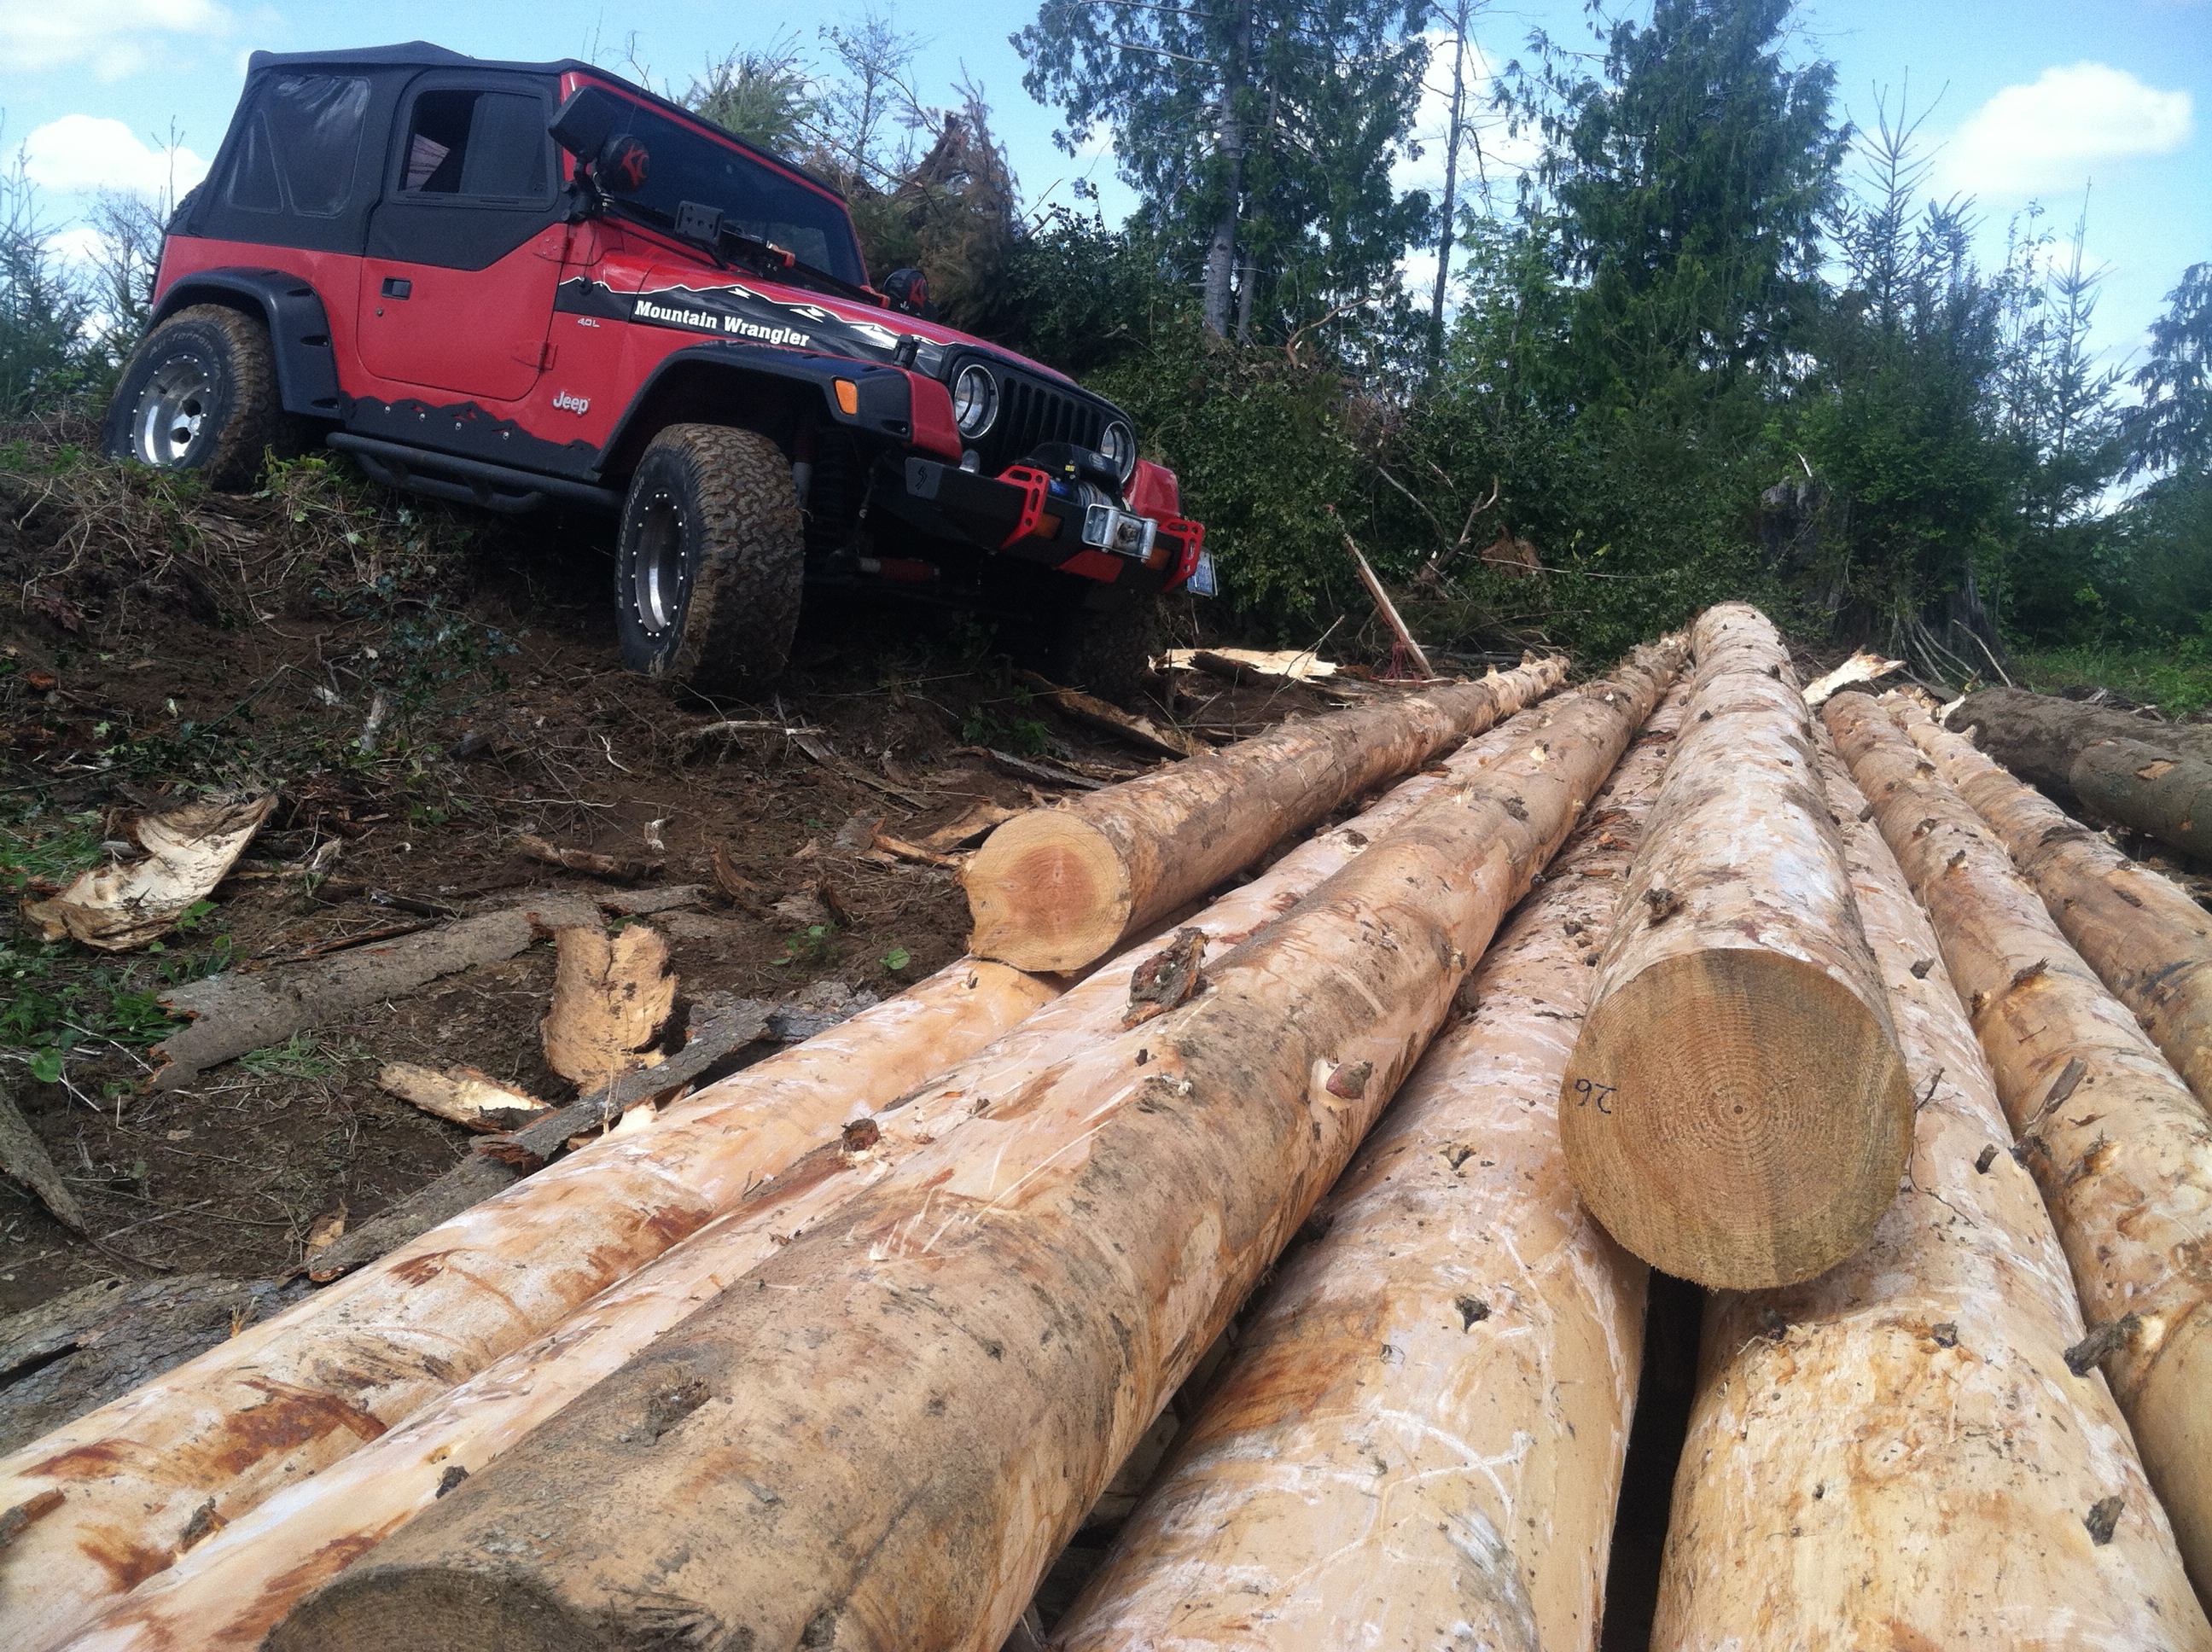
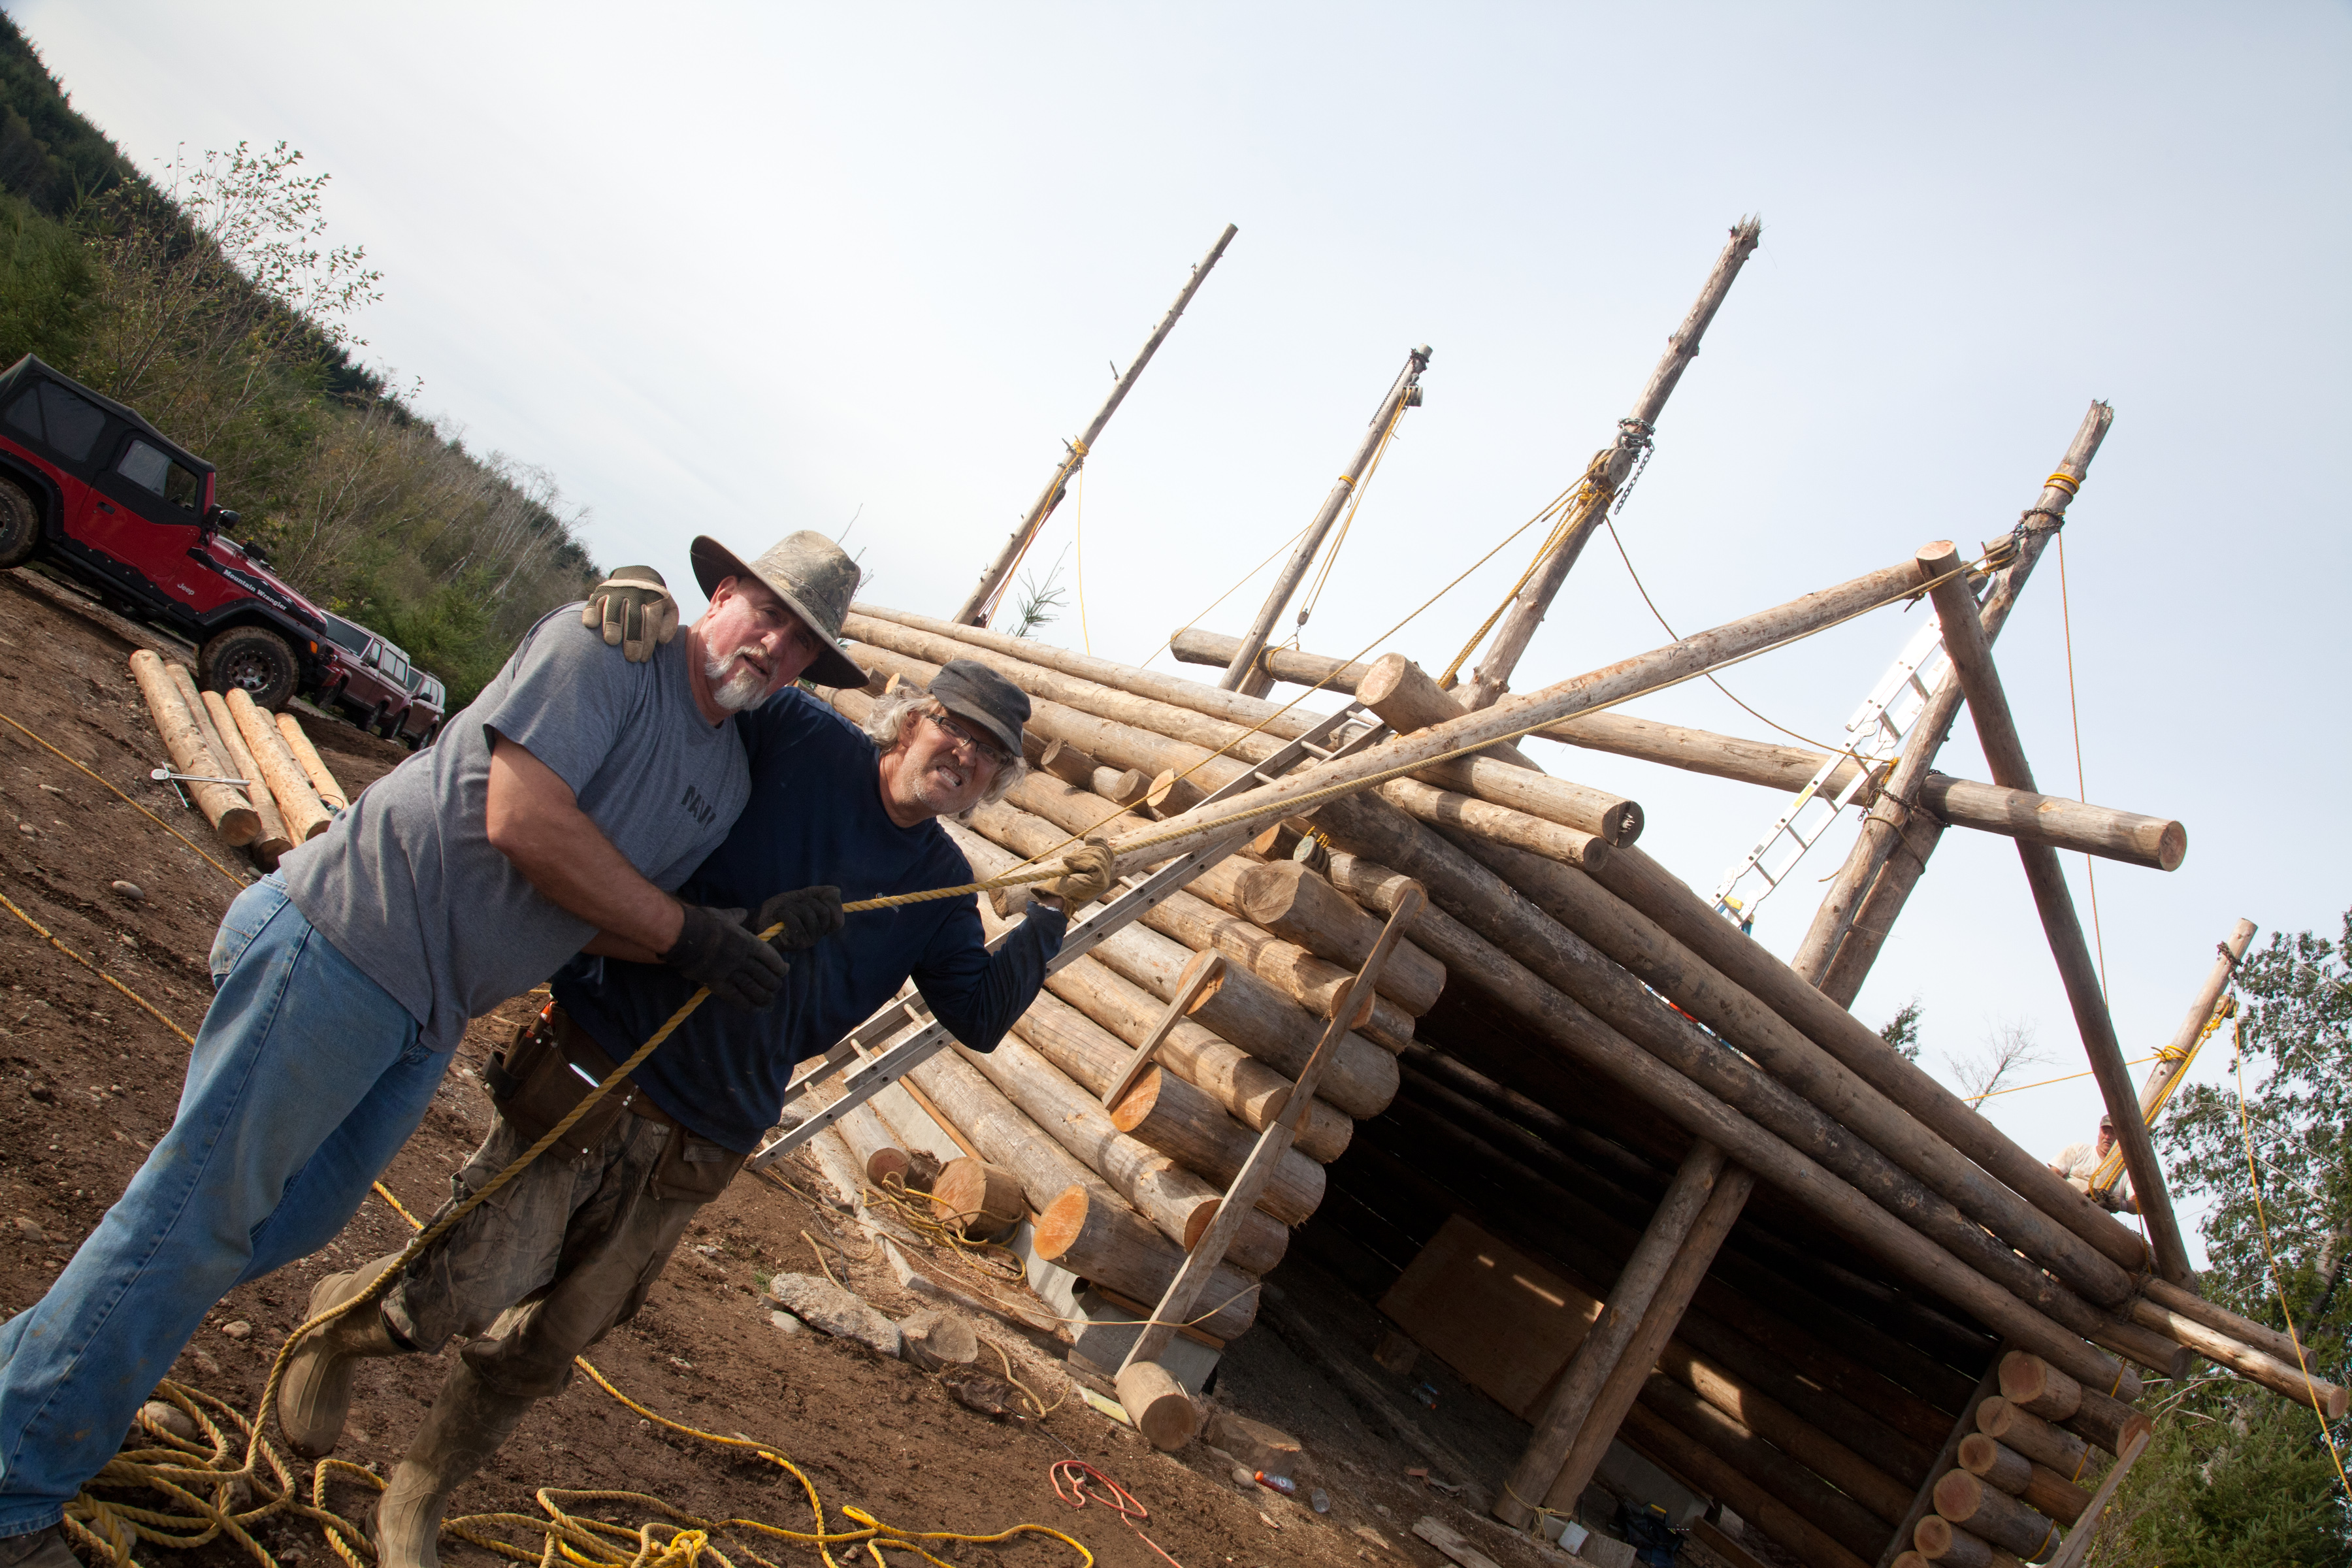
 You cut down the tree…peel it…cut it to length and stack it on the wall. So many ‘kits’ or professionally built log homes today use a ‘Swedish Cope’ scoop cut or are milled in a number of ways to marry the two logs together. These are sure nice and ‘tight’ but any of these methods require more time and experience and thus will cost more. The Butt and Pass method is taught by Jack and Sharon as a method that is easily accomplished and the least expensive way to build a log cabin. You might say it is more like an authentic pioneer method. Personally I like this method because it gives me much more satisfaction because I accomplished it myself. Besides, I’m not a fan of kits…and I love the ‘look’ of the Butt and Pass. OK…onward…your next question is “how did you hold all the logs together”? 5/8″ rebar…and LOTS of it! My engineer called for a pin(5/8″ rebar) every 4′.


 At our initial meeting with Rob from Advanced Drilling we were told that our well depth would be approximately 120 feet deep…that is ‘well language’ for “I don’t have ANY idea so I will pick a number totaling the ages of my oldest son, my aunt Martha, my dog Bart and uncle Joe.” Needless to say we were nervous. At $34 per foot that meant around $4000. We knew that Rob had 30 years of experience and was doing his best to give us an ‘educated guess’…but really…who knows what will actually be the depth.
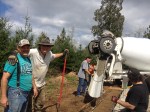
 We even had a ‘Witcher’ come out and walk around with his ‘witching rods’ and tell us where the water was. I was skeptical but he turned out to be right. OK so they set up the equipment and start drilling. Things were very noisy during the drilling.


 that water up 1500′ to our building site would cost close to $15,000. What now? We asked if we could ‘sleep on it’. Later that evening I get a text…his son had been on line and found other wells in the area that had the same ‘shale’ ground as us and he felt we’d find water within 100 more feet. Rob offered to drill 100′ more without charging us extra if it was ‘dry’. We would still be responsible to pay for the 120′ dry well if there was no water! I didn’t have anything to loose so they began drilling in the same hole the next day. Drum roll……within a few hours they hit wonderful cold fresh drinking water…after only 80 additional feet! 16 gallons per minute! WhooHoo! So…we did owe him for the 200 feet of well…but we were so happy that our well was here on our cleared land. Thank you Advanced Drilling!