OK…we have a composting toilet…but when a big crew was on site there were just too many bodies to keep up. So since we had a gravity fed septic installed in 2015 we have looked forward to the day we had our own flush toilet. I designed a privy directly over our septic tank…so the plumbing was short and direct. I had obtained a 300 gallon water container in 2014 but had never really put it to use. We laid some log posts…put 2×8’ foundation forms on top for the floor. Another garage sale landed me a pile of lumber already cut to form up a building. In 2 hours we had our structure. Jeremy was here for a week and not only built a heavy duty stand for the container but also installed the toilet and did the plumbing. Thanks Jeremy! We will remember you every time we flush! BTW…Jeremy was a huge help here…he fixed pretty much everything I gave him…one was my chainsaw pull cord. One issue was the connection to the container. Hardware store didn’t have the correct size so our friend Dave who was visiting that day used the next best thing…a rubber glove. Since its a low pressure system it works just fine. I love hillbilly fixes!
Adding a window in the loft was priority. Light and breeze would be important this summer. We waited a year to make the opening to allow the logs(green when stacked on the foundation in 2015) some time to shrink. Let me make one thing clear. It’s the experience of Jack and Sharon…Onalaska Log Building School…that green logs will SHRINK…not settle…when built with rebar as connections. And that would be 32 years of experience…and 11 log buildings on their own property. Since our garage is now almost two years old we are ready to add any openings we’d like. There is a huge ‘rush’ when you crank up a chainsaw and start aiming it at your nice log wall! Plum was established and a piece of straight lumber was used as a straight edge. Vertical cuts are a piece of cake…holding the saw horizontal was a different matter. I guess that is where chinking covers gaps. Bonnie and I picked out a nice window from a local surplus store for $70.
Our plan has always been to utilize the loft in our garage. Time to move out of our pop-up trailer and move ‘up’ to the loft. Neal, Kara, Stan and I spent a few days laying out the 2x6TG lumber. Finished the floor with four coats of indoor floor seal. The stairs stretched out our ability to do math…but all is good. I still need to put in railings and balasters. I’ve decided to go with 4″ trees from our property instead of boring 2x4s. It sure is nice to be able to spread out in the loft. Next will be a bed frame also made of logs. I can’t get enough of all this…building things from trees…whoohoo!
OK…hang on to your chainsaws! I have caught up with my media organization and am planning a barrage of posts in the next week. These photos are from the first days on site. Moving out of our pop-up trailer and into our newly built loft in the garage…temporary of course. Enjoy!
-
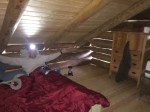
- New loft complete with cracks in the logs still for AC.
-

- More room to stretch out.
-
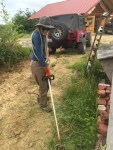
- Bonnie is pretty good with that mean weedwacker.
-

- A bald eagle came to watch us for a half hour.
-
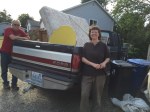
- Kim had some furniture for our new digs.
-
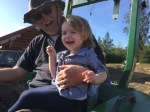
- Alaina had a blast on the tractor.
-

- River view.
-

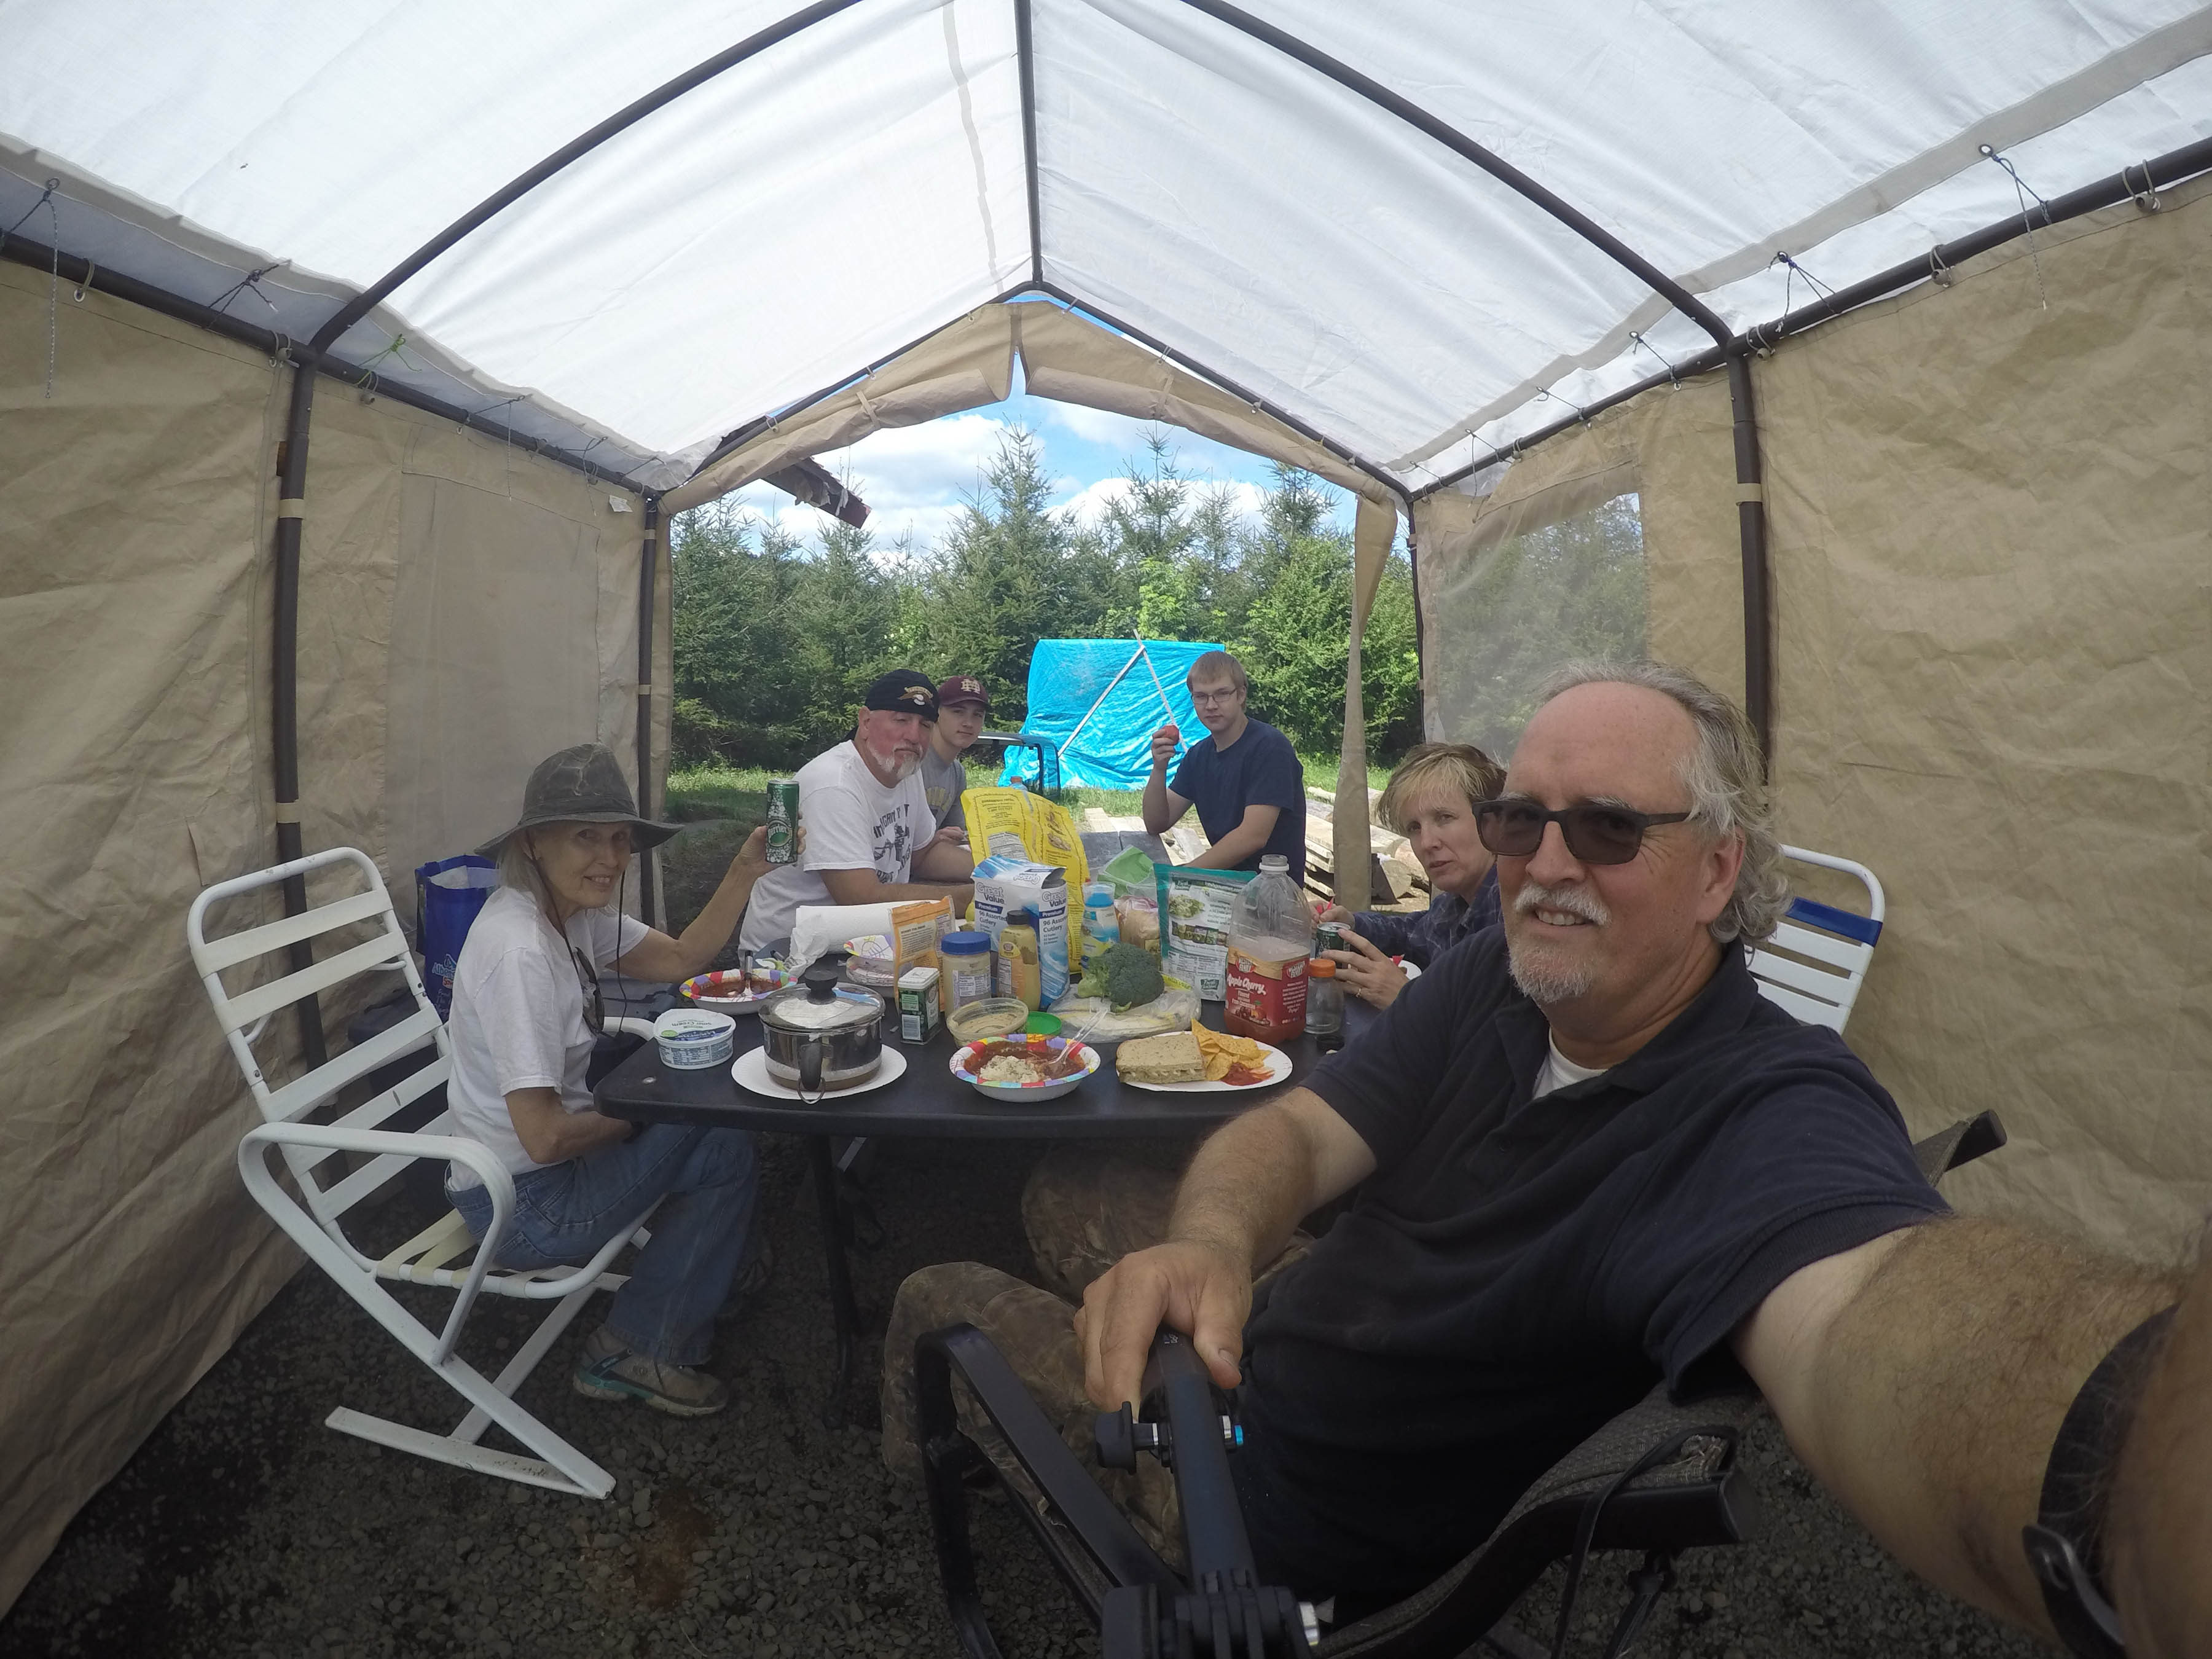
- Maybe our favorite time of the day.
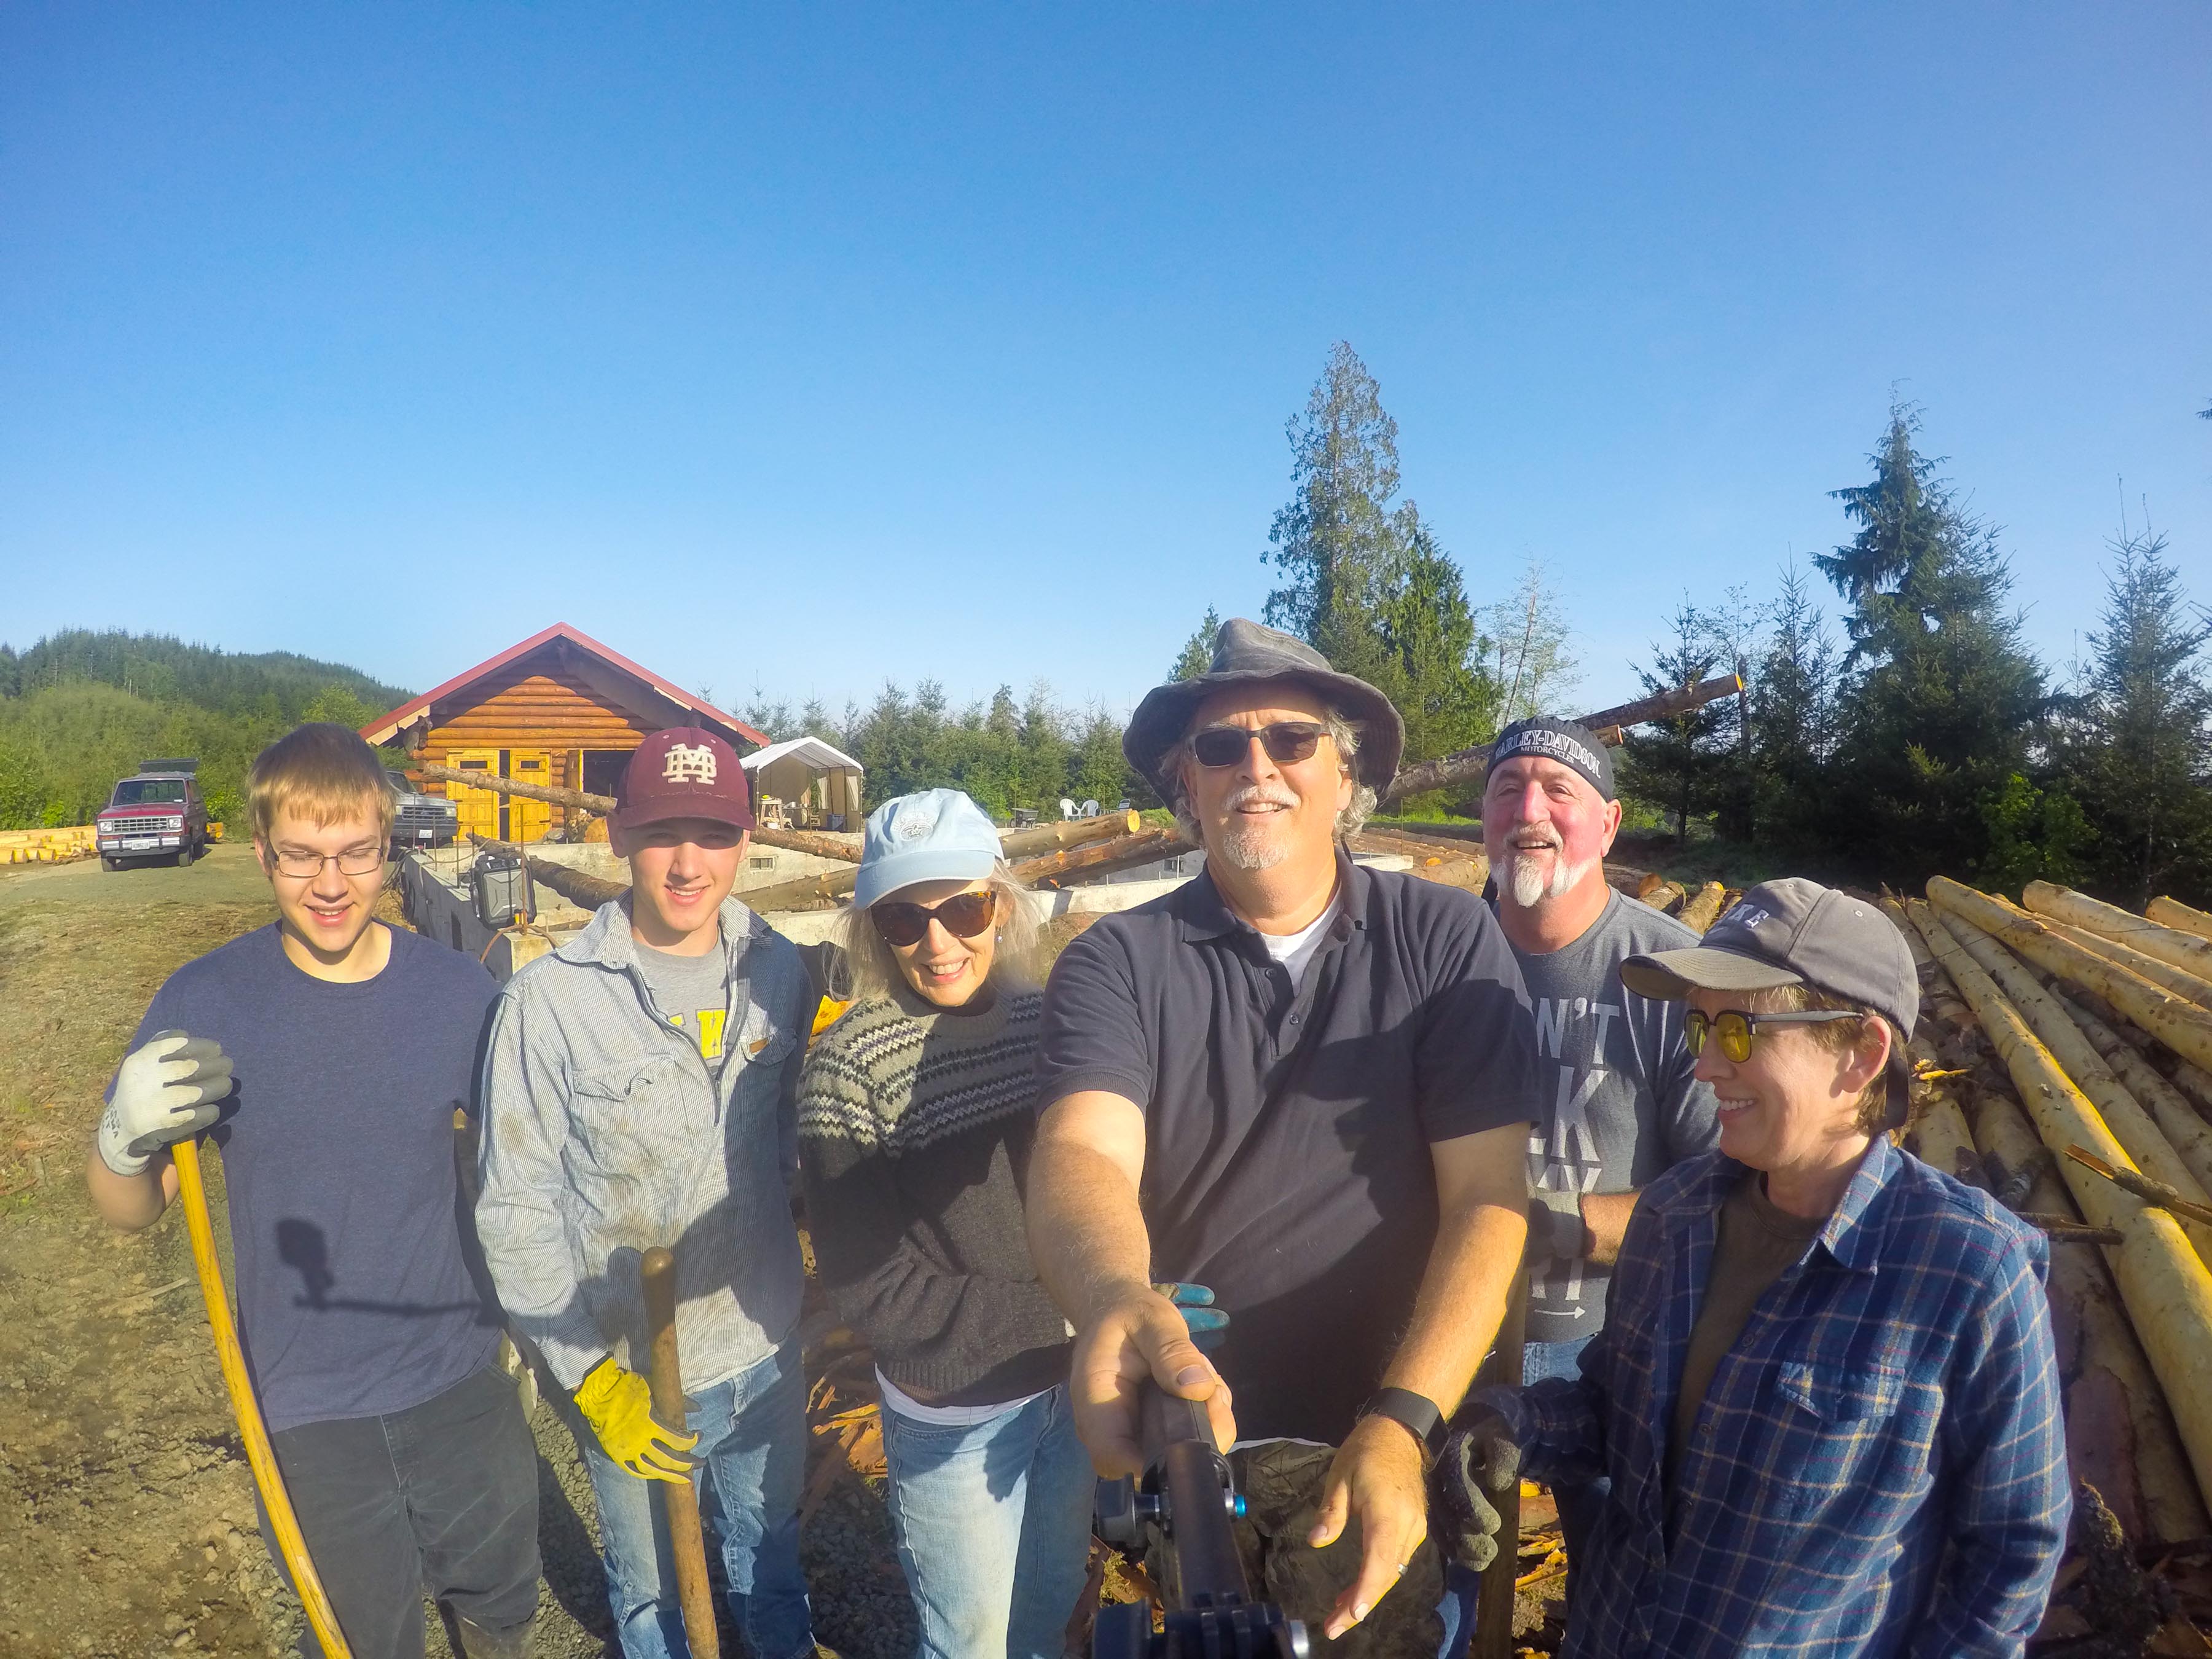
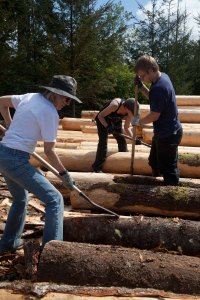
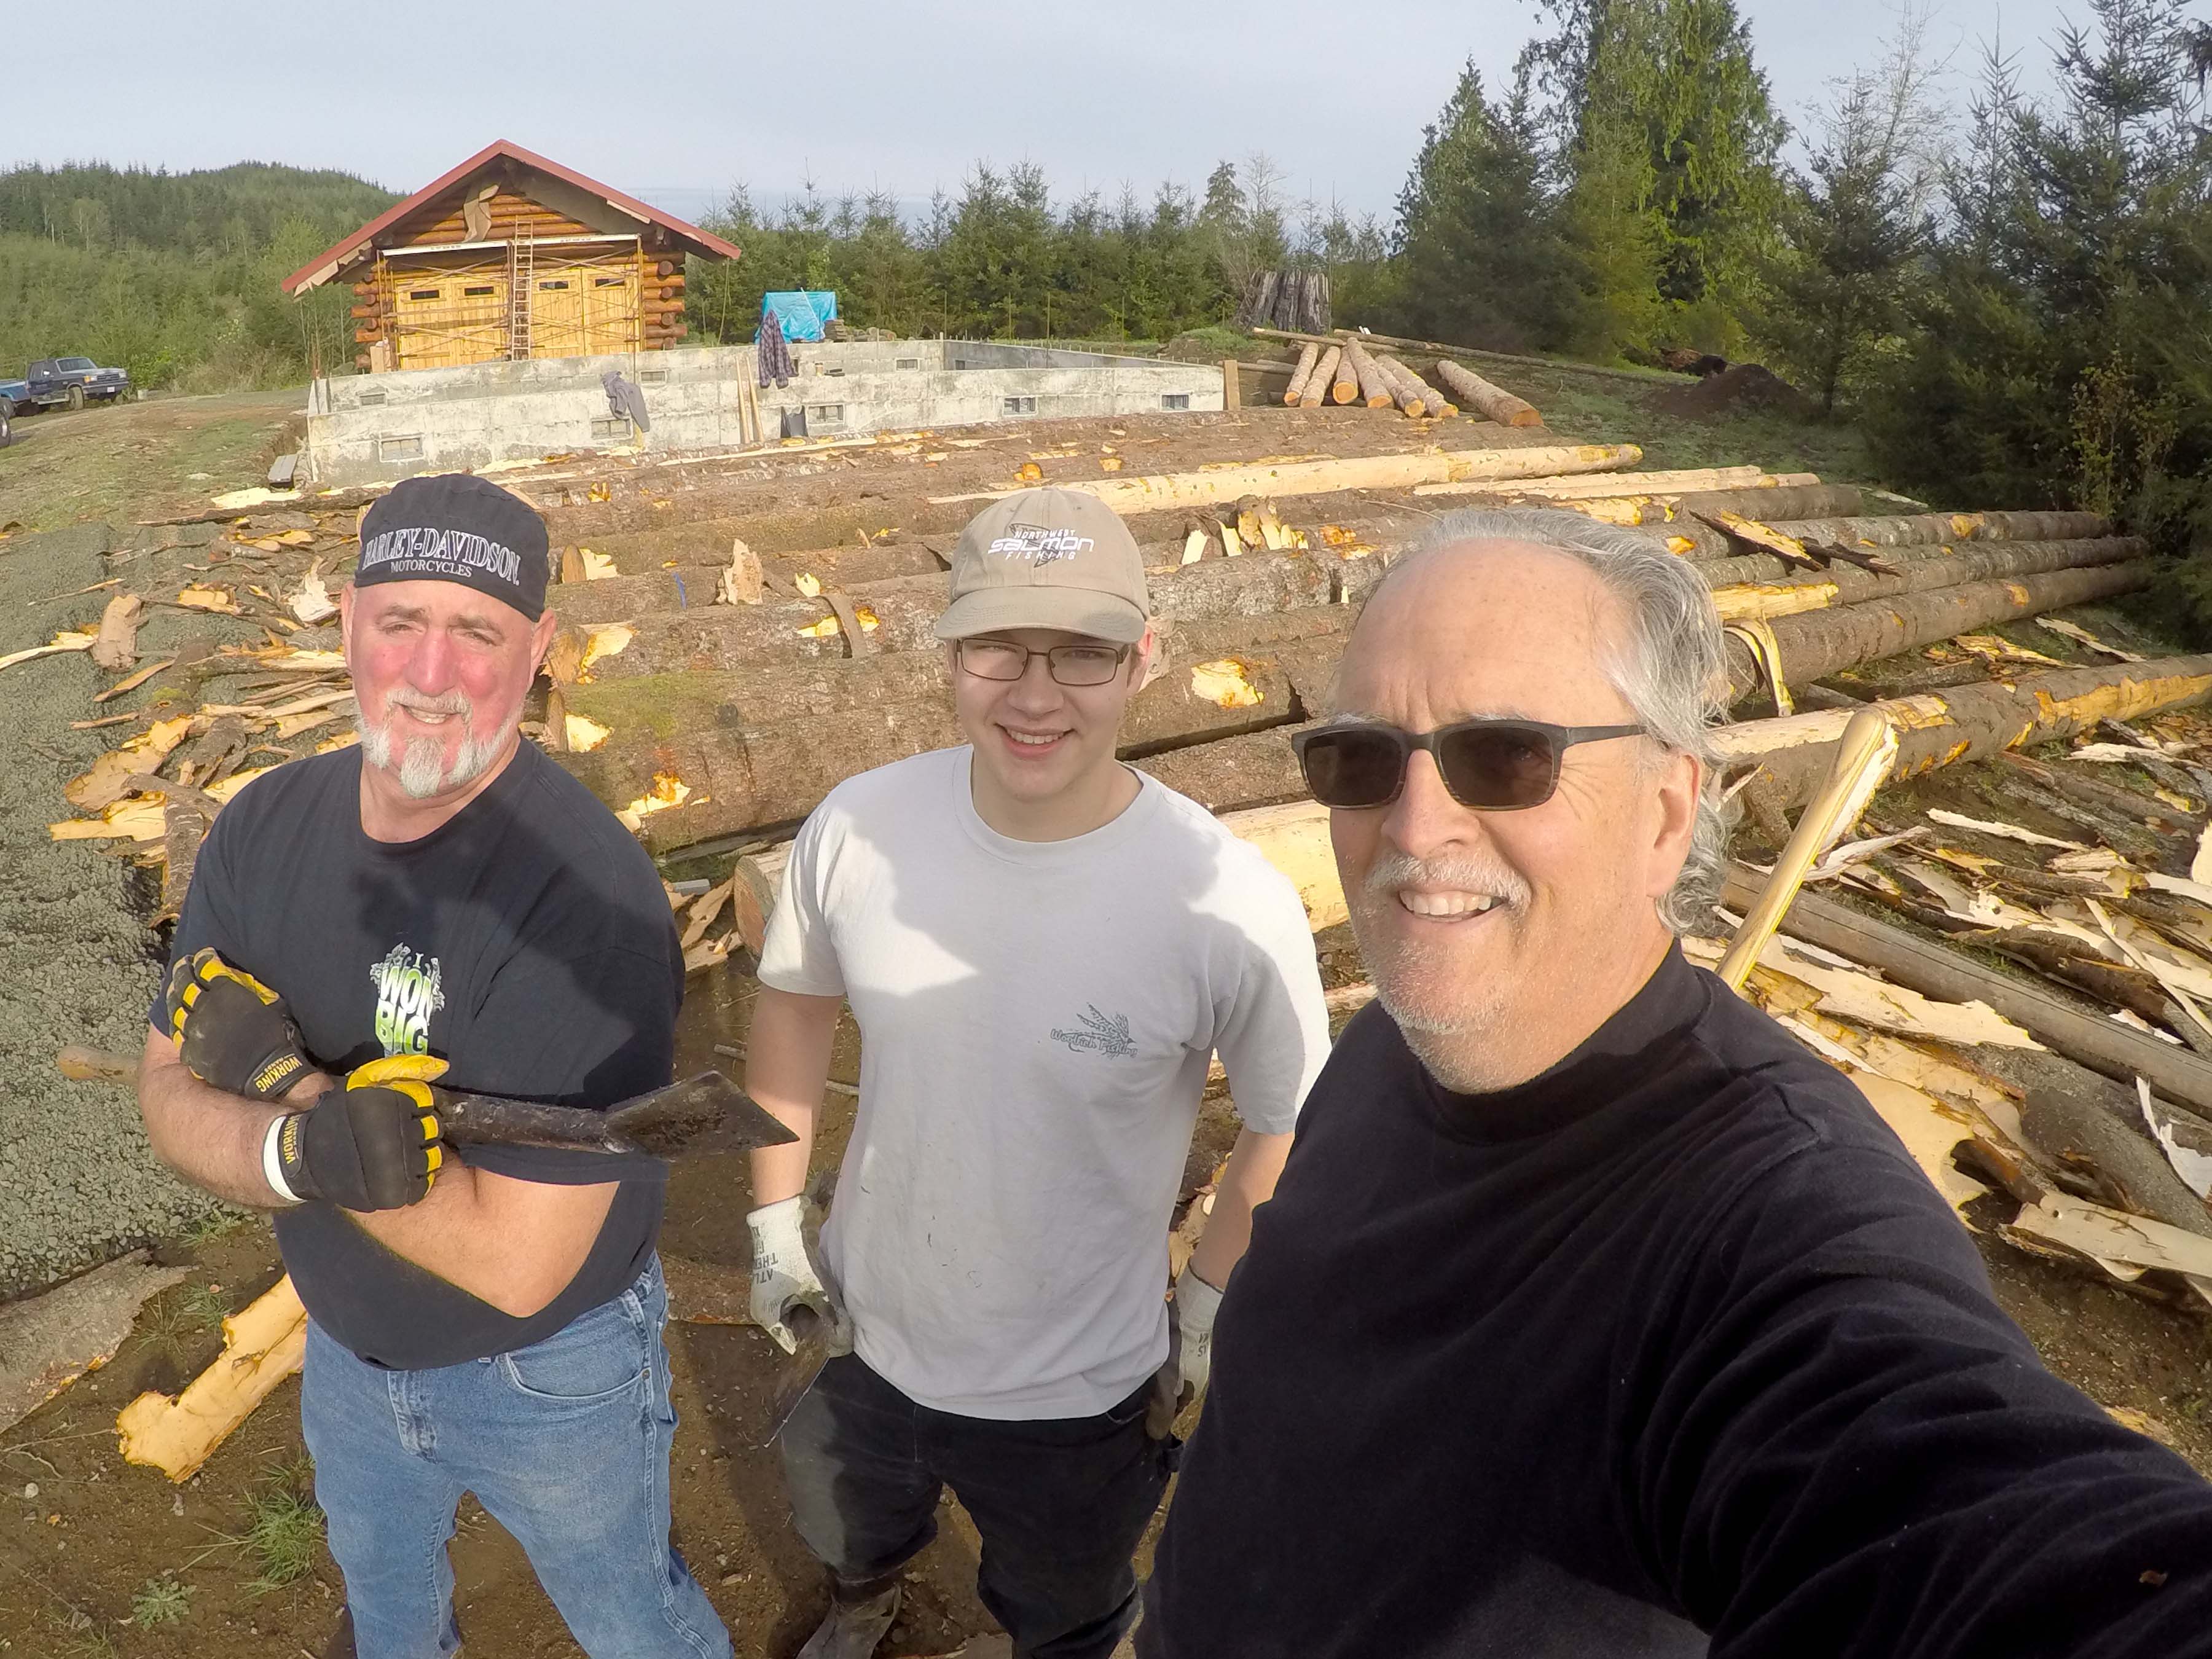
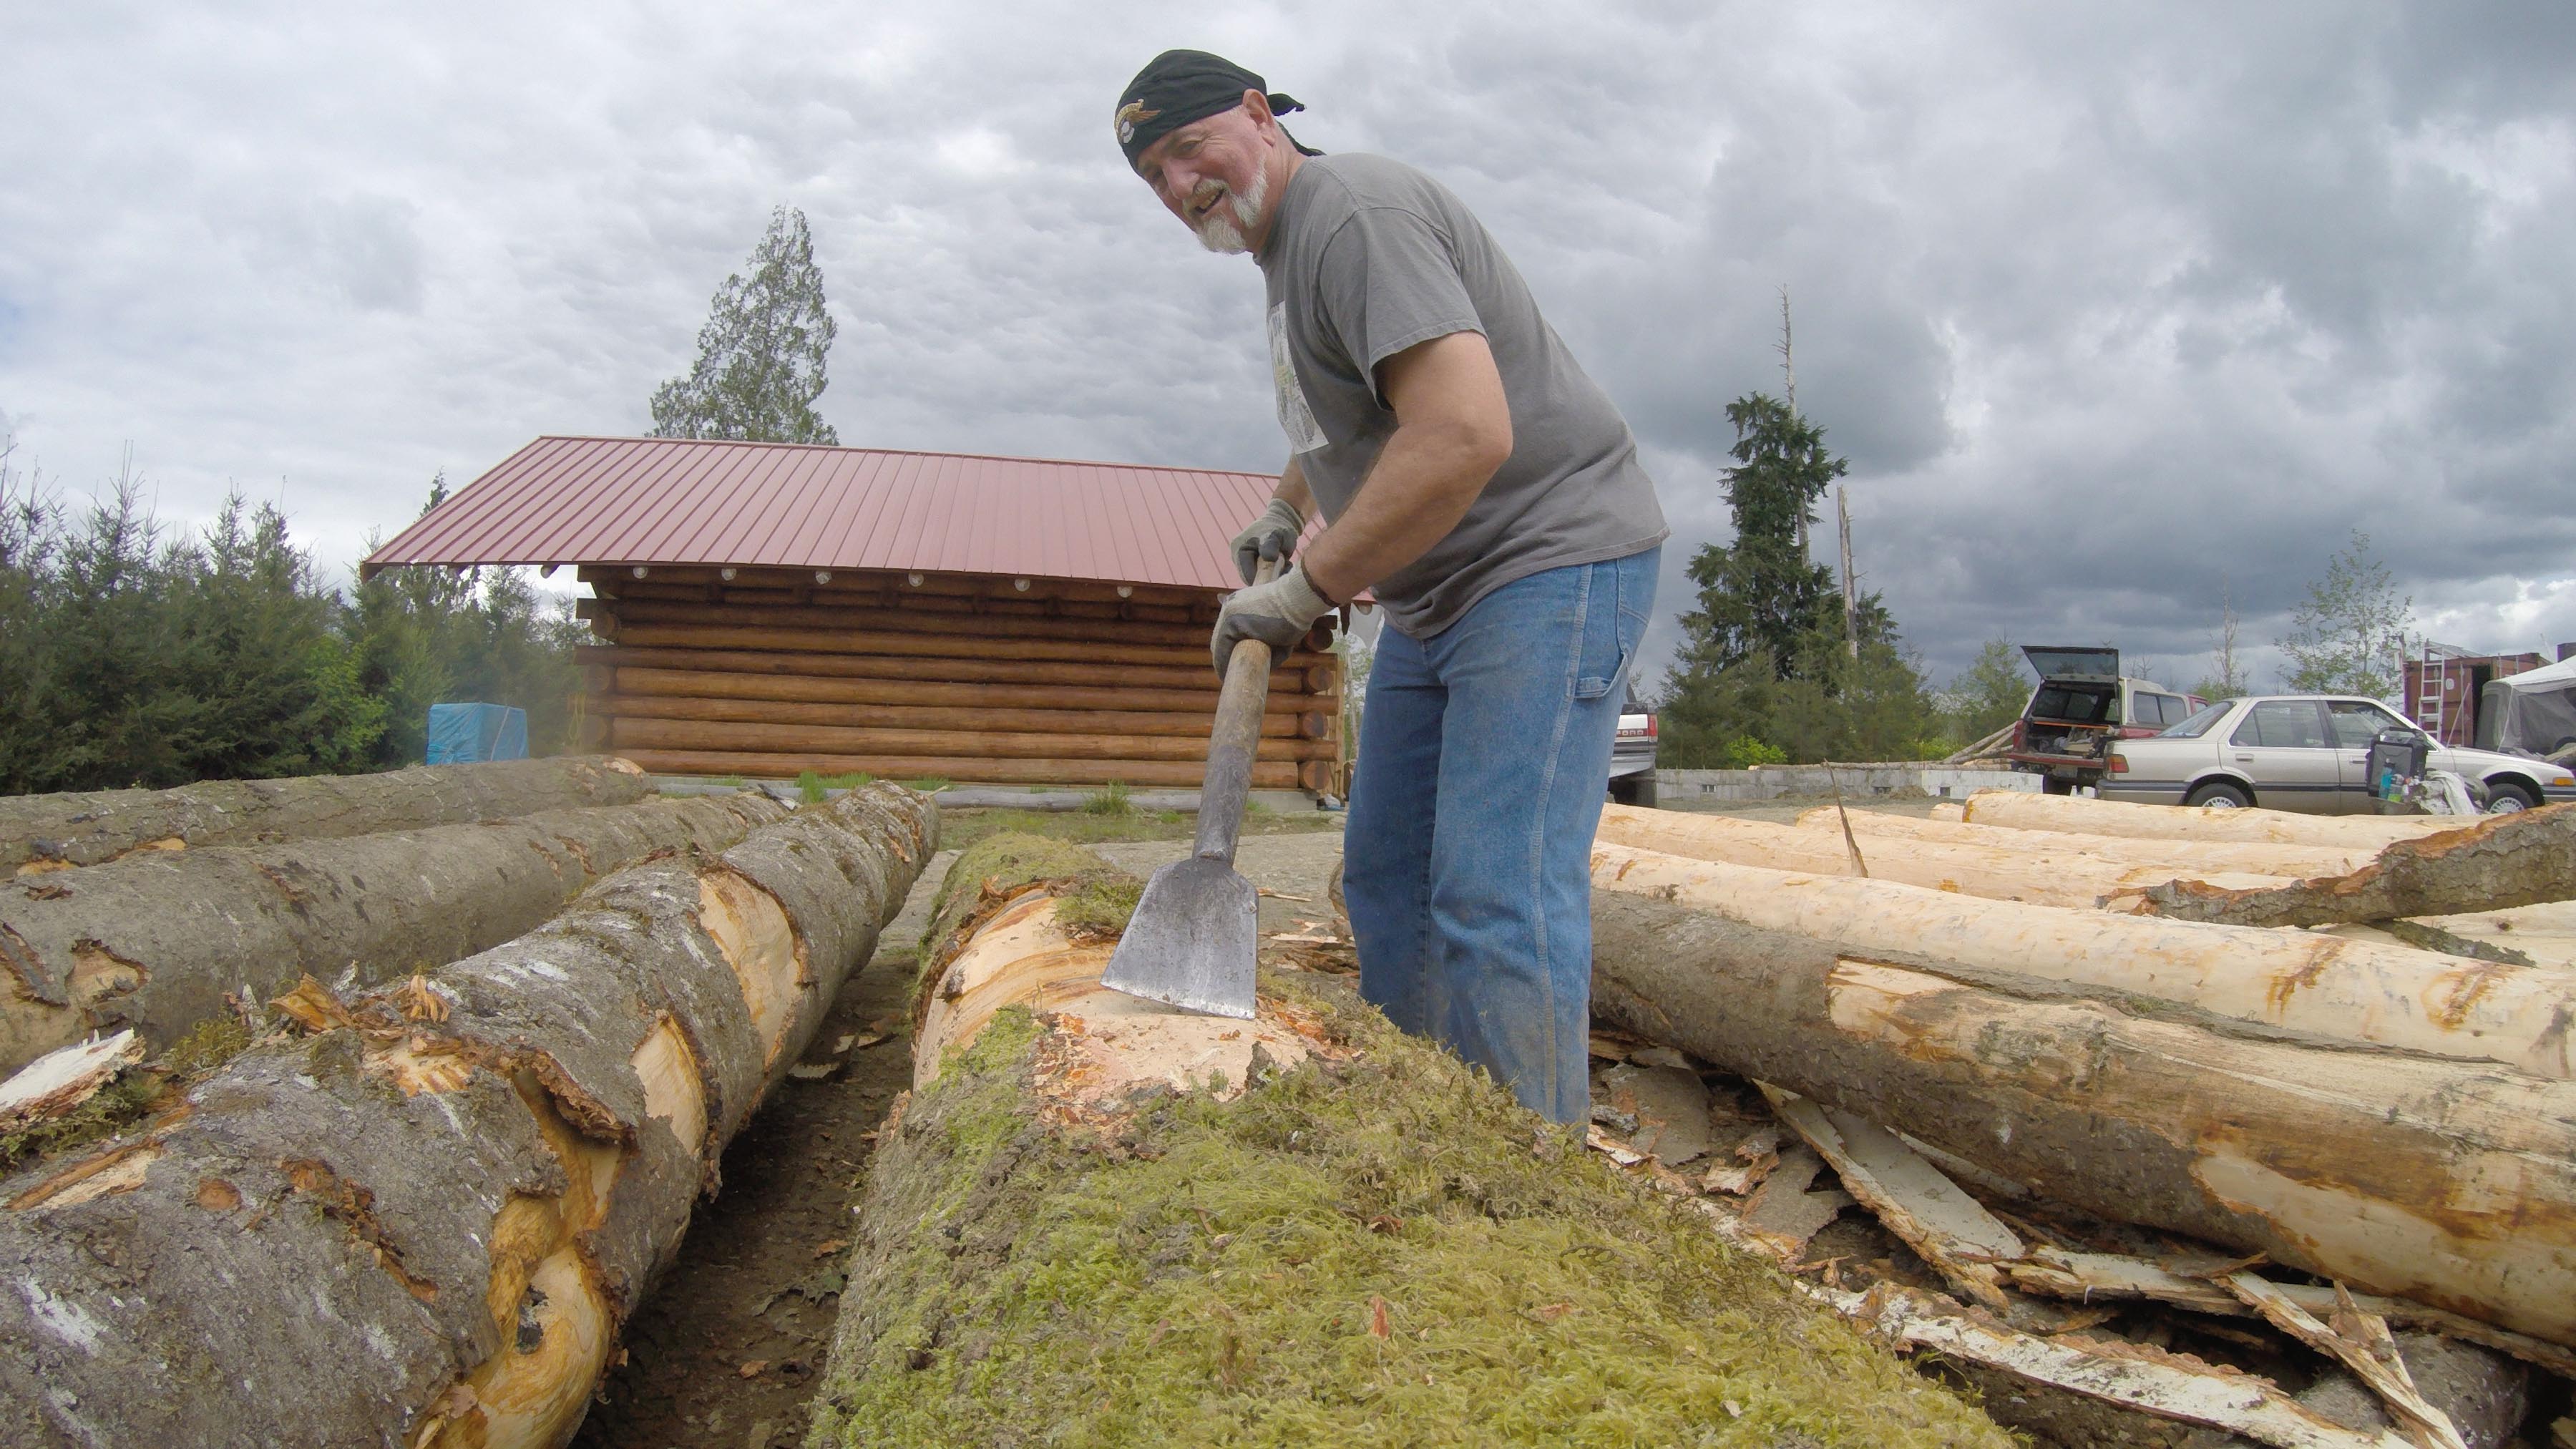
Sam, Nathan, Bonnie, Me, Neal and Kara. Peeling fools!
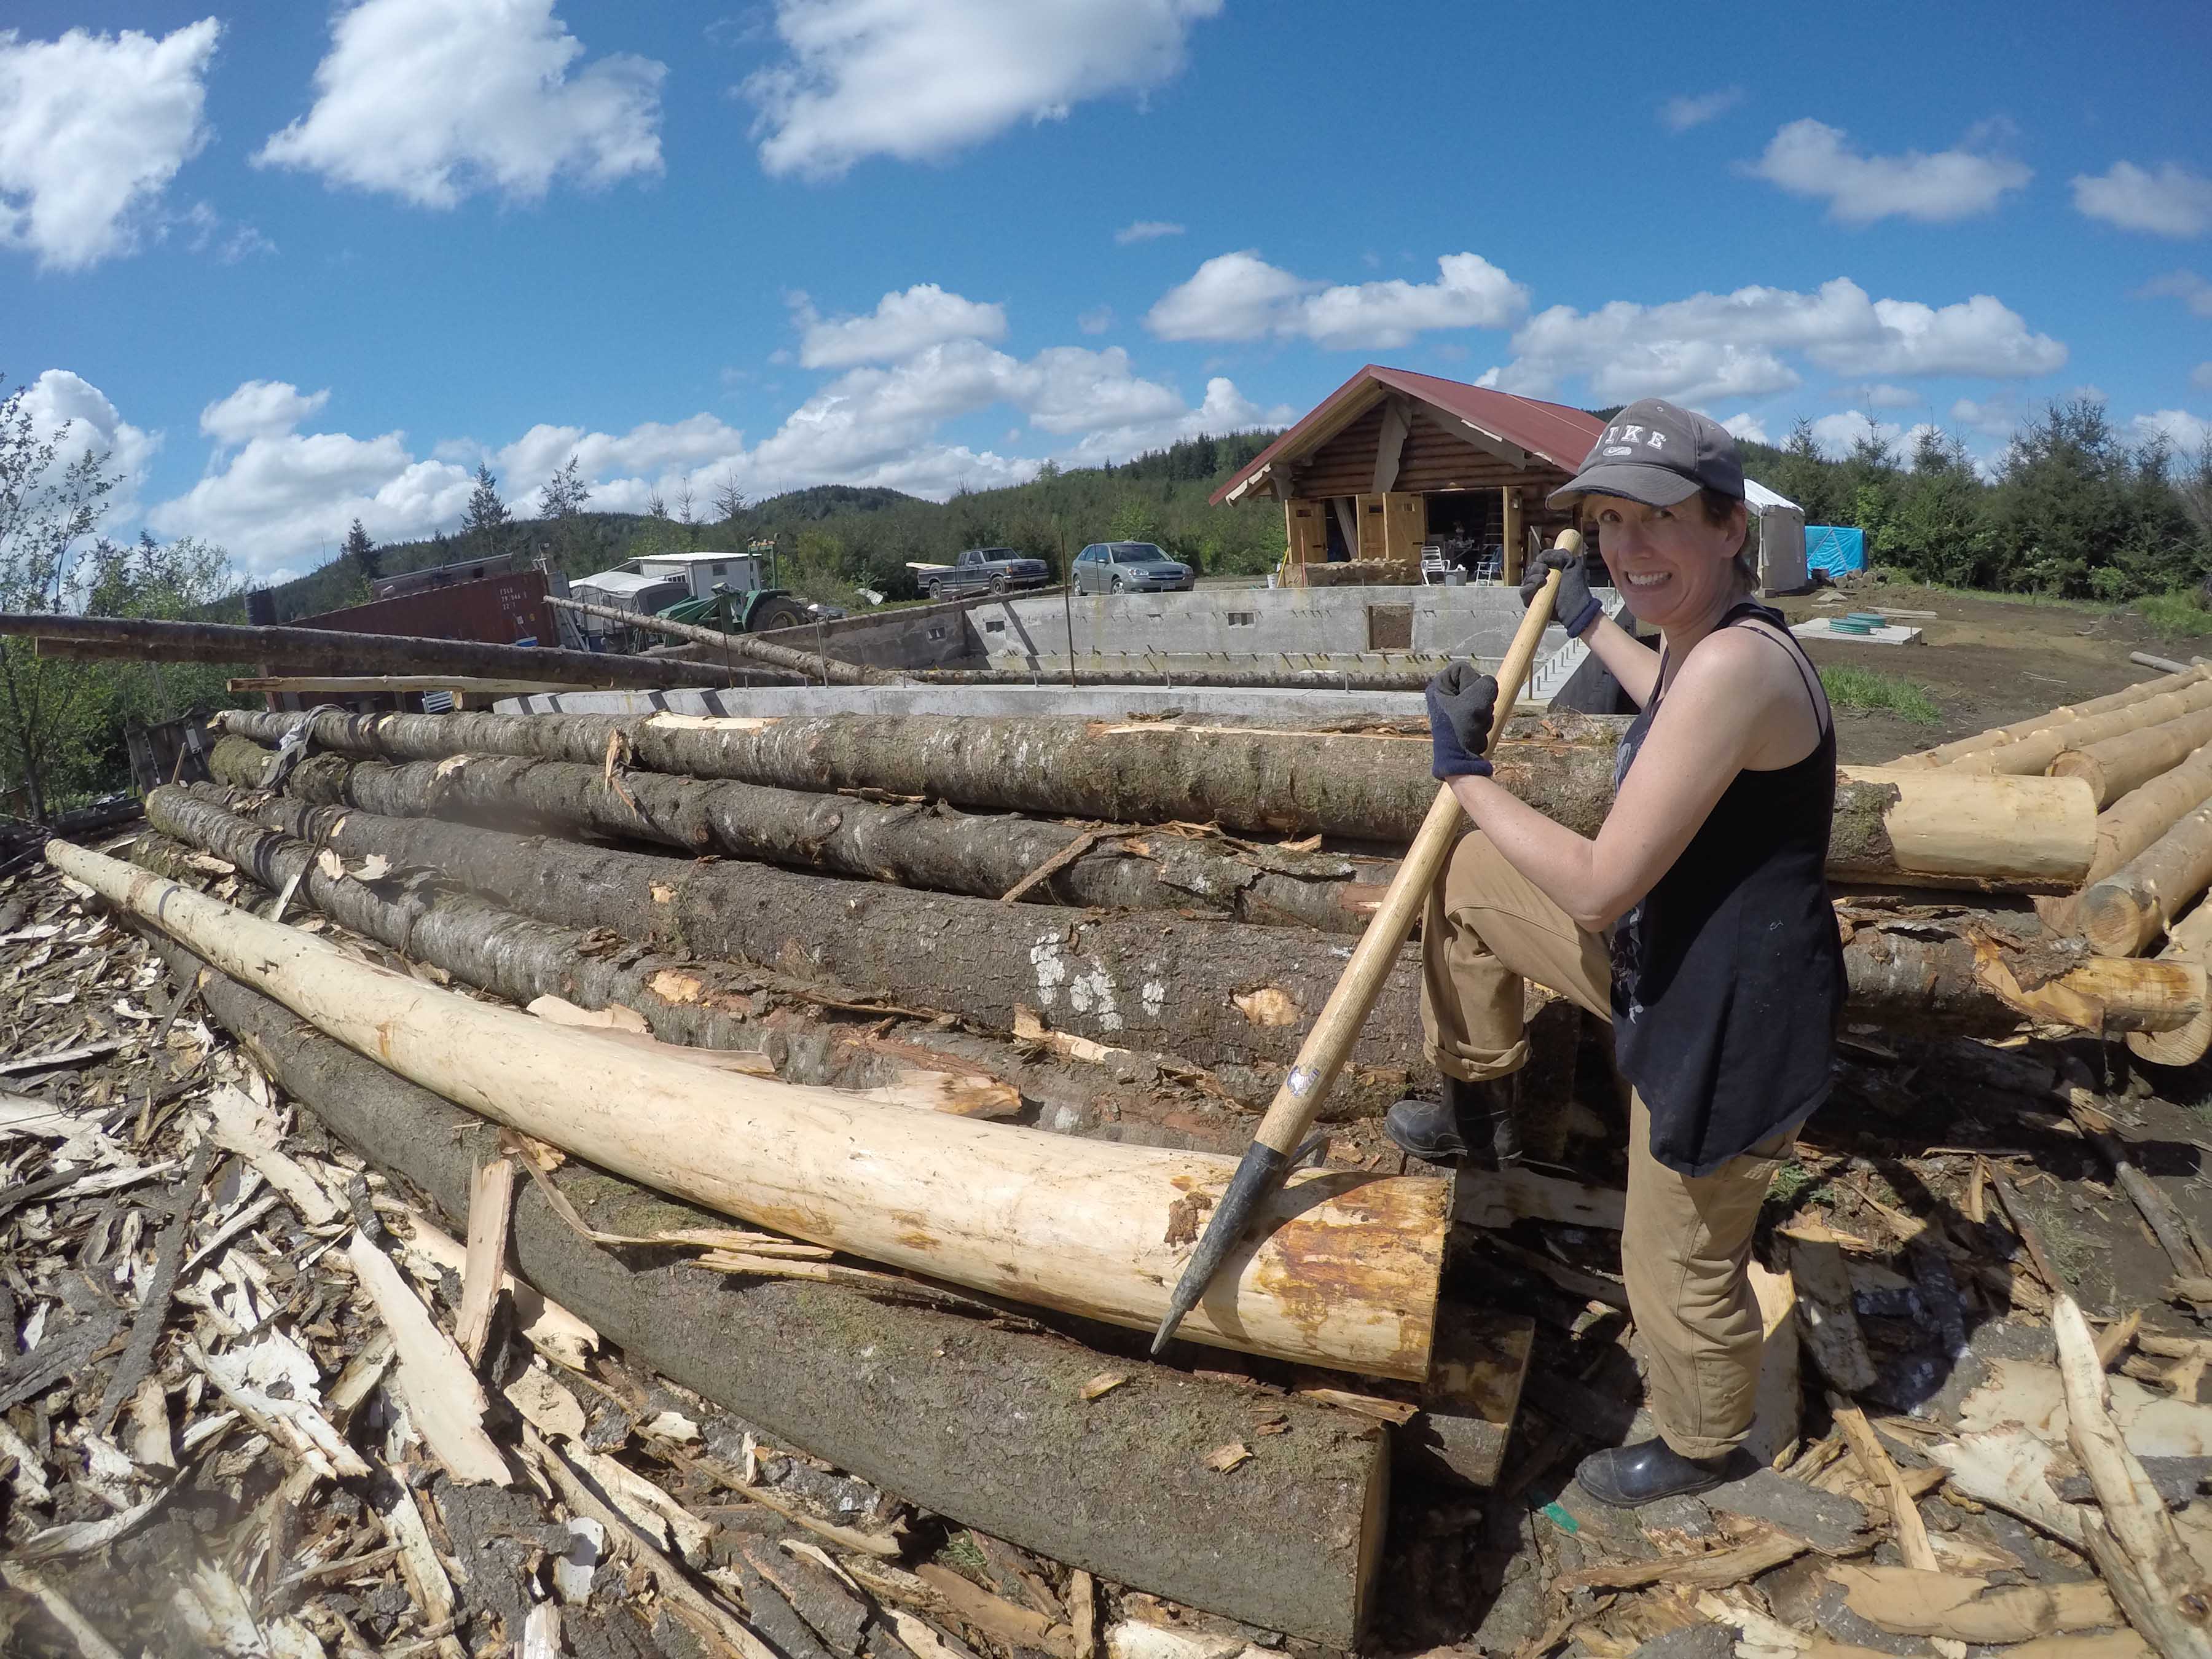
One thing this project is…is A GROUP EFFORT! Two years ago I did almost all the peeling by hand myself.

Neal, Me, Kara and Sam.
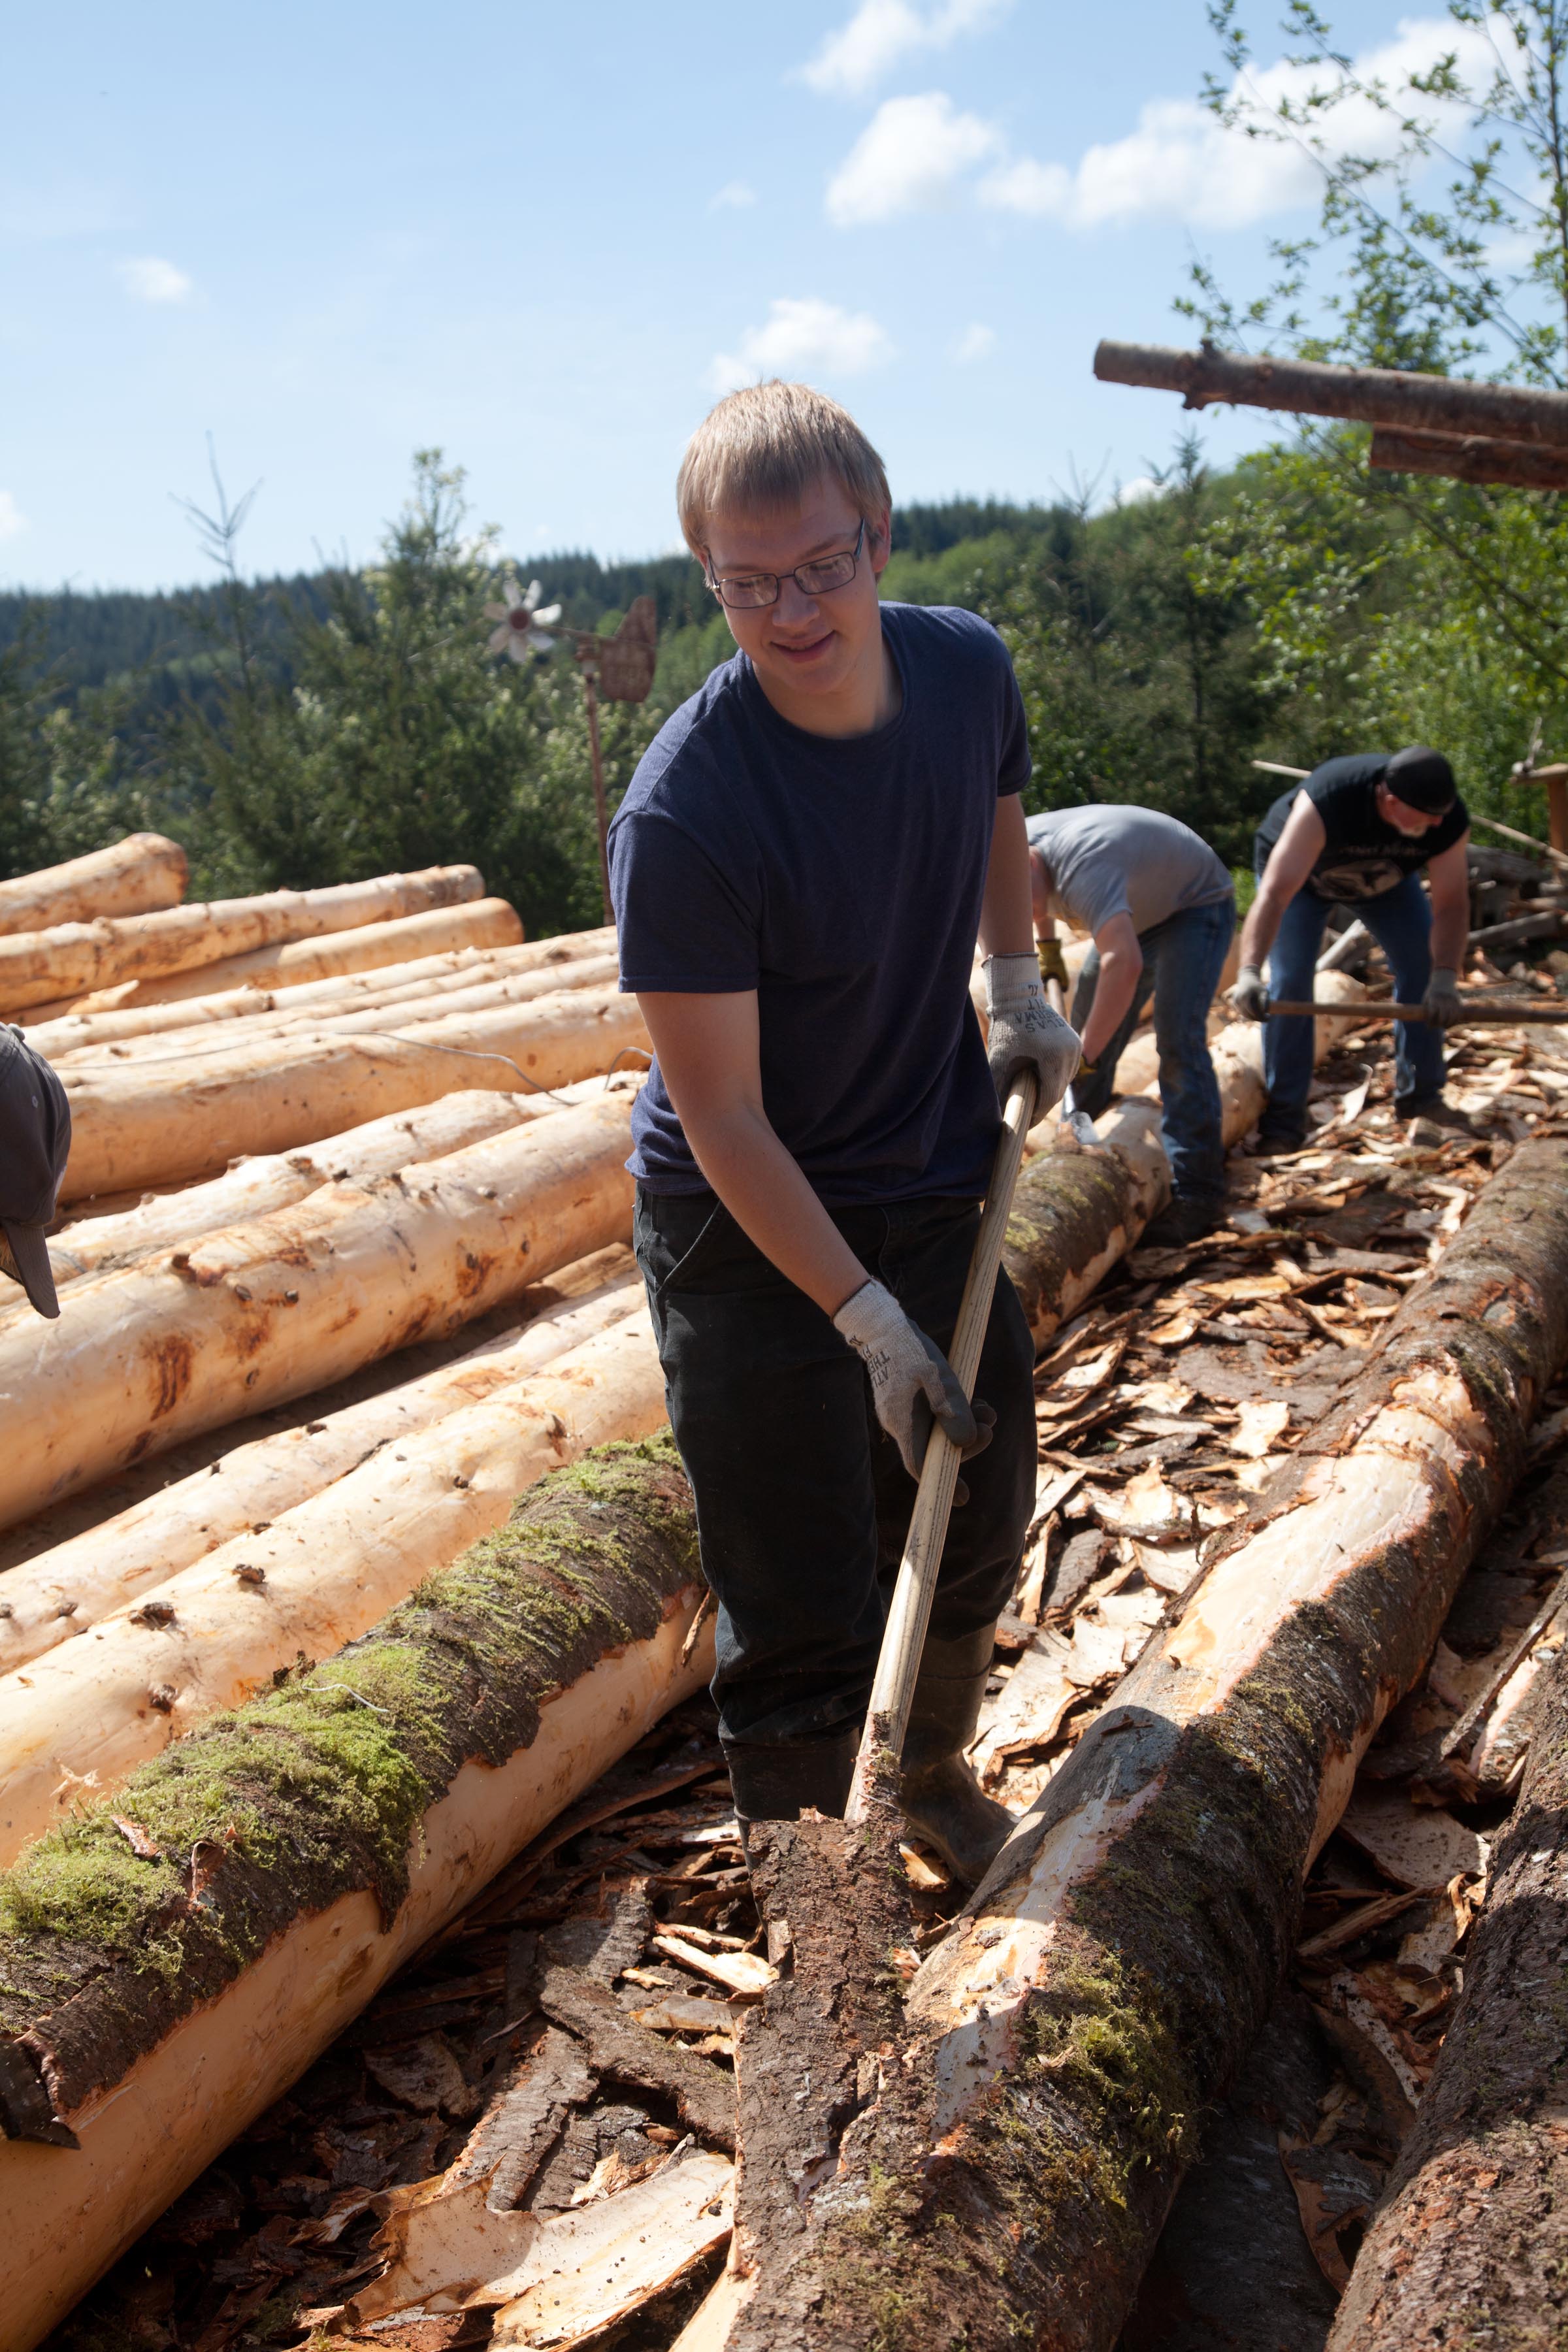
 I knew I could not repeat that. So you can imagine my elation when at least six other friends and family showed up on various days to help. Wow…what a relief! There was close to 100 man hours peeling those logs. And boy did they turn out beautiful! Of course Neal, my best man got his ‘licks’ in. And my sister was there on weekends making her presence known. She helped out in lots of ways including

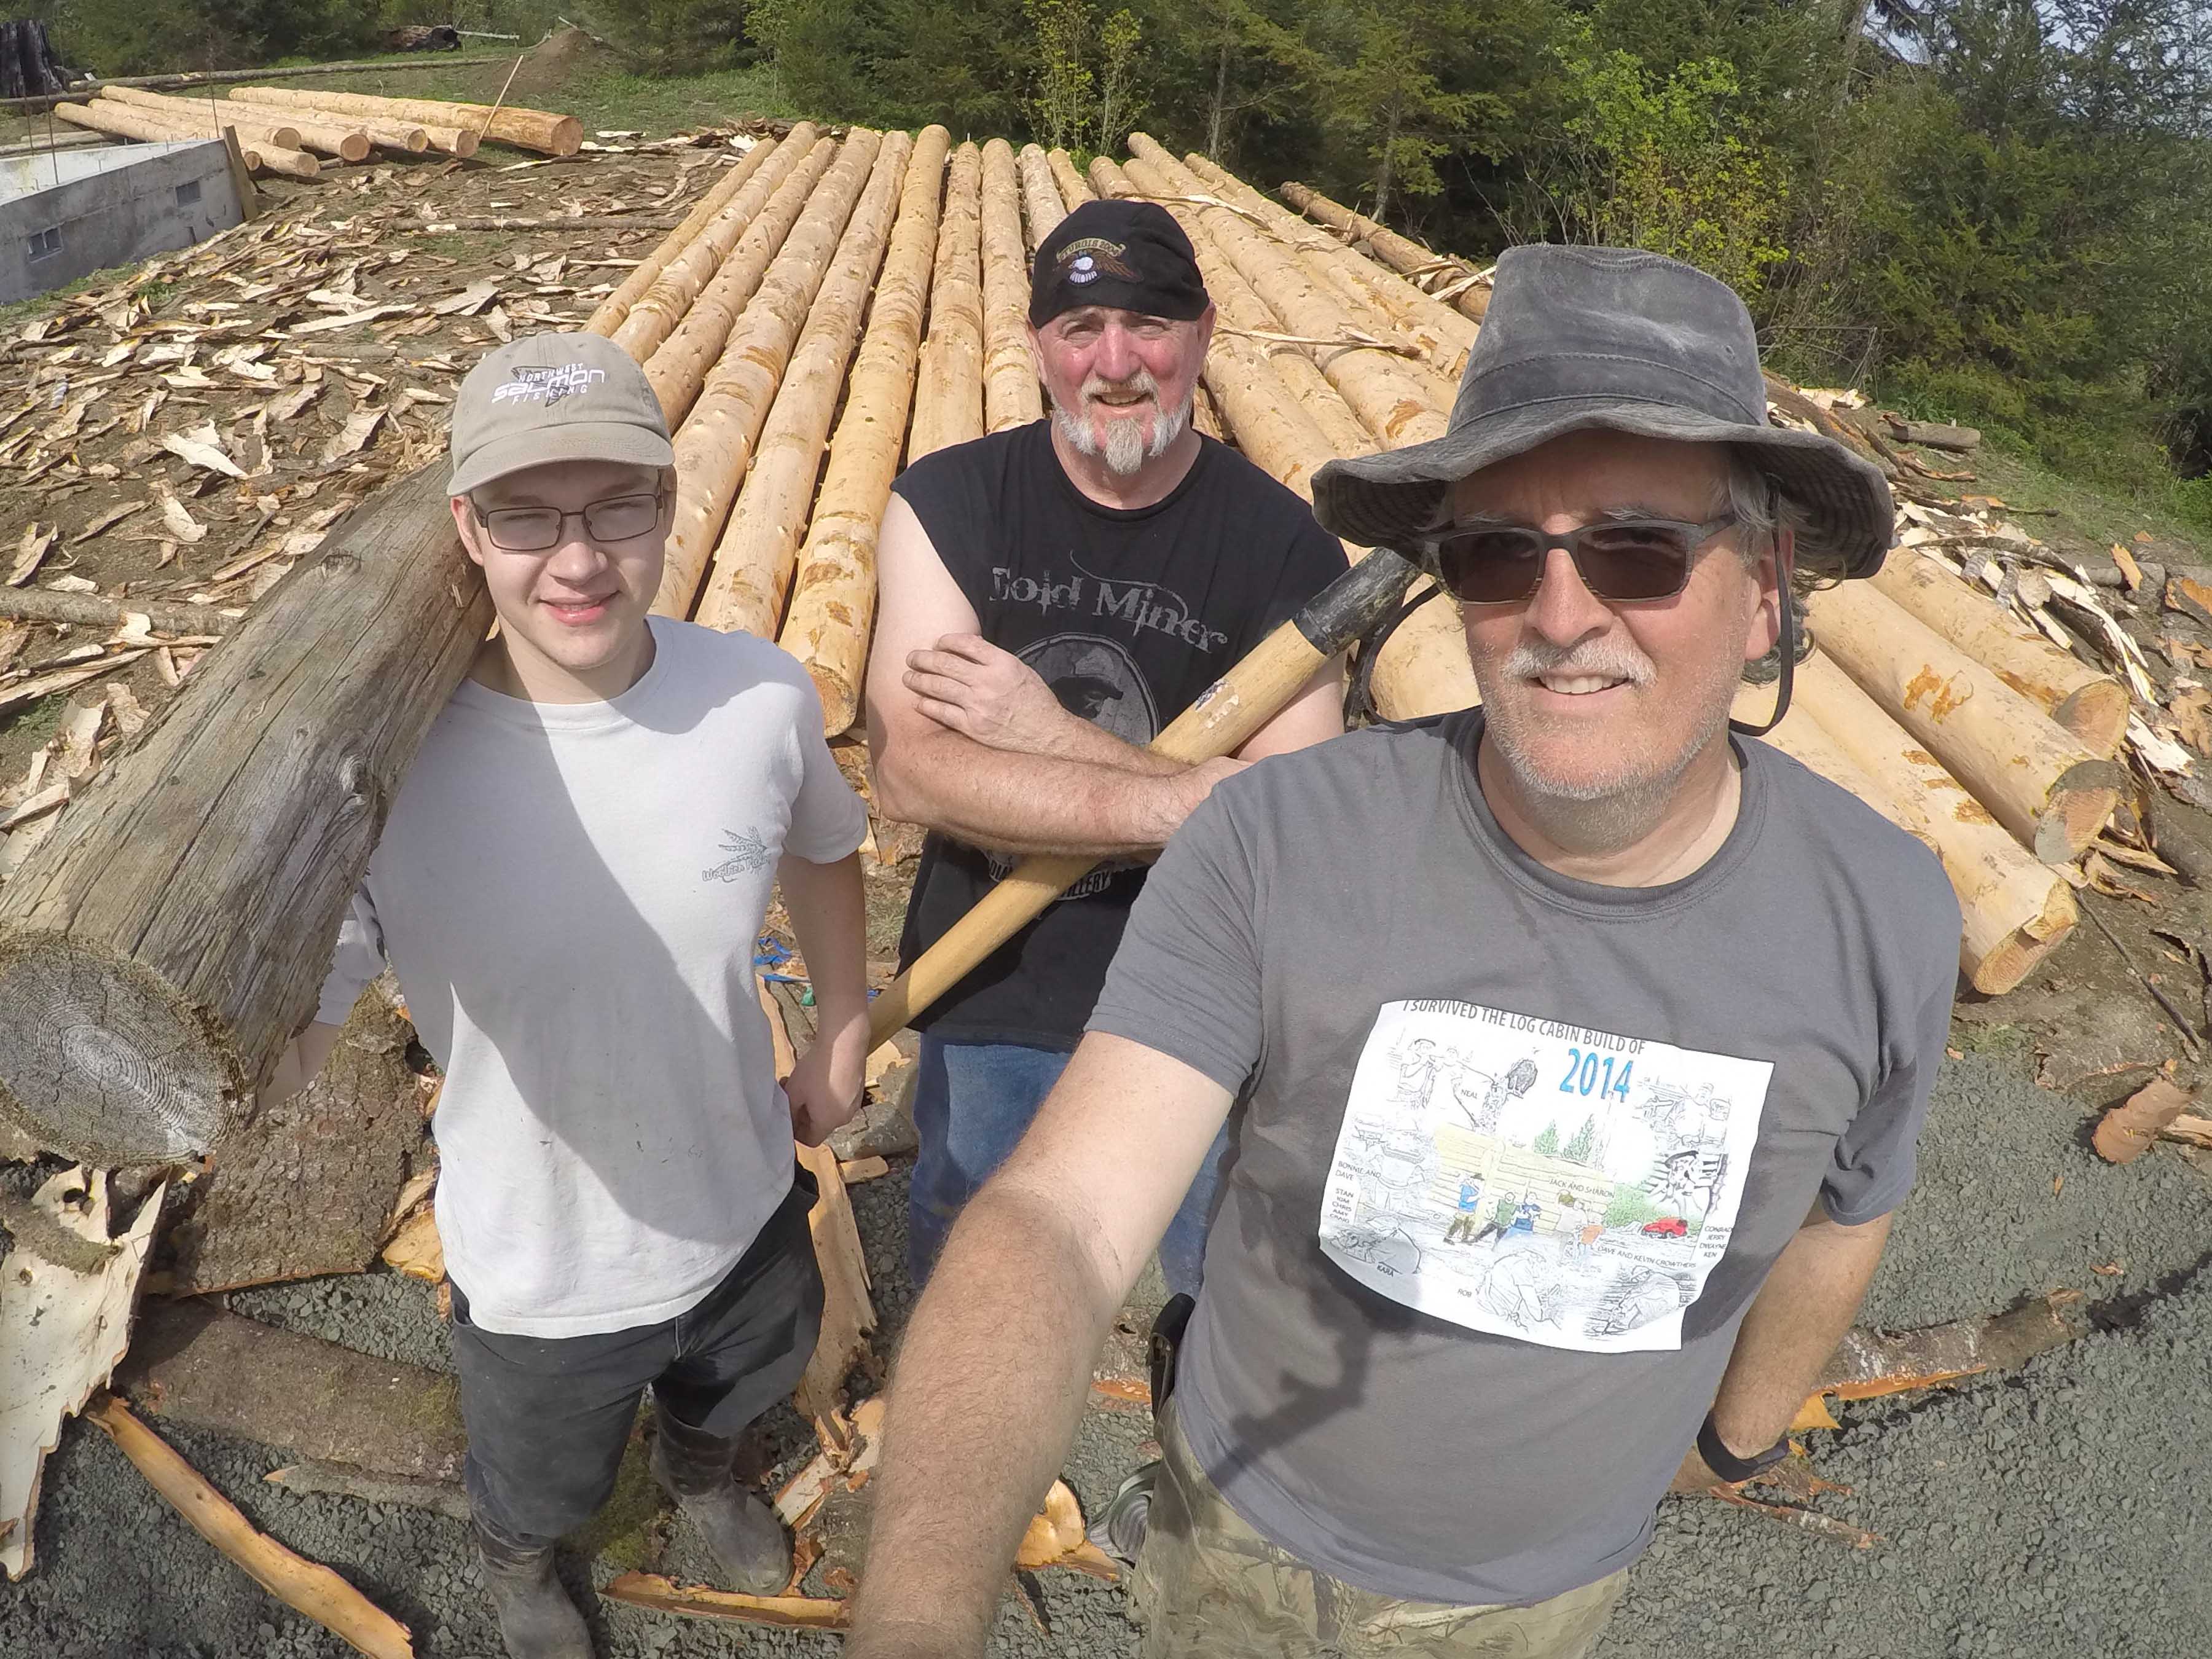
Neal, Nathan, Sam and Me. Done!! 120 logs!
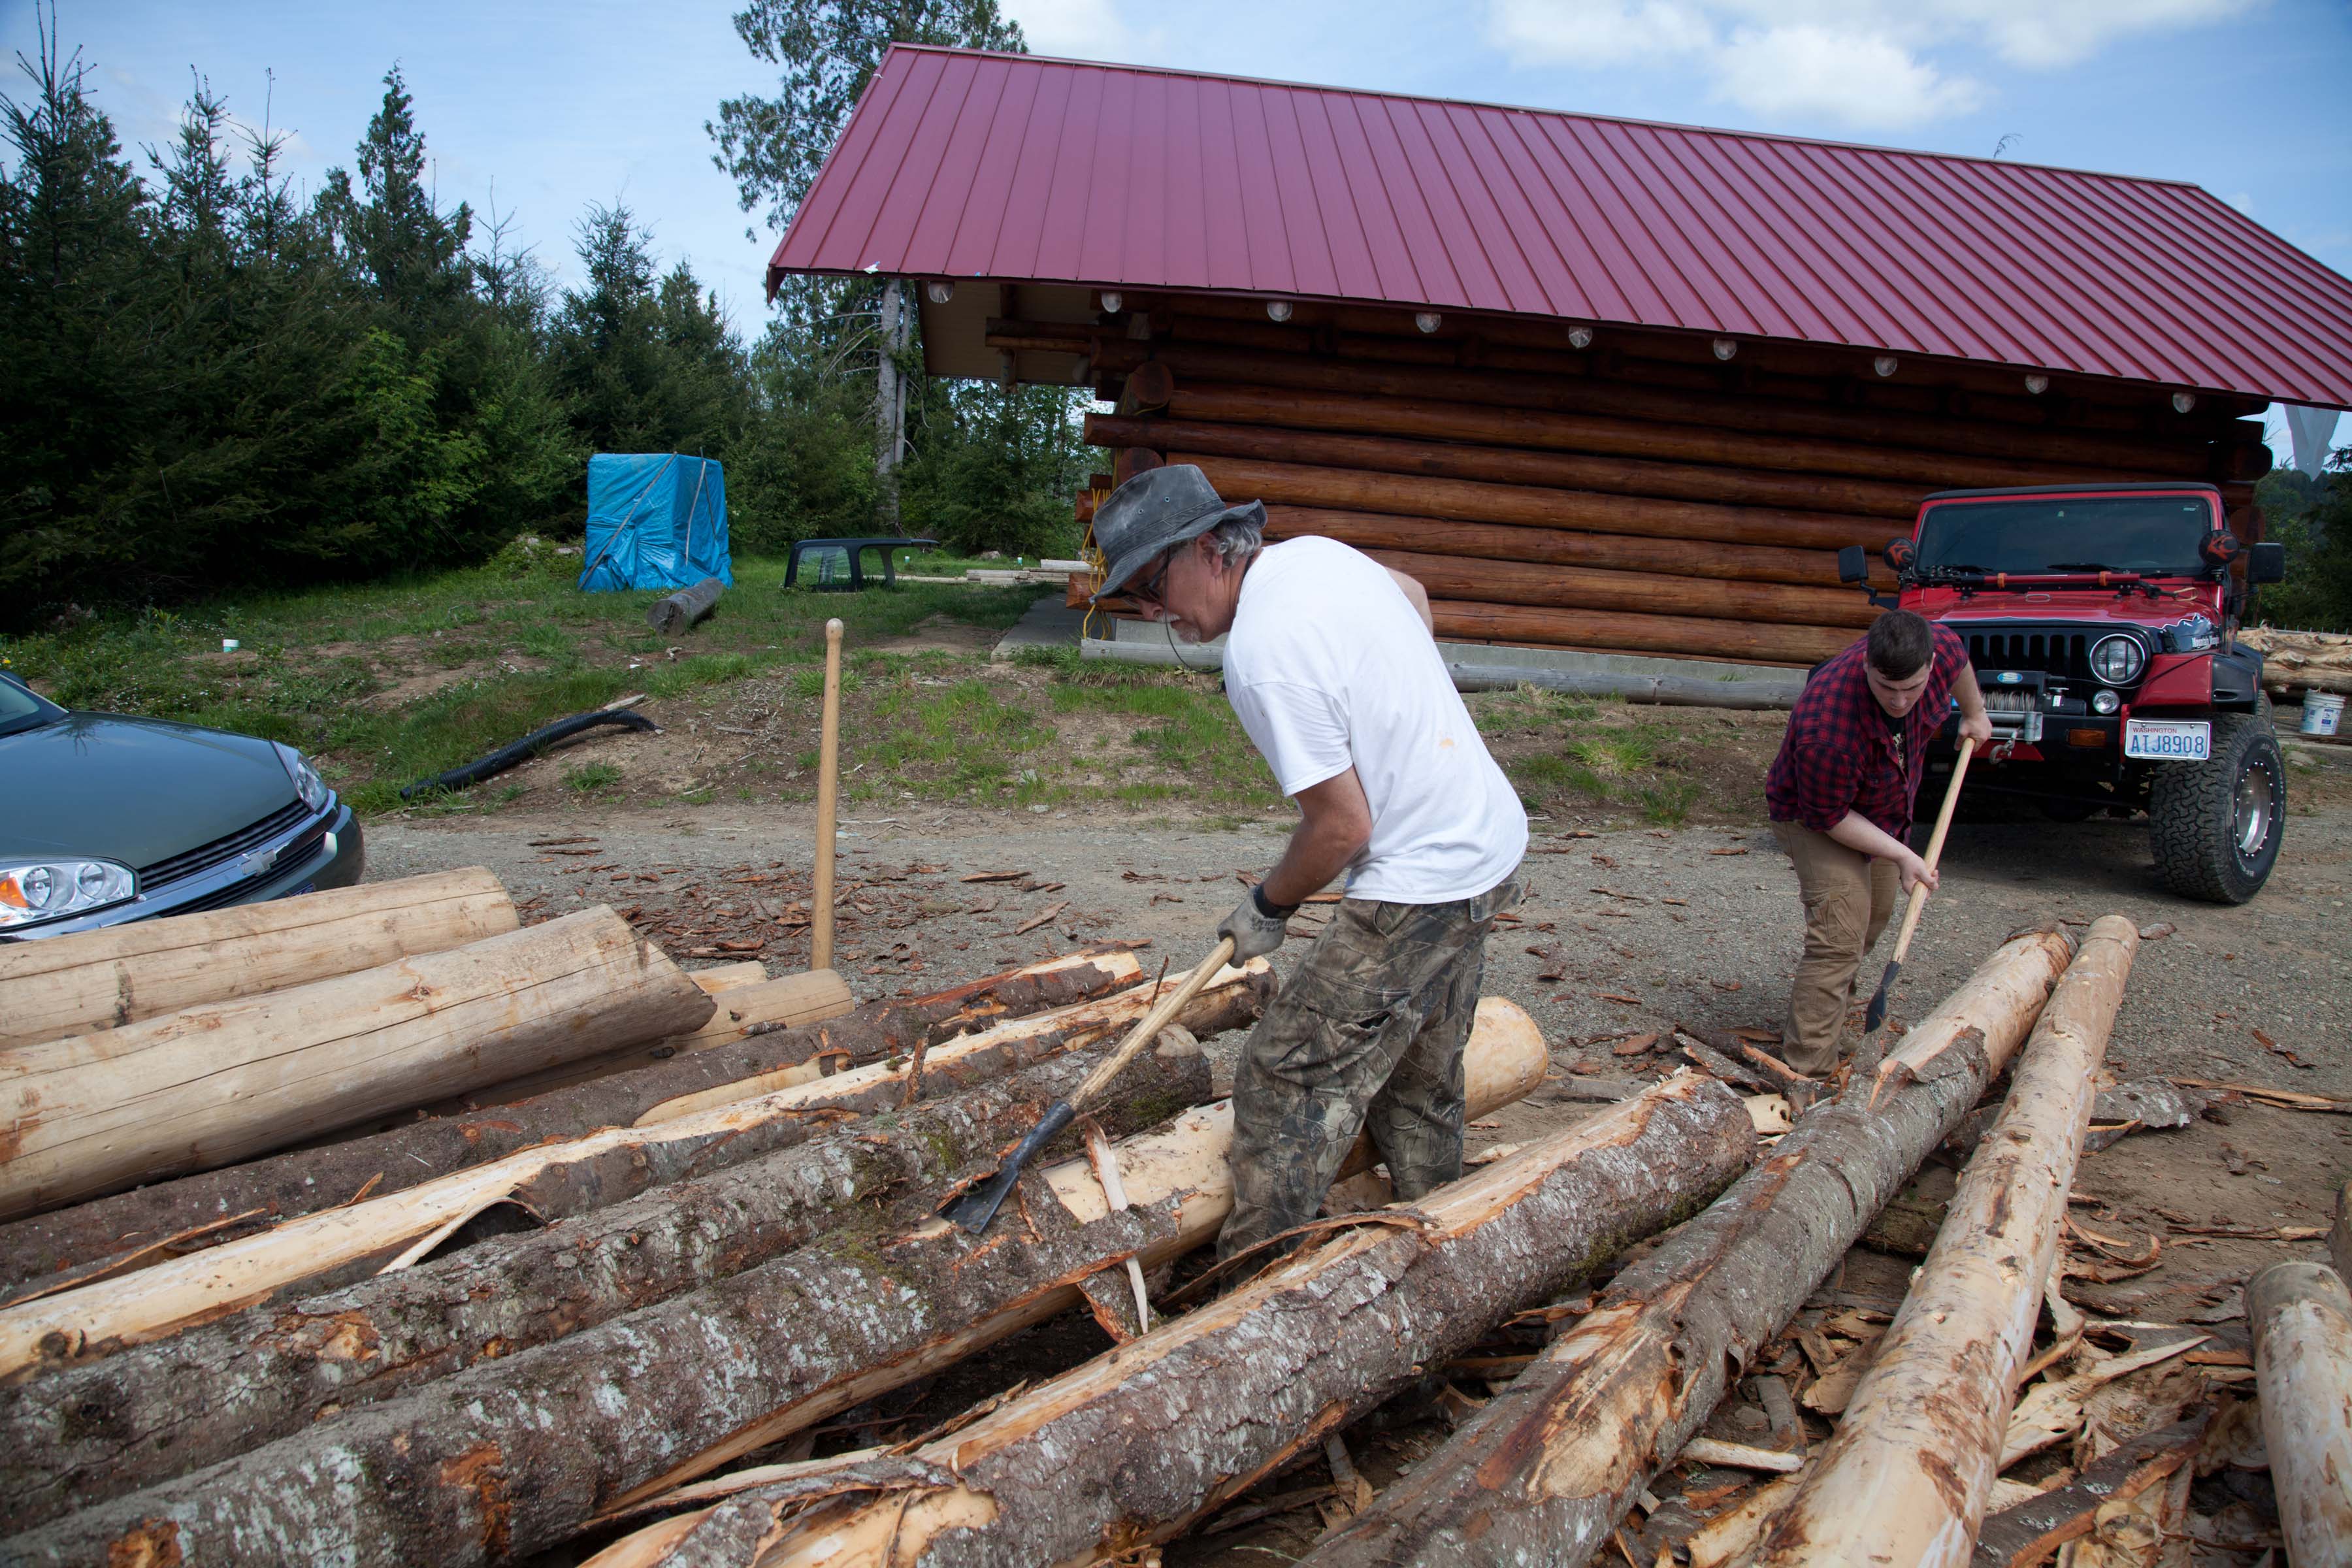
helping add a half loft in our garage. Thanks Sisco! We also had a couple HS young men from Montesano…Sam and Nathan. It was nice having some ‘young guns’ around so we could rely on them later in the day when our strength seemed to fade. Thanks guys! FYI…I flew in to log trees in the middle of April for a reason. There are two ‘windows’ of opportunity to log trees if you are planning to peel bark. Spring and late summer. The reason being the sap under the bark needs to be ‘running’ up the tree to make the separation of the tree and the

Stan also came out and peeled and helped with the loft in the garage…thanks Stan!
bark easier to separate. If you fall the tree at any other time of year you will have a terrible time trying to remove the bark. Another reason is bugs. You need to peel bark from the trees within a few weeks of falling them or bugs will have taken over and infested your trees making life miserable.
-

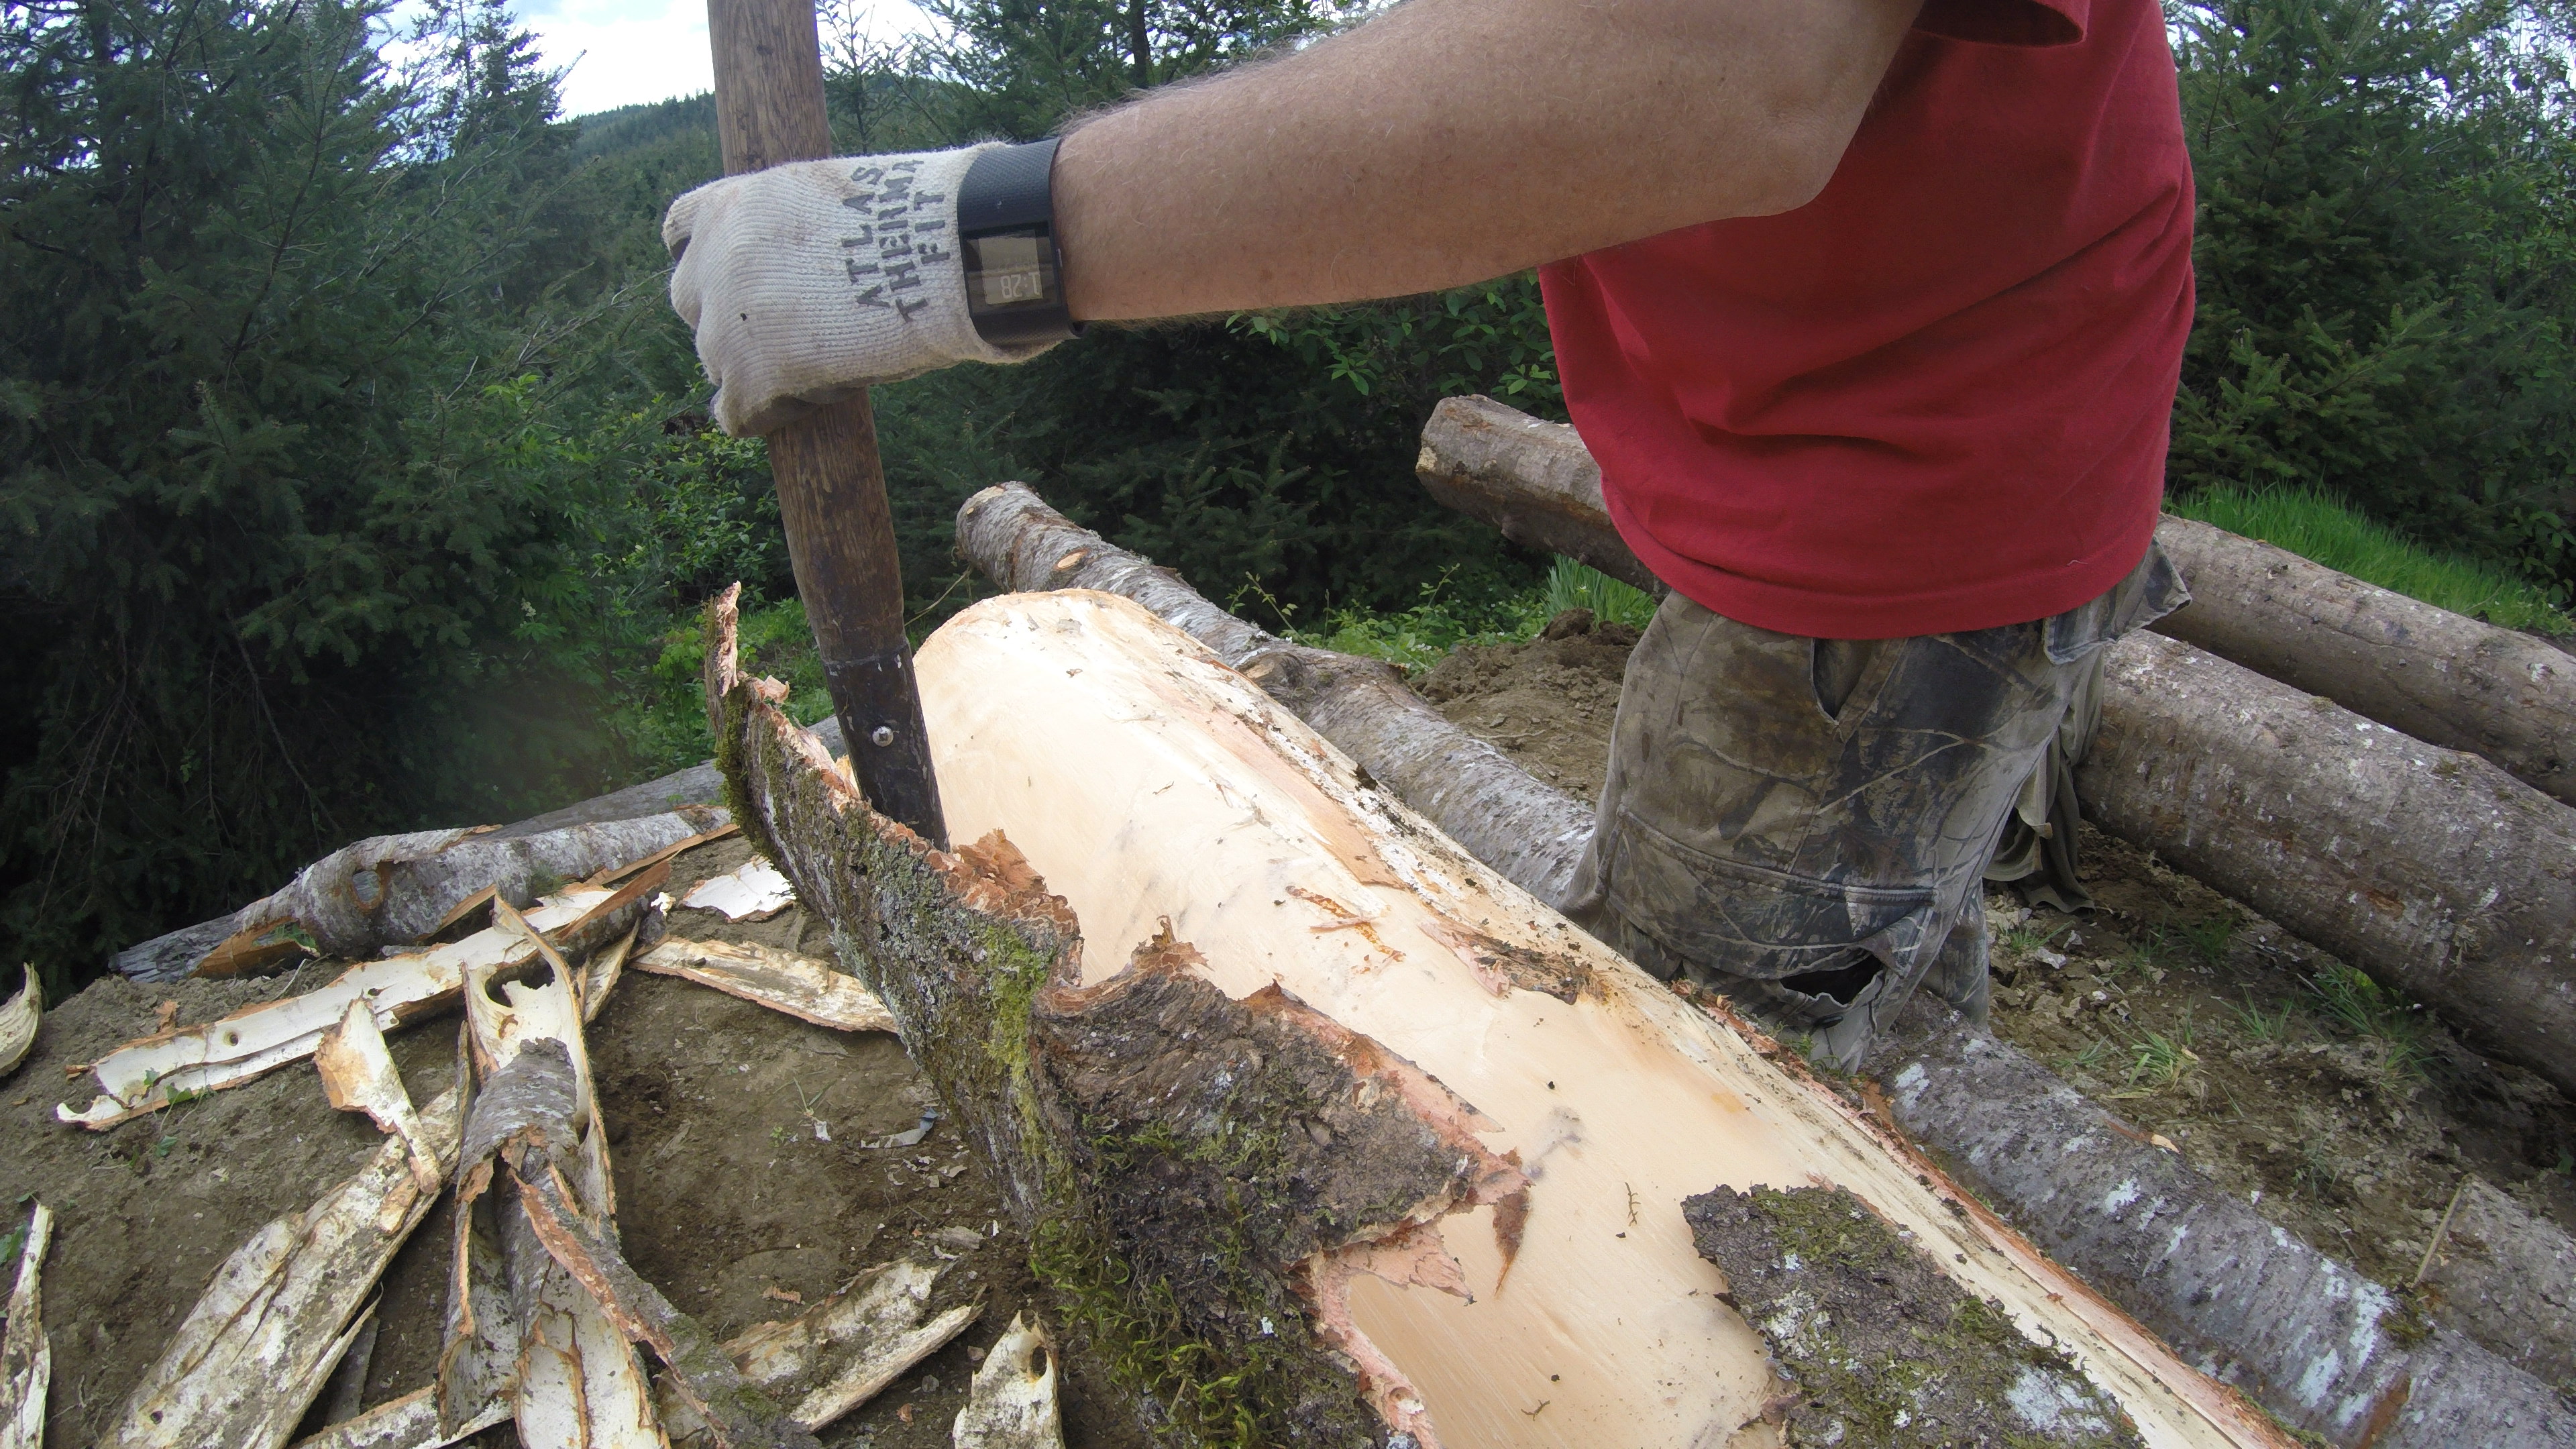
- Sometimes you get lucky and pull off a large piece of bark.
-

- Only a few logs left…feeling great!

-
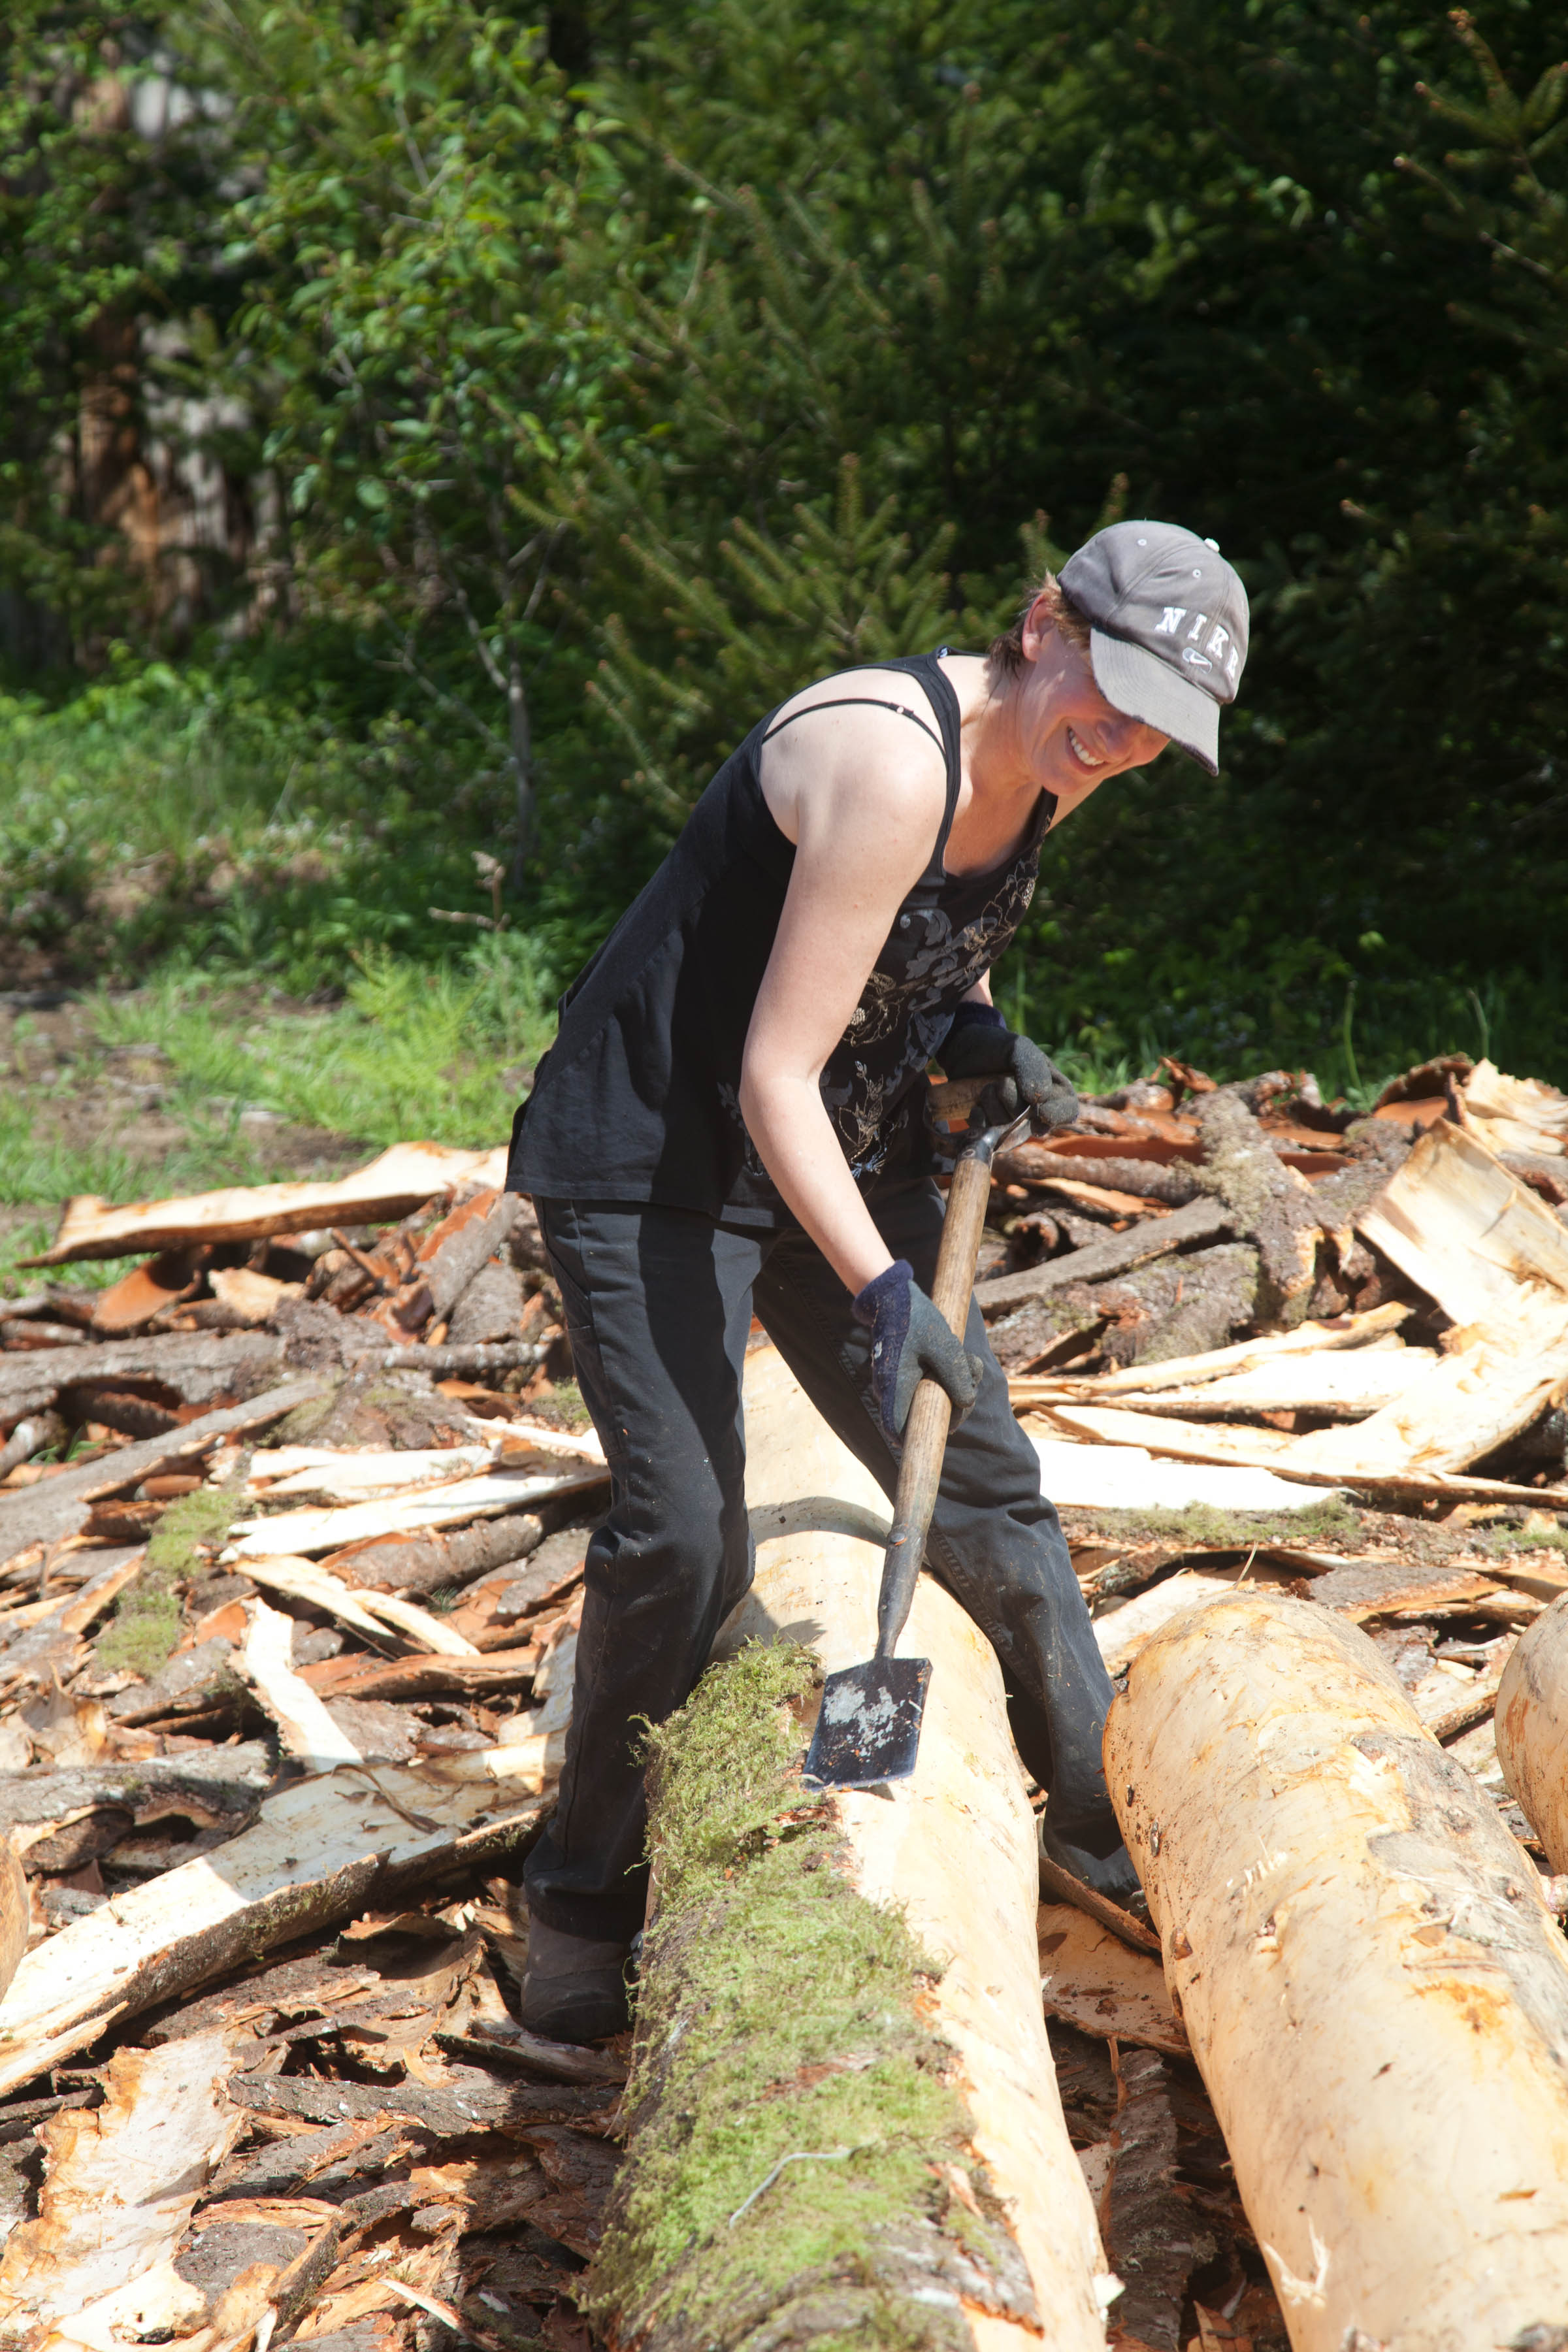
- Bonnie, Kara and Sam working hard.
-

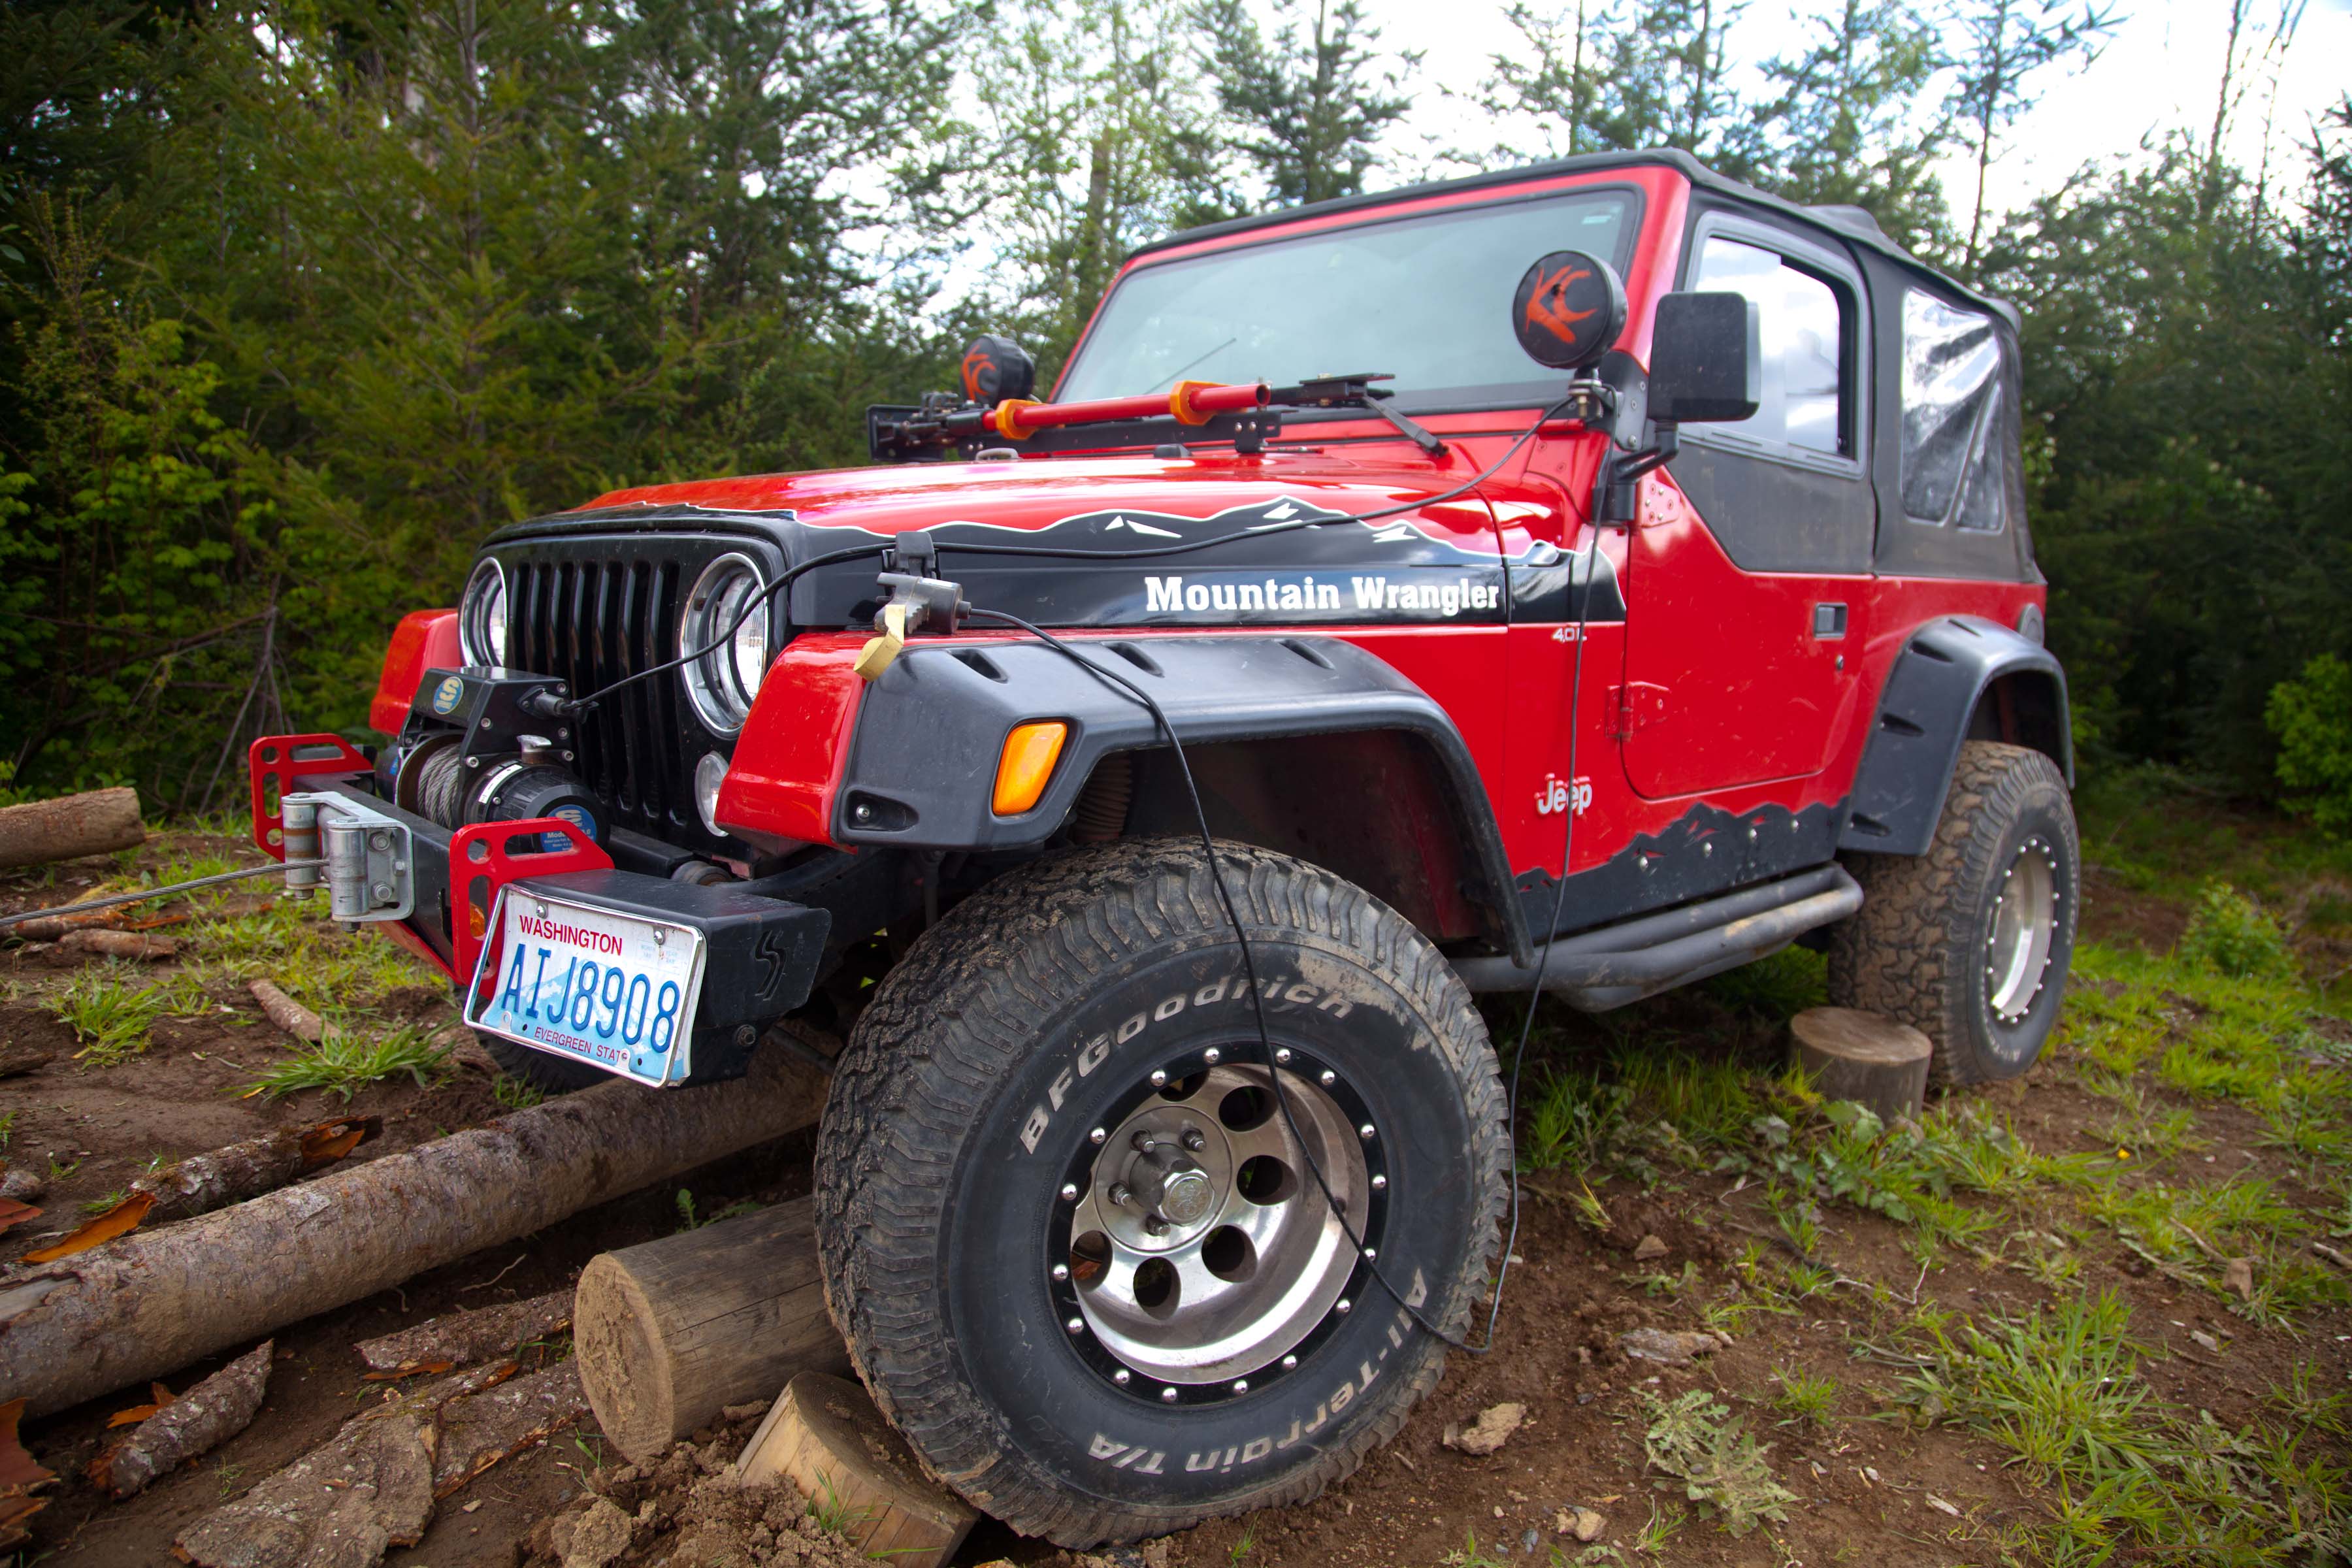
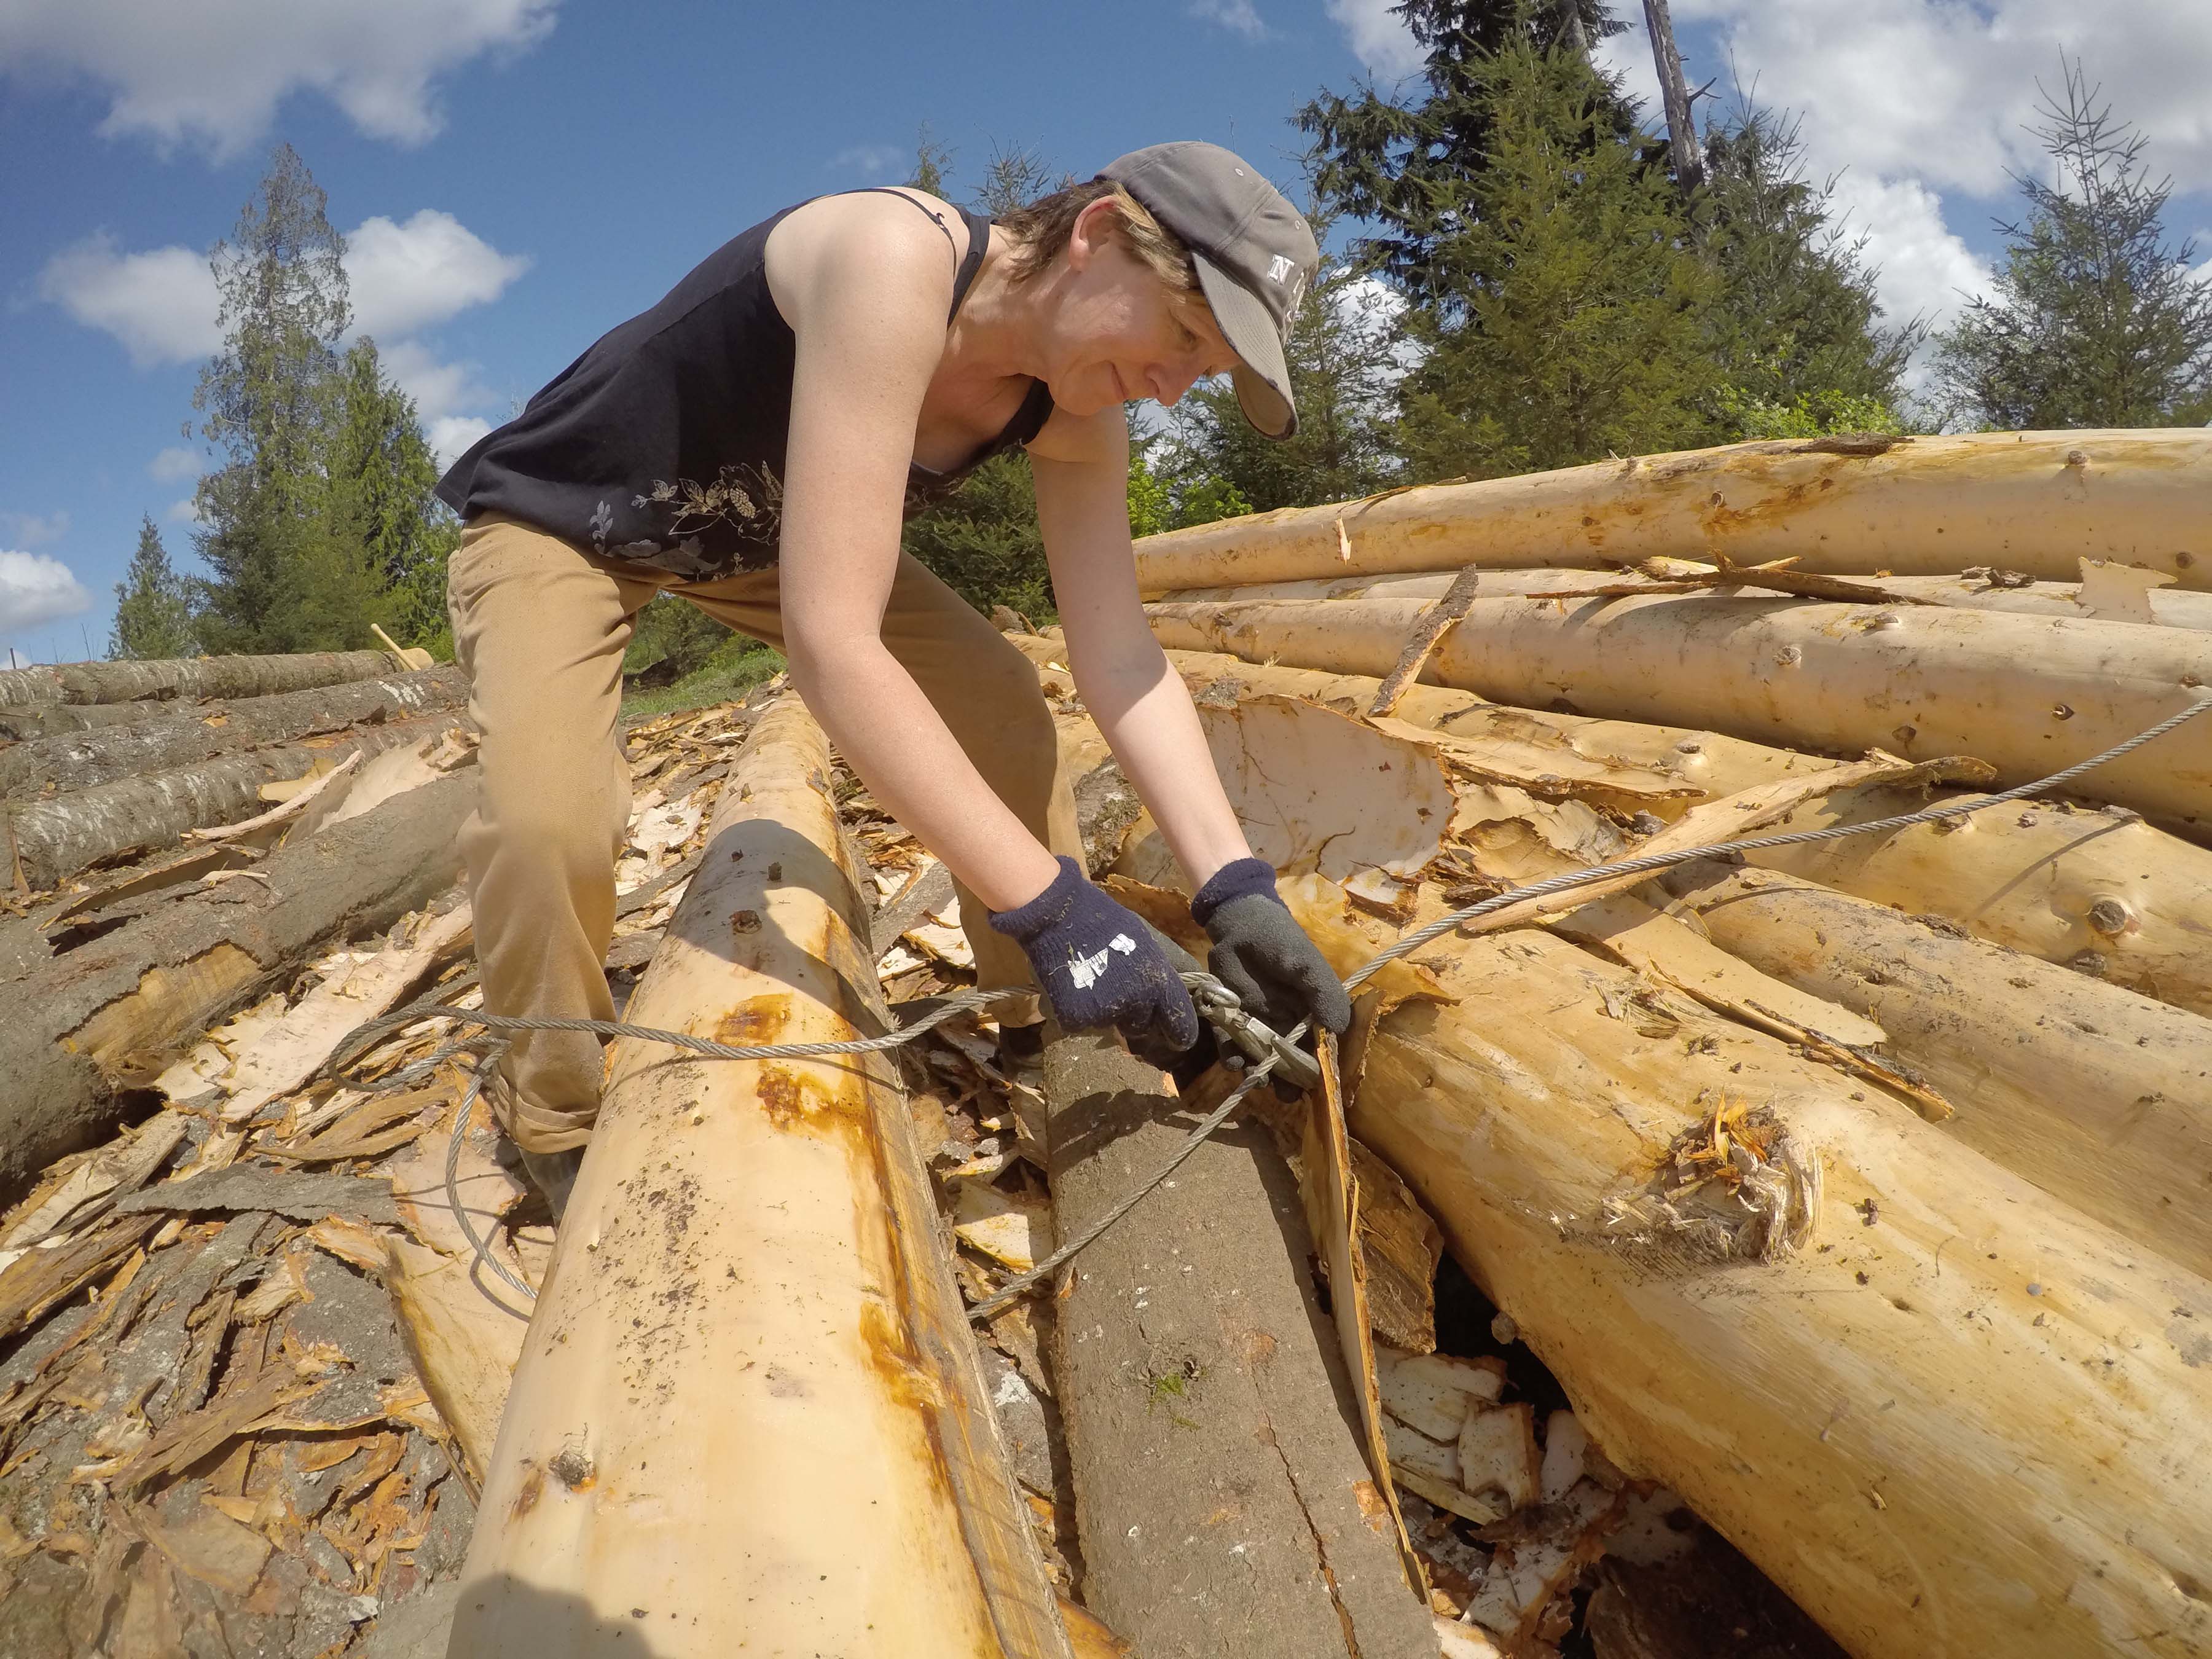
- Once a log was peeled we set the cable on the log and pulled it onto the ‘finished’ stack by jeep winch.

-

- Rookie Sam was a great worker!
-
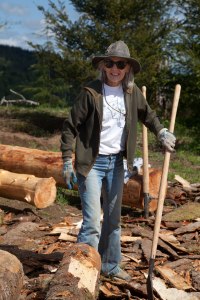
- Bonnie got in on the fun.

-

- Girl power!
-

- Nathan came out to peel to improve his bat speed.

-
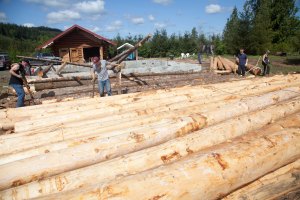
- You can see the garage and cabin foundation in the background.

-
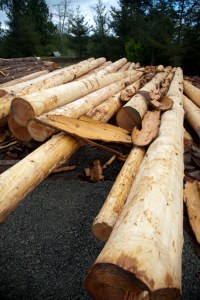
- Beautiful when they are peeled.

-

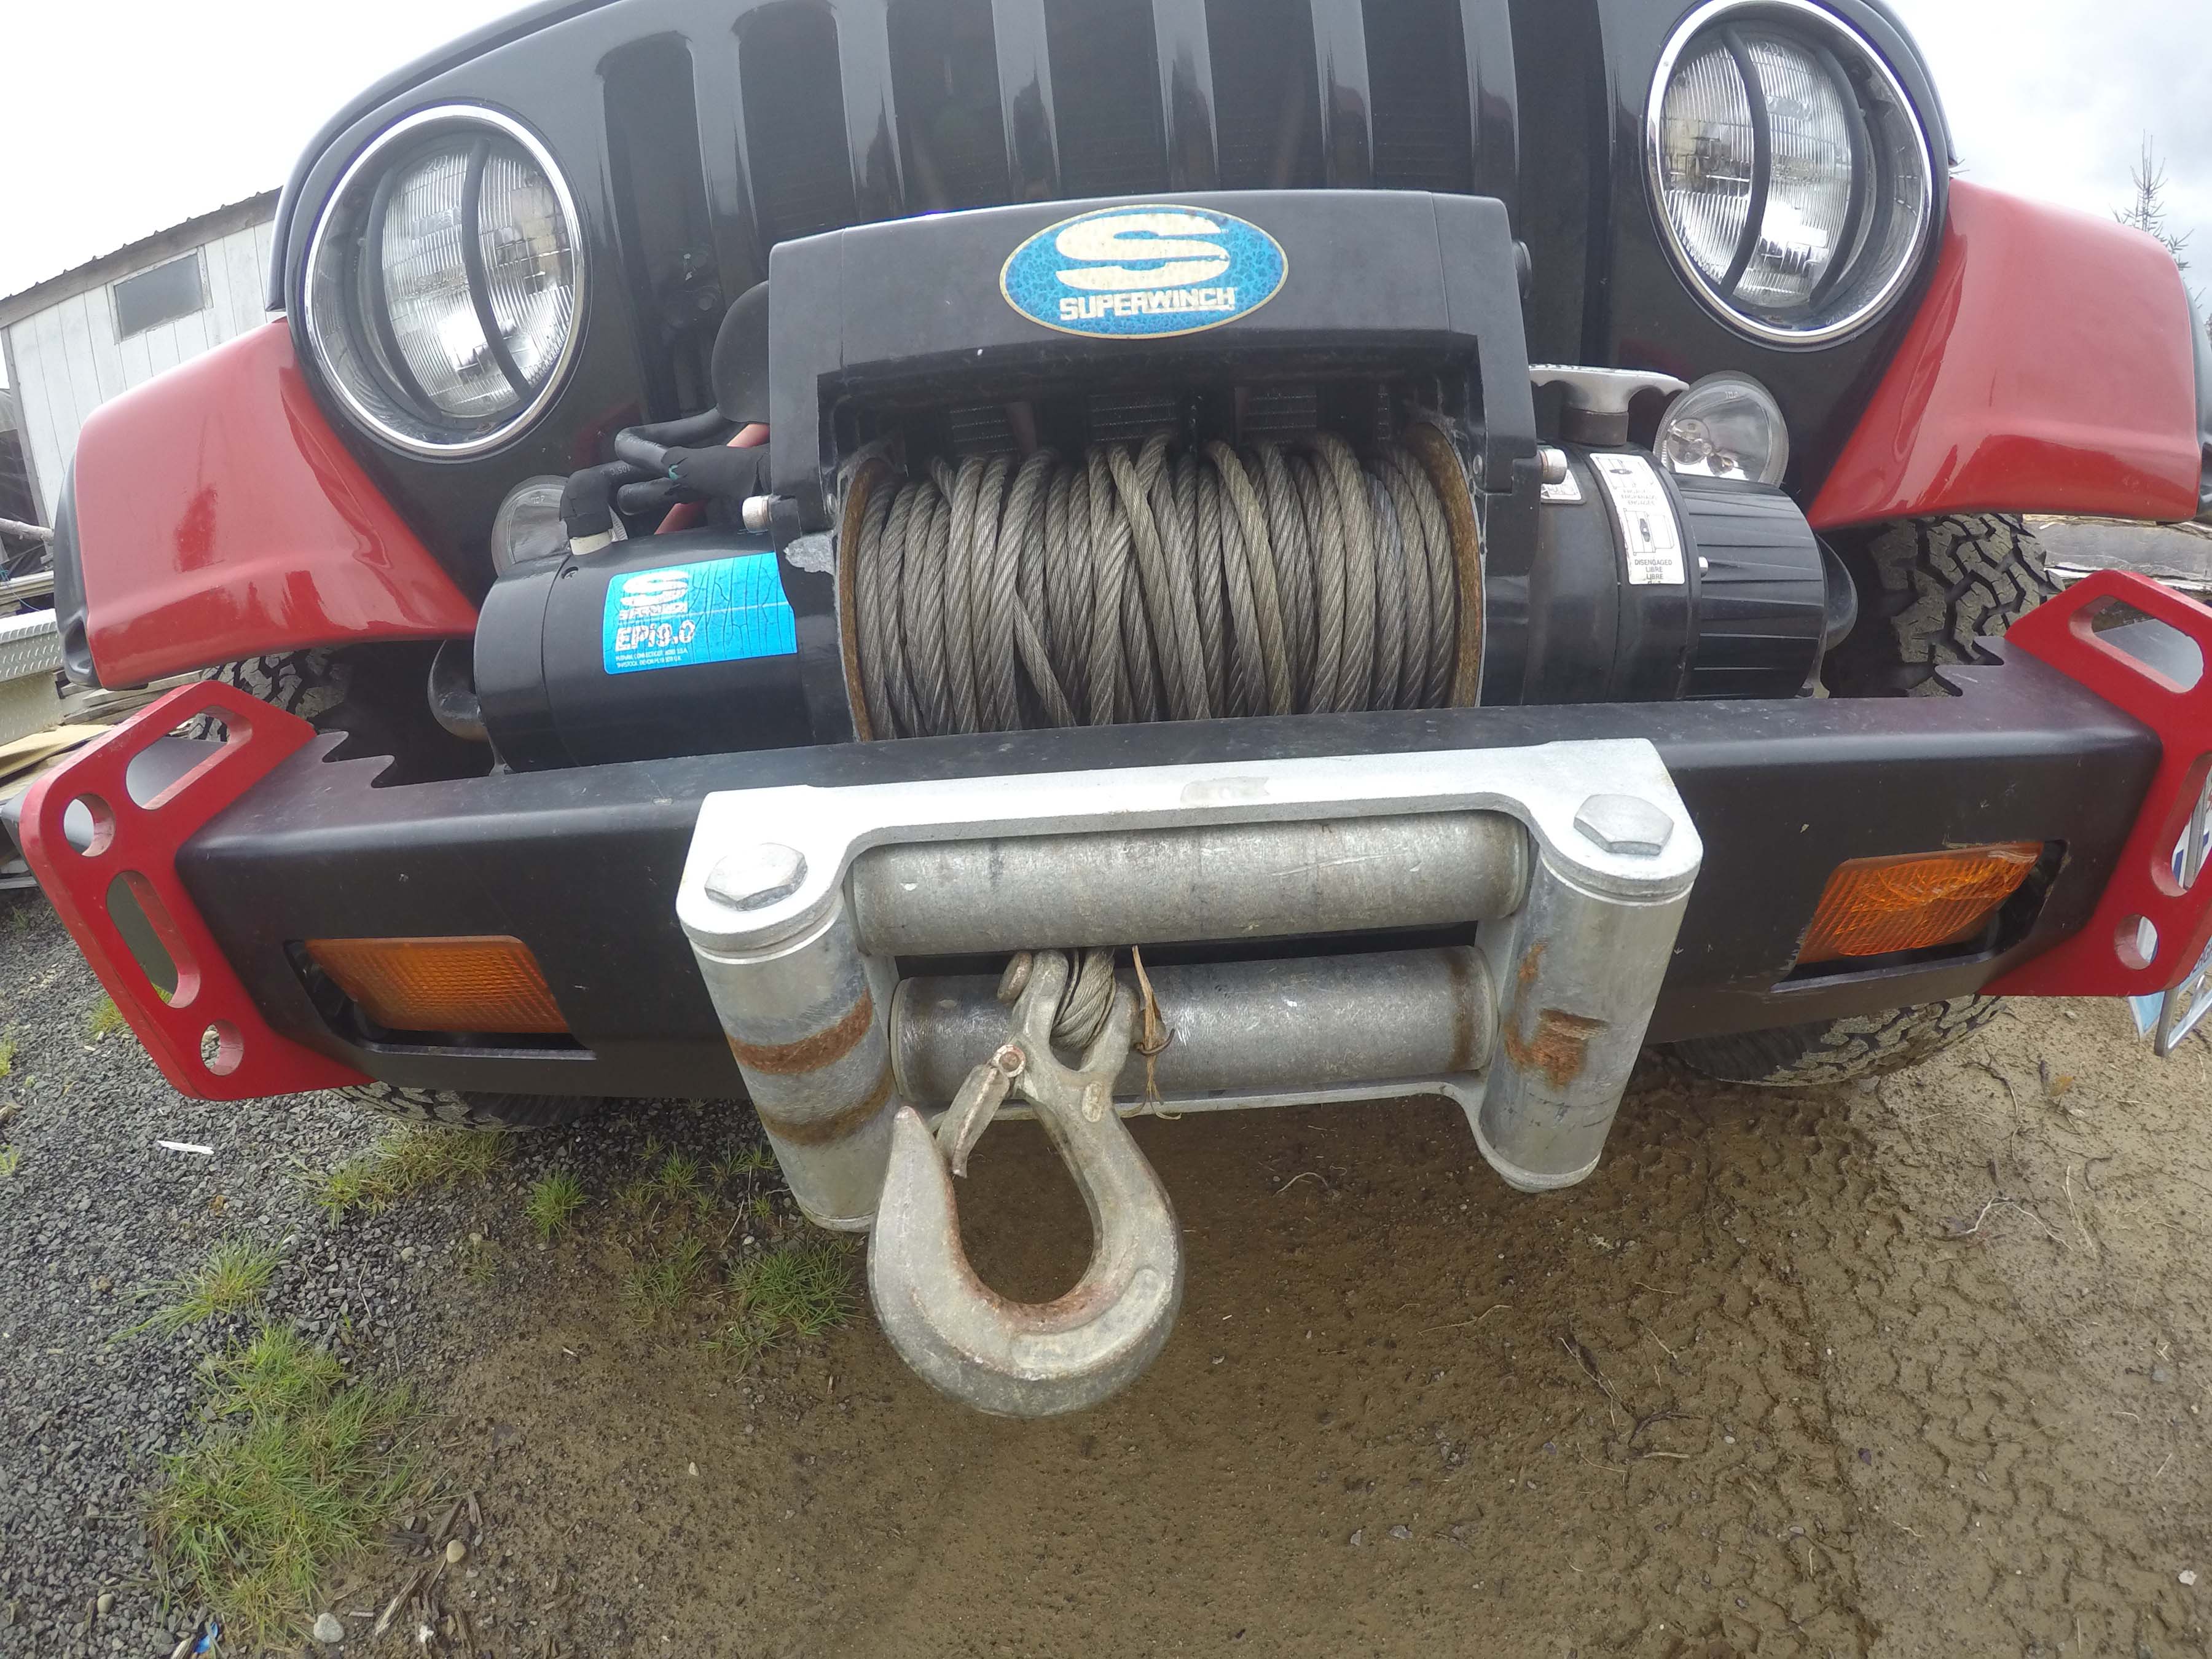
- My pretty jeep pulled through once again. The winch worked wonderfully…priceless piece of equipment. FYI…jeeps must be red.
-

- Neal likes danger I guess.

-

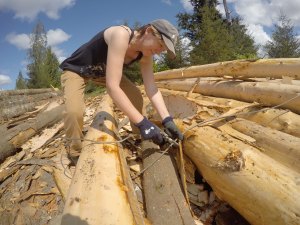
- Our two young men setting ‘chokers’. These logs are super slick when freshly peeled.

-

- We ran across two logs that took over 3 man hours to peel.

-

- My favorite time…lunch.

-
- Kara setting a choker so we can move it onto the stack of finished logs.
-

- One log at a time.
-

- Grateful for my 9000b winch.
-

- Also grateful for my team of crazy peelers!
-

- Some of these logs are 50′ long!
-

- My lead peeler Neal. When he’s not out pushing for new parks and trails in Mason Co. he is out helping me build this cabin.
-

- Stan will do any job you toss at him…thanks Stan!

-

- My smile is from all the friends who came out to peel.

 Security really should be part of your research is my point in all this. I plan to add to my solar footprint this summer and thus have enough power to add a security system complete with several cameras. That way I will be able to watch the ‘two-legged bandits'(bad guys) as they are shopping and call the ‘store manager'(local police). Be advised though…I am told nothing is perfect with a remote cabin. Things are bound to happen. I had hoped for a few days to set up camp but had only one before I was off to Jacks to do a little logging. Jack was kind enough to offer some of his Douglas Fir as my cabin logs. Security really should be part of your research is my point in all this. I plan to add to my solar footprint this summer and thus have enough power to add a security system complete with several cameras. That way I will be able to watch the ‘two-legged bandits'(bad guys) as they are shopping and call the ‘store manager'(local police). Be advised though…I am told nothing is perfect with a remote cabin. Things are bound to happen. I had hoped for a few days to set up camp but had only one before I was off to Jacks to do a little logging. Jack was kind enough to offer some of his Douglas Fir as my cabin logs.
 DCIM100GOPROGOPR0208.
 DCIM100GOPROGOPR0207.  DCIM100GOPROGOPR0203. bucked(trimmed off branches) and skidded(drug the trees out) 8-12 trees. The second day we did 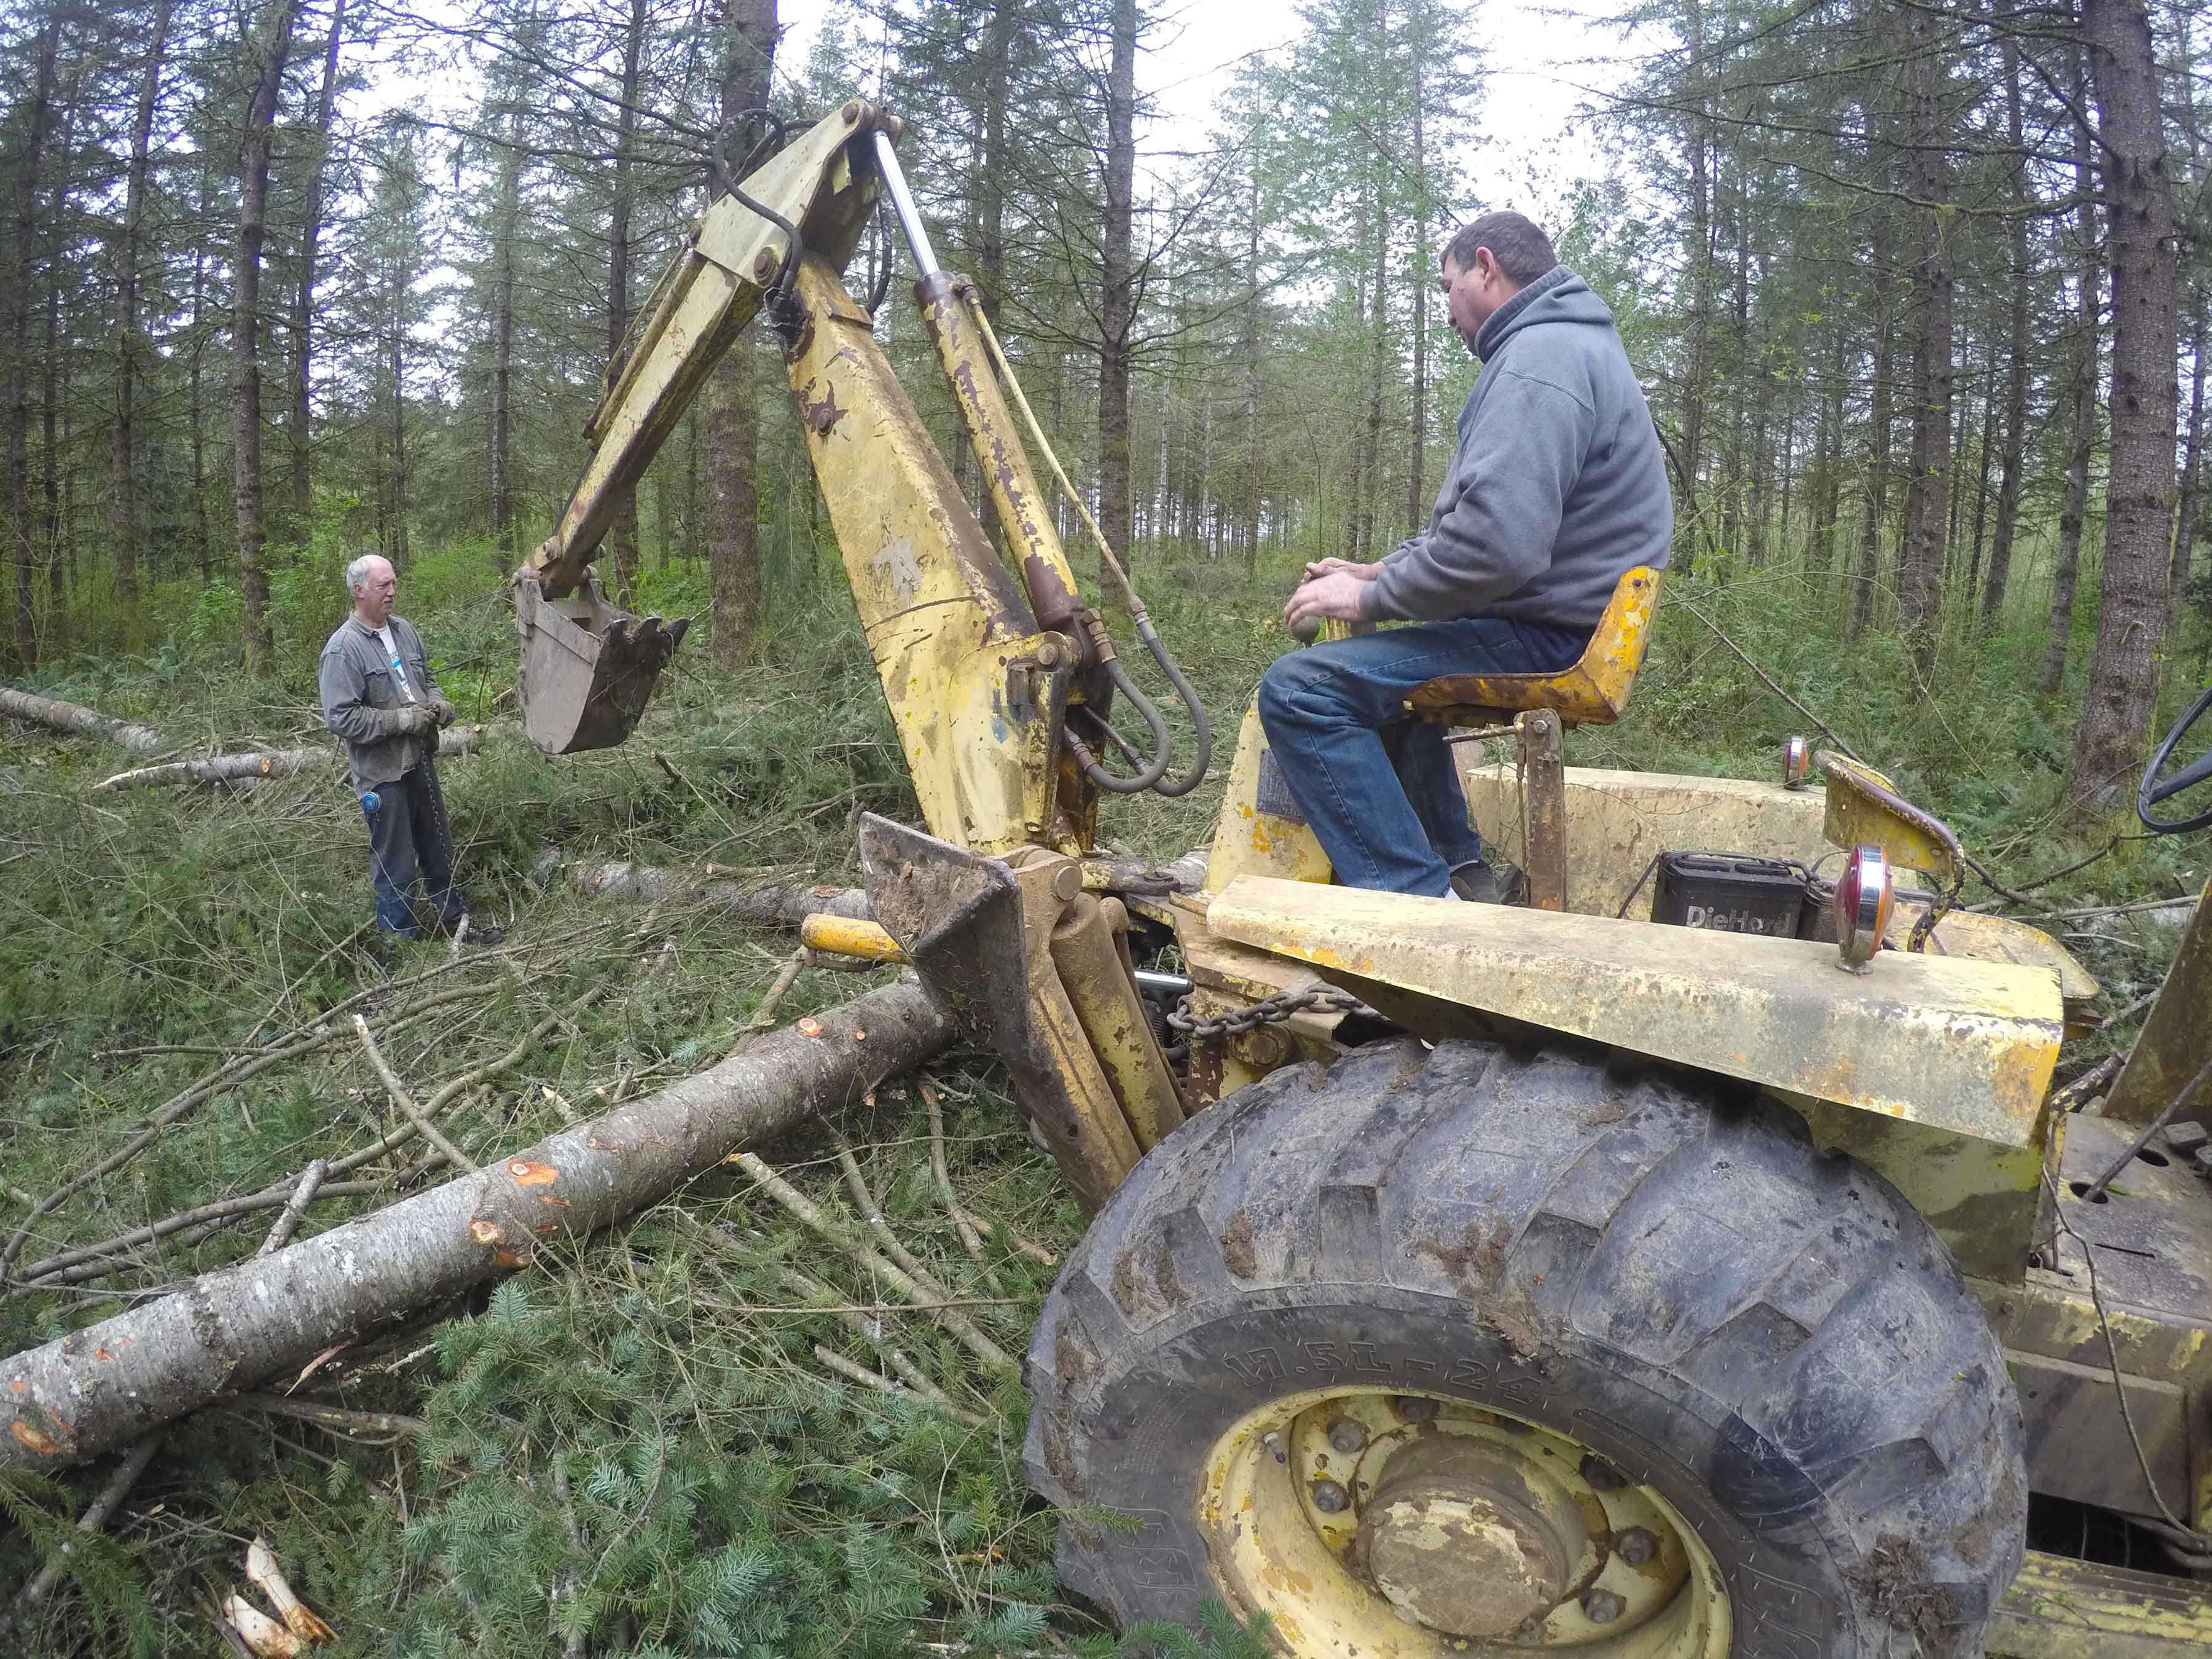 DCIM100GOPROGOPR0206. Don came by with his back hoe from the 50’s! We will have three full log trucks full of trees delivered. All need to be peeled by hand! Had some help from my friend Neal and a few others joined us on weekends. |


We waited until the summer of 2015 to cut out a side door on the garage. We could have 
 cut our windows as well but decided to wait until we had better security (i.e. camera surveillance). We simply marked our lines using an 8′ level and cranked up the 18″ Stihl chainsaw. Pretty cool to use a chainsaw to do ‘finish work’. I had found a solid wood door without a casing at a garage sale for $1 so I asked my go-to guy, Rob, to do the rest.

I bought this door for $1 at a garage sale and Rob turned it into a beautiful side door.
Have you ever had a guy on a job site that could do just  about anything…well, that is Rob for us. Thank you Rob from the bottom of our hearts. Anyway, he not only built a wood casing for my door but also spent some time sanding the defects out and giving it a nice finish. Wow!
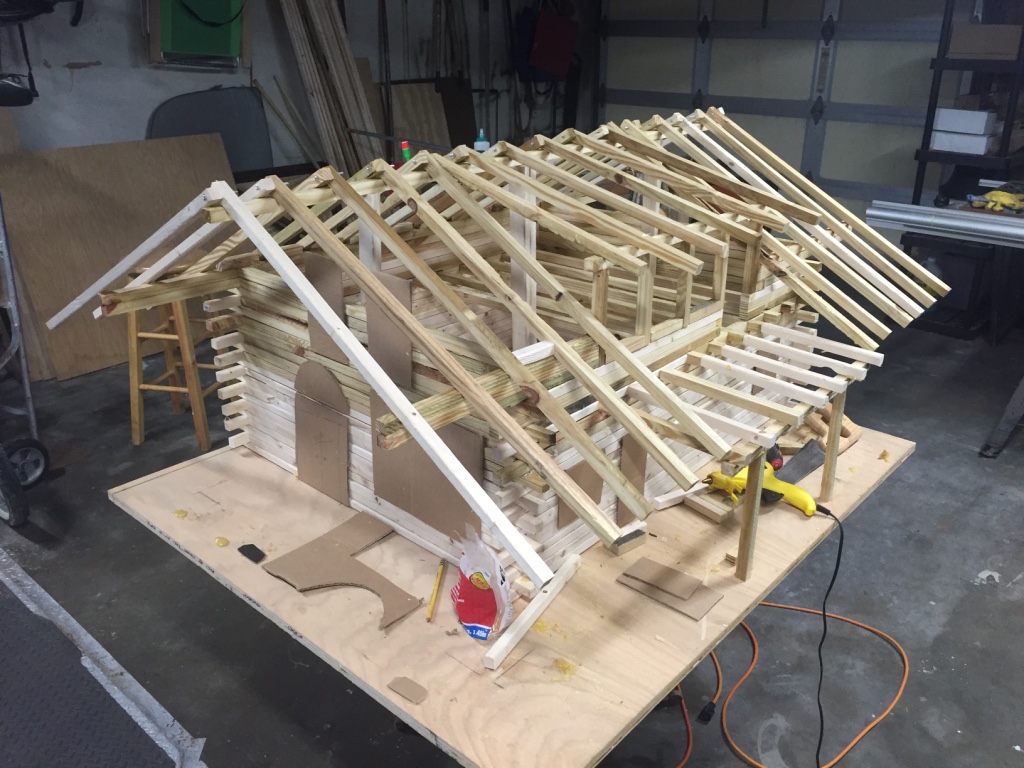
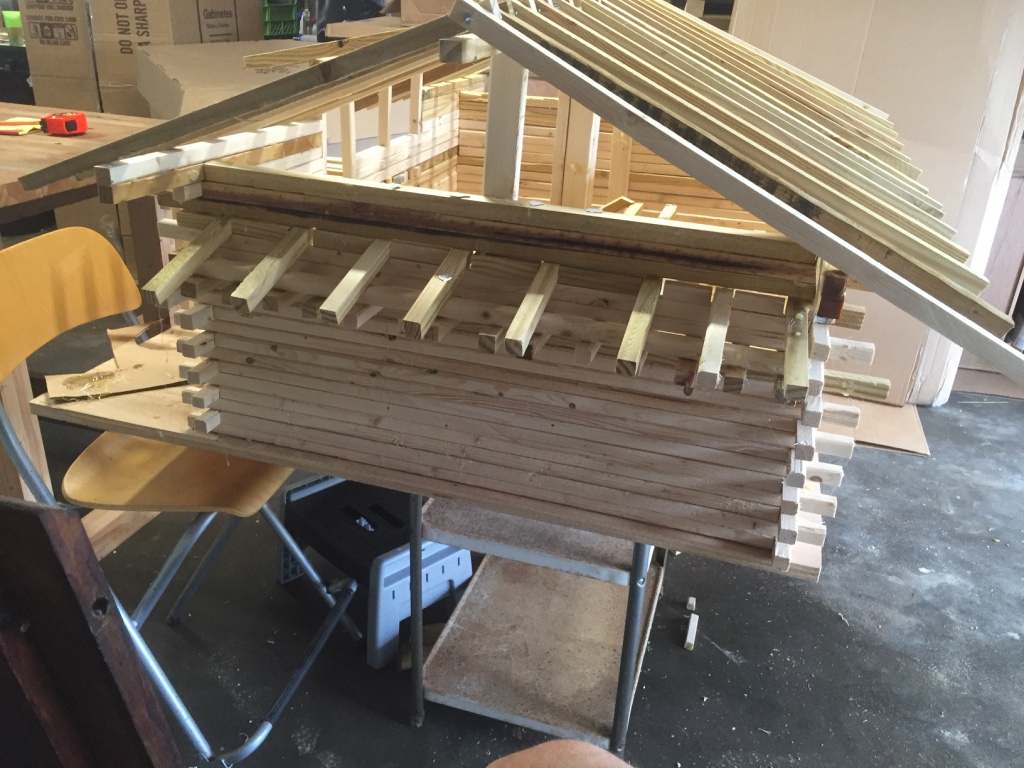
Jack and Sharon of the Onalaska Building School have always taught to build a scale model before you build. Smart. Trust them, they have over 60 years of combined knowledge. So I did…and not only did it show me how my cabin would fit together but it showed me what ‘I didn’t want’. By building it and looking at it I could tell 
 it was not what
I wanted. So I changed it…and changed it…until we came up with a desired plan. I had designed our cabin from my head so it took some visualization before it all came together. I don’t know about you…but I am a visual learner. Something that also helped me was some design software called Home Designer($99). It will do everything…exterior walls, roof, interior layout and give you all the measurements automatically.  Very
Very  helpful for the placement of my staircase, wiring plan, windows and doors as well as hardware and cabinets like sinks, toilets, appliances and furniture. The cool part is it has a 3D feature that allows you to see every side of your project by using the X, Y and Z access. $99 well spent. Short learning curve. Make that model…it will save you lots of $ and grief.
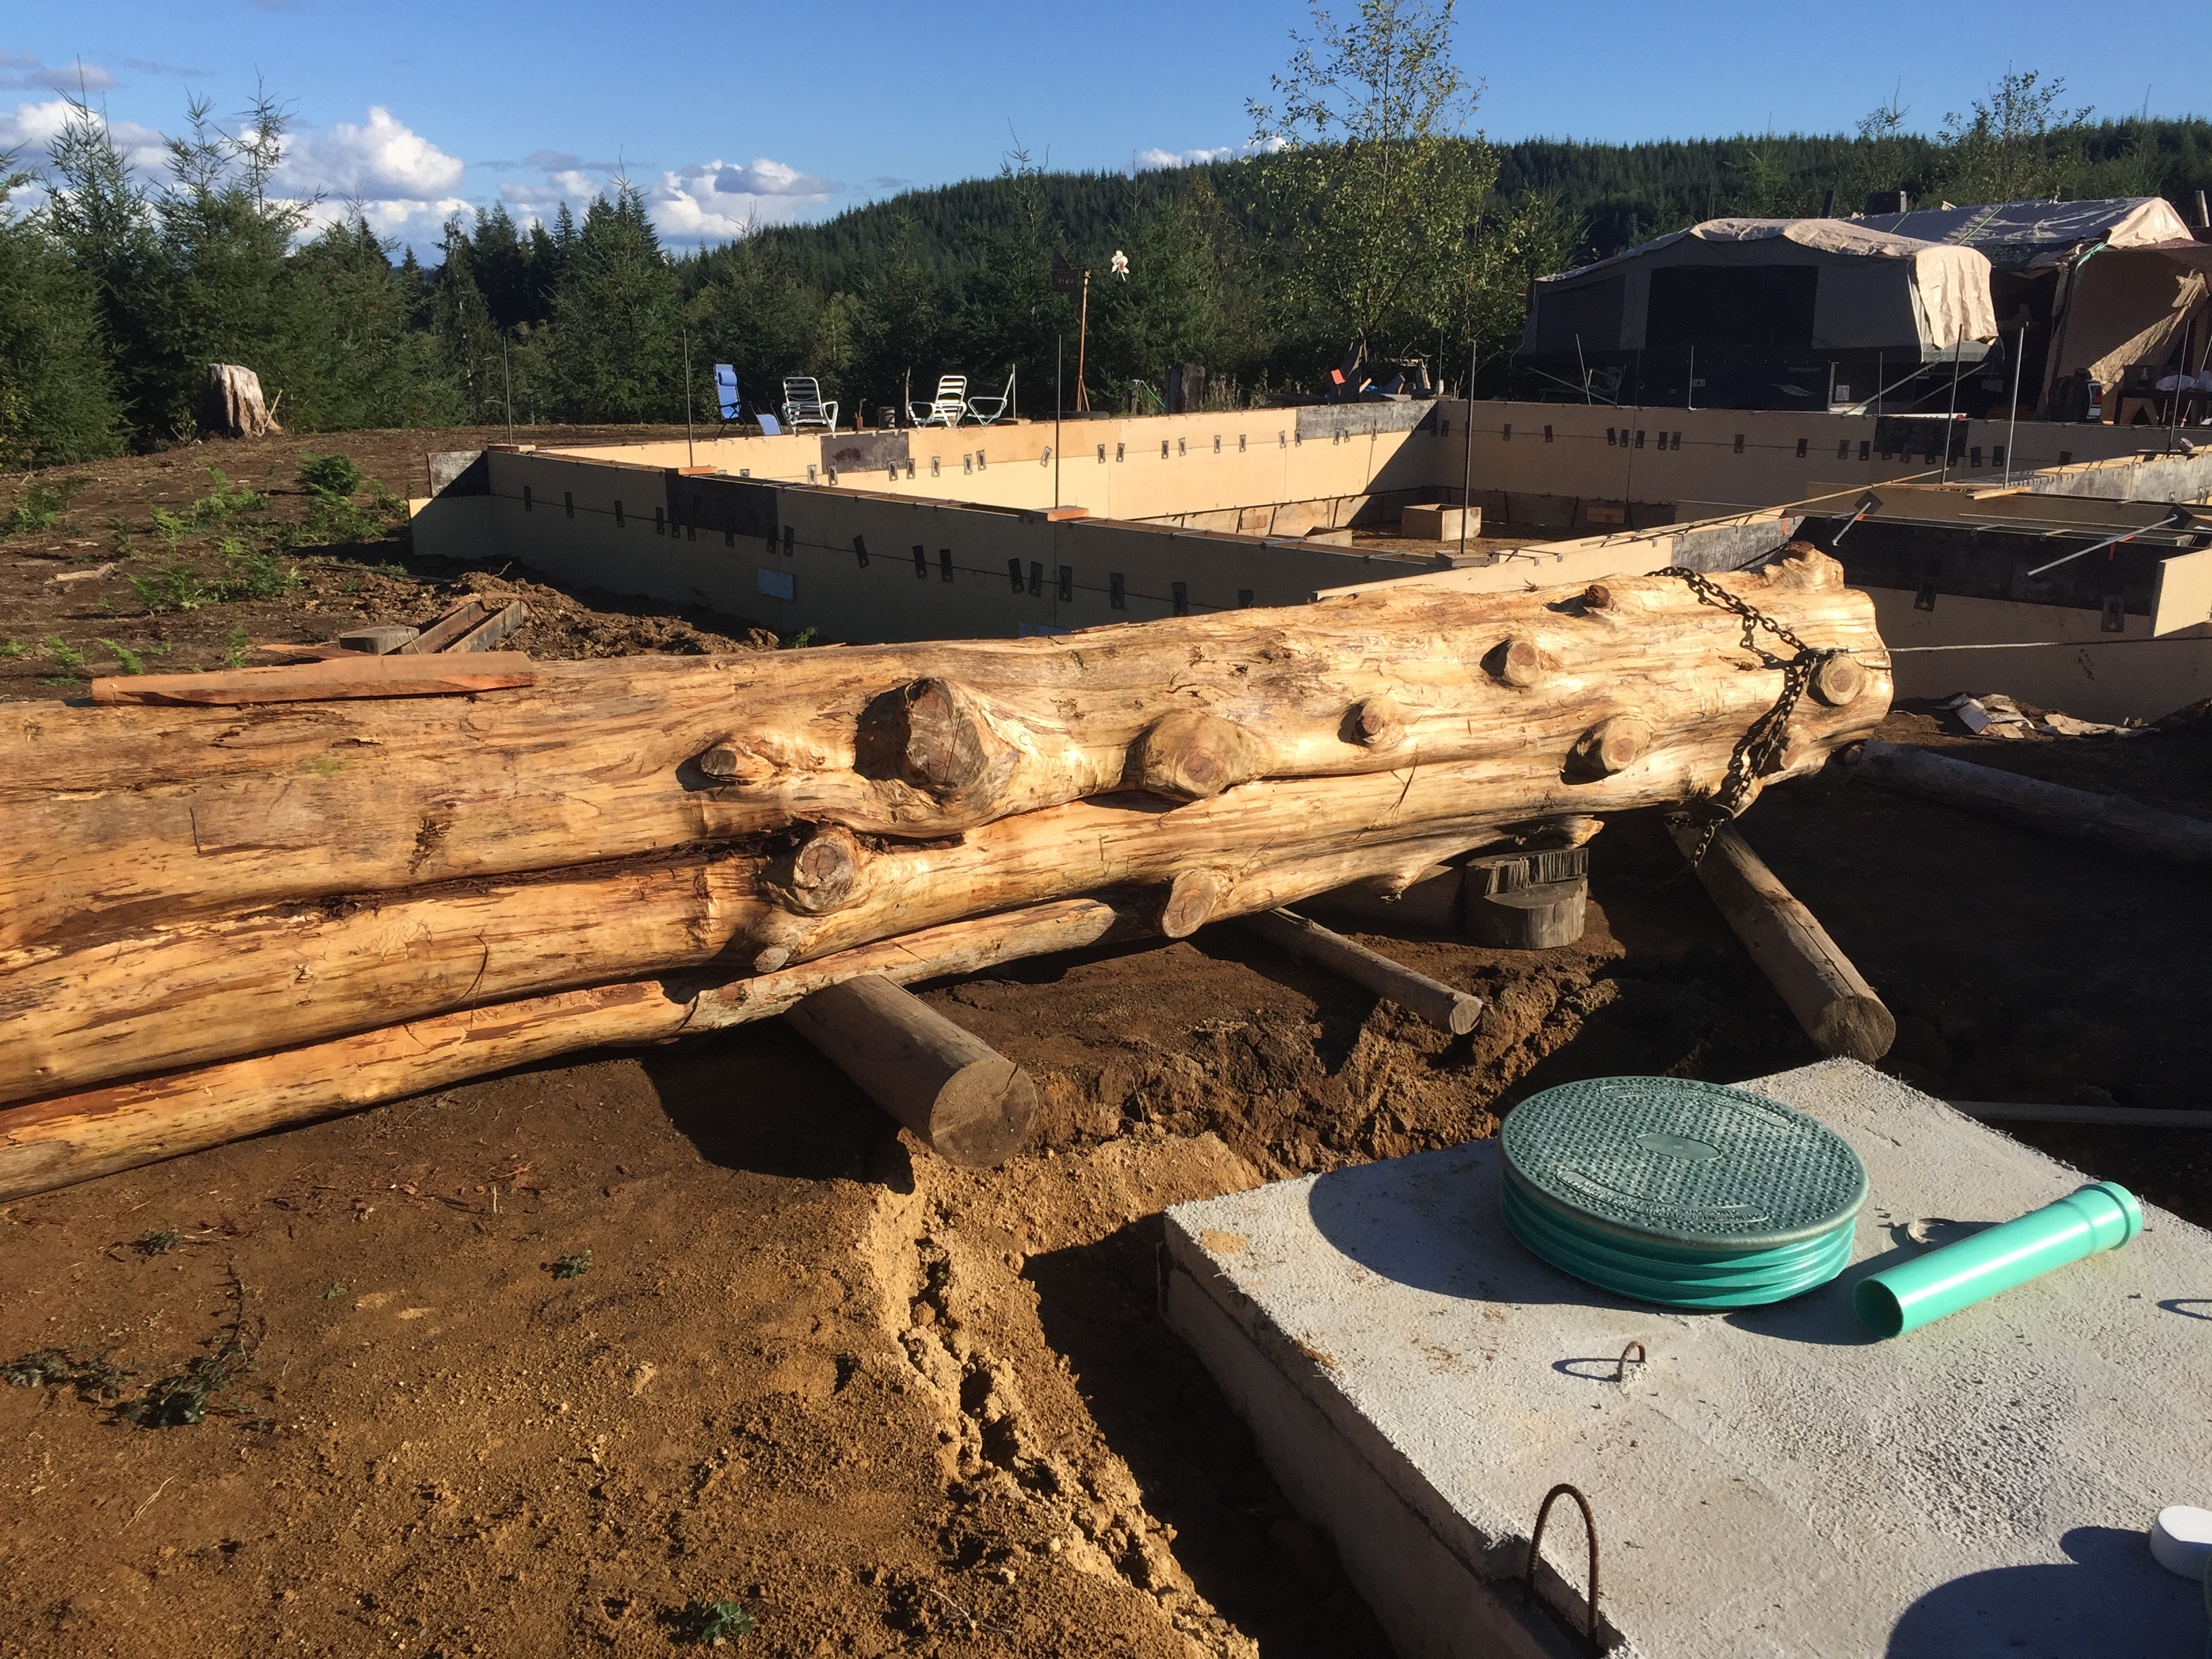
In this photo you can see a lot. The big cedar center post we will be using in our cabin. Our gravity fed septic tank. The forms of our cabin foundation and in the background our pop-up trailer and car port we lived in for two years.
I ran across this 18′ Red Cedar log at a local Port Orchard mill. It was ‘love at first sight’! All the gnarly knots where the branches had been…the way the bottom part folded in and out the way Red Cedars do. I had to have it! Instead of mill it down to a table top I decided to use it for my center post in our cabin. It will be the center post that holds up our ridge pole. Smack dab in the middle or our cabin! I decided to use a Tong Oil on it to bring out its natural color. I spent some time peeling off all the bark I could reach. At the end of the summer of 2015 I pulled it myself…with the help of my jeep and winch…over to the garage and stored it inside the garage over the winter.
  had to
  hook up a snatch block on the far side of the garage to pull it in. Thank goodness for winches and block ‘n tackle.
SOLAR POWER. Got your attention? We purchased this piece of land knowing it had power lines literally crossing our land at one end. So naturally we thought we had power. What we didn’t consider was the cost of getting that power up the hill 1500′ to our build site. Later we found that cost to be 37k! If I was to tell you one thing that may save you the most money, it would be…consider and research your UTILITIES! Power, water and septic. With that said we still love our purchase of land and its ‘curveballs’. We actually are appreciating our ‘off the grid’ situation with power. We do have a wonderful well and now have a gravity fed septic tank. So power will be dealt with in three ways…solar, generator and propane. I will wire the cabin with grid power in mind, mostly for resale value but also for using a generator when needed.

Here are the four golf cart 6volt batteries we use. Connected to create one 12volt battery.
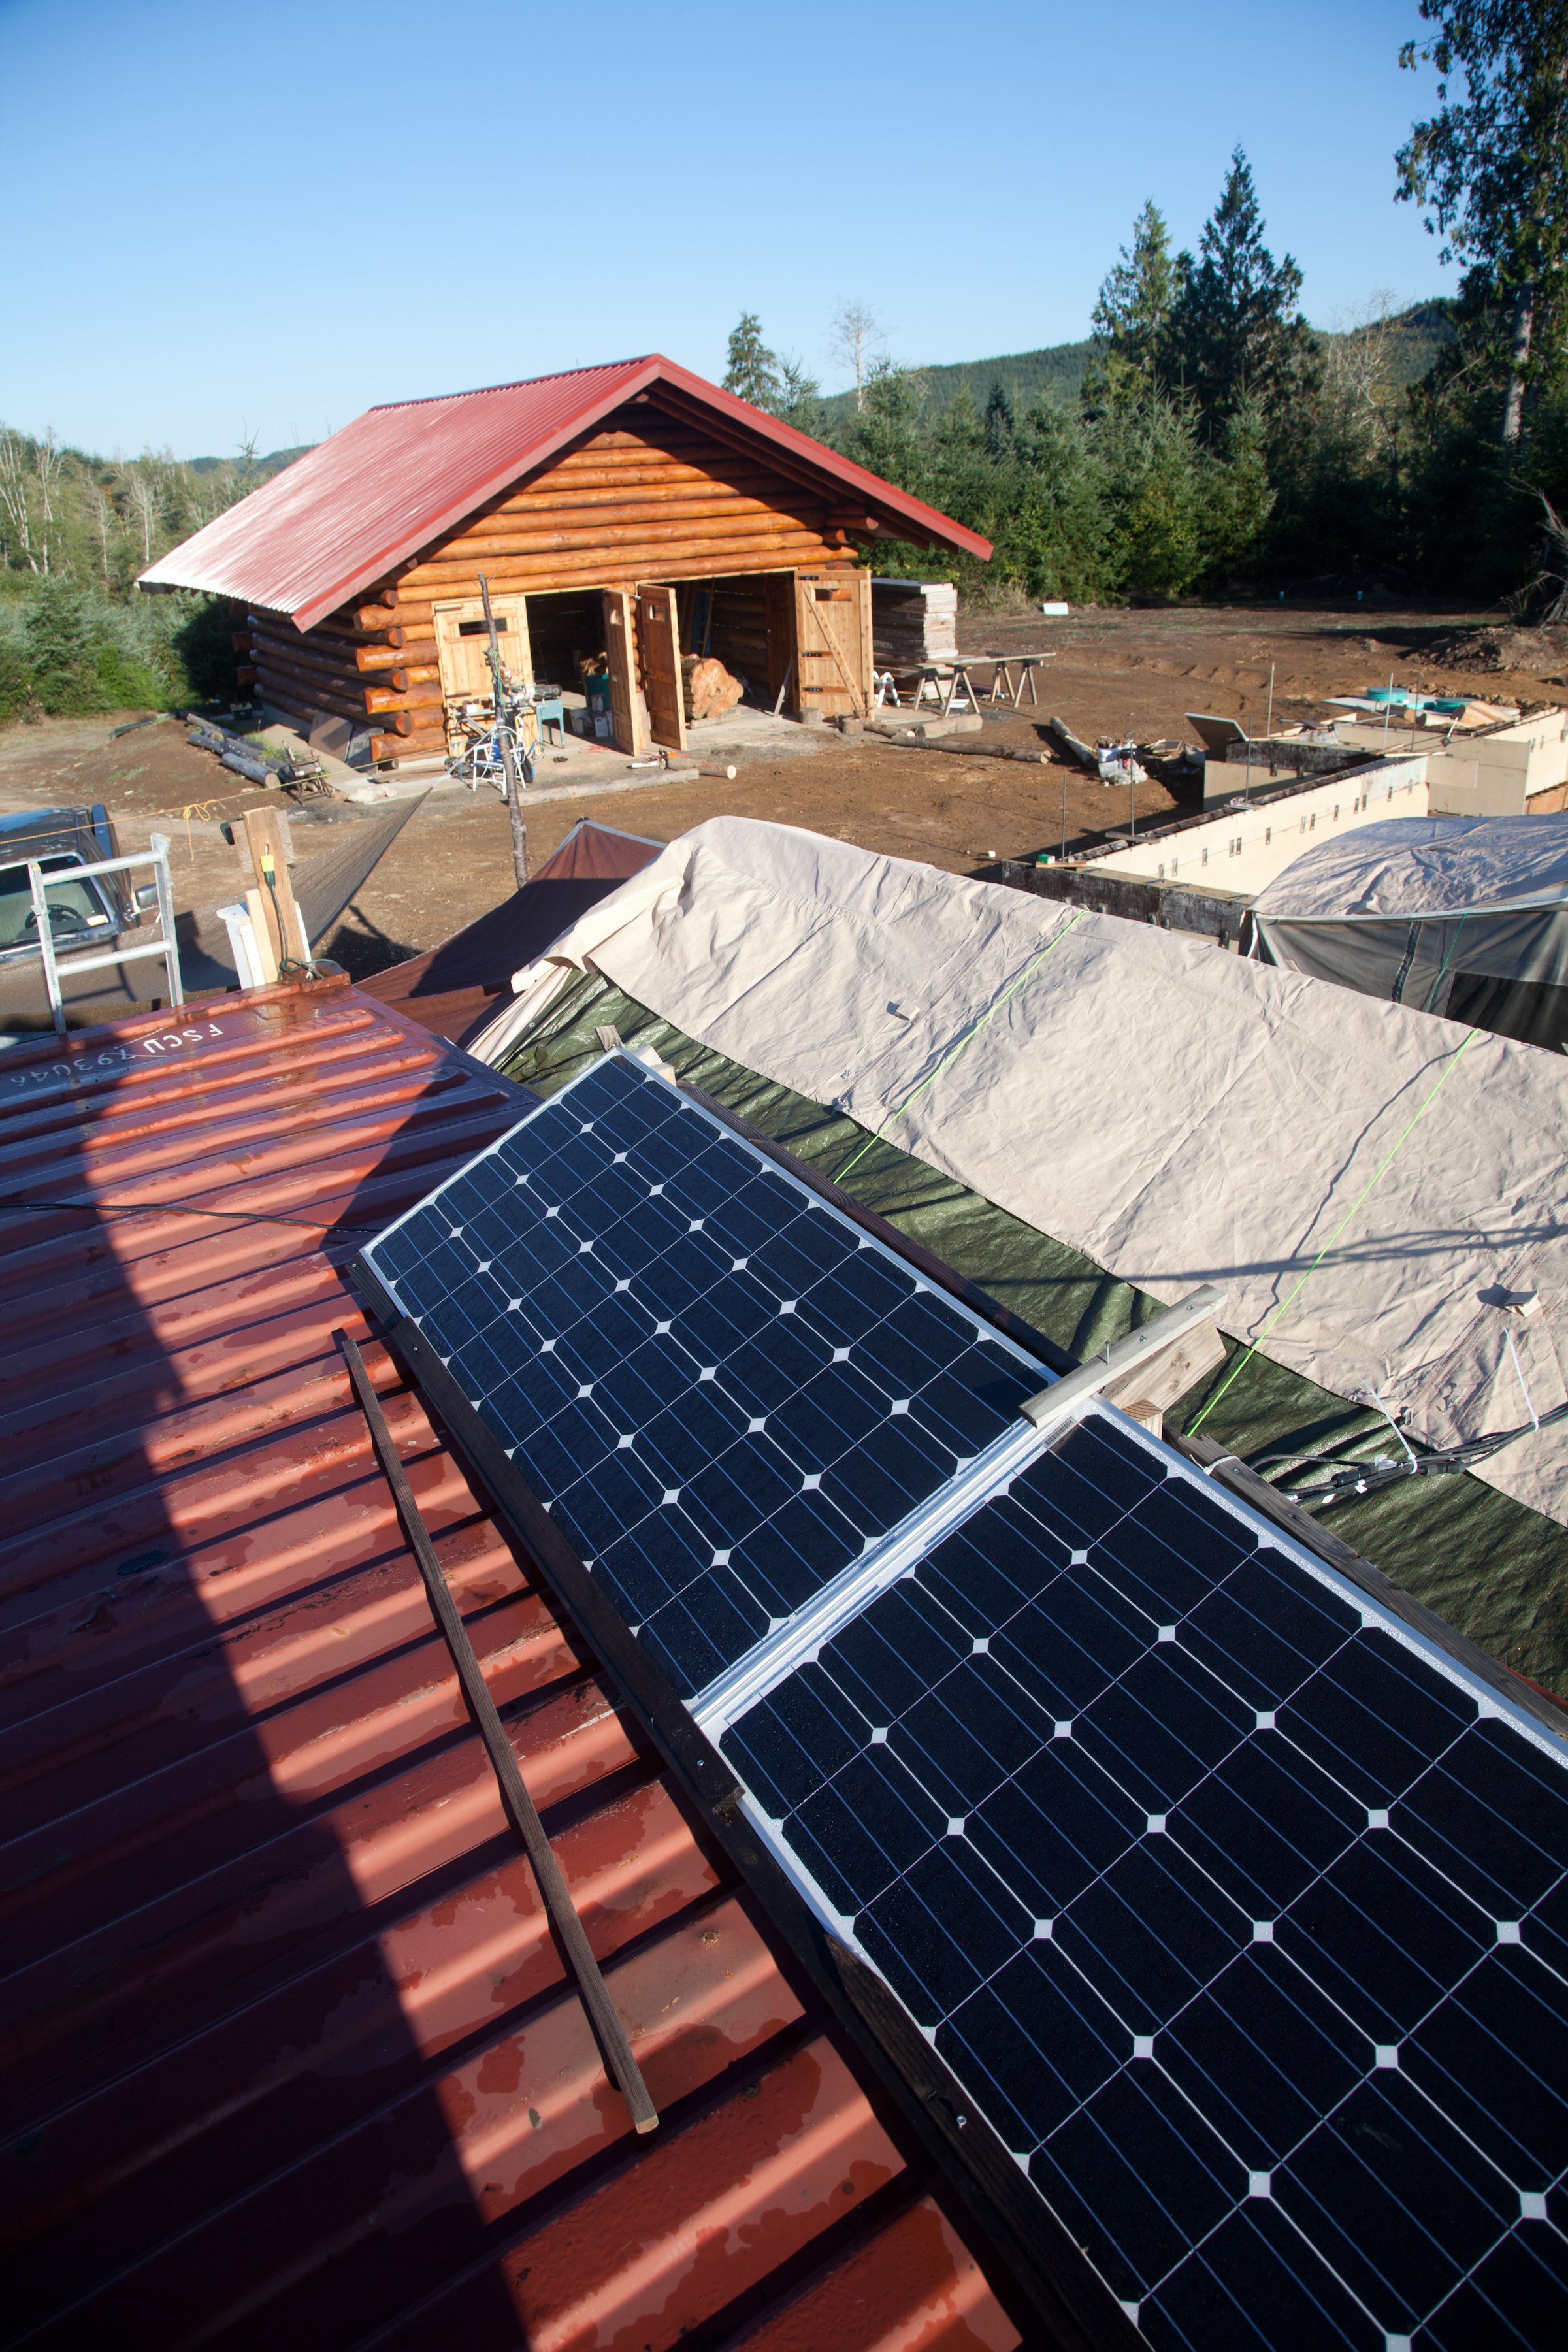
Our two 160watt solar panels. Enough to feed our batteries and power our trailers evening lights, router, converter and charge our devices.
For the first two years we have used two 160watt solar panels with four 6volt batteries, a 7000w generator and a handful of small propane tanks. This summer I am hoping to add solar panels, a better converter and possibly more batteries. Also we will invest in a more permanent generator and a large propane tank.
